Quick and Easy Way to Paint Beadboard
It can be a real paint to Paint Beadboard because of all the nooks and crannies. I used to start out by painting the grooves with a brush and then using a roller to get the rest of the panel. But it takes a long time to brush EVERY SINGLE groove on a 4×8 Beadboard Panel so I took out a step.
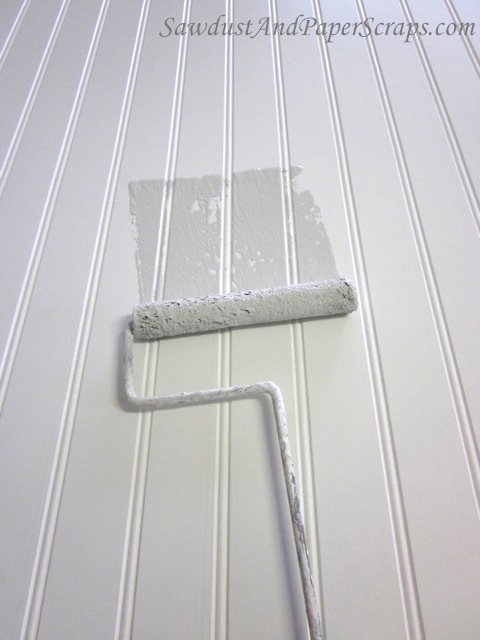
How to paint beadboard
First, I almost always paint beadboard paneling before I cut it to size and install it. I find it’s much easier to get paint into the grooves while it’s laying flat on a work surface than after it’s installed and you have to “jab” the paint into the grooves at the bottom where it meets the baseboard or whatever it’s sitting on.
Before I start paint beadboard, I prep the panel by brushing all the dust out of all the grooves. I bought this soft bristle brush specifically for this purpose but a large dry paint brush works great too.
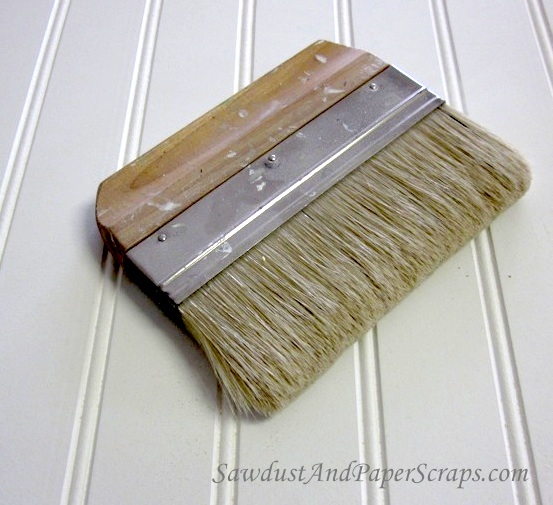
*I do not use an air compressor to blow the dust off. It would just settle back down on my wet paint after creating a whole room full of dusty air.
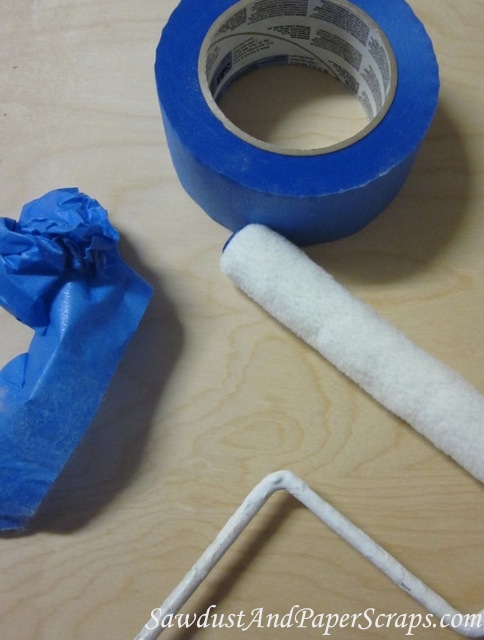
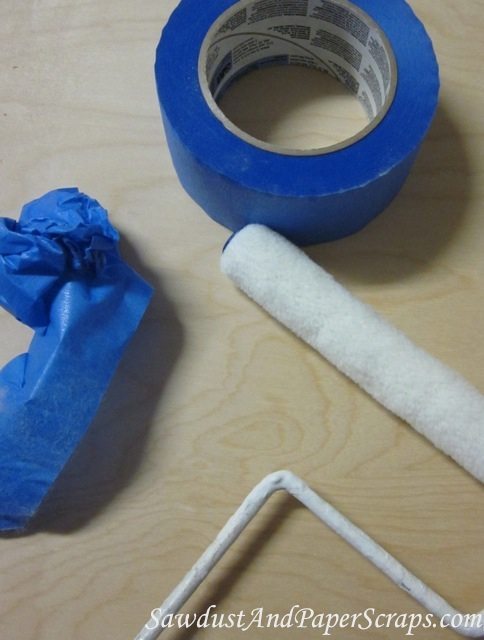
Next I Prep my roller so I don’t leave any fuzz in my paint.
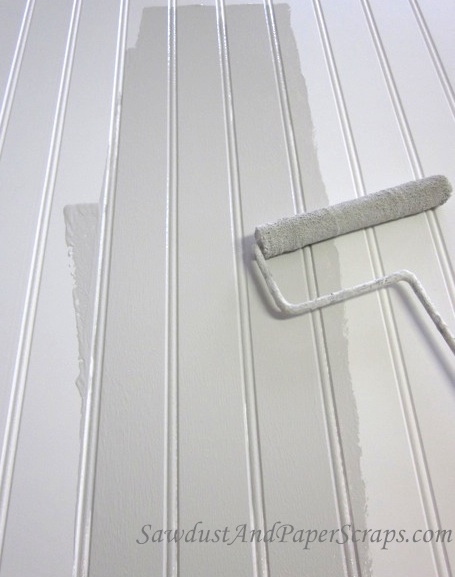
Then I soak my roller to get as much paint as possible onto the beadboard panel. I push hard enough that the roller doesn’t “roll”, it slides, pushing paint along inside the groove.
Then I roll back over that area to smooth out the finish and make sure everything is covered. It might feel odd and like you’re doing it all wrong…but it’s pretty effective and fast. I don’t worry about the lines created on the roller by pushing hard, they disappear after rolling back and forth a couple times when it comes time to actually roll.
*It’s important to work in sections for this part to keep a wet edge! Smoosh some paint into the grooves in a small section and then roll it out…and then move onto the next area. Otherwise, you may end up with ridges and excess paint in some areas because you were concentrating on the paint in the grooves and not focused on where else the paint ended up.
Then I can cut and install. If applying beadboard to cabinets, I generally glue it on instead of nailing it so I don’t have any chips or nail holes to fill and touch up!
Did you find this tip helpful? You might also like these other Painting Tips!
Great tips! We do all the same things except for the dry brushing, thats genius!!! Love your work so much.
Hi! What color is the grey-ish paint in the pictures please?
Sherwin Williams – light french grey 🙂
Came across this post when searching for the best methods to paint beadboard! Thanks for the tips…tape is up, now time to paint my hallway!!
This is exactly what I’m doing today! Thanks for the post!
Love the look of the beadboard, but haven’t used it yet. Good to know that it comes in the different sizes–I would have just went in and bought the 4×8 sheets that I thought was the only option!
I’m always afraid to paint anything before assembly because of the glue working like it’s supposed to. Do you use regular wood glue, or something else?
Wood glue won’t adhere to paint but I don’t paint the back of the beadboard which is the part that is getting glued onto the cabinets. When I apply beadboard to finished cabinets (vertically) though, I use caulk. It sticks and holds immediately. I might have to hold it for a couple minutes or use some painters tape to hold it in place but it’s super strong as an adhesive and works like a charm.
What type of caulk do you use to hold the verticals?