DIY – Toy Storage Play Mat
When I was little, I hated picking up toys when I was done playing. I thought it was such a waste of time! Picking up 1000 little legos, mini doll furniture, etc. Total waste of time! So my mom made a big play mat with metal rings on the corners. When we were done playing, we’d pick up the corners and go hang the whole thing on the nail in the closet. Done! I made a similar play and store toy mat for Madison because that girl has a lot of little toys!
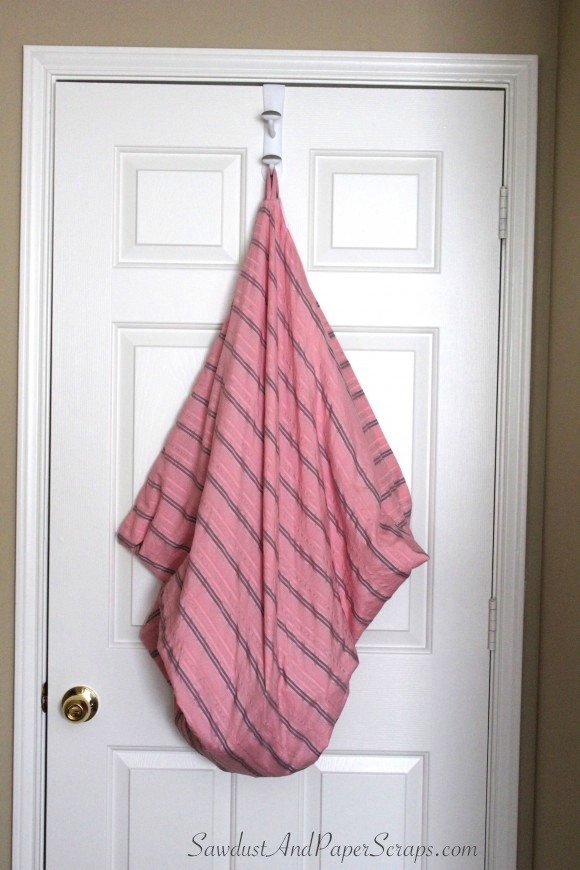
Play and Store Toy Mat
The best part of the play mat, was that my mom drew a “Town” on it with roads and farms, etc. We all loved it. We’d play on it for hours; building houses out of legos and Lincoln Logs, driving all over town, grocery shopping, getting dinner from the drive through… Good fun! It was a favorite in our house. (We especially loved not cleaning up toys when we were done playing!)
Madison loves all those same toys. She has a big playroom full of them! Building with legos and Lincoln Logs, tiny cars… So I knew she would LOVE the toy mat. She is a great artist so I let her help me draw the town. There’s a little farm on one side. We have a mall, a pool, fire station, park and most importantly–a McDonalds! LOL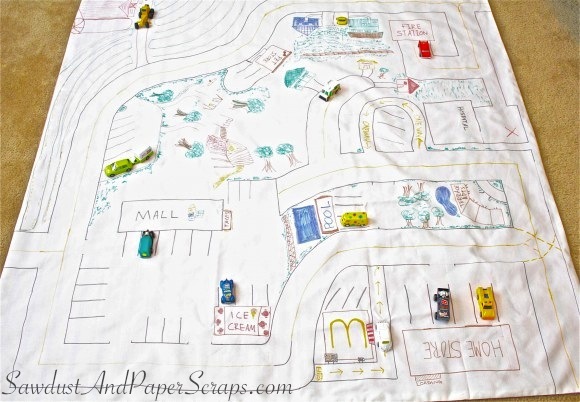
Materials:
- decorative fabric for back side
- white canvas for front
- fabric markers
I used a fabric I found at Walmart for $1.50/yard for the back and a white fabric I had on hand for the front. I think a drop cloth would be a great choice for the blank fabric as it would be very durable.
Step 1
Cut your fabric into squares. Whatever size you want your play mat to be. Just remember that it’s going to hang up so if you make it HUGE, it might puddle. LOL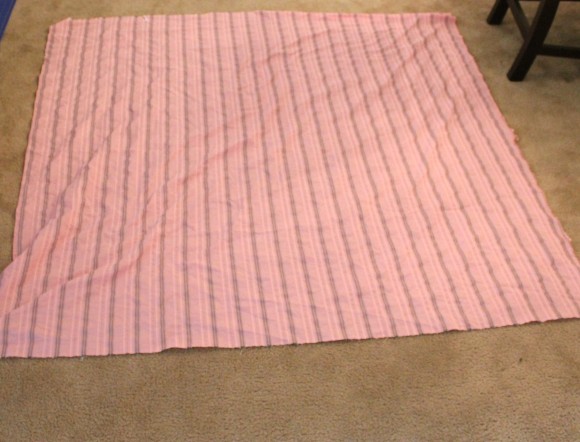
Step 2
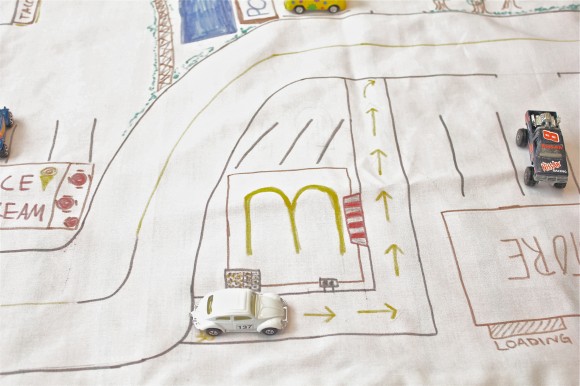
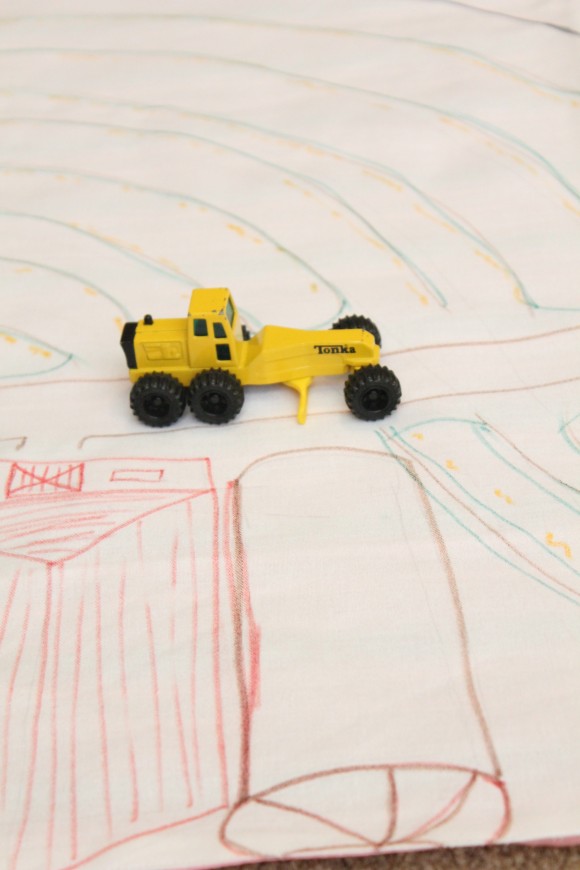
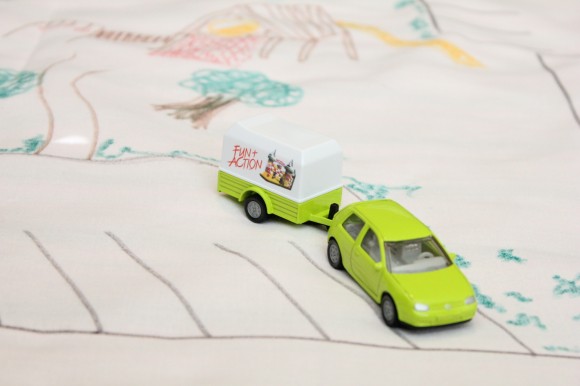
Paint the town! We drew our town with a pencil first and then went over it with Fabric Markers. Let your kids help with this part. At least they could give input on what features to put on the mat even if they are too young to draw them.
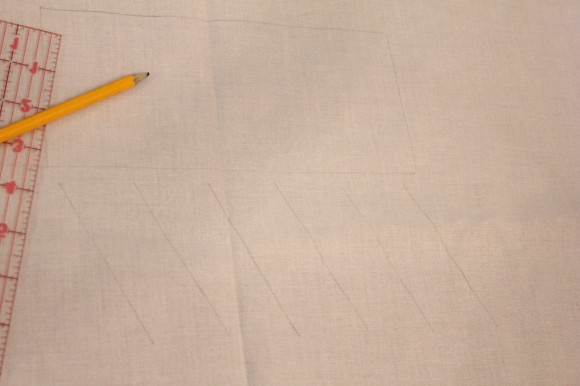
We didn’t forget to add a drive through for our McDonalds. I also added a Home Improvement store with parking spaces. Must have a home improvement store!
Step 3
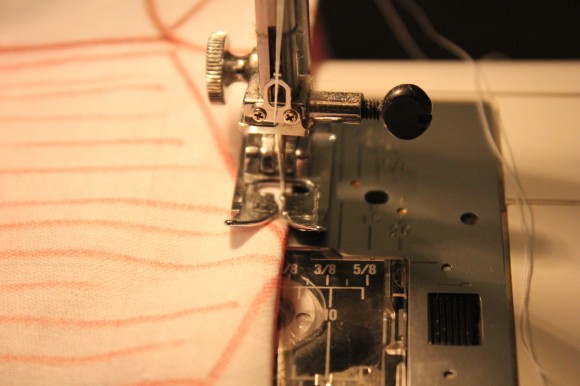
Sew the two fabrics together. Put “good sides” together (your town should be facing the lining fabric when you sew. Sew all around the square except for a small opening. This opening needs to be just big enough so you can pull the whole thing right side out, through that hole.
Step 4
Turn play mat right side out. Reach your hand in through the hole you left, grab the opposite side of the mat and pull it all out through the hole. Now your “town” should be on the outside again.
Fold the opening under and sew it closed, stitching close to the edge.
Step 5
Make fabric loops.
- Cut strips of fabric about 6″ long and 2″ wide.
- Fold the outer edges in so they meet in the center (lengthwise).
- Then fold them in half lengthwise.
- Sew along the outer edge.
Step 6
Attach loops.
- Snip off the corners of the mat.
- Fold a tiny bit of both sides of corners inside
- Insert the loops.
- Sew straight across several times.
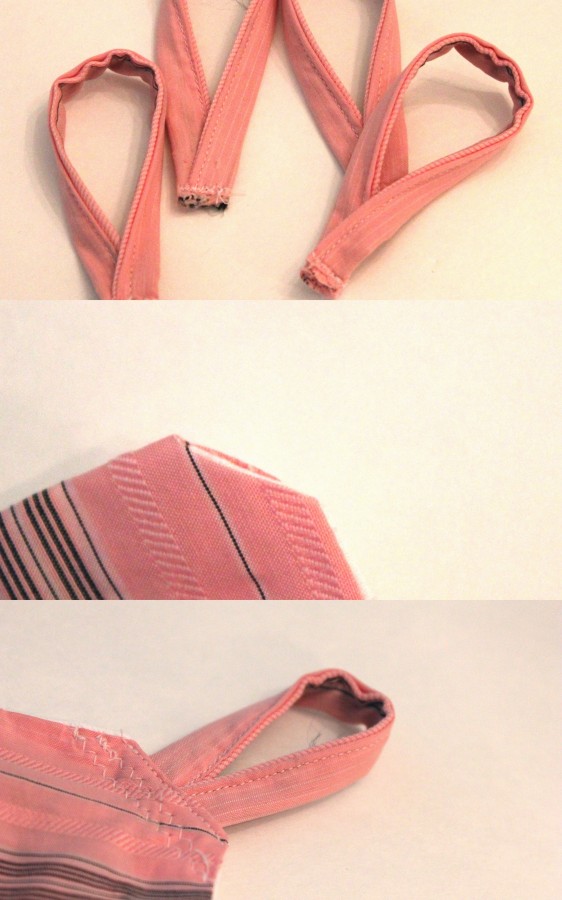
*You don’t have to snip off the corners, you could just sew the loops on top of the mat but it looks cleaner if they are tucked inside.
Of course, if you don’t want to draw a “Town” on your play mat, you could just make a decorative fabric mat that your child can play on with whatever toys and enjoy the easy clean up!
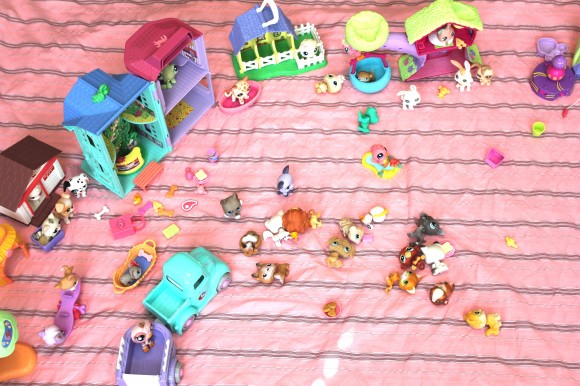
The toy storage play mat makes clean up a breeze.

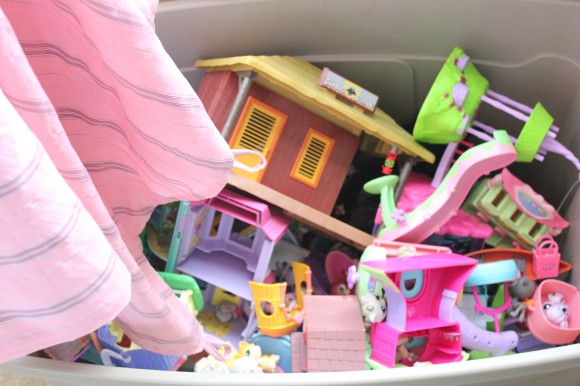
If you don’t want to hang up your play mat, pick up the corners, and then dump the toys into their storage container. It’s faster than picking up 10,000 pieces and putting them in the bin by hand! Then you can fold up your mat and store it away too.
Next time your child is ready to play, lay out the mat, dump a new set of toys onto it and let them “Go to town”!


Thank you so much for sharing this. I just made one for my daughter using monopoly boards. I posted about it on my blog Coupons, Crafts and Kids! Oh My! and linked back to this page to show others where I got some of my ideas. Thanks again for sharing!
What a great idea and I’m excited to make it for my boy 🙂 I can see some felt accents and patchwork in there too. Thanks for the tutorial!!!
I’m going to have to do something like this soon or the 5000 train and block pieces that are constantly all over the livingroom will have a tragic meeting with the trash can. Love the handles on it.
I literally just told my daughter 5 minutes ago that she needed to keep track of her little Polly Pockets pieces or they’ll get lost. This is perfect! Great idea and I kind of think it’s cute hanging on the hook!!