King size Upholstered Storage Bench
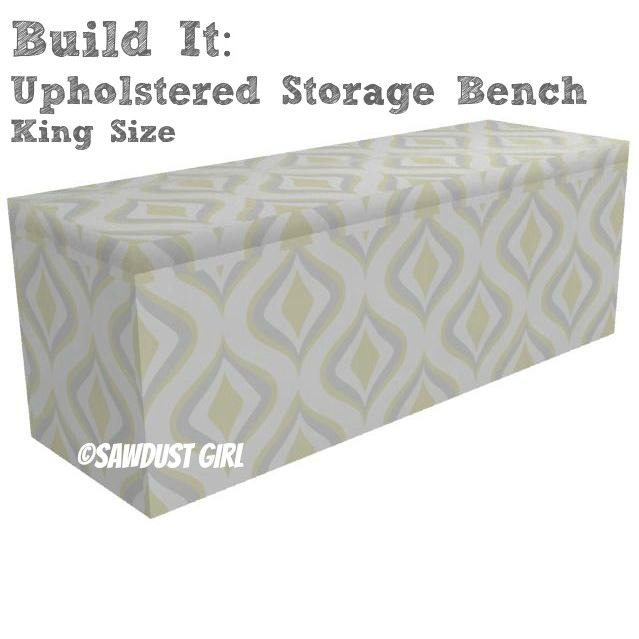
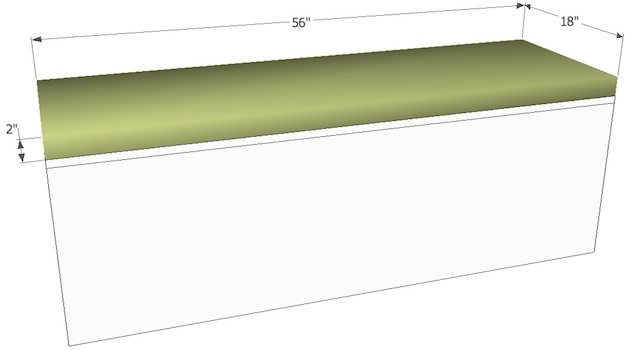
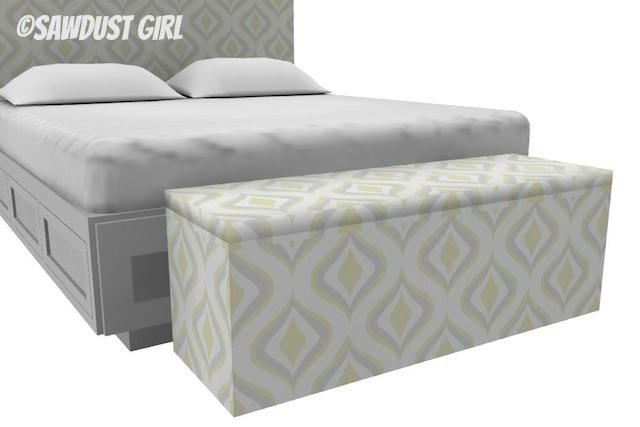 This King size storage bench is a larger version of the upholstered bench seats I made for Madison’s room. The King Size bench will hold a LOT as well as provide a pretty place to sit and dress or read …or whatever. Could also be a great bench for a playroom or mudroom. Can be used with or without hinges depending on how easy you need it to be to get into.
Approximate cost is less than $100 excluding upholstering supplies.
King Upholstered Storage Bench
Materials:
- 2 sheets of 3/4″ plywood
- Wood glue
- 1 1/4″ pocket screws and pocket hole jig
- 1 3/4″ wood screws
- foam and fabric
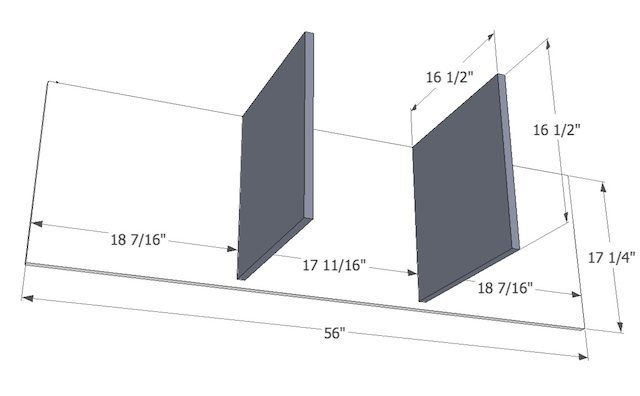
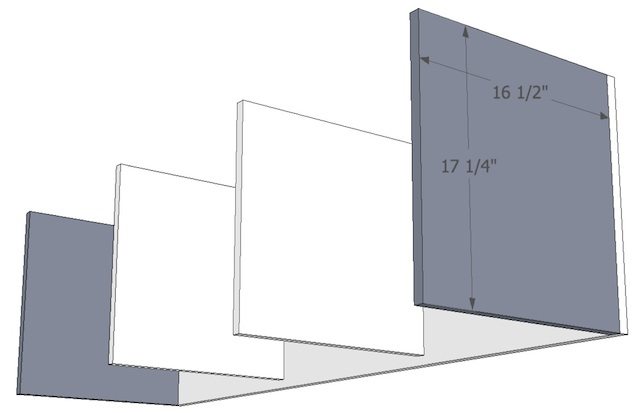
Step 1: Attach Center dividers to Side.
- Use wood glue and screws to attach inside dividers to one side.
- If planning on painting or staining the “box” instead of upholstering it, use pocket hole screws from the inside.
- If planning on upholstering the box, use wood screws and drive them through the side into the dividers as the screws will be covered by batting and fabric in the end.
- There should be a 3/4″ reveal on the bottom of the dividers.
Step 2: Attach ends
- There is no reveal on the ends. The extend flush with the top and bottom of the sides.
- Use wood glue and screws following the same method you used in step 1.
Step 3: Attach second side
- Follow same method you used to attach dividers and ends in previous steps.
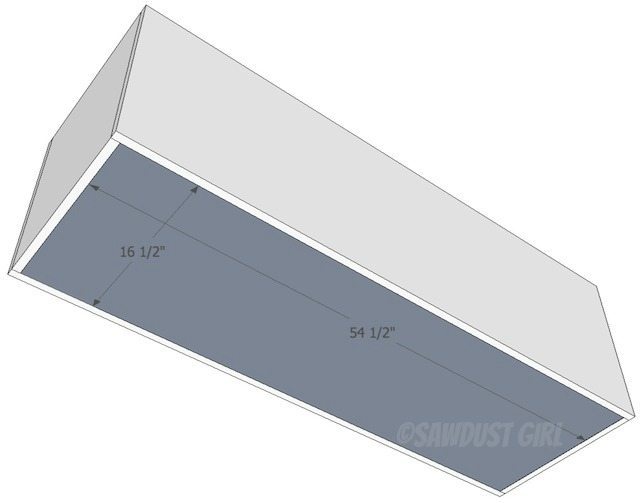
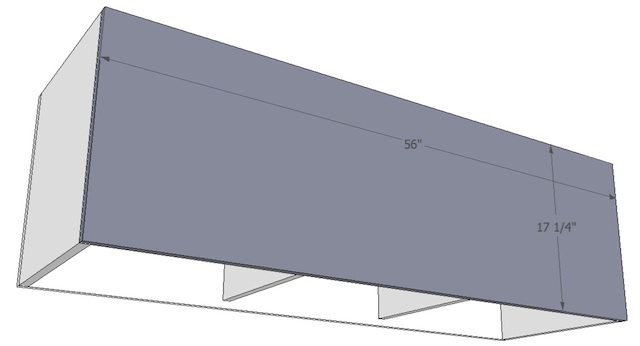 Step 4: Attach bottom
- Bottom should fit up into the box.
- Use wood glue and screws
- Drive wood screws up through bottom into center dividers
- Use pocket hole screws to secure bottom to sides and ends if not upholstering.
- If upholstering, drive wood screws directly through sides and end into bottom.
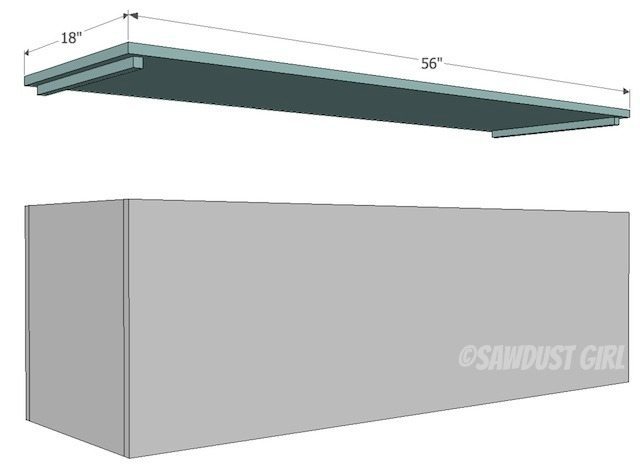
Step 5: Secure lid cleats
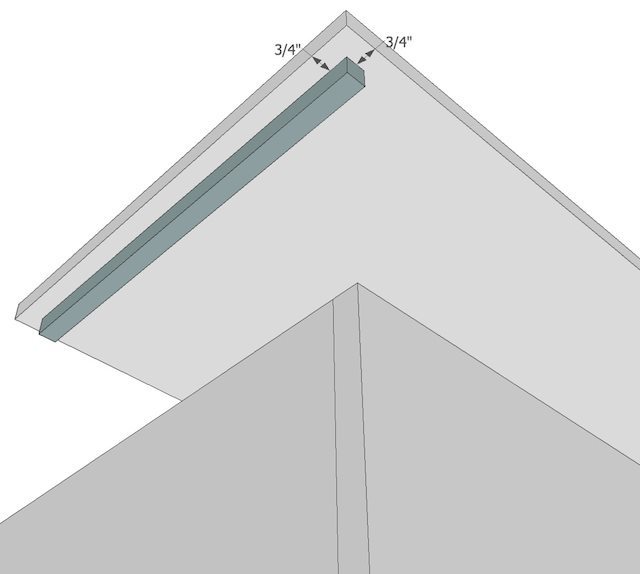
- Attach small cleats of hardwood or plywood to the lid to keep it in place
- There should be a 3/4″ recess on three sides of each cleat allowing cleat to sit inside the box when lid is placed on top of box.
- You can add hinges or not depending on how easy it is for you to get into it like this and how often you plan on accessing the storage.
Step 6: Finish (Make sure to add bumpers)
- Add foam and upholster bench top.
- Upholster, paint or stain bench
- Add bumpers to bottom to protect your floors
And that my friends is all there is to it!
As always, you can find lots of additional building tips in all my Cabinet Making 101 posts. And if you build any of my plans, I’d love to see you upload some photos on The Sawdust Diaries to share with the world.
Thank you so much for helping me continue to post free plans and tutorial by visiting often, tweeting, sharing, pinning digging, stumbling… my projects and posts. Help me, help you. 😉


This is just what I was looking for in my master bedroom. Any idea how many yards of fabric I’ll need to cover this?
Love it! I think I’d like to make one a little less deep and add some sexy legs! 😀 Thanks Sandra. xo