Jack and Jill Bathroom Update – week 6
So it’s been six weeks since I started this project and it’s finally turned the corner and taking shape. The whole space is framed now and it’s time to patch the floors and sheetrock the walls.
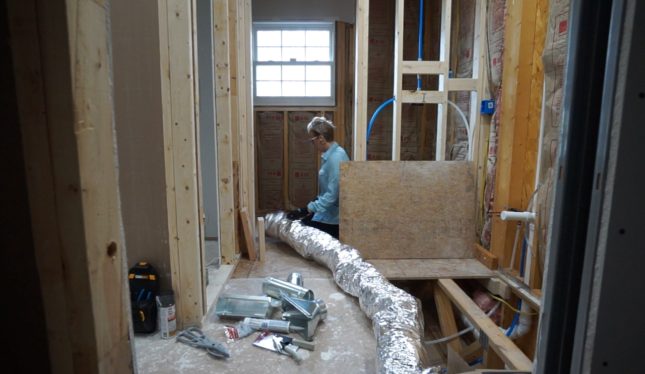
Before patching the floors, I tied into the existing HVAC vent so I could get a toekick vent under the vanity.
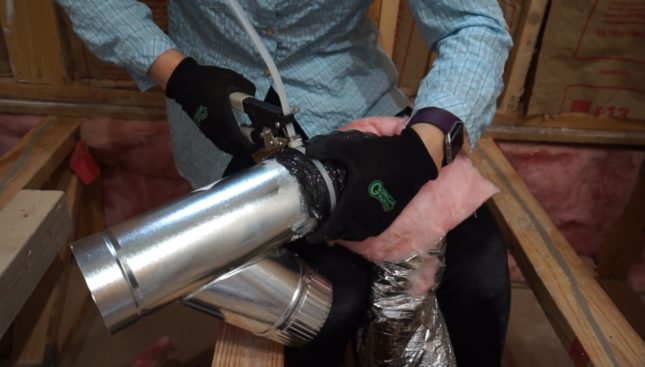
I had to “fake it till I make it” on this task. I watched a YouTube video. The HVAC in this house is not engineered for efficiency so I doubt my addition will do anything to help or hinder what was already there.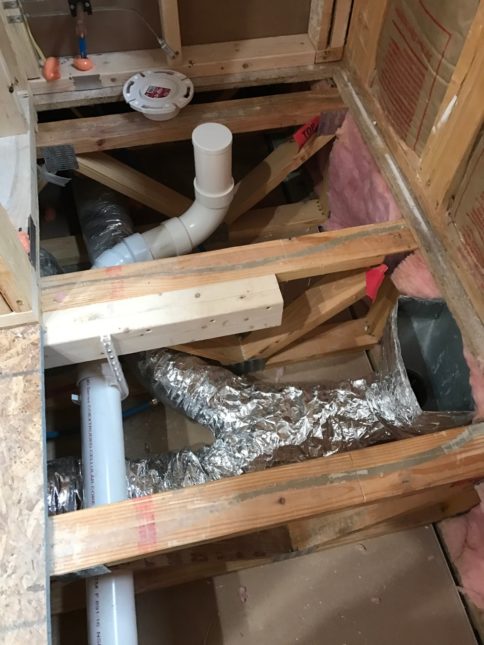
I also made sure to spray fireblock in all the holes cut for plumbing and wiring. I have a difficult time using “just a little” of that stuff!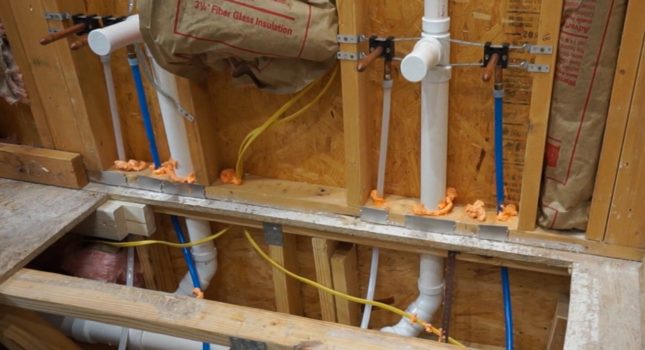
I patched the floors and then measured out where I need my toekick vent and cut that out so I could pull the flexible pipe up and situate it now so I don’t forget and put my cabinets in place and have a very well temperature controlled “engineered web truss between floors” space. I guess that would be one way to have “in floor” heating.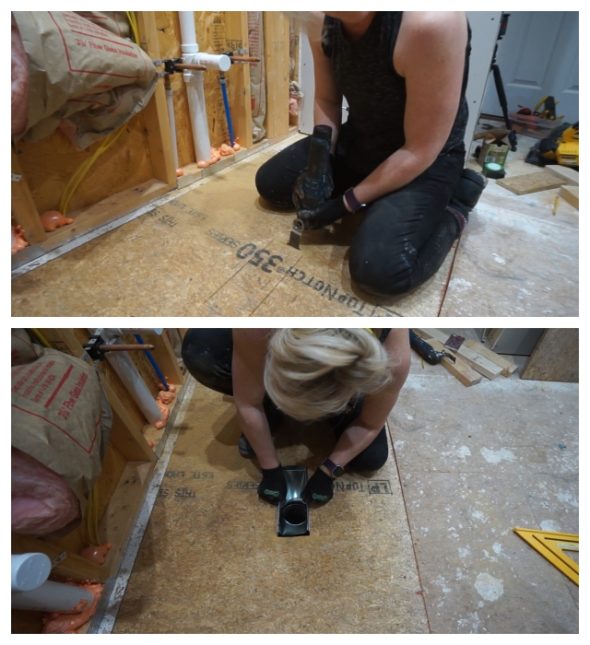
Next I replaced all the insulation in the exterior walls. I cut around the vent pipe and electrical boxes so the insulation isn’t bunched up or smooshed.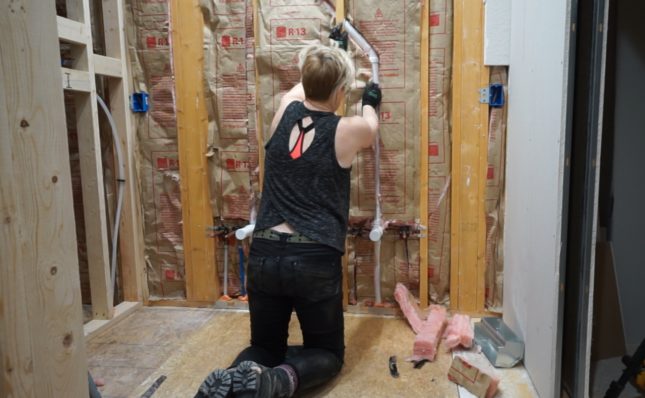
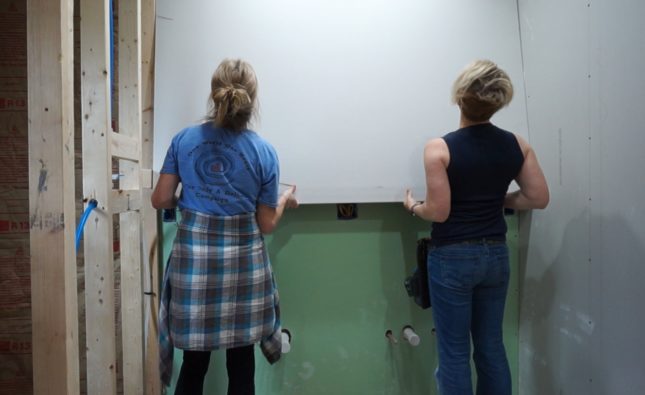
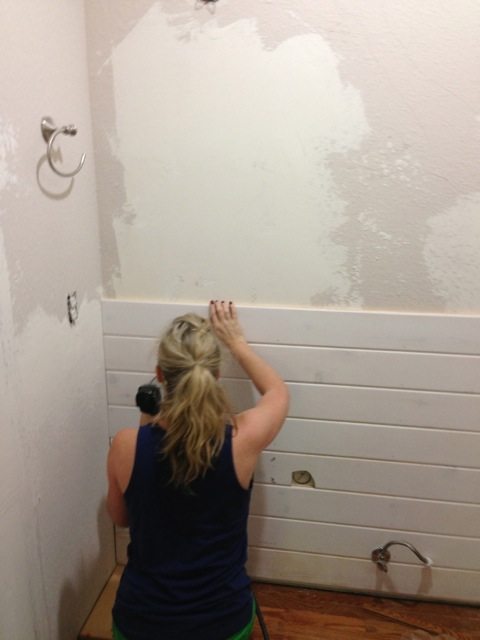
Then I installed greenboard and sheetrock. Greenboard is going behind the sinks and faucets and toilet.
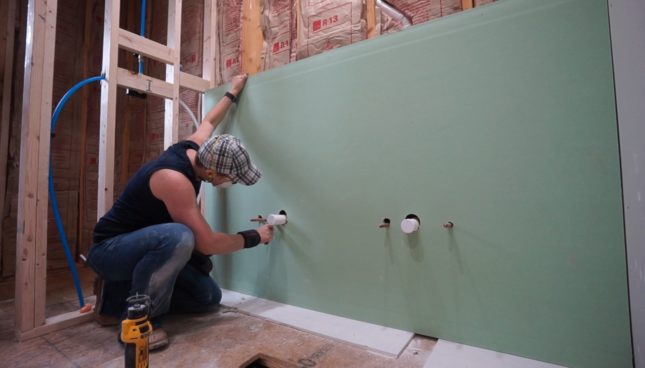
The rest is regular sheetrock.
I bought a new drywall screwgun because the cord on my old one was driving me NUTS. I bought theDeWalt cordless drywall screw gun with a Collated magazine attachment. An investment well worth making!
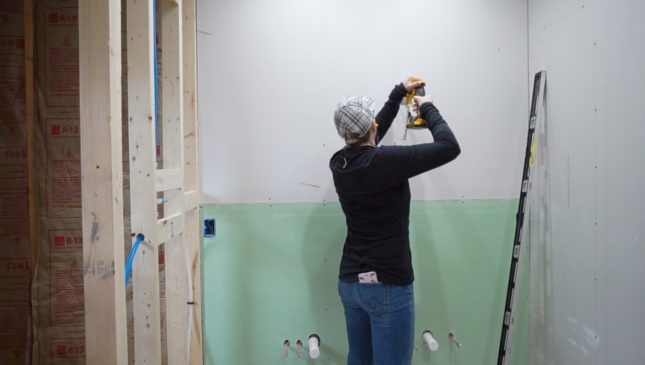
This thing is freaking awesome!
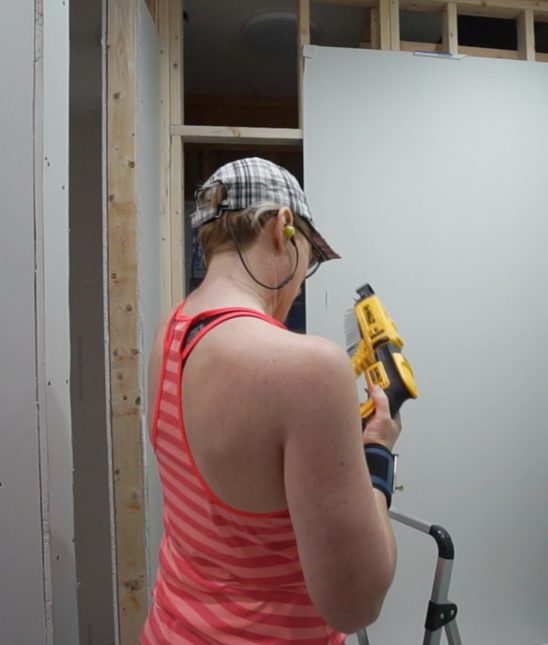
I load a strand of screws, lock the trigger on, and drive screws into the entire wall in about 45 seconds.
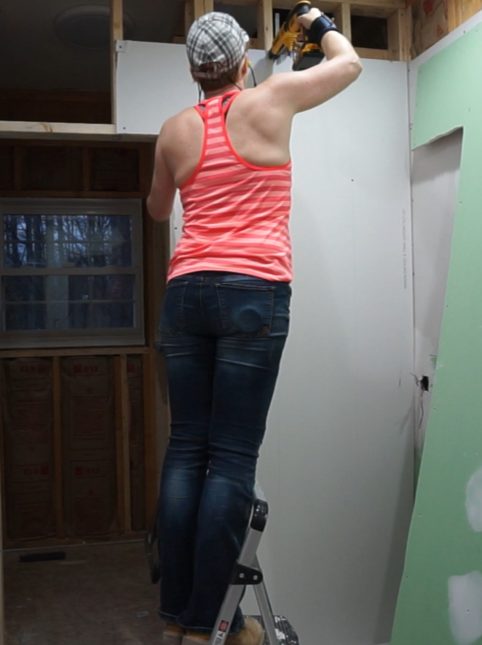
Things were going along great with the sheetrock and my new screwgun…and then I ran into a hurdle. It happens. I framed the last wall for my shower – for the shower door. Then I needed to relocate the ventilation fan because it was no longer centered in the room and it was bugging me.
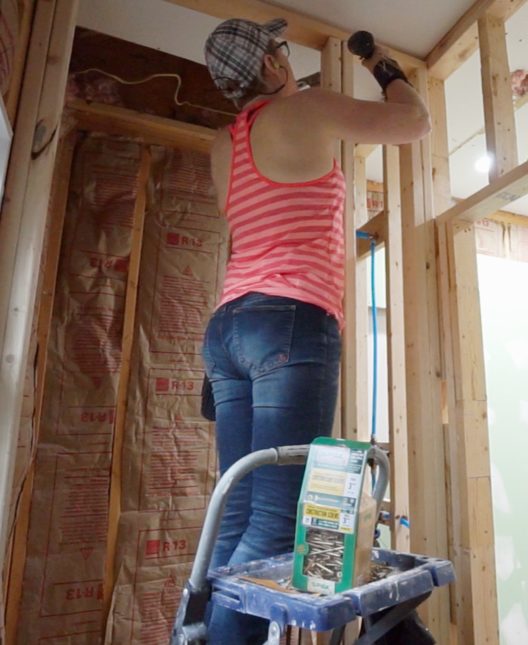
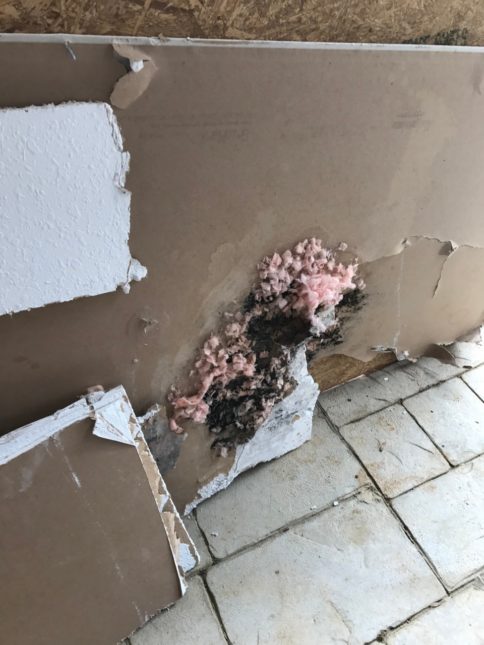
When I climbed up into the attic to remove the screws that were holding the fan to the ceiling trusses, I saw that mold on the sheetrock surrounding the fan. The fan was directly under a plumbing “vent stack” that vents through the roof. That’s not where the ventilation fan was venting- it was venting out through the side wall. But the fan was positioned right under a vent stack. So, I knew that either the fan was creating an accumulation of moisture/condensation or the vent stack was leaking. I first removed the fan, and then tore the moldy sheetrock off the ceiling.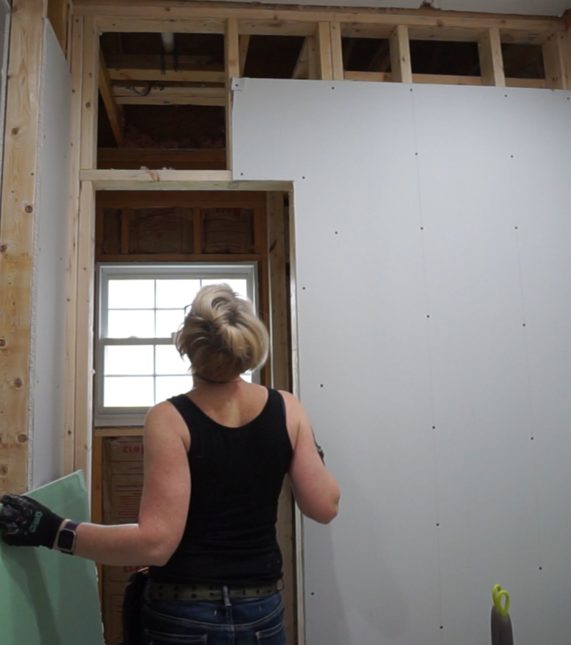
At this point I felt discouraged because this remodel is already a HUGE task for one person and now it just got bigger – but that’s how remodels go. It was just one of those days. I’m so over it now.
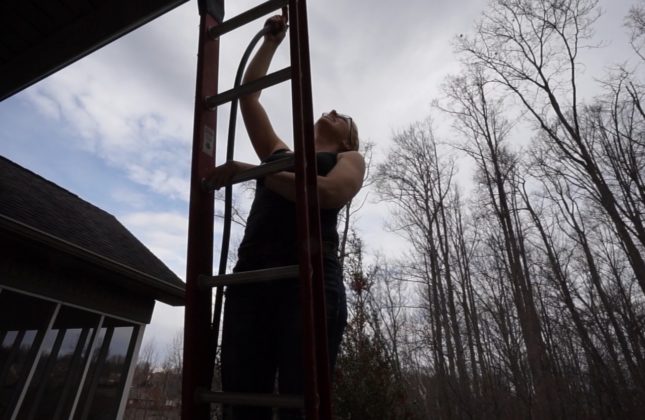
 Luckily Penny was here that day so she helped me set up a ladder and then watched for water “inside” while I sprayed water on the roof, around the vent stack (to simulate a heavy rain). The window was open and Penny told me the water was dripping down to the (newly patched) subfloor.
So, mystery solved, it’s a leaky vent stack! I found a “rain collar” that I’m going to install as soon as it gets shipped because NO ONE has it in stock. It’s supposed to work amazingly and won’t break down over time so I should never have a leaky vent stack again. I bought enough for all my vent stacks so I’ll be trapsing around on my steep roof next week! I might tie myself to something…
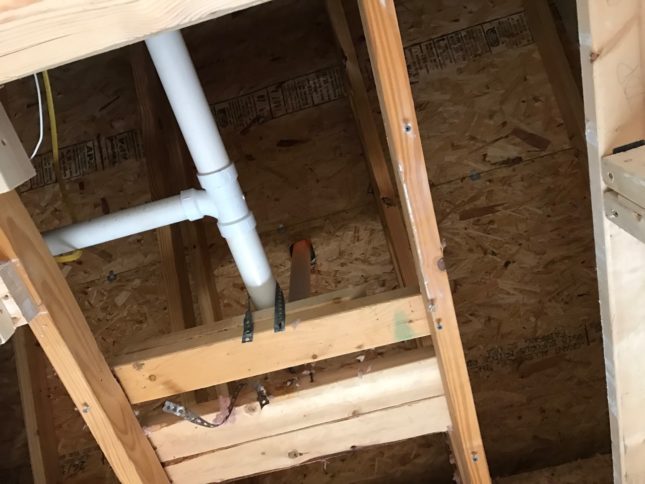
The frustrating thing about the mold discovery (and the cause of that mold) is that leaky vent stacks is apparently the (or one of) biggest culprit in roof leaks. So why do we continue to install vent stacks that we know will (most likely) eventually leak? And if they leak, the leak is happening in the attic so you have no clue that it’s happening until it’s become so big a problem that water finds it’s way through drywall seams or a light fixture…or mold eats it’s way completely through the ceiling! I’m going to find a solution! But while I think about that I’m going to continue to finish hanging, taping, and mudding the sheetrock and moving forward in the bathroom.
Also, I’ve been posting weekly update videos on YouTube. I post every Tuesday so check those out if you like video updates. Here’s the latest…
Thanks. It does take tenacity — if I want something done bad enough I’ll work as hard as I have to in order to get it done!
Thanks. I’ll get there — eventually.
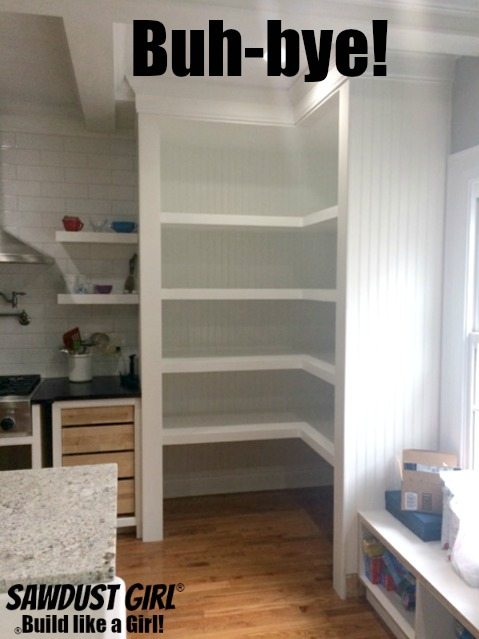
Most of the projects I’ve done in the house are just to the point where they are functional. Doors and drawer fronts still needed in the kitchen, laundry room and master closet. The pantry and library (piano room) are 100% complete though! LOL
Some days I am too tired and not motivated to work hard again. I take days off periodically. 🙂
Well I finally got the rain collar installed and it works! My vent stack was only leaking during heavy rains too but the rain collar worked. I’m keeping a pan under that vent stack though, in case it ever leaks again. Will check it periodically to see if the pan has any water in it.