Installing Drawers with Blum Tandem plus Blumotion drawer slides
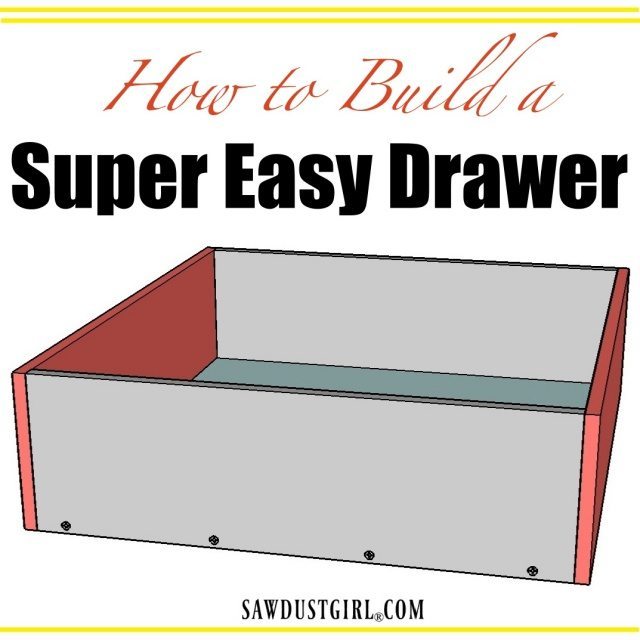
I’m a big fan of drawer storage and I almost always use Blum Tandem plus Blumotion drawer slides. Once you decipher the Blum instructions! -> check out my tutorial for selecting Blum drawer runners, locking mechanisms, and the building the drawer for said items.
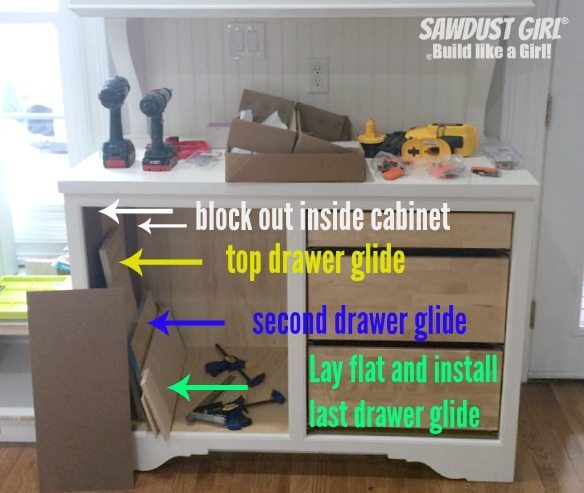
1. Install Drawer Runners in Cabinet
(Tips for inset drawers here!)
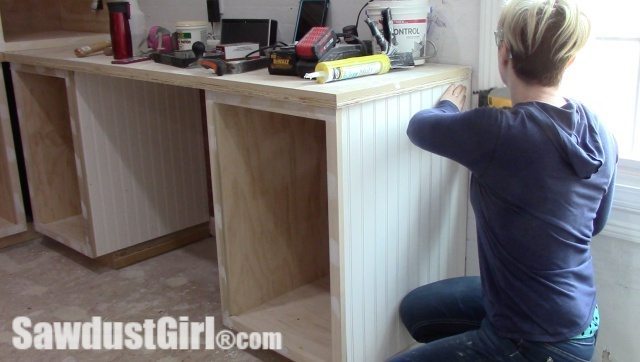
- For cabinets with face-frames you have to block out the cabinet side to be flush with the face-frame. (Or use back brackets if you prefer. I don’t.)
- Cut scraps of wood to support the drawer slides while you install them.
- Cut one board for each drawer slide height. Install the left slide, put the board on the other side of the cabinet and install the right slide. This ensures that each side is in exactly the same location and makes it easy to install multiple cabinets with drawers in the exact same spot.
- Start with the top drawer slide set and move down. (Or the lower slides will be in the way of your boards for the slides that need to be installed above the lower ones.)
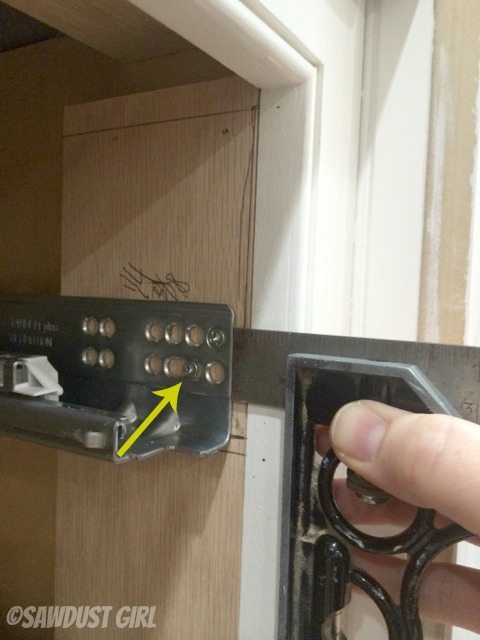
- The Blum instructions say to install the drawer slide 15/16″ behind faceframe for inset drawers, which is what I’m doing. I use a combination square set to 15/16″ to give me an exact measurement every time.
- I loosely install one screw in the slotted hole, hold my combination square in place to ensure my slide is exactly at 15/16″, then tighten the screw.
- For good measure I add another screw above that one!
- Then drive one or two additional screws towards the back of the glide. The instructions actually tell you where to drive your screws if you’re one to follow the rules that closely.
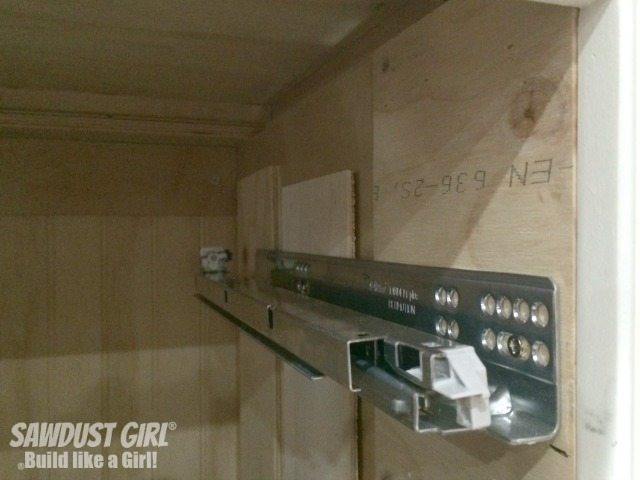
The blocking isn’t pretty but it does the job. I used scraps of whatever wood I could find that would make my cabinet side flush with the beading I added. (Planning ahead would be great but sometimes I just wing it so I do what I have to do.)
2. Install locking mechanism on drawers
After all the runners are installed in the cabinet the next step is to install the locking mechanisms on the drawers. These are installed at the front, on the underside of the drawers. You won’t get confused about which is the front because the back has the notch cut out.
- Set the right locking mechanism in the right front corner of the drawer.
- Drill pilot holes through the two holes.
- Drive two screws into the locking mechanism.
- It doesn’t take much torque to strip out the holes so use a hand screwdriver or a low setting on your driver, if needed.
- Do the same for the left locking mechanism on the left side of the drawer.
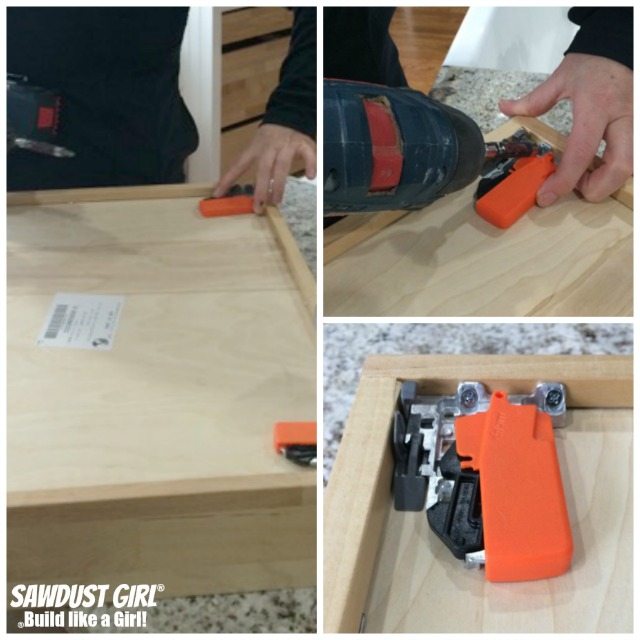
3. Set Drawer on Runner
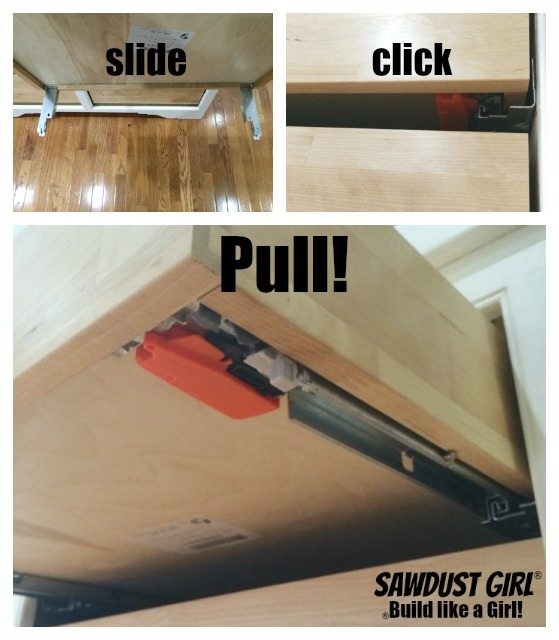
Now all the drawers are ready to be slid into place on their runners. You can do this by either sliding the drawer in place IN the cabinet, or pull the runner open – set the drawer on the runner and then push the drawer closed.
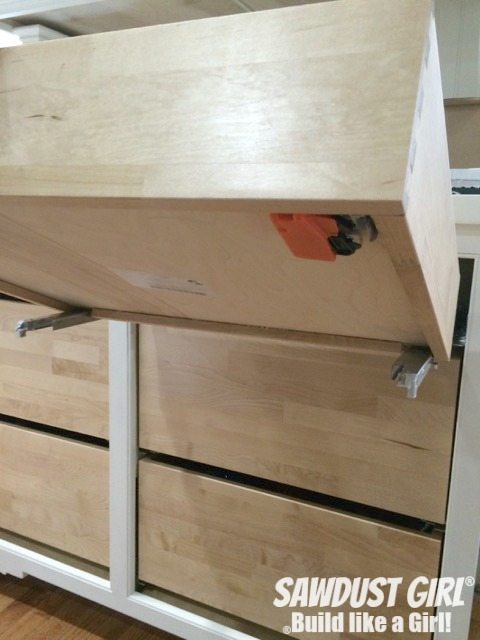
Either way, you need to hear the locking mechanism click – locking into the drawer runner. If you pull the drawer open and the slide/runner doesn’t pull out with it, it didn’t lock.
You can manually pull the runner out of the cabinet and push it into the locking mechanism. Sometimes you have to finagle a bit to find the sweat spot – but once it’s locked it should be good to go.
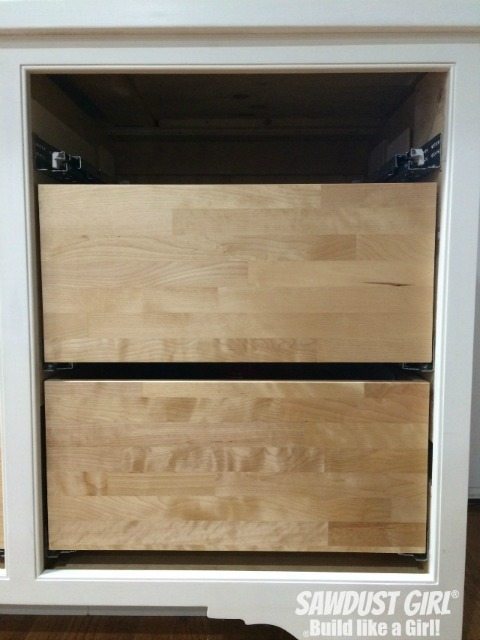
There is a bit of play with these glides so if your drawer and cabinet are not sized EXACTLY perfectly for each other you don’t have to spend 6000 hours, screwing, closing, opening, unscrewing, shimming and starting all over again. If you’ve installed many drawers with side mount drawer runners you know what I’m talking about.
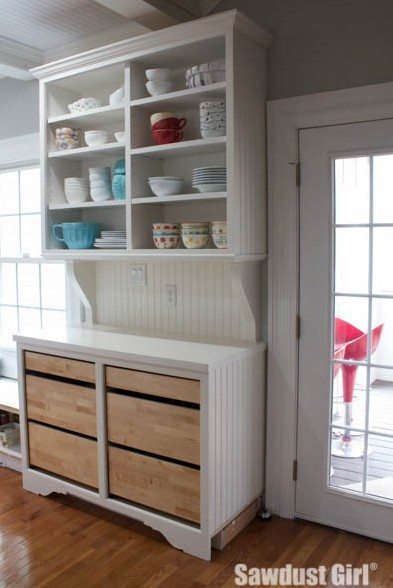
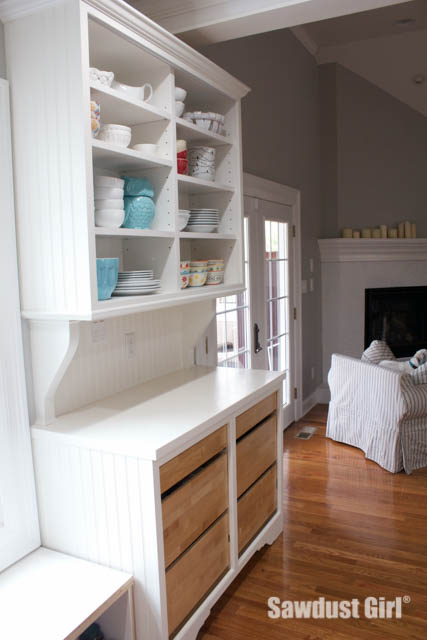
Next task is to add the drawer fronts. After all these years, I’ve finally established the easiest way to do that!
More Cabinet Building tutorials for the additional features on this hutch:

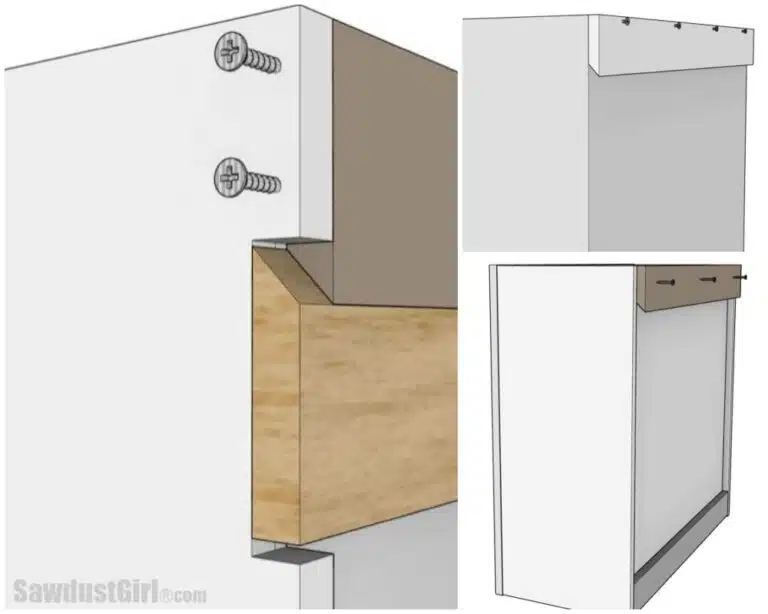
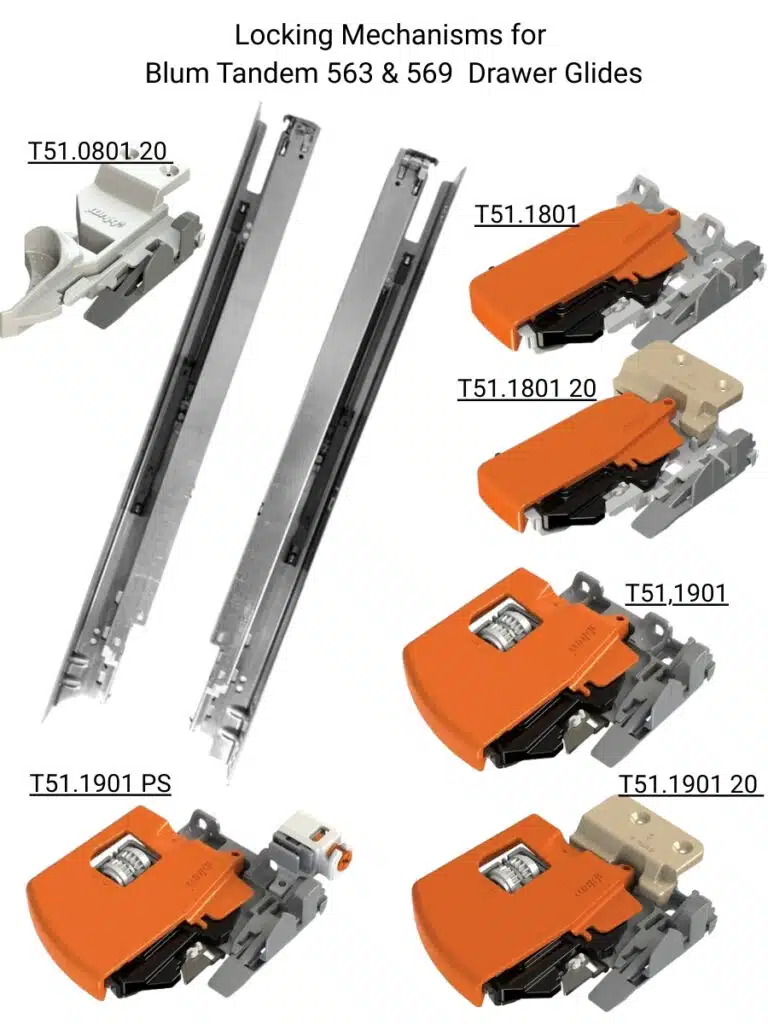
I appreciate the clear explanation of what Blum slides need. Blum makes amazing drawer slides but directions – not so amazing!
How would you suggest blocking out an existing reach in closet (pantry that is about 28 inches deep)? It needs to be blocked out 4-5 inches on each side. This is a typical closet type pantry with a typical builder grade interior hollow core door.
Im using blum tandem box with the metal sides. (These are left over from prior project).
I know blum makes some sort of rear mounting bracket as well. Just not sure best approach.
It might be easiest to build cabinet boxes to put into the closet. Then it’s square and correctly sized.