Installing Decorative Trim in Faceframe Columns
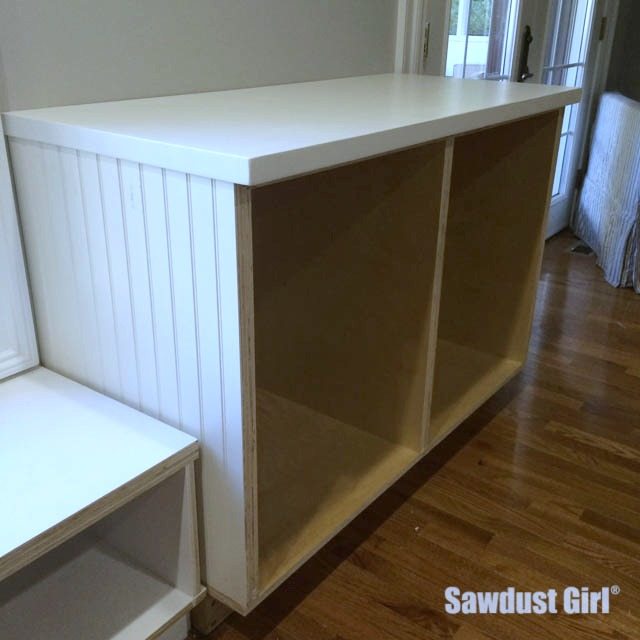
All of the little details in this studio are killing my time frame. One of the details I’m adding is installing decorative trim in all of the faceframe columns. There are two, single sided columns in the upper cabinets and two three sided columns in the bottom cabinets at the end of the island. I’m treating all of the visible sides in the same way.
Installing Decorative Trim in Faceframe Columns
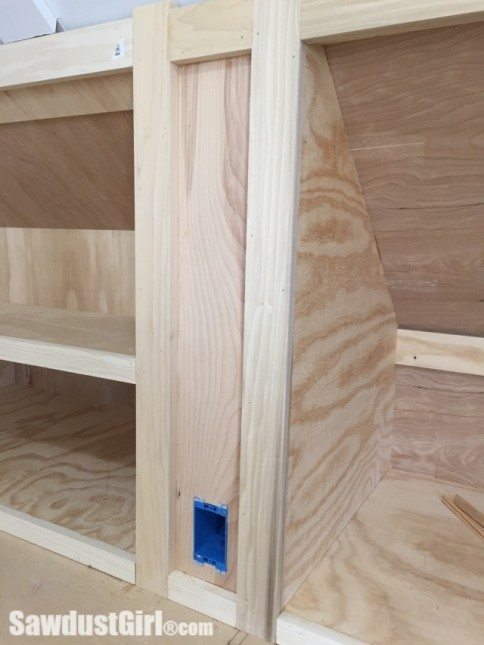
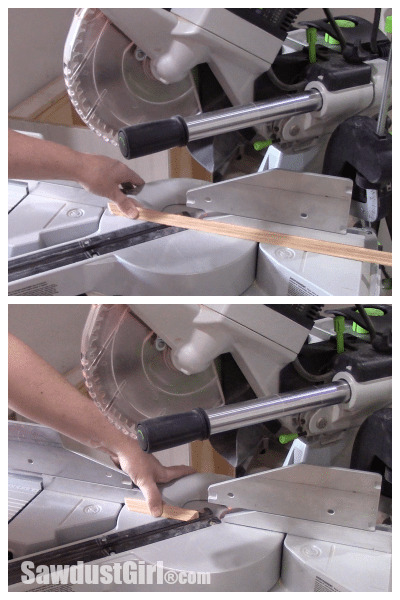
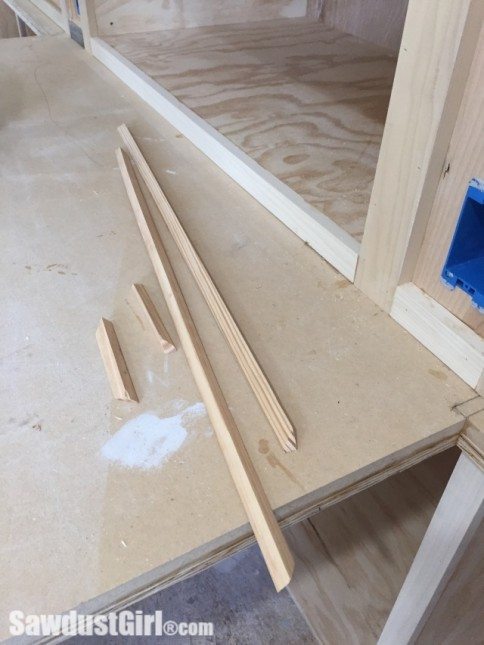
I’m creating a box out of faceframe material, which is 1×2 poplar. Then I’m adding glass bead moulding around the perimeter, inside the box. This glass bead moulding is tricky to cut because the two sides look very similar. I have to make sure I have the correct side laying on the floor of the saw every time. It’s easy to flip it around backwards and then the profiles don’t line up in the cabinet.I cut all my pieces to size before installing them.
Installing decorative trim this small is tricky business. It’s quite flexible so it bends and bows and unless you use 20 nails per side, it’s hard to get it to lay flat. I lay a bead of caulk into the corner of the faceframe where I’ll be installing it.
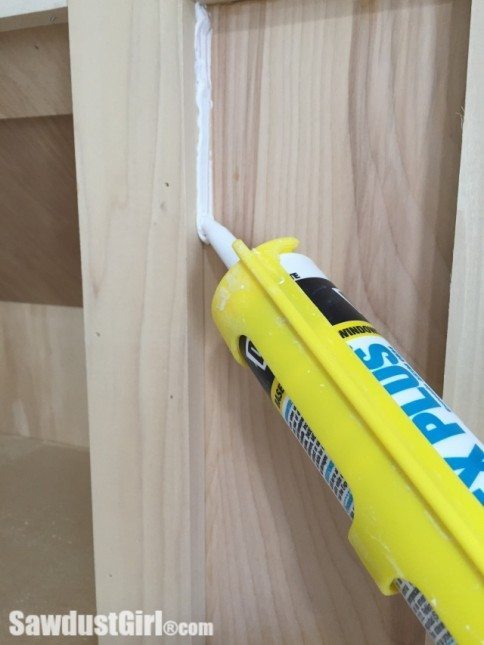
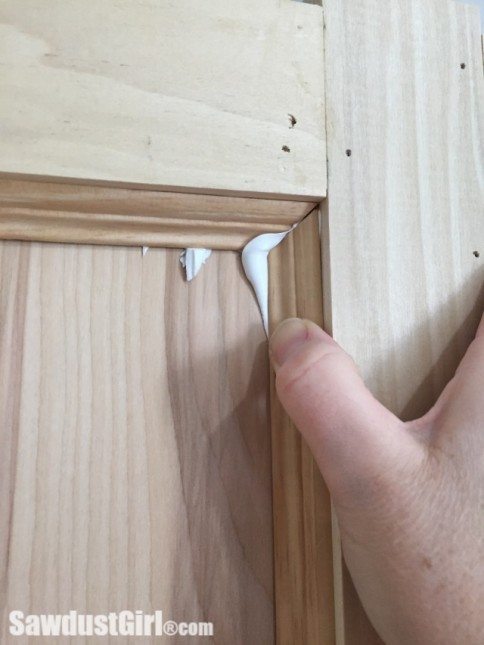
Then I push each piece into place. The excess caulk squeezes out but theres enough caulk behind the moulding to grab it and stick it to flat to the cabinet.
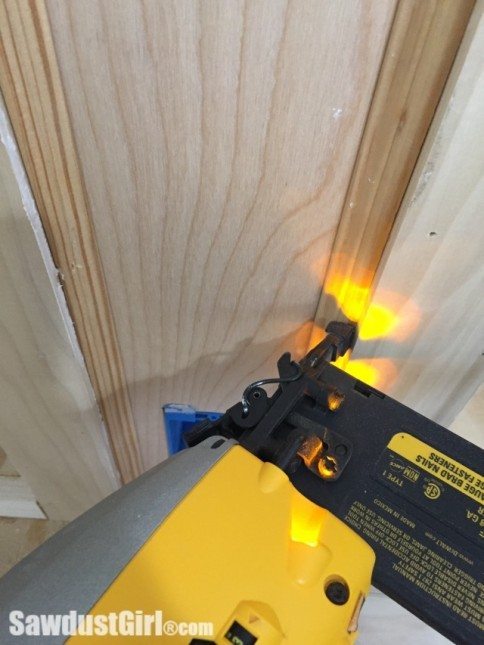
I nail each side of each piece of moulding to secure the joints and shoot a few nails down each side. Thin moulding splits easily if you use too large a nail. I’m using 18 gauge nails in my cordless nailer. These nails are small enough not to split the wood.
The excess caulk can then be used to fill the cracks in the seams.
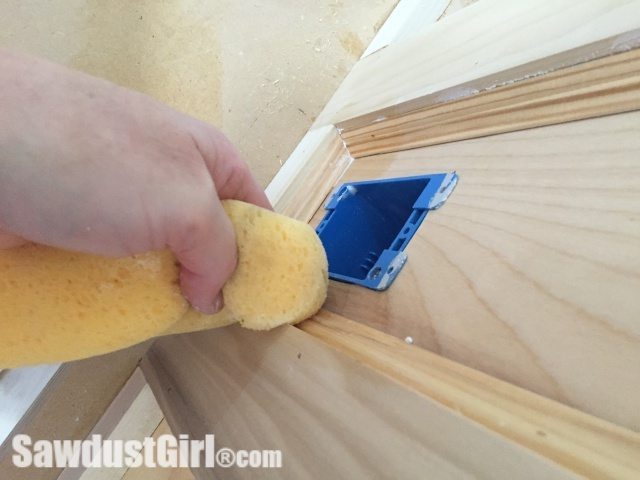
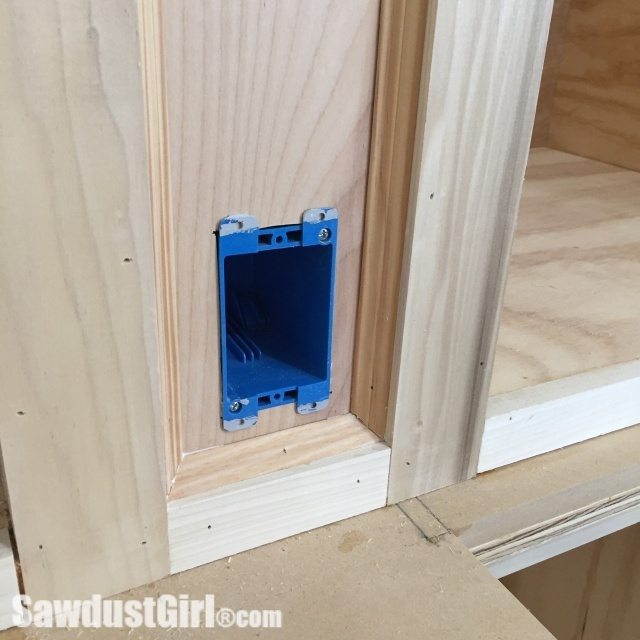
My columns will house electrical outlets so I had to make sure I left room for the outlet cover when planning the whole thing out.
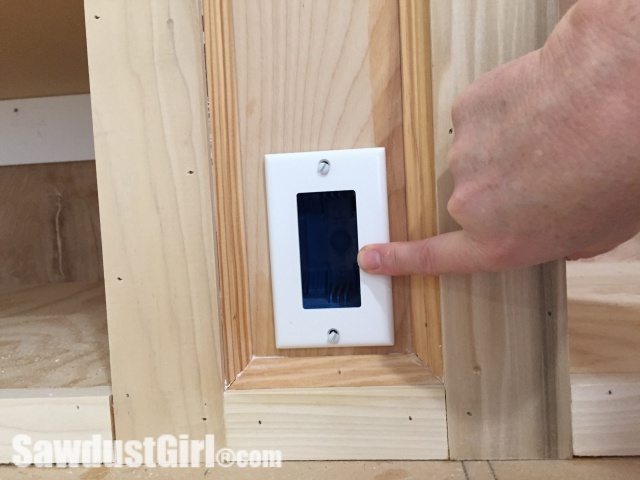
Right now the junction box is empty and it will remain empty until after I get everything painted. I didn’t tape off a couple receptacles when creating my faux brick wall and now I have to replace at least one of them because it’s full of joint compound. It’ll be better if I wait to wire up my receptacles the very end.

Jeana, I agree 100%! So many blogs, those who feel they have to post daily about every little nuance of their psychotic existence, leave me wanting more DIY and less drama! Sandra always delivers and, whether it’s on a schedule or not, I know it’s going to be good stuff. I go through my rss reader discarding a lot of those “daily” posters, but never discard one of Sandra’s posts. Keep up the good work, Sandra. You are an inspiration!
Thanks Tom. I usually buy 1×2 if I can find straight ones in the pile because it saves me time. If you do buy wide stock and rip it down, it exposes the inner grain to a new environment which can cause it to bend,twist or bow so you want to use it right away, after milling to keep it straight.
Thanks Jeana. I have tried to post on a schedule but it just doesn’t work when you blog about authentic work that you are doing. Work gets done and then you blog. LOL I appreciate your encouragement. I would get the best saw you can stretch your budget to fit. If you don’t have room for a big one, there are many contractors saws that are really good. They are portable so you can move them around easily. Most of them don’t have any kind of dust collection which is the big downside. Bosch has a new contractors saw out that has the a break and skin sensor technology which is a great added layer of protection. SawStop also has a contractors saw out too. Most saws available today are tons better than the one I bought 13 years ago so for the money, you’ll get a way better saw.
Amazing work as always. When you are making faceframes out of 1x2s, do you just buy them off the shelf at the big box store, or do you buy bigger boards and rip down to size? I always find that a lot of the lumber is warped at some places.
Of all the blogs I read, yours is the only one where, between posts, I wonder what you’ve been doing and when you’ll post again. I particularly appreciate how you show all the details. I am gearing up to start a little project of my own and will use your blog/blog history as a reference. BTW: For a starter table saw, what do you recommend? It will only be used by me for around the house projects and most likely not to your level of work. Thanks!