Installing Narrow Drawer Fronts
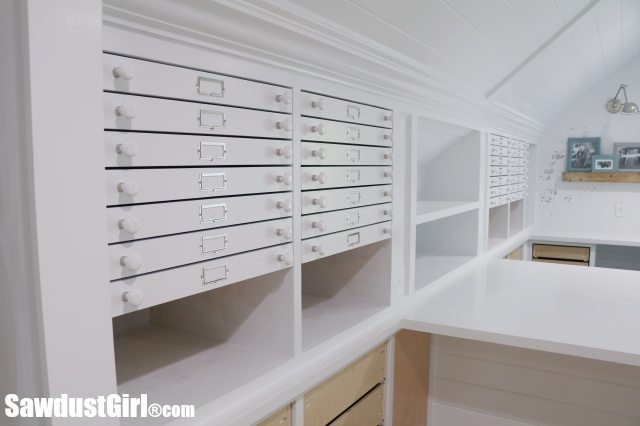
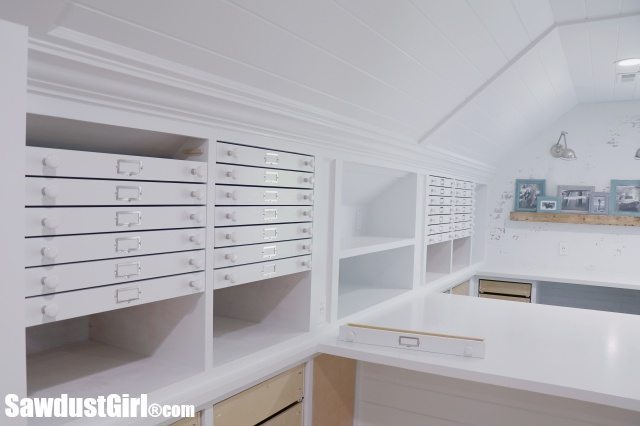
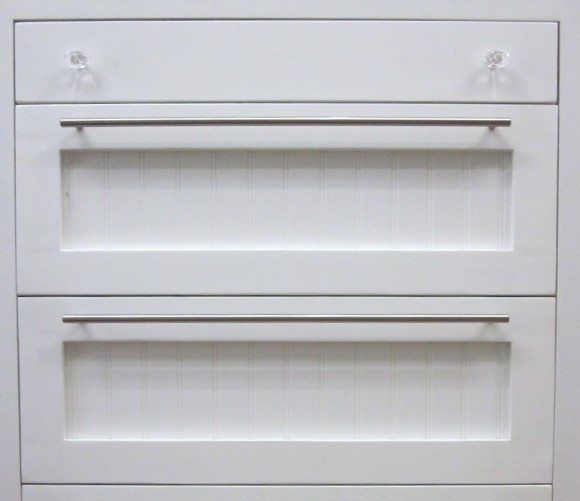
Today I’m going to show you the easy method for installing adjustable drawer fronts that I used on my Studio map drawers.
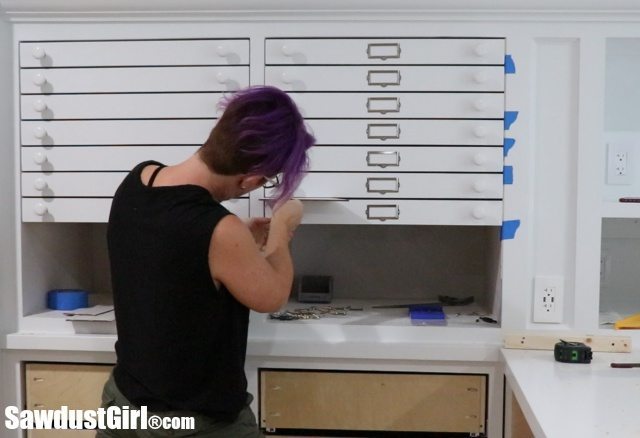
Before Installing Adjustable Drawer Fronts, the holes for the knobs or pulls need to be drilled into the drawer fronts. Personally, I paint my drawer fronts before installation as well.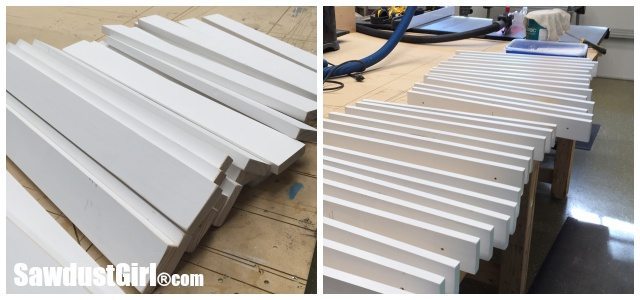
Installing Adjustable Drawer Fronts
I taped a spacer (paint stick) to one side of my cabinet to ensure a uniform gap between the cabinet and all the drawer fronts while Installing Adjustable Drawer Fronts.
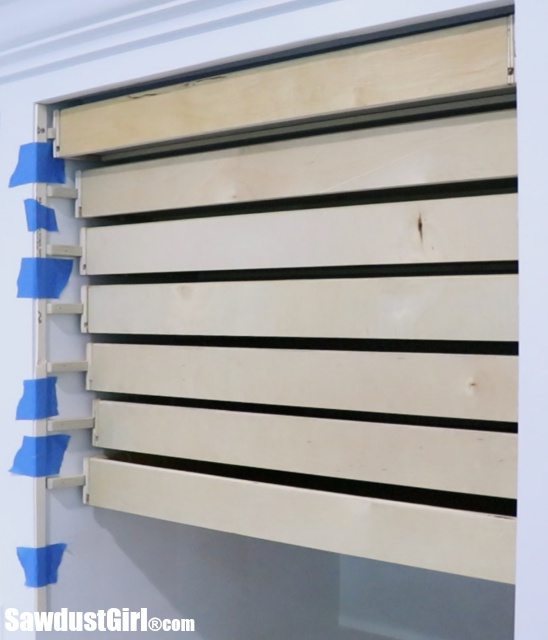
Starting with the top drawer, set a spacer on the top of the drawer front to maintain a gap between it and the cabinet. Then drive screws into the drawer through the holes in the drawer front that you already drilled for the knobs. 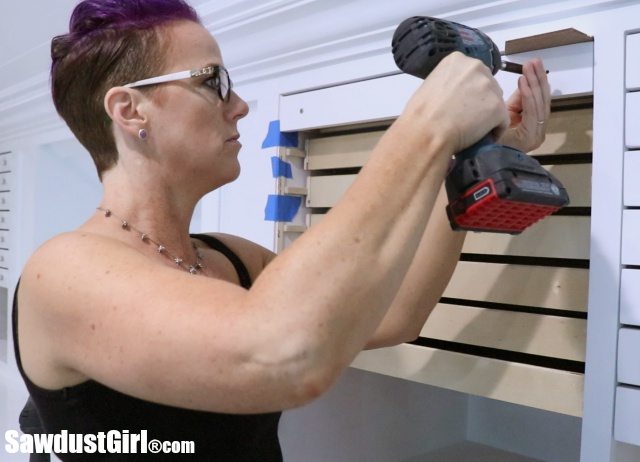
Next, remove the screws and set the drawer front aside. The screws will have made small holes in the drawer and this will show you where your going to drill. Use a larger drill bit here than what you used to drill the holes in the drawer fronts for the pulls. The hole for cabinet pulls is generally 5mm. A 6mm hole in the drawer should create some wiggle room for your bolt without needing a washer to hold the bolt from pulling through the hole.
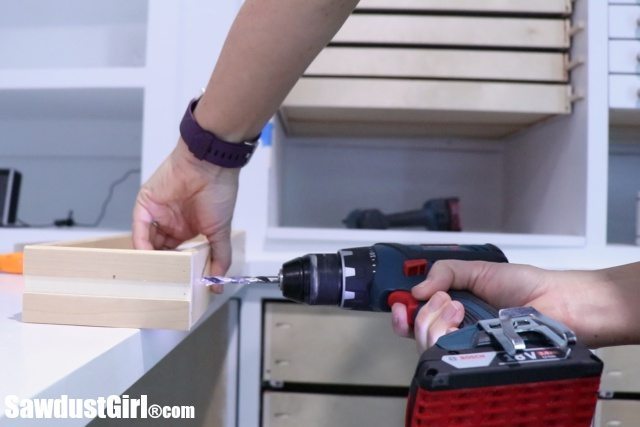
Now put the drawer front back in place and install the knob through both the drawer and the drawer front.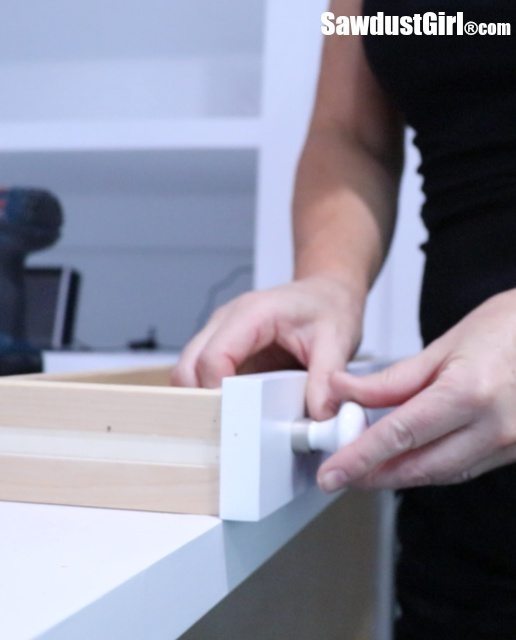
Drawer Front Adjustments
Put the drawer back in place and check your spacing. If it needs to be adjusted, loosen the knob and adjust the drawer front up or down. This is the same concept as using drawer front adjustment screws in additional holes. (Check out this drawer front installation tutorial for more on that.) Only with this method, we are using the knob holes for adjustment.
The larger hole in the drawer is what gives the bolt room to wiggle around until you tighten it. The larger the hole, the larger adjustments you can make. If you make your hole too big, you just may have to add a washer to your bolt to keep it from pulling through the hole.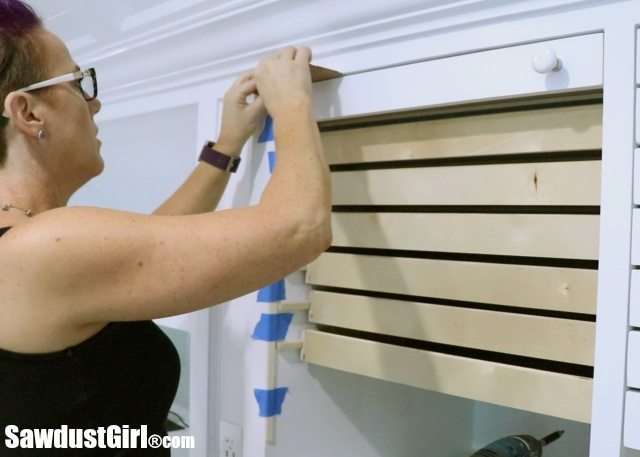
Because you have some adjustability after the knobs are in place, you don’t have to be TOO particular about making sure the drawer fronts are spaced perfectly while you drive the initial screw. If you don’t feel comfortable eyeballing the initial placement, you can to use your spacer.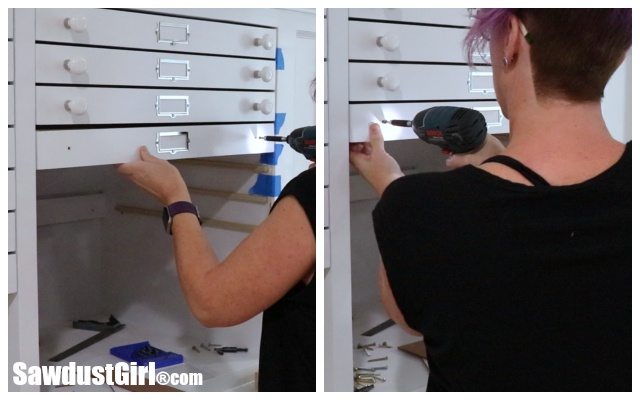
Continue down the row of drawers using your spacer. You can always go back and adjust any drawer front by simply loosening the knob. Once you have perfectly spaced all your drawer fronts, you may want to go back and tighten all the knobs with a screw driver. Just hand tightening the knobs doesn’t always get them tight enough. If they loosen, the drawer front may slip out of alignment.
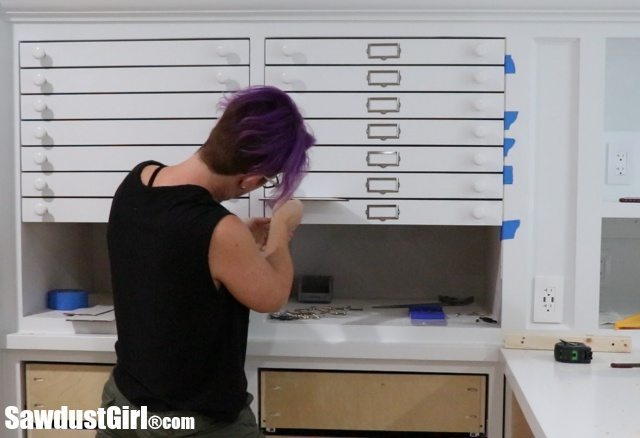
You might even want to drive another set of screws to secure the final placement of each drawer. These would be driven from the inside of the drawer and be just long enough to go through the drawer and into the drawer front but not poke all the way through. The length will be different depending on your drawer and drawer front thickness.

This is ingenious… Thanks for saving me some headaches this weekend!
What an easy way to make the drawer fronts adjustable. Thanks for sharing!
Looking amazing! Such an inspiration, as always, Sandra.
wow i love it
Great set of instructions!
Thanks Nancy!