Installing a Wood Plank Ceiling
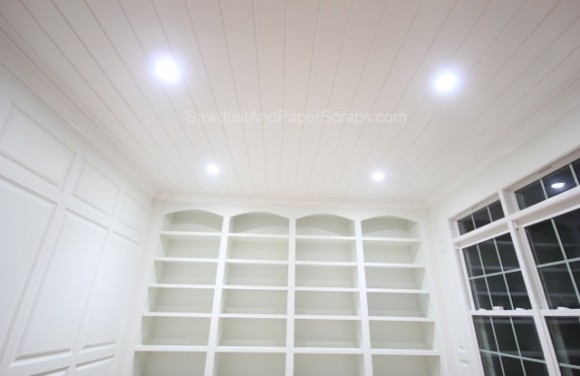
Installing the plank ceiling was probably the easiest job in the Library. I bought wide, tongue and groove, pine planks. They’re beaded on one side and flat on the other so you have two options. How handy! They’re about 6″ wide, 12′ long and about $7 a piece.
I bought mine at Home Depot. I knew I didn’t want to mess with finishing them after they were on the ceiling so I took care of all that business before we installed them.
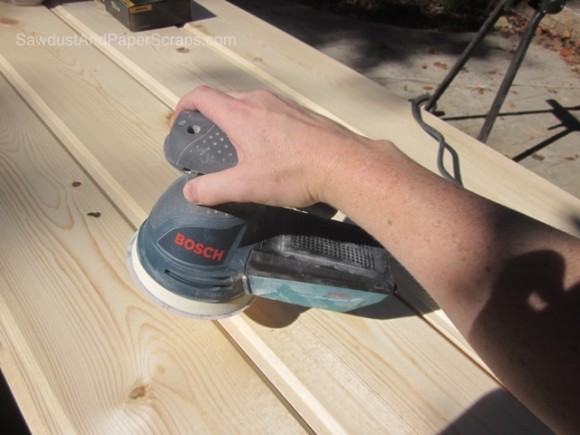
I sanded them smooth. Filled the knots and cracks with wood putty, then sanded again.
Then I primed with Sherwin Williams, oil based Pro Block primer and painted with Sherwin Williams Pro Classic in gloss. Straight out of the can — no tint. I wanted high gloss, crisp, smooth surface on my ceiling.
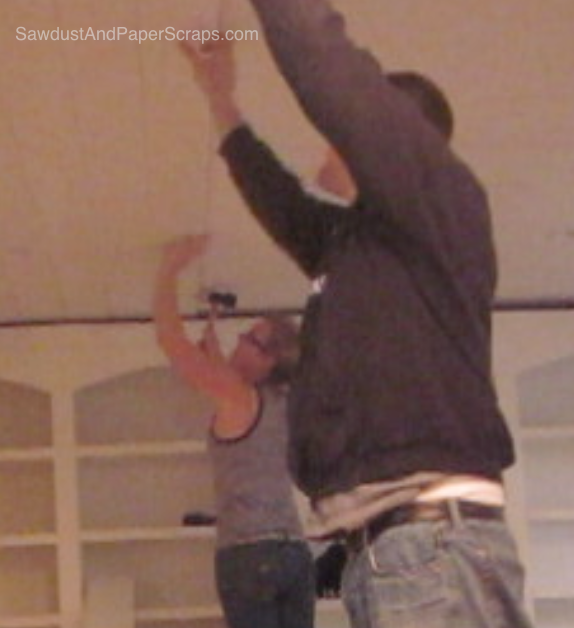
*Installation is definitely a two person job.
Wes and I snapped chalk lines to mark the ceiling joists so we’d know where to nail. Obviously, we installed the planks perpendicular to the ceiling joists so each plank would hit solid wood at several points across the span of the ceiling. We used a 16 gauge nail gun and hit about 7 joists with each plank. I wasn’t sure if I’d need to use screws as well, but I nailed two nails at each joist and felt that was very solid so didn’t use any screws.
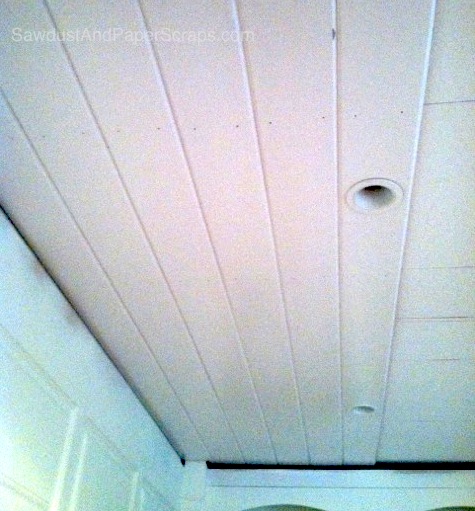
I WOULD NOT install these planks into drywall only on a ceiling. Gravity would surely work against you and at some point cause a problem. Maybe not right away but I just wouldn’t do it.
We used a rubber mallet to tap the planks into place to get a tight joint. Some of the boards were slightly warped and we weren’t able to just slide the tongue and groove together. Sometimes you have to use a little gentle force. 🙂
To cut out the holes for the recessed lights, we held the plank in place and I marked the sides of the cans. Then I measured out from the last plank installed on the ceiling to the front and back of the light and transferred those measurements onto the plank.
I drew a square box to mark the outside of the recessed light hole and then drew diagonal lines from corner to corner to mark the exact center of the light. At this point, you could use a template (just put a piece of paper over your light and trace the shape) and draw a circle onto your plank and cut it out with a jigsaw.
I don’t actually recommend doing what I did because 1. it’s hard on the drill and 2. it’s hard on the circle cutter bit
That said…this is what I did:
I used a drywall circle cutting jig and cut the hole out of my pine plank! It’s soft pine and cut a perfectly sized hole but it IS hard on the drill. Also note that I used a corded drill because I wanted a lot of power and didn’t want to ruin my cordless drill. Like I said, I don’t recommend that method! (But it worked awesome!)
Cheers!

Beautiful, Sandra!! I’m drooling over the library. And I’ve always wanted to plank a ceiling. Hmmm…..
Your library is gorgeous! I love the plank ceiling! You have such talent. I wish I had half your skill!
Have a happy Thanksgiving!
Leslie