How to Bend Moulding
How to Bend Moulding
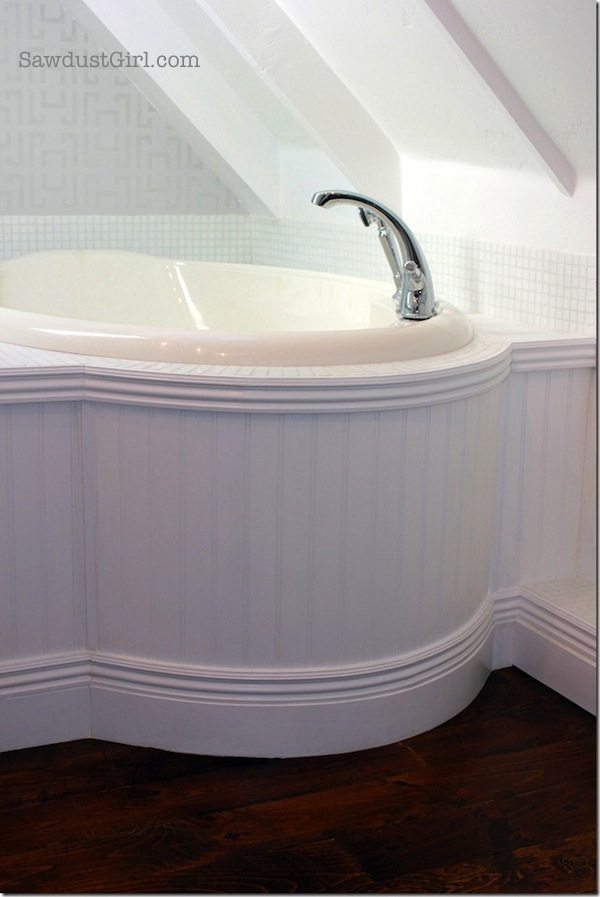
Occasionally, you need to get molding to bend around a fairly sharp curve. Unfortunately the molding profile that you need to match doesn’t always come in flex molding and sometimes the wood version is 1/4 inch shorter than the MDF version, and it’s really expensive to special order custom flex moulding.
How to Bend Moulding
Not to worry, with a couple of hours and a table saw, you can create perfectly (well, perfect enough) bendy molding.
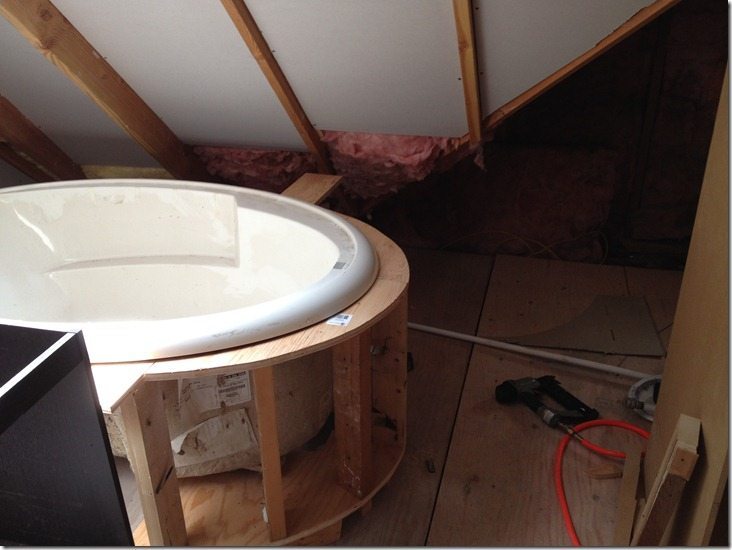
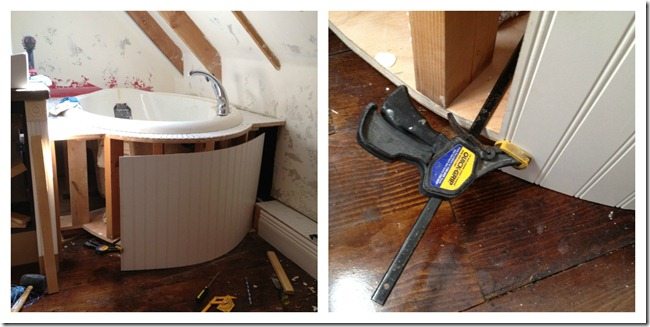
This is a tub surround that I wanted to wrap in bead board, put on base, and then cap with the top piece of the baseboard. It was going to be so simple, a few feet of flex molding wouldn’t cost too much and the added detail of the surround emphasizing the shape of the bathtub was going to be gorgeous!
The bead board went on, no problem. That is when I discovered that there was no flex molding or wood molding that would work. Flex molding, as the name implies, is meant to be bent, and wood moldings can be bent pretty easily if you soak them and are patient, but MDF, its not going to bend past the tiny flex you can feel. I know, I tried! Soaking, steam, gradual pressure, don’t believe everything you read on the internet!
Not going to happen. You can have flexmolding milled to custom profiles, but that is really expensive! So I did some more research and decided that kerfing would be my best option. You can believe some of the things your read on the internet. ![]()
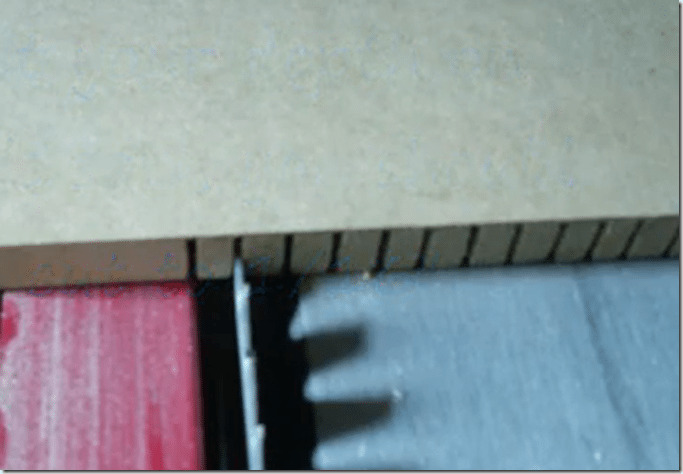
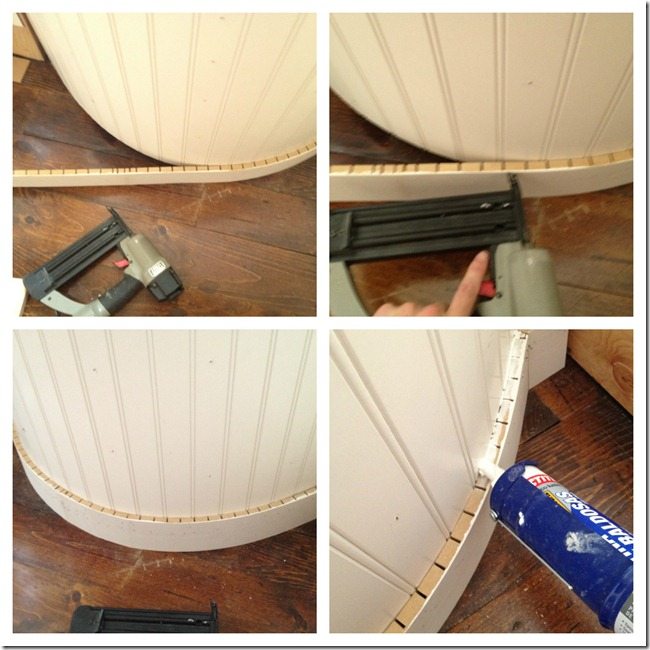
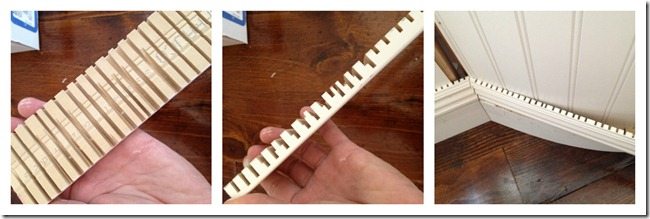
The bottom portion of the baseboard is just a blank (simple rectangle no profile) so that was the easiest. I made kerf cuts every 1/4 inch that were about 1/8 in shy of cutting through to the other side. I used the blade guard as my marker and this allowed me to get really even cuts (great video tutorial if you are interested).
Adhesive, a few nails, and then caulked the top to fill the kerf voids. Things were looking up.
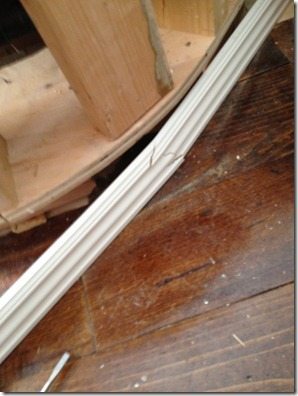
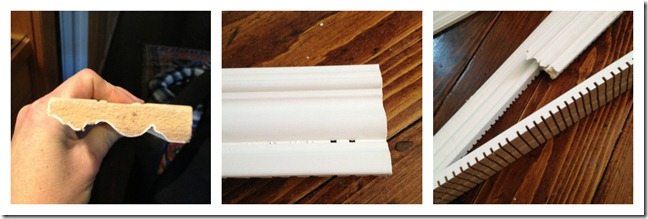
Now for the molding, this was a much greater challenge because the profile doesn’t allow for deep kerf cuts. I made several practice cuts until I found the depth that was as deep as possible without breaking through the profile. This added a lot of flex to the molding, and would work well for a moderate bend, but my circumference needed a lot of flex so when I applied it to the surround it broke.
Back to the table saw, this time I experimented again until I found the depth and distance I could kerf through the thickest part of the molding. Then I clamped a board to the table saw to serve as a stop. and kerfed a second set of cuts this time just through the thick part of the molding profile.
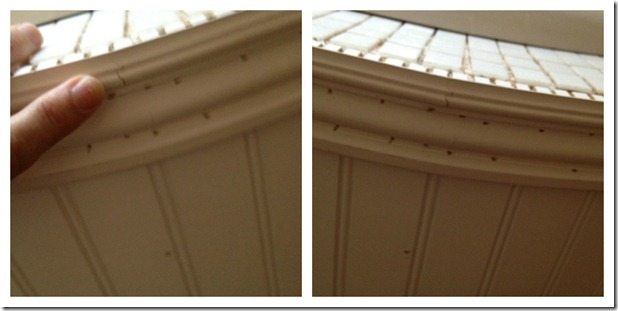
Yay it worked, at least for the most part. I did end up with a few stress fractures where the molding cracked, but since I was filling a lot of nail holes anyway, I just filled and sanded any cracks along with them.
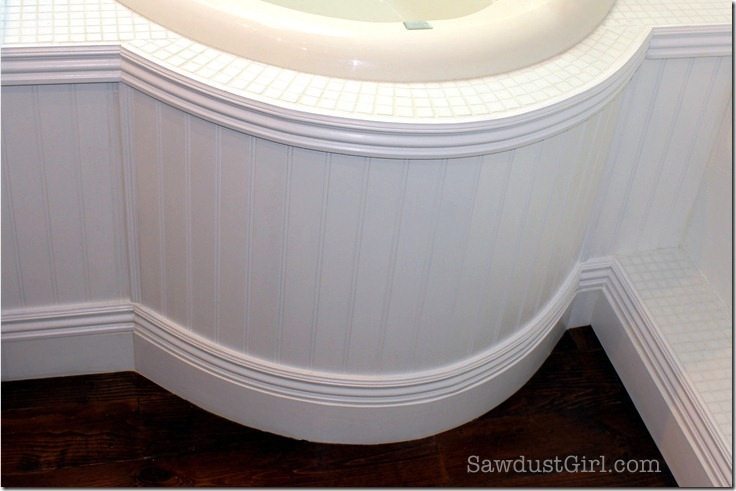
The way that I was able to achieve really smooth results was to fill and sand all of the imperfections until I could no longer feel them (if you can feel it, you will definitely be able to see it). Then primed with a sandable primer, look closely and you will probably find more spots that need to be filled and or sanded. Repeat this process until you are happy, then paint.

So it ended up being more of a pain than I had planned, but I am really happy with the end result. It is a really lovely detail in the room.
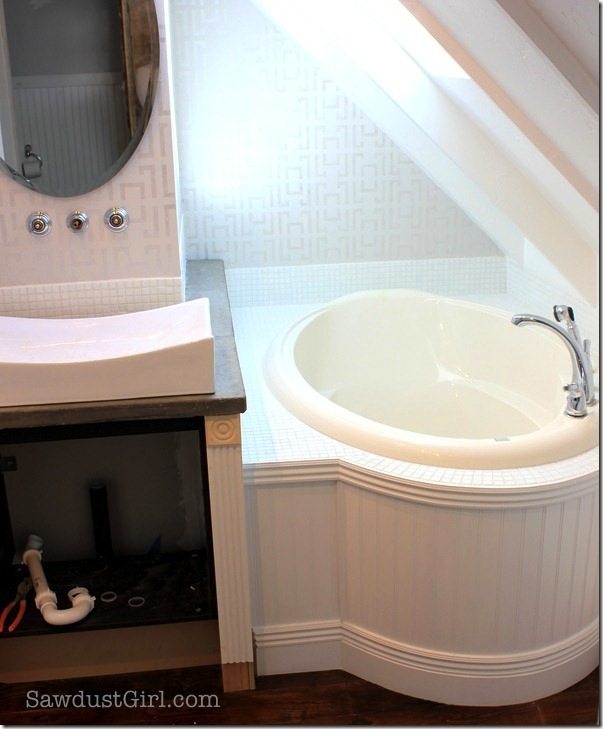
Now I just need to finish installing the sink, finish the vanity and cabinets, hang mirrors and fixtures, final coat on flooring, caulk…….
Yes, there is still a lot to do but it’s looking gorgeous so far. In case you want to tuck this little trick away in your future “to-do” file, here’s a cute little Pinable pic.
Feel free to share. 😉
Thank you! You solved a design issue we had on the bathroom crown molding on our 1888 farmhouse renovation.
that was AWESOME! such a great tutorial to take our woodworking to the next level!
Great work! Love a well finished, polished-looking, final product!
very nice. You’ve discussed how to bend a moulding when the curve is convex. How would you do it if the curve was concave?
I went to college for carpentry/finishing and I never learned this! Very helpful. I am so glad to see another DIY Woman… 🙂