How to make a Pull-out Sweater Drying Rack
I shared an update of my laundry room pullout sweater drying rack on facebook this week and WOWZA, people get excited about storage saving drying racks! LOL It’s really an easy project. You just have to plan ahead in your remodel so you have room for some hidden pullout drying racks –somewhere. You could do this as a top drawer in a cabinet as well. I just had some space above my washer and dryer so that’s where I did mine.
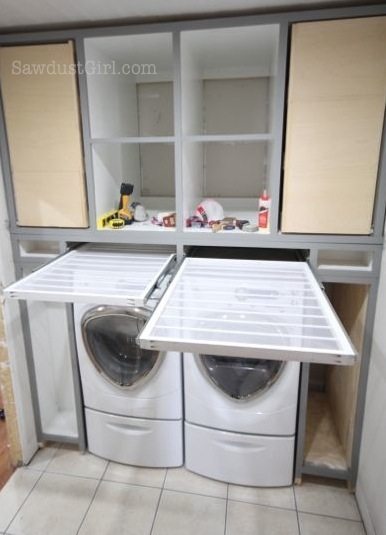
Sweater Drying Rack
Speaking of spaces and where to put a drying rack, I built a wackadoodle bottomless and topless “frame” for mine. Cubbies on the sides and a frame for the drying racks. I won’t include instructions for this because it is completely specific to my own space.
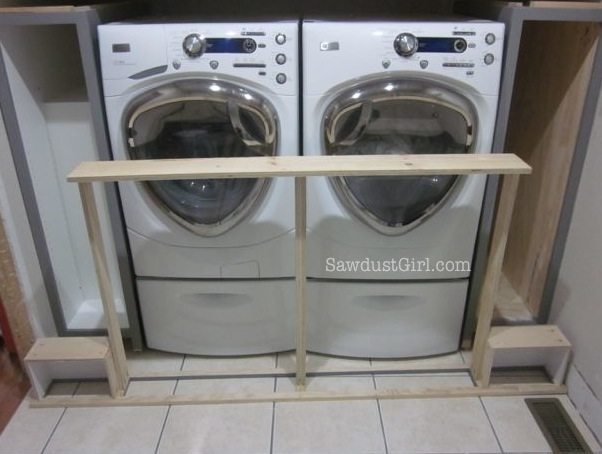
The idea can be used anywhere you want though, really. Just build your outside case to fit your rack plus drawer glides. (All drawer glides have their own requirements for installation and clearance so I recommend purchasing your glides before you build.)
Materials I used for MY sweater drying racks:
- 1×2 pine (for my 36″ deep drying racks I used 2 @ 36″ and 2@ 24″)
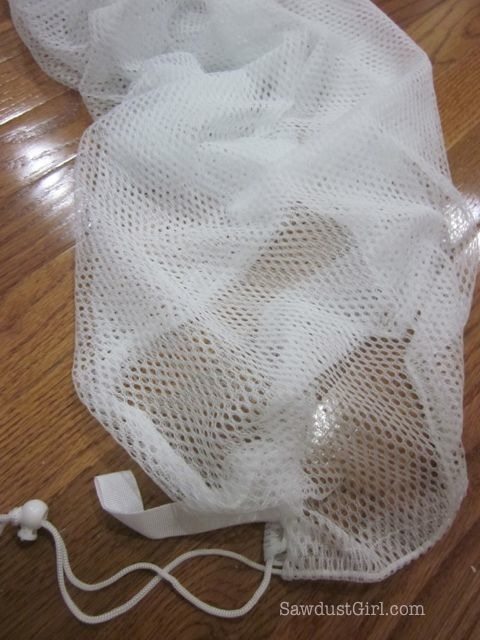
- $1 store netted laundry bags (one per rack)
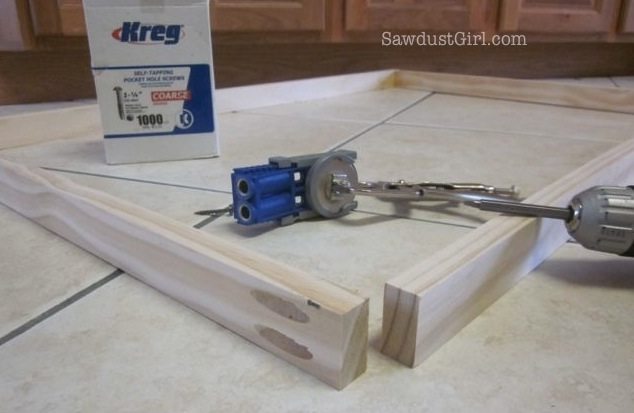
- pocket hole screws
- 5/16″ wood dowels and matching drill bit (I used 11 dowels per rack)
- 36″ drawer glides (Because that’s how deep MY space is — 24″ is more common and less expensive)
- 1/4″ wide x 1/2″ tall strips of scrap wood. (I used hardboard)
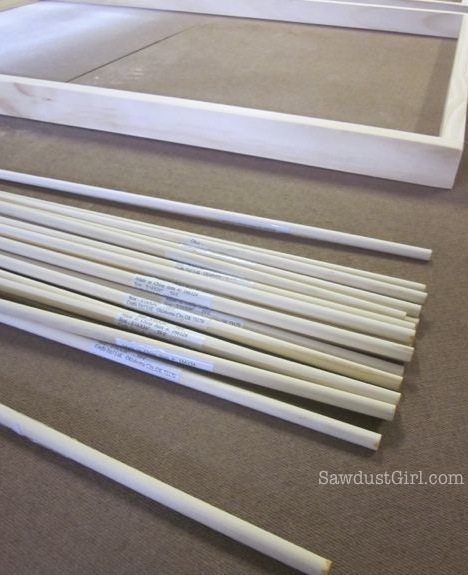
OK, let’s DO THIS!
I wanted my total length to be 36″ so my sides are 36 and front and back are 24, attached INSIDE the “sides” so the total width is 25 1/2″ (Because the sides are 3/4″ wide each.) You’ll have to make adjustments according to the size of the space you are building for.
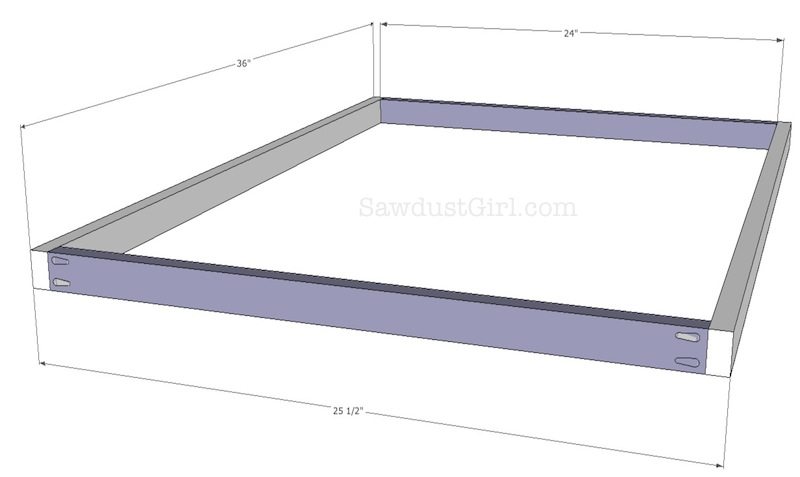
I built my frames (no glue) to check fit in my “cabinet/frame” and then painted everything including all my dowels before final assembly.
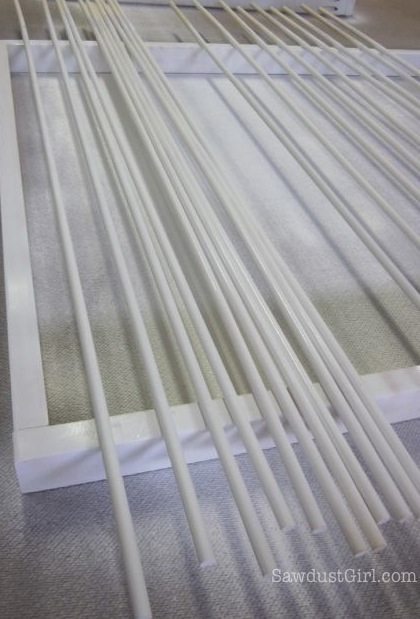
Assembly:
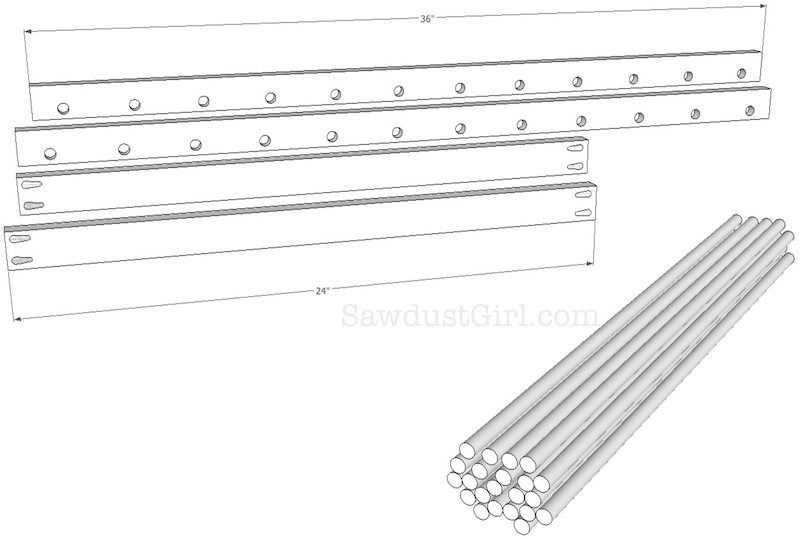
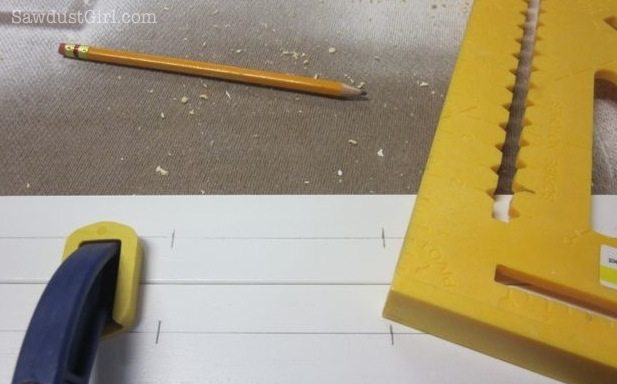
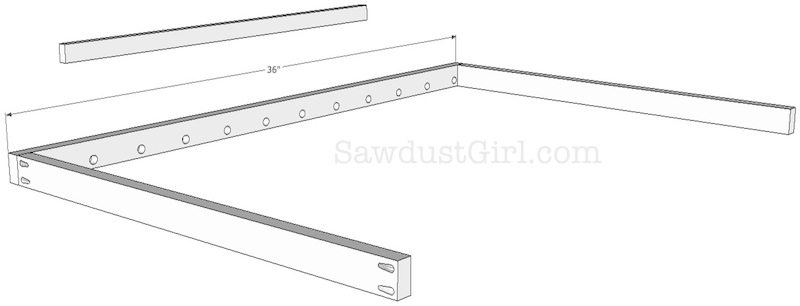
- I measured and drilled 11 holes 1/2″ deep, 5/16″ diameter holes into each of my side pieces. (I allotted 3/4″ space for the front and back and spaced them about 4 1/2″ apart.) (Create a stop block for your drill bit so your holes are all exactly the right depth.)
- I drilled 2 pocket holes on each end of the front and back pieces.
- Cut all your dowels the right length. If drilling 1/2″ holes, you’ll add 1″ to the width of the inside of your assembled frame.
If you intend on using your racks for hanging instead of laying sweaters or shirts on top, you’ll need to use thicker, stronger dowels. These are great when the weight of the item is dispersed across the entire surface of my drying rack but a single dowel is not strong enough to hold – say a pair of jeans. (Plan ahead for how YOU want to use your drying rack.)
Attach ONE side to the front and back piece.
Then insert the dowels. You might use a little glue. I didn’t and getting the second side on was DIFFICULT. 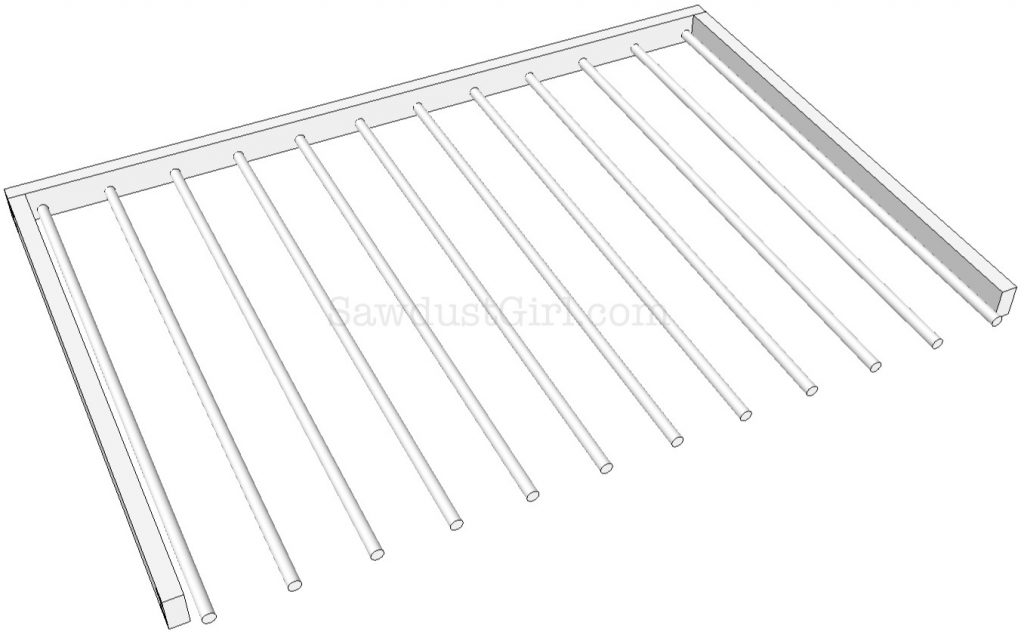
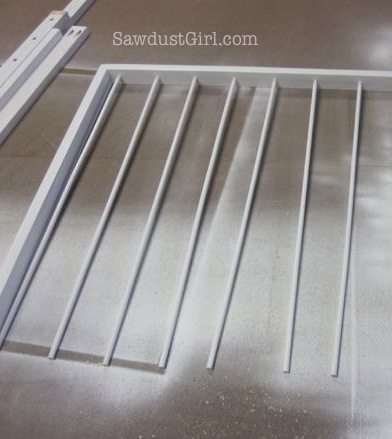
Now attach the second side. This part is tricky becuase you have to get all the dowels into the holes while not letting them come out of the holes on the other side — which is why glue is probably a good idea).
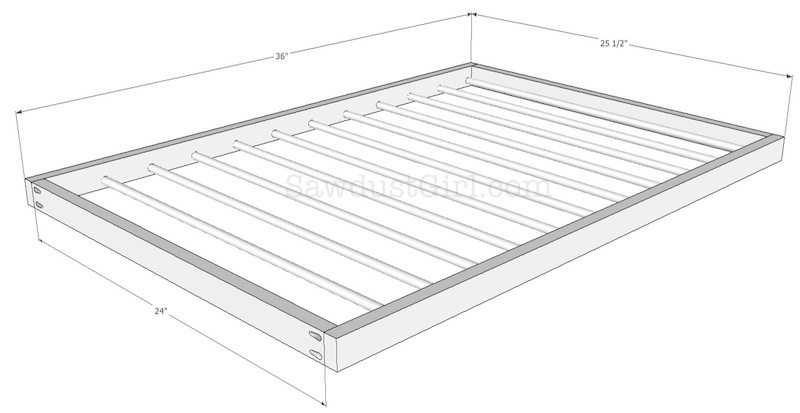
Now, if you want a hanging drying rack, you would stop here. (And you would have used stronger dowels than I did! 🙂 )
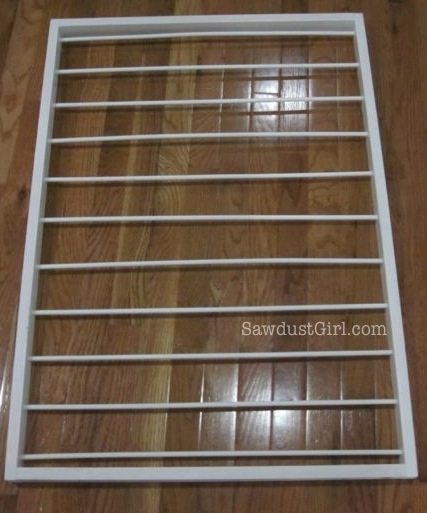
If you are making a sweater drying rack, you may want to add netting. I did this because my racks are above my washer and dryer and in the event that I may want to dry something small (like cashmere socks…or a b– well just something small) I don’t want there to be any possible way for said item to fall behind my washer or dryer. ‘Cause THAT would be a pain!
To add netting, I cut 1/2″ wide strips of 1/4″ hardboard to secure the netting to my frame.
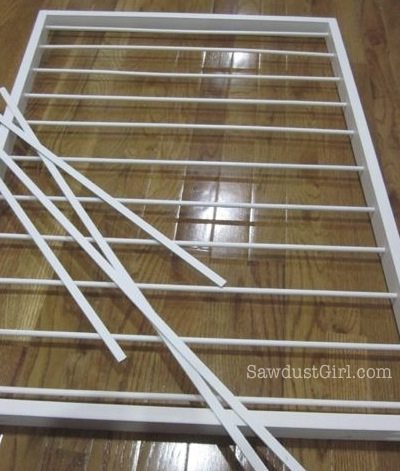
I cut my dollar store net laundry bag so it was no longer a bag…
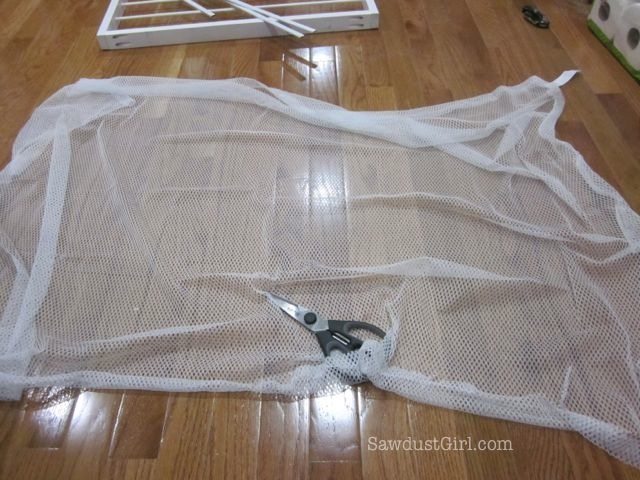
The I stretched it over my frame. I did this by stapling holding the netting in place with one of my thin strips and stapling through both the wood and netting. I secured one “side” then the opposite “side”, then did the front and back. Pulling, stretching and stapling as I went.
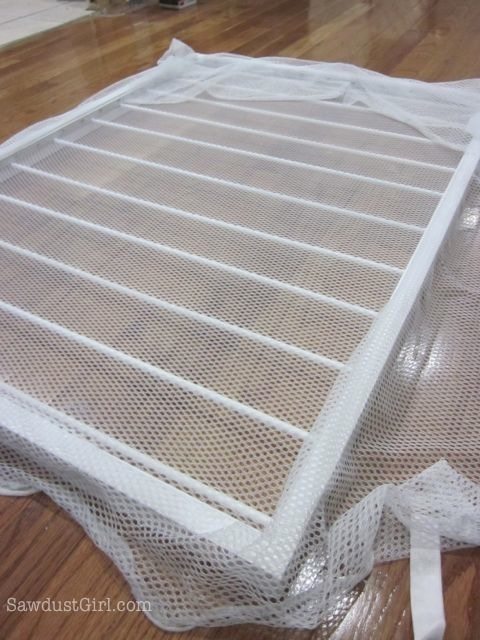
I cut off all the extra netting with a sharp utility knife.
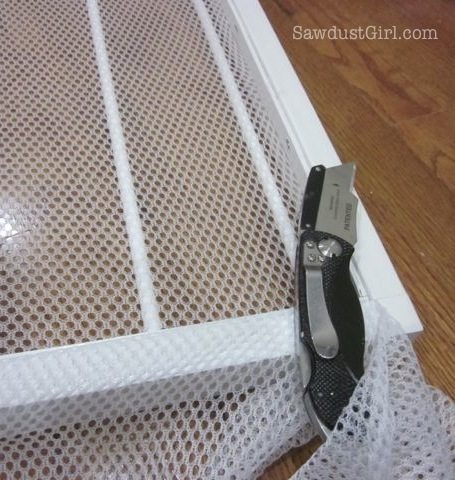
Close up of what that looks like. Nice and Clean.
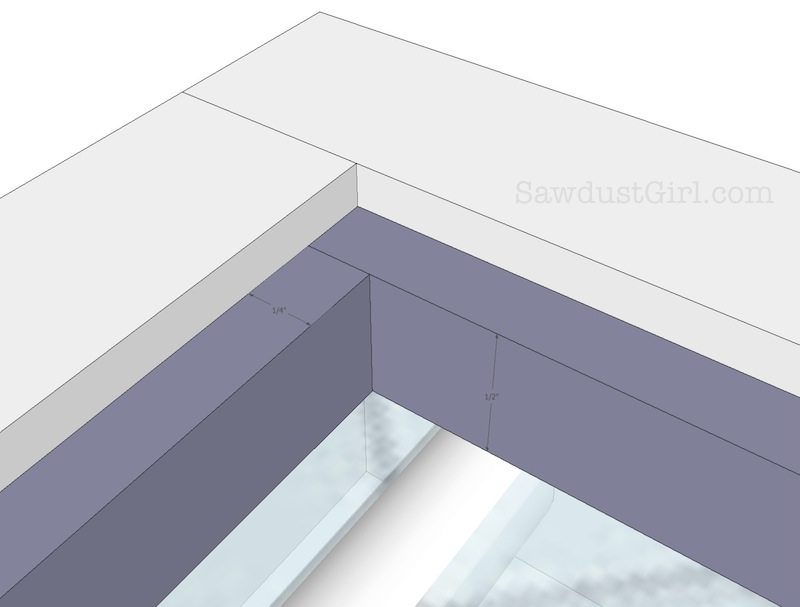
Now, depending on your specific drawer slides, you install. My drawer glides required 3/4″ of space on each side. Most standard drawer slides require 1/2″ which is why purchasing your hardware first is a really good idea. I installed my drying racks. (Had to make adjustments on the first one three times…so don’t think it’s just you that has those issues!)
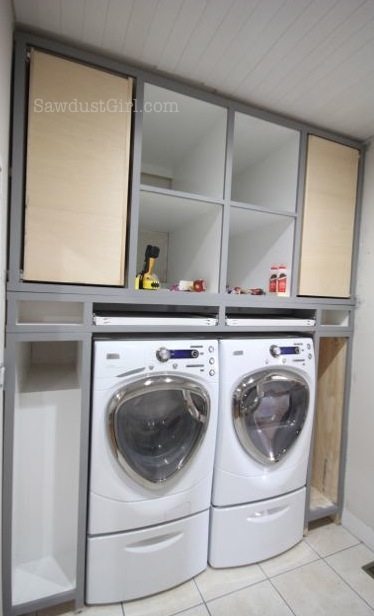
They glide beautifully!
My drawer glides hold 250lbs so they’ll hold a heavy wet sweater — no problem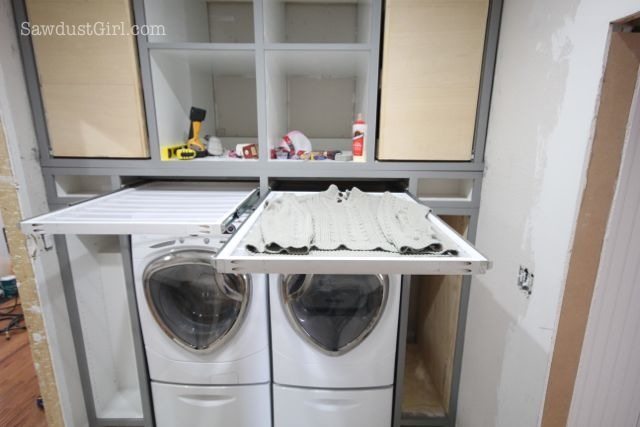
AND, because there is no top or bottom on my “cabinet” frame, and I have about 8″ of space in the cavity (under the platform and below the drying racks) I can push the racks IN and out of the way WHILE they dry my sweaters. And the dryer warms the space up –helping with the drying.
It’s a pretty cool feature that I’m SUPER excited to use. Currently I dry our sweaters on a towel laid out on any clear surface I can find. Or often hang them over a chair in the dining room.
So much left to do and these tricky projects that I have to “invent” as I go take so long…but when they turn out they are worth it! My pullout pantry storage shelves are great but I’m scraping an ironing board project I had planned. It’s just TOO complicated. I’m ready to move onto something easy. 🙂
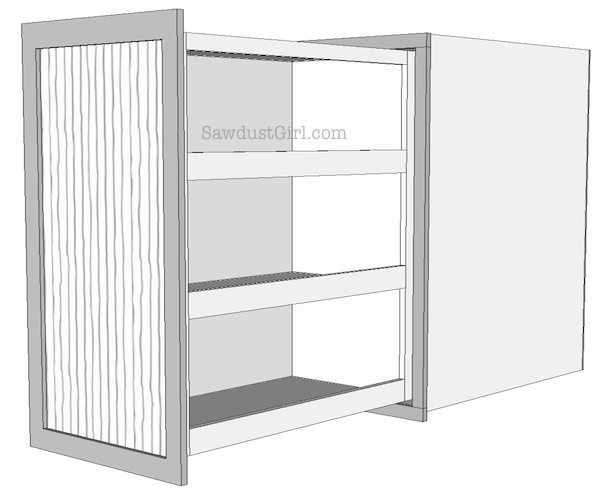
If you enjoyed this tutorial, you might also like: How to build a pull-out pantry storage cabinet.


Hi !
I jut found this post and It’s exactly what I was looking for, I love it. I
M wondering thought, how did you join the structure together ? Did you nail or them or use a hinge ? I‘d to make this myself but as a wood diyer beginner, I’m not sure how to proceed. Thanks !
Fanny
great work and thanks for your great idea!
You really are a genius! Thanks for this brilliant idea!
Awesome design. How many hours did it take to make 1 rack?
It’s been a while so I don’t remember. Not sure how long it took ME would translate to how long it would take anyone else. I’m guessing an hour or two.