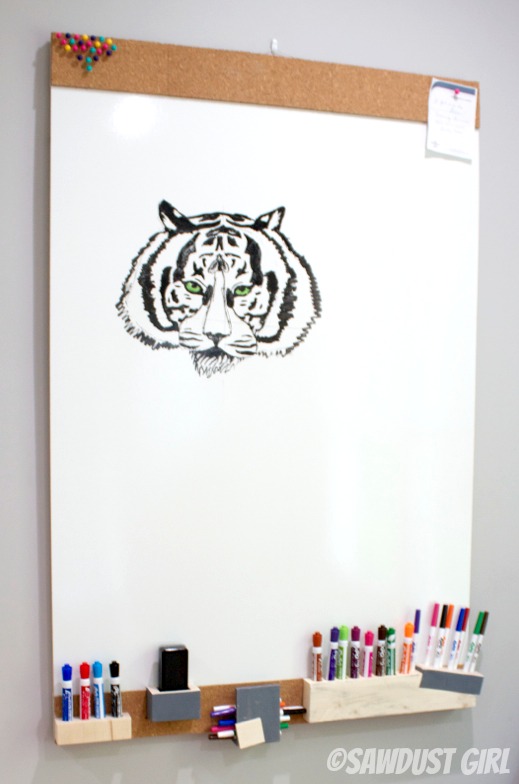
So my latest project has been that of particular interest to Maddie, which if you see that beautiful drawing of a tiger, that would be my amazingly talented daughter’s handywork. This whiteboard is such an easy project that Maddie could have done it herself, if she wasn’t such a teenager, which is her excuse for anything she doesn’t want to do. LOL JK (no seriously)
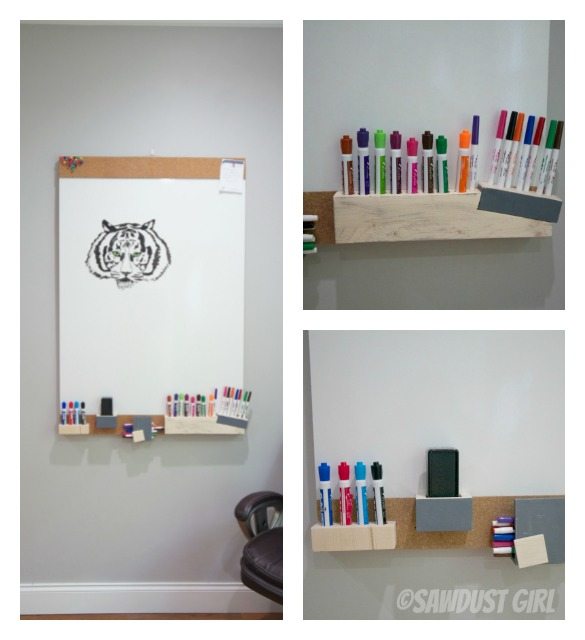
Anyway our family is kind of unique. We are whiteboard addicts. I guess. We can’t seem to communicate plans with each other without drawing graphs, diagrams and storyboards, etc. Or maybe we all just think they’re fun — but for some reason we have a lot of them. I didn’t have one in my office though and I didn’t want just any ‘ole, store bought whiteboard in my office. Honestly, I wanted a pretty large one and I didn’t want to pay what stores charge for those things. Have you seen how expensive whiteboards are? It’s ridiculous! Especially when you can make your own for a few dollars. And when you make your own you can get creative and personalize it to fit your needs. Mine has a cork strip at the top and funky marker holders at the bottom.
Here’s what you need to make one:
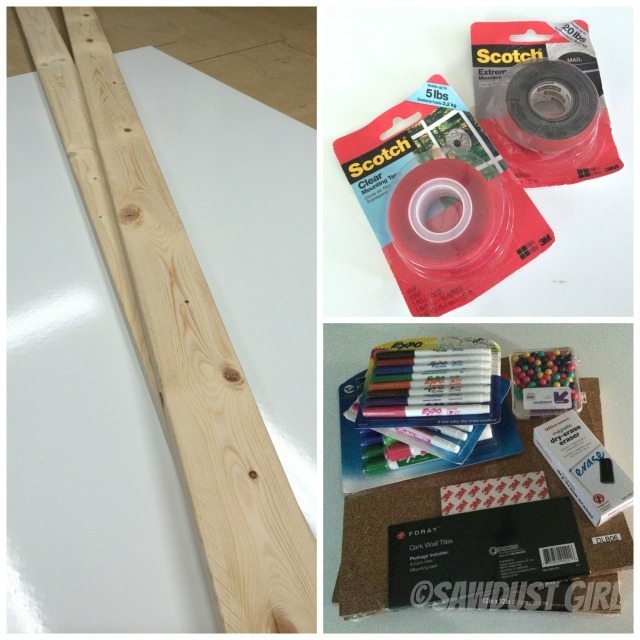
- 2 Eight’ rough pine 1×3 ($2 each next to the furring strips)
- 4×8 sheet of white panelboard ($13 and you can save the left overs for later)
- Scrap pieces of wood in various sizes. I used:
- 2×4
- 2×6
- 1×4″ plywood
- 3/4″ wood screws
- 1 1/4″ pocket hole screws
- Scotch® Extreme Mounting Tape
- Scotch® Clear Mounting Tape
- Corkborad
You may already have most of this stuff just laying around in your workshop… guilty!
Building the Whiteboard
Step 1:
Cut your white panelboard to your desired size. Mine is 32″ x 48″.
Step 2:
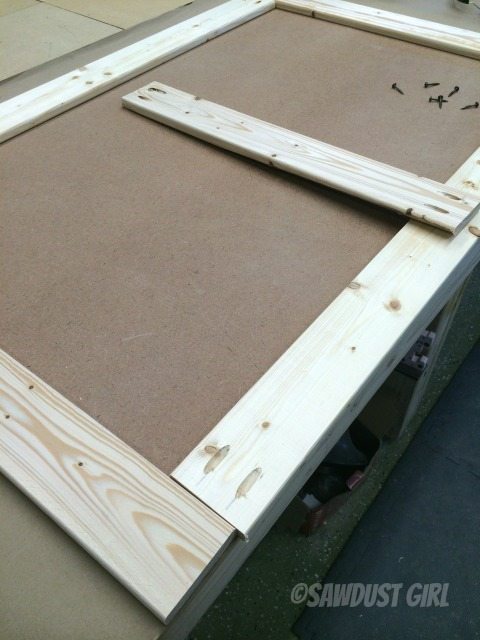
Cut the 1 x 3 pine boards in to two 48in long boards, for the sides of the board. And the second plank cut in to 3 pieces 27″ long for the top and bottom and center support.
Step 3:
Use pocket hole screws to assemble the wood frame from the pine boards that you just cut in step 2.
Step 4:
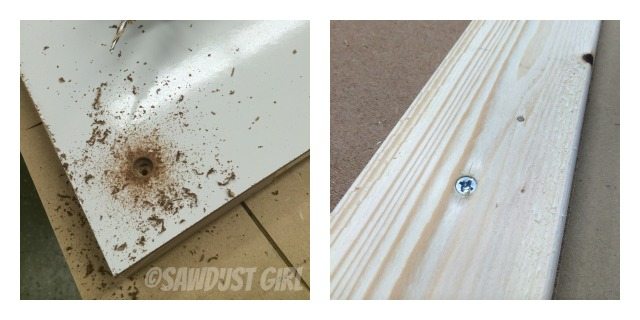
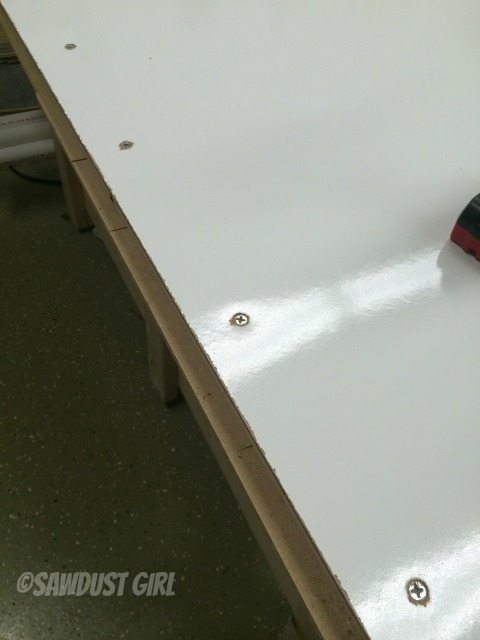
To secure the whiteboard to the frame, pre-drill and countersink holes along the top and bottom edges of whiteboard. Drive 3/4″ screws through panelboard into the wood frame. I also drove screws from the back of the frame into the whiteboard but don’t expect that to provide much stability since it’s just digging into particleboard (which is the back of the whiteboard).
Step 5:
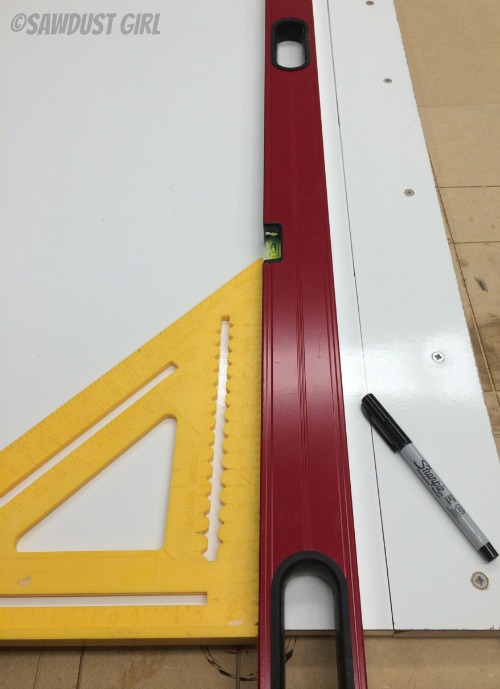
Draw a line across the top and bottom of the whiteboard to mark 2 1/2″ from the edges.
Step 6:
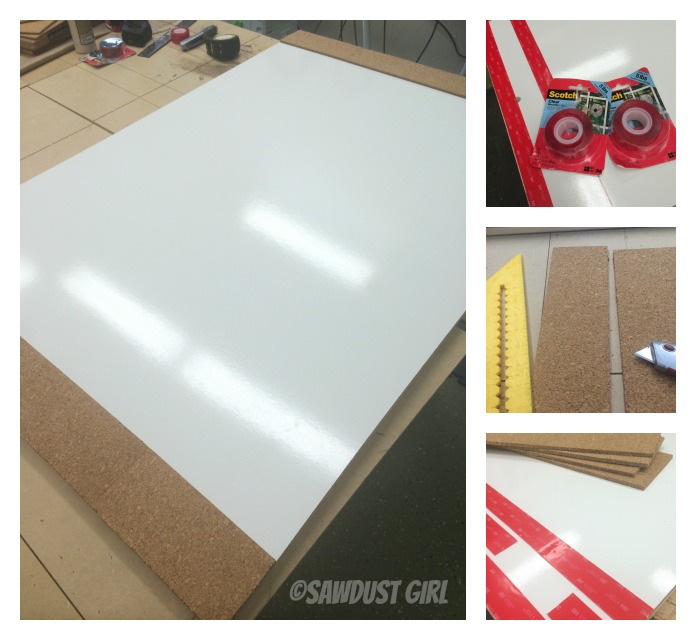
Cut the cork in to 2 1/2″ wide stripes using a utility knife. Attach Scotch® Clear Mounting Tape on the ends within that 2 1/2″ perimiter. Remove backing and secure the cork to the mounting tape.
Building Holders for Markers
Step 7:
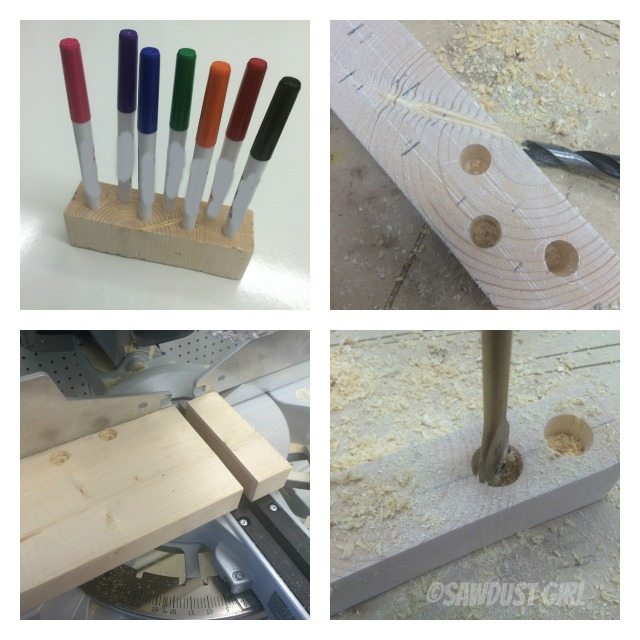
Now for a little creativity, take the scrap pieces of plywood and turn them into marker holders. Depending on the number of makers you like to have this can vary, if you are a strictly black marker kind of person you may only need to drill 3 holes. However, if you are a “every color of the rainbow” type of person, you may need a few more. Personally I like a little color in my life, so I went for multiple holes for a multitude of colors. Drill your holes for markers about 1in deep (Make sure to match the diameter of your markers).
Step 8:
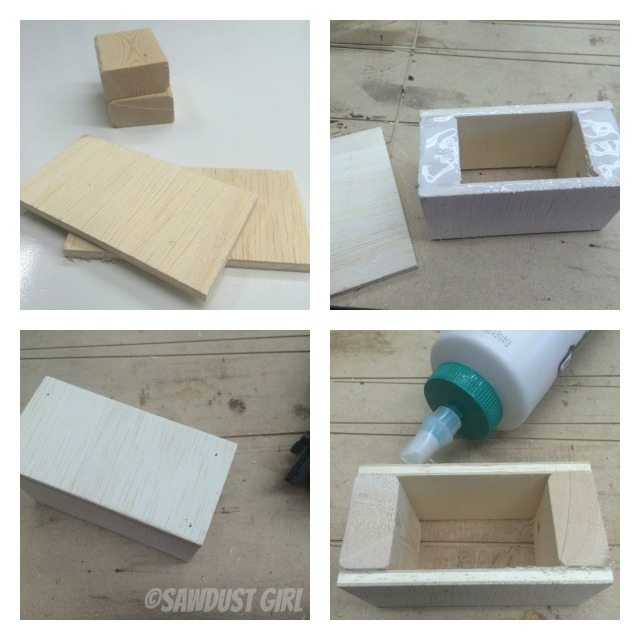
Now I used some scrap wood to build a small box to hold my eraser. I used a few scraps left from my 1×3 that I used for the frame and some 1×4″ plywood that I had laying around. I glued the box together and used a few little pin nails to hold it all together while the glue dried.
Step 9:
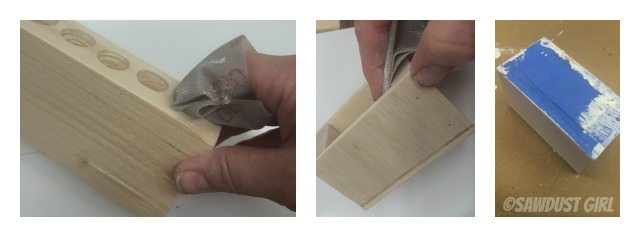
Sand your newly finished eraser box and marker holders, feel free to paint them.
Step 10:
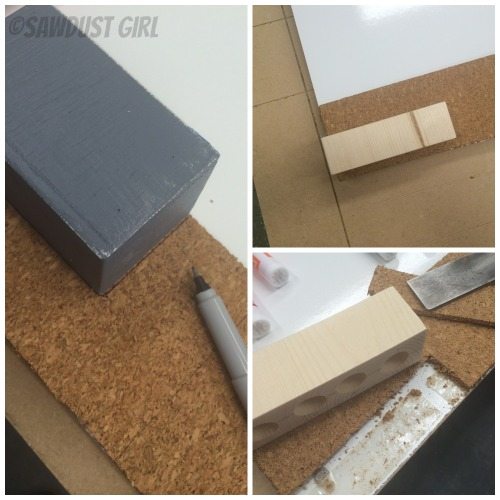
Determine your placement of the marker holders and eraser holder, and using a utility knife cut away the cork in those areas so that the boxes adhere directly to the whiteboard and not the cork.
Perhaps a little planning would make this step easier…maybe don’t adhere this portion of cork until AFTER you decide on placement so you don’t have to work as hard as I did on this step…because I had to remove the mounting tape in that adhered the cork and it wasn’t easy!
Step 11:
I used Scotch® Extreme Mounting Tape to attach the marker and eraser holders because it’s holds more weight than the clear mounting tape. Attach it to the “holder”and then remove the backing and press into place. It sticks — so get it right the first time. 🙂
Finished!
I had to buy the panelboard and found the cork on sale for $5 but had everything else so I only spent about $20 on my whiteboard. And it’s fun and quirky, just like me!

