How to Install Cabinet Drawer Fronts
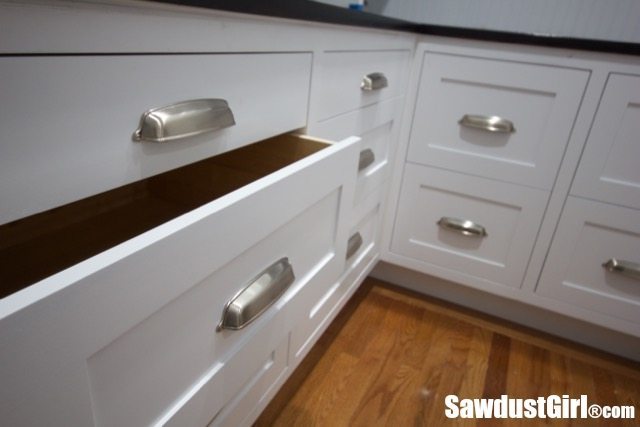
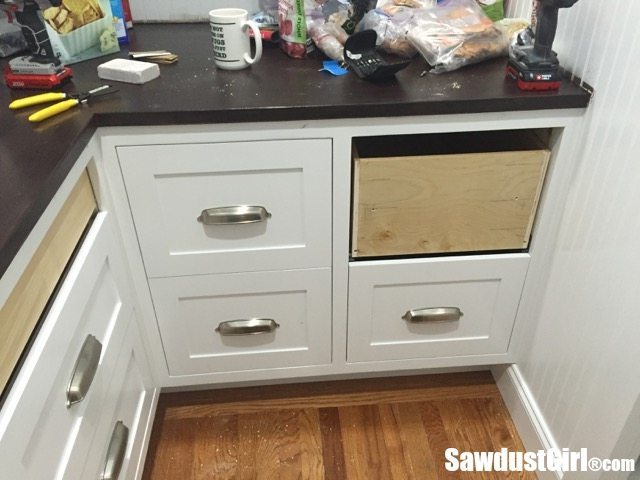
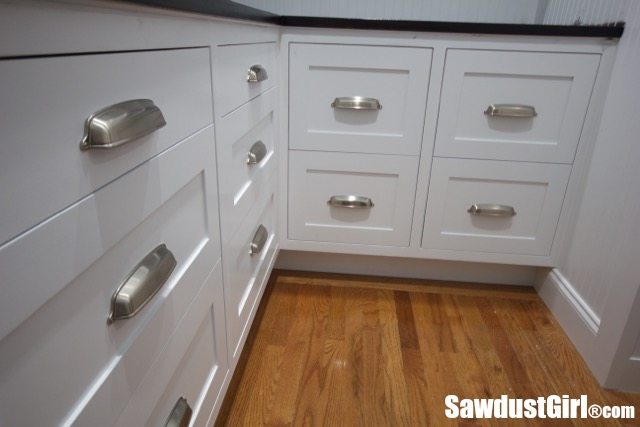
Over the years I’ve used lots of different methods for installing drawer fronts. The method I’m sharing in this post is what I have found to be the easiest way to install and adjust drawer fronts – resulting in nearly perfectly aligned drawer banks. I built these drawers for Blum Tandem drawer glides, which have additional adjustability built-in which is awesome! If you are using side mounted drawer glides, easy adjustability of drawer fronts is even more important!
Note: The applied (or false) drawer front is attached to the front “part” of the actual drawer -> the drawer front. To avoid possible confusion, in this tutorial I will refer to the drawer front as such and the applied, decorative drawer front as the applied front or applied drawer front.
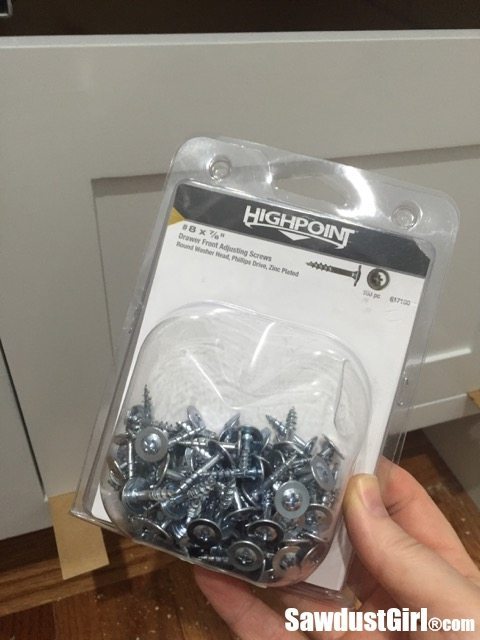
Drawer Front Adjustment Screws
- You will need drawer front adjustment screws. These screws have an oversized, washer head that allow the screw shank to “slide around” in an oversized hole without the head pulling through that hole.
- They are available in different lengths so make sure you select a length based on your drawer and applied front material — you do not want these screws to poke THROUGH your finished applied drawer fronts.
Example: I’m using 7/8″ long screws for my 1/2″ drawer material and 3/4″ applied drawer front material
Prep Applied Fronts
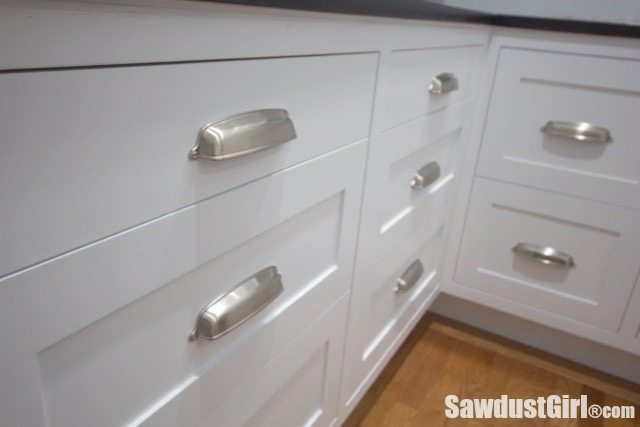
You need to have your drawer pulls AND holes for these pulls drilled into your applied drawer fronts. A cabinet hardware installation jig can make this repetitive task fast and precise.
Prep Drawer Fronts
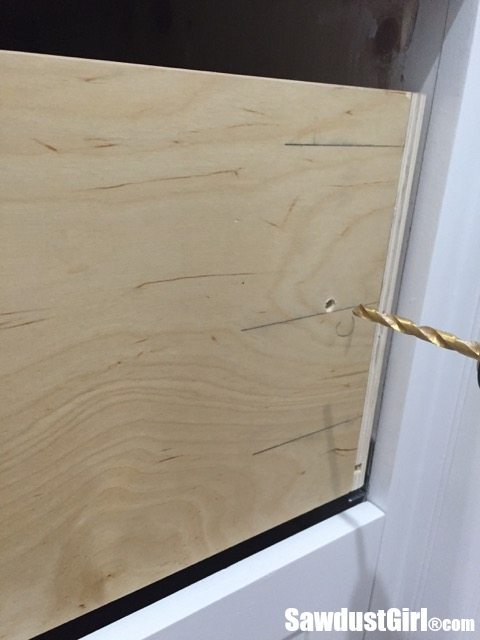
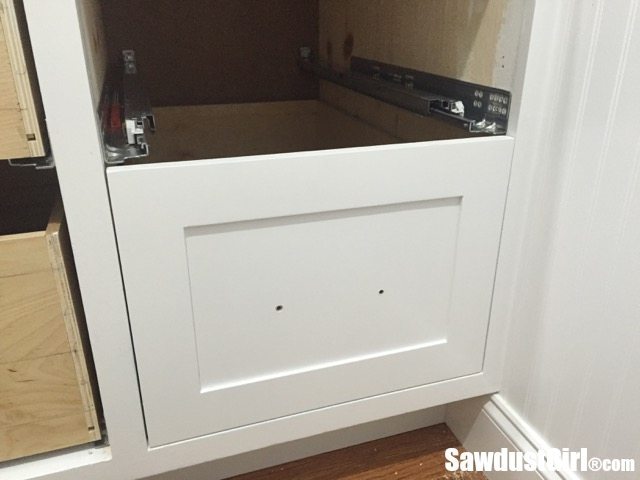
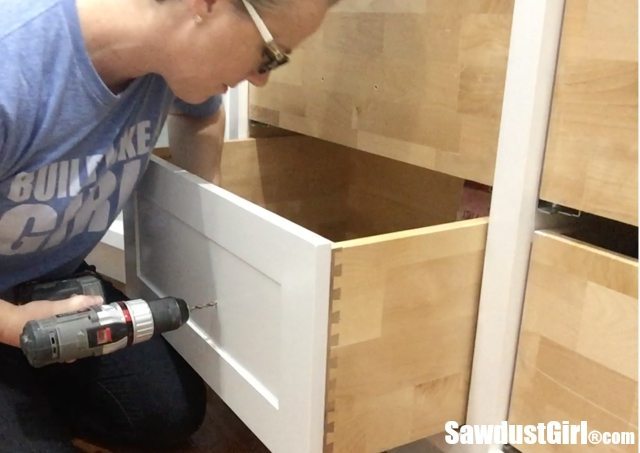
- Drill two 1/4″ (or 5mm) diameter holes through the front of all your drawer boxes.
- These holes should be placed approximately centered in the drawer height
- The side-to-side location will depend on your drawer fronts.
- If they are solid panels, anywhere is fine.
- if your applied drawer fronts are 5 piece with inset panels, make sure your hole will line up with the thicker stile area rather than the thinner center panel.
Install Applied Drawer Fronts
Align
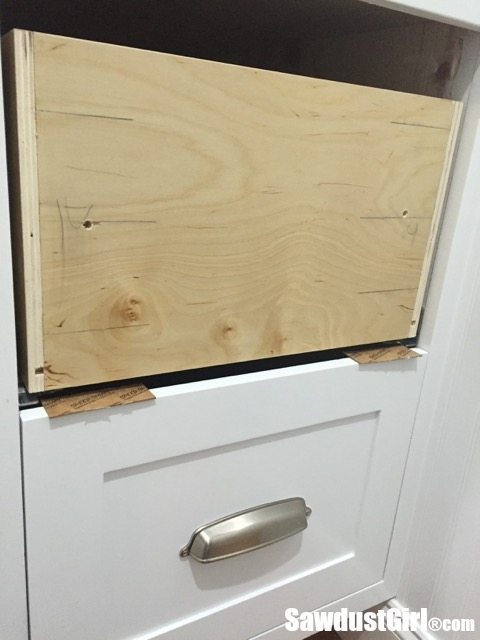
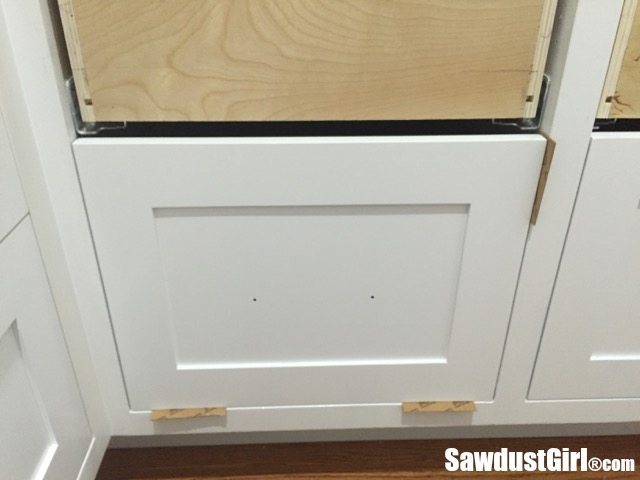
- After all the holes are drilled, starting with the bottom drawer, use spacers or shims to get your applied front in place and aligned as desired.
- Use what you have handy or buy spacers designed for this purpose (like these cardboard shims)
- dimes (1/16″) and nickels (1/8″) work great
Temporary Screws
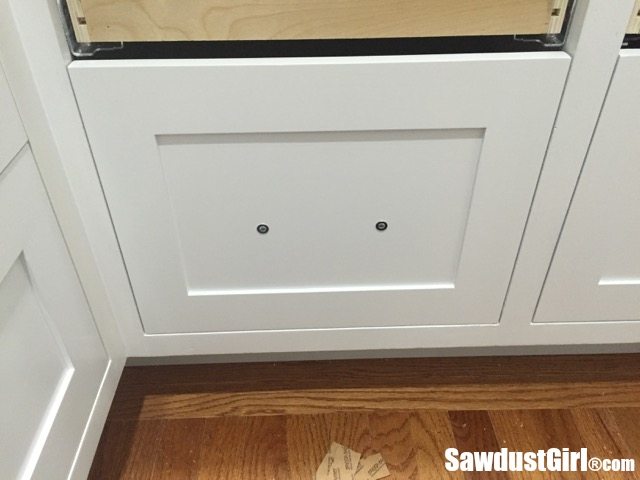
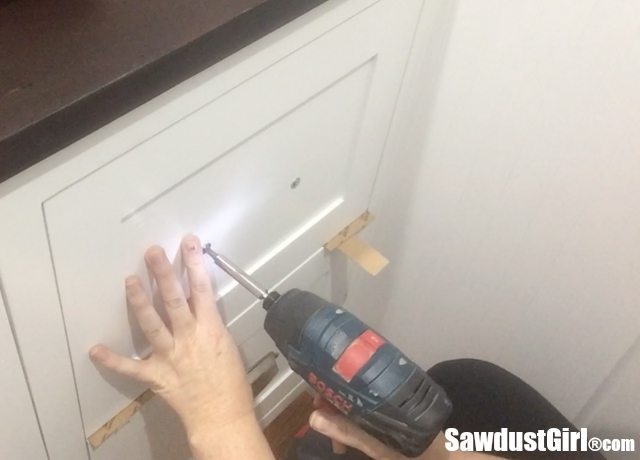
- Place drawer adjustment screws into the holes you drilled in the applied fronts and gently drive them into the drawer – temporarily securing the applied front to the drawer.
- Don’t use too much torque on your drill because you don’t want to mar the finish or dent the material.
- Now you should be able to remove the shims and the applied front will stay in place. If it slips, slightly back out the screws, return shims, realign, and retighten the screws.
Secure Applied Front
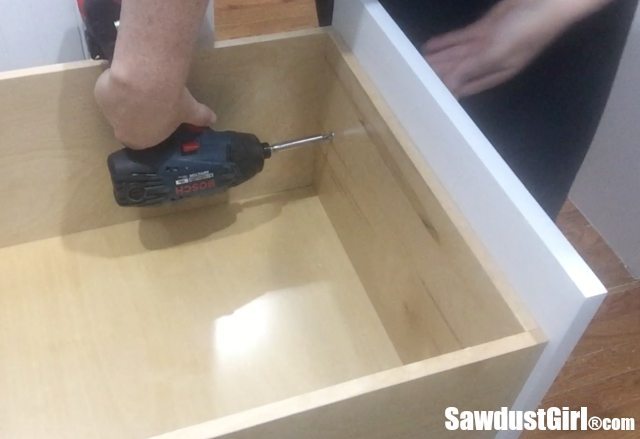
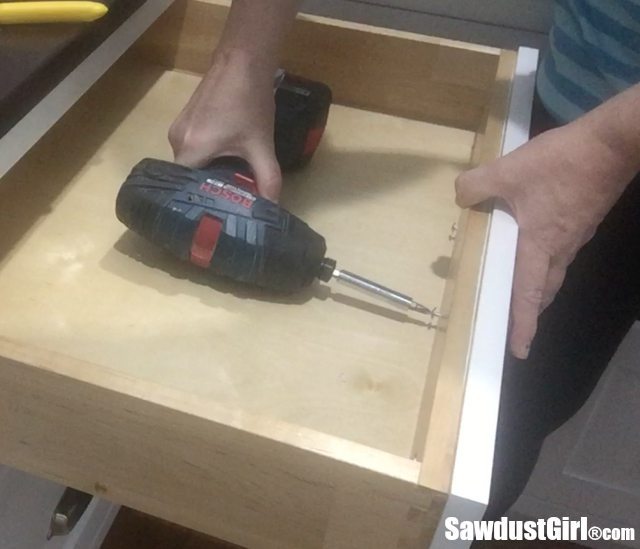
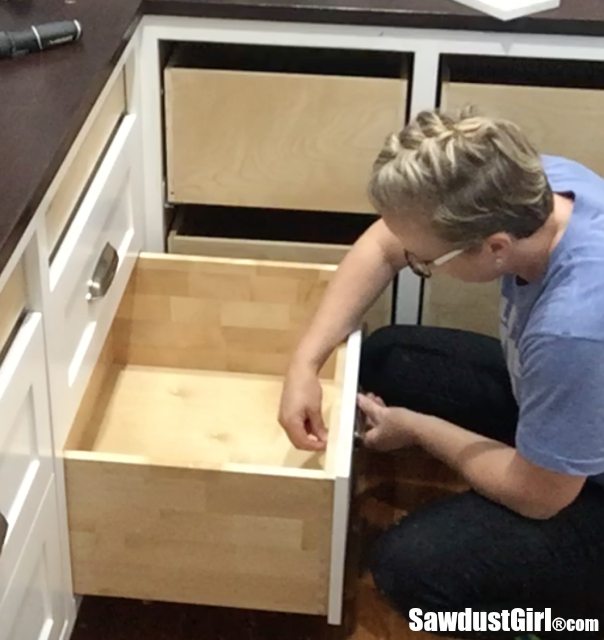
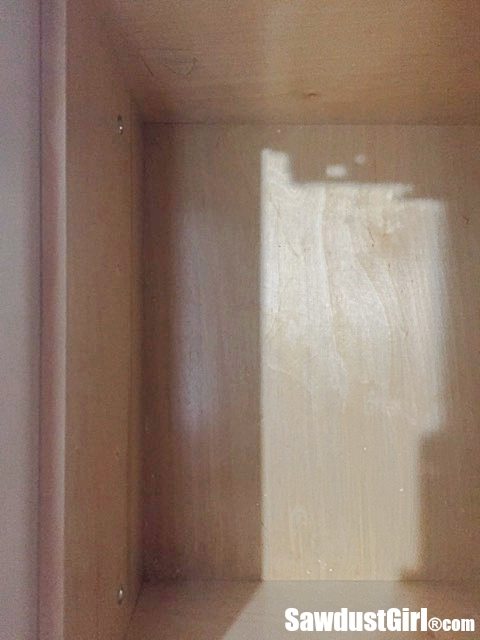
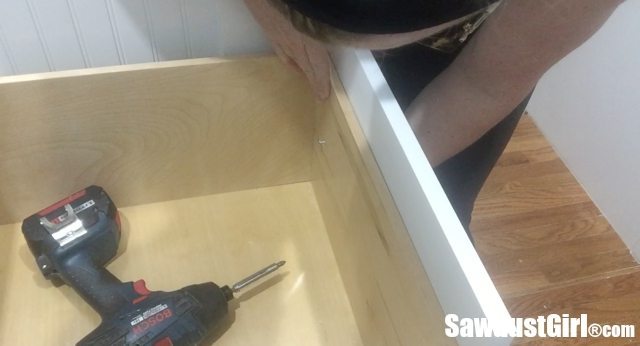
- Open your drawer and drive drawer adjustment screws from inside the drawer, through the two holes you previously drilled.
- Tighten enough to secure the applied fronts to the drawer front, again without applying so much torque that you damage the drawer front.
Remove Temporary Screws
- Now you can remove the screws in the pull holes and re-check the spacing. If things are out of alignment, again, slightly back out the screws in the drawer and reposition the drawer front. Don’t remove the screws! Back them out JUST ENOUGH to allow the applied front to slide in whatever direction you need to realign.
It may take a few tries to get the alignment right because you have to do the adjustments while the drawer is open, then close the drawer to check your alignment again.
Install Drawer Pulls
Once the applied front is aligned it’s time to install drawer pulls. The drawer pull screws go through the applied front and the drawer front but we waited to drill the holes in the actual drawer until after the applied front was alined and secured so you’ll need to drill these holes now.
Drill Pull Holes In Drawer Front
- Extend the drawer pull holes that are in the applied front – through the drawer front.
- Hold a piece of scrap of wood against the inside of the drawer in the location of the hole you are drilling to prevent tear-out.
**Make sure your hand is not in the way of the bit in case you drill all the way through your drawer front AND your scrap wood! (I have a little scar on my left hand from doing exactly that!)
Install Pulls
- Use a powered driver to get the process started but finish off with an old fashioned screw driver. These little bolts are super easy to strip or drive way too deep, digging a hole in the drawer material.
*Using a washer will expand the diameter of the bolt head and help keep it from countersinking.
Install Next Applied Front
- Repeat the above steps for each additional drawer using the lower drawer as the base where you will place your shims/spacers to create desired gap.
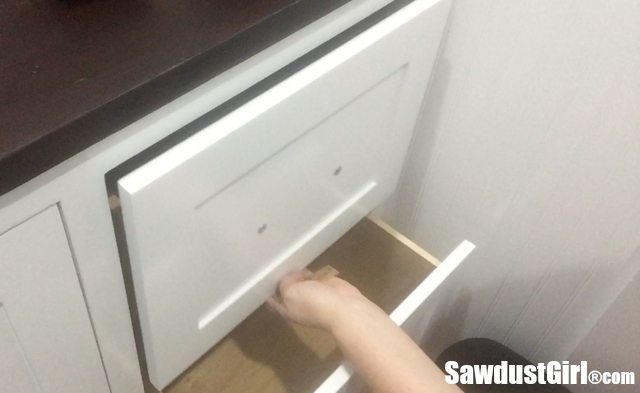
If this is the top drawer you can create a temporary handle with painter’s tape or just open a lower drawer to give you a handhold to pull open the drawer you are currently working on.
Readjust As Needed
As you work your way through your bank of cabinets, especially with inset drawers, you may find that once several or all the applied fronts are installed you aren’t as happy with the alignment as you were when looking at a single drawer. You may continue to adjust location of the applied front by backing out both sets of screws now in place. Both holes are about 5mm or (1/4″) smaller than the shaft of all the screws so you should have some wiggle room.
There is not always enough wiggle room though. If one screw went in at an angle or was towards an outer edge of the hole, the wiggle room can be limited requiring you to possibly remove the applied front and use a larger drill bit to enlarge the holes.
This is where the built-in adjustability of the locking mechanisms for Blum Tandem drawer glides is totally worth the increase in price and brain power needed to figure out the math (or understand the provided installation instructions).
Even with adjustable locking mechanisms I’ve had to use the drawer adjustment screws to fine tune my drawer alignment so I still install applied drawer fronts in this same way.
Pro Tip
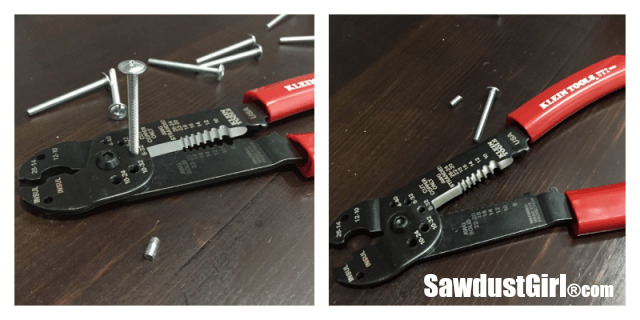
If the bolts that come with your hardware are too long for your specific materials you can cut them down with bolt cutters.
You may also like my tutorial including tips for installing inset drawers on faceframe cabinets.


Thank you – This was super helpful! One additional tip I added was to use a piece of painters tape to add a “pull” to the bottom of the drawer so I could get it open after lining it up. My drawers are inset and there was no other way to get it open, but the tape for a temporary pull made all the difference. Thanks again!
I’ve been using this method for years. It works great and moves the project along quickly. Only word of caution I’d add is that the drawer seems to drop about a 16th or so when the shims are removed. It’s just the slop in the track and can usually be fixed with the track adjustment mechanism. Thanks for putting this info out.
It is awesome!!! What material are your drawers? Bought or made? Thanks