Sometimes there are obstacles in your way when installing cabinets and built-ins. Sometimes you move the obstacles and sometimes you work around them. I’m building a window seat and there happens to be a floor vent under the window. It’s a great opportunity to show you How to install a cabinet base with a floor vent.
How to install a cabinet base with a floor vent
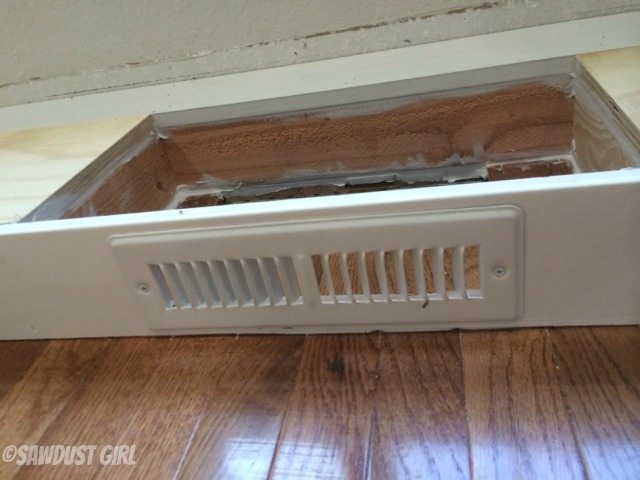
I’ll be building a stand alone base for this bench rather than a cut-out toe-kick. Both explained in my Cabinet and Built-in Building Basics post if you’d like clarification.
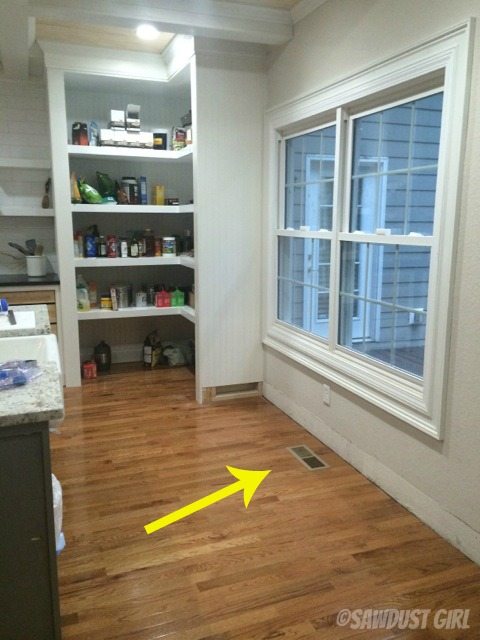
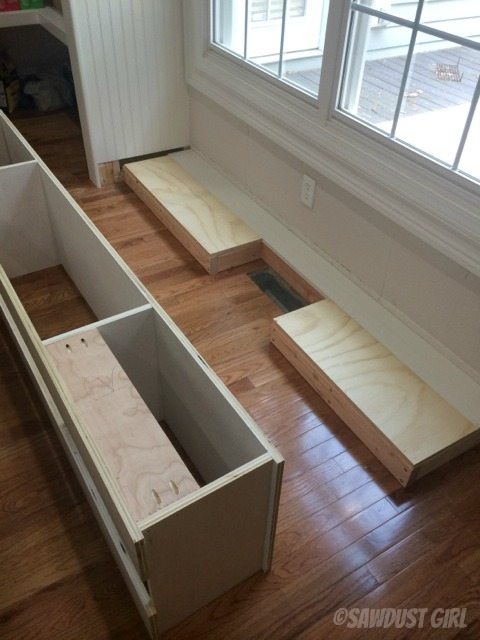
My base is built out of 2×4’s. I simply built the base frame to go around the vent. I added another 2×4 directly behind the vent but apparently didn’t take a picture of that.
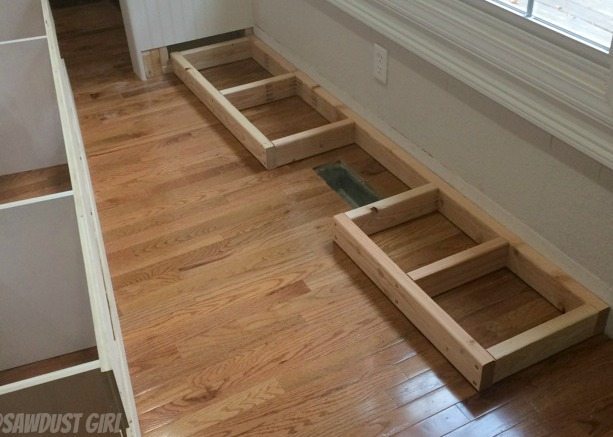
I added a top layer of of 3/4″ plywood and MDF that were scraps I had laying around. I added this layer to build my base to the appropriate height that I needed to match my baseboards. This step is not needed as long as your base cabinet has a full bottom that will trap the air and force it out the vent and not up in the cabinet.
I will be adding a decorative toe-kick cover so my bench base 4″ narrower than the bench depth. If you are putting a baseboard directly on your cabinet or bench, you’ll install the cabinet and then add your base with vent. I’m taking care of that first since the vent and baseboard is set back behind the bench. I don’t like laying on the floor so I can see what I’m doing while trying to nail things into place. 😉
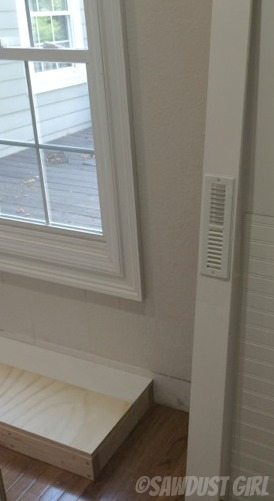
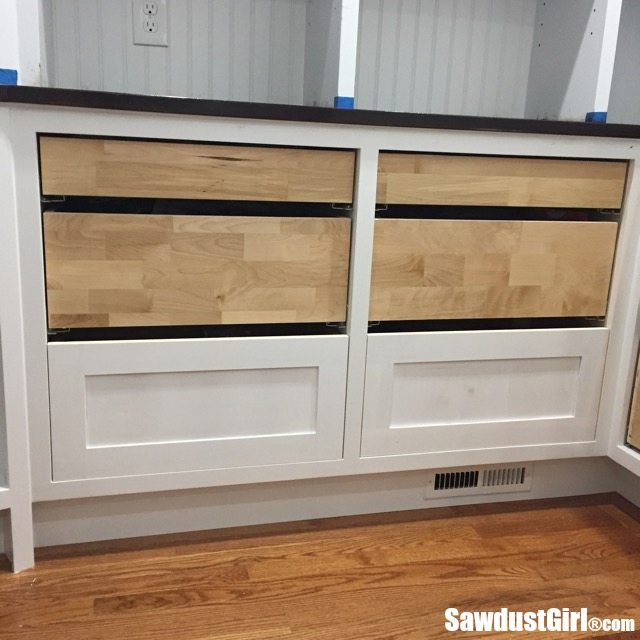
This part is easy; set your base in place and mark where you need to cut out for your vent cover. (Make sure you find a vent cover that will fit your baseboard), cut out a whole and secure your vent cover.
Then install your baseboard. (btw– it’s much easier to paint or finish this decorative base before installation as well.) I caulked all around the base of the inside of my little air pocket so no air would escape anywhere but out the vent. Probably not necessary since the air will take the path of least resistance but I like to be thorough.
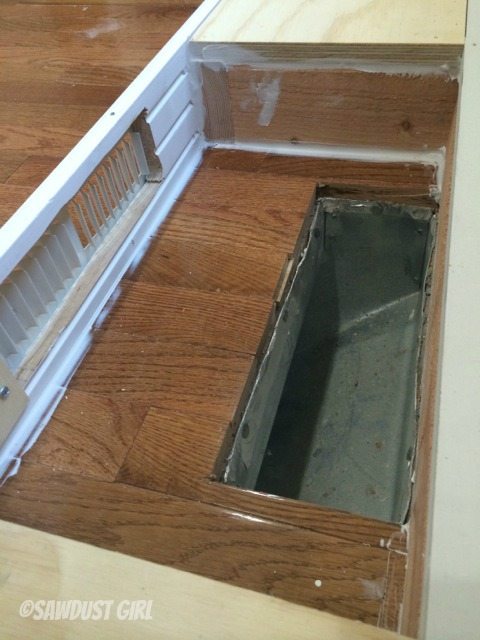
You might think it’s necessary to have some sort of flex tube or extender to direct the air to the vent but you really don’t.
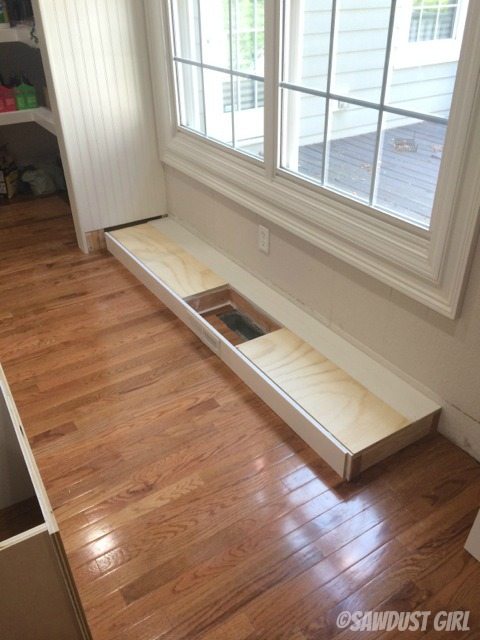
The air is going to take the path of least resistance…it’s going to flow through the air vent. So now you can install your window seat, cabinet or built-in and get on with life!
*It is a good idea to paint the inside walls of your base around the vent to prevent mold.*
Christine Cline says
I just removed my kitchen sink from 1961, and the vent under it was made of wood. it always worked well and the wood was in great shape after all of these years. I intend to make a similar one when replacing the cabinet.
I loved your idea of cutting the hole for the vent first. I mean, who likes to lie down on the floor to do that?
Kelly Lee says
What did you use to cut the hole in your baseboard? I’ve done something similar building built in shelves with cabinet base. I have my baseboard and my vent cover, not sure how to cut the hole. A jigsaw?
Sandra says
A jigsaw would work. I used an oscillating tool.
Katie says
We did a metal duct work through our toe kick, and we removed the cabinets on top (haven’t nail them in yet) and the top board is all wet and the cabinets had condensation on it…..how to we avoid this?
Sandra says
I’m not sure I understand exactly what you’re describing but I imagine the metal ducting needs to be insulated because the conditioned air traveling through it is drastically different than the air surrounding it causing condensation.
Without the metal ducting, the air in the toekick is conditioned and it just finds its way out into the room through the vent you create (because it finds the path of least resistance).
It’s probably a good idea to paint the inside of the toekick area with a paint that resists moisture.
Katherine says
Great post! So you don’t actually need a duct running from the floor vent to the toe-kick? We have a floor vent under our deep kitchen cabinets and there’s a toe-kick but no duct attached between the two…there’s hardwood floor underneath and the cabinets surround the area with some spacing on each side of the floor vent (similar to the picture you have posted). I’m assuming this is good enough to get proper airflow out (heating or A/C) through the toe-kick?
Sandra says
That’s what I have seen in every below cabinet situation.
Ashlee F says
I know this is an old blog, but if you see this, would this be the same concept if I wanted to build cabinets in front of a vent that is in the wall? Or would I run ducting from the wall to the toe kick vent?
Sandra says
I don’t see why not. If the in-wall vent is low enough to direct through the toe-kick I would use this approach.
Bruce Kratz says
Great article. No concerns about using wood to route the air as far as condensation? I guess it’s too short of a run to worry about.
Sandra says
If you’re worried condensation could be a concern, you can paint or finish the wood with a glossy paint or clear coat.
Marie@The Interior Frugalista says
Awesome post! One of my concerns about adding a bench seat to our bedroom is that it would be going over a heat vent. This just gave me the go ahead with ours this Fall after our new window is installed. Thanks!
Dana Denney says
Great post! Do you have any ideas on how to do something like this with baseboard heaters in the way?
Thanks!
Dana
Val says
Good post Sandra!
This is exactly what we are doing in our bedroom. Now I know how to get around the vent! Thank you.
Val
Mary Lee says
Looks great! We installed the Toe Ductor under cabinet ducting kit in our kitchen recently, and that works great as well.
Jackie says
Thank you a million times for this blog post (and saving my sanity)! I’m brand new to the DIY projects and I have so much to learn. Thank goodness for my very supportive husband who’s taught me how to use his tools over the past few weeks. I’m working on building window trim throughout the house and decided I really want to build a window seat with some type of bookcase on both sides. I know I want to reuse my baseboards (5 1/4″) on the front, but didn’t know how to get my base the same height. Seems silly now after reading your post about adding the extra layer of plywood, but I just couldn’t see past the 1×4. I got this now!
During the past month or so, I’ve started from the beginning and read (and reread) every single blog post trying to soak up as much information as possible. I do have a question about your Sawdust Diaries services. I was planning to sign up, but I work full-time so the consultation hours don’t work with my schedule. By any chance, is it possible to hire you to design a space (master closet that’s approximately 7’x7′ with 2 entrances) and put together a cut sheet without the weekly consultation?
Sandra says
Thanks Jackie. Glad you are finding some useful information here. 😀 You can email me about the plans/design questions.
Angela says
This is exactly how we did it only we did use the 90 degree elbow because our AC needs all the help it can get…when we tore out the old cabinets we found that they hadn’t had the common sense to direct the air, as you did, so all the heat/AC would just get stuck under the cabinets. In the winter I used to have to open all my base cabinet doors & drawers to allow the heat into the kitchen! Our silverware was always nice & toasty, though! Lol
Sandra says
You mean they didn’t even cut a hole for the air? It was trapped in the cabinet? That’s crazy!