How to Build Floating Shelves
There are many ways to build floating shelves. In this method, I’m using 1/2″ plywood with beveled edges. You can build simple shelves by edging 1/2″ plywood with 3/4″ poplar or other solid wood to hide your plywood edges and proceed with the install. This method is nothing like what I showed you in my recent U shaped floating shelves that I put in my hall closet. When floating shelves are only supported on one wall, you have to approach it differently.
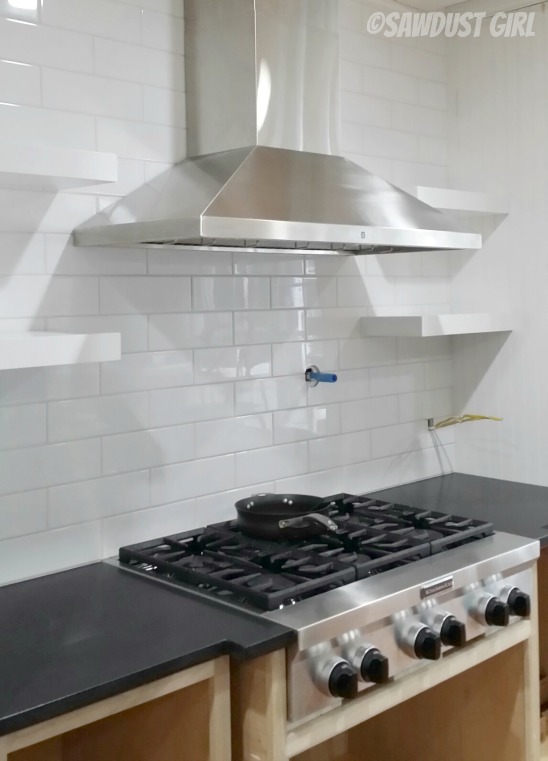
How to Build Floating Shelves
Materials Used:
- 1/2″ plywood for all shelf parts
- 2×2 for cleats
- wood glue
- painters tape
- small pin nailer if you have one (I love my 23 ga pneumatic nailer because it holds things in place while glue dries but you don’t have any holes to fill as the paint will do that on nails this small.)
Steps 1-5
- Determine Shelf Width
- Cut top and bottom pieces to exact width and depth that you want finished shelves.
- Cut front piece the finished width of your shelves by 2″ tall.
- Cut side pieces the finished depth of your shelves by 2″ tall.
- Cut a 45˙ bevel on all edges of all pieces
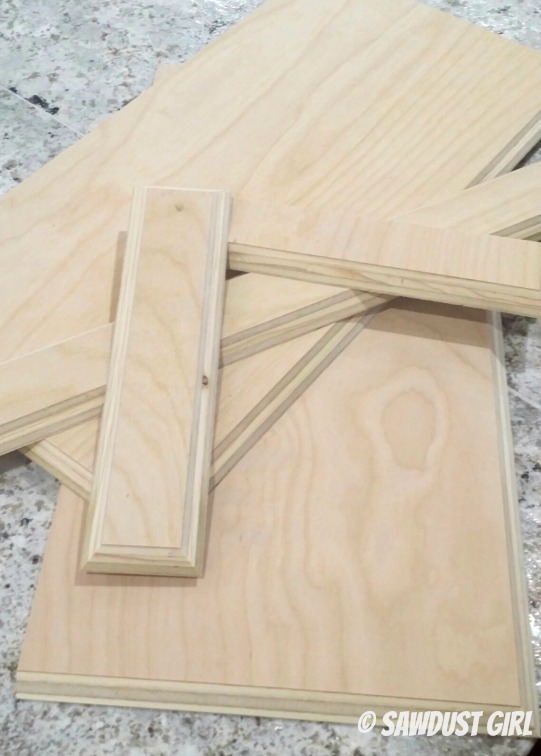
Step 6: Attach front and sides to bottom piece
- Generously apply wood glue to both edges being joined.
- Use painters’ tape to hold pieces in place while glue dries.
- Use small pin nailer to secure parts in place while glue sets (if you have one.
- The shelves have NO BACK — they need to slide onto a cleat on the wall!
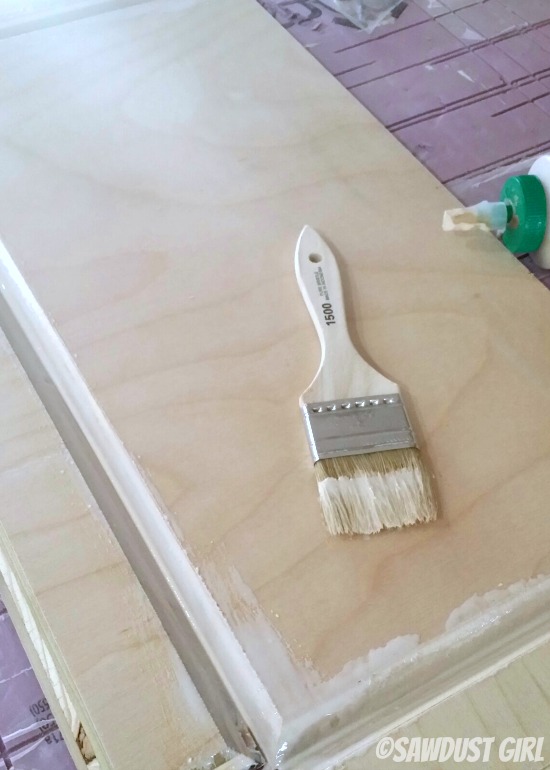
7. Add shelf top
- Glue up all edges on the shelf and on the top piece then set the top in place
- Secure with painters’ tape and or pin nails until dry
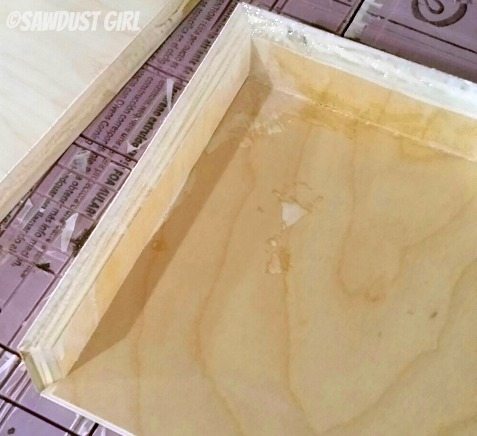
They might have glue residue all over them like this but it sands off easily.
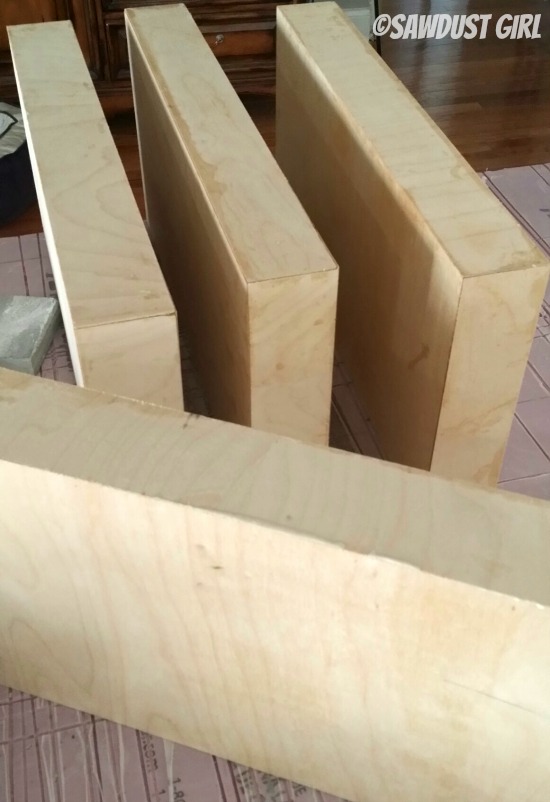
8. Finish
Fill any cracks and holes you might have, Sand and Paint or Stain.
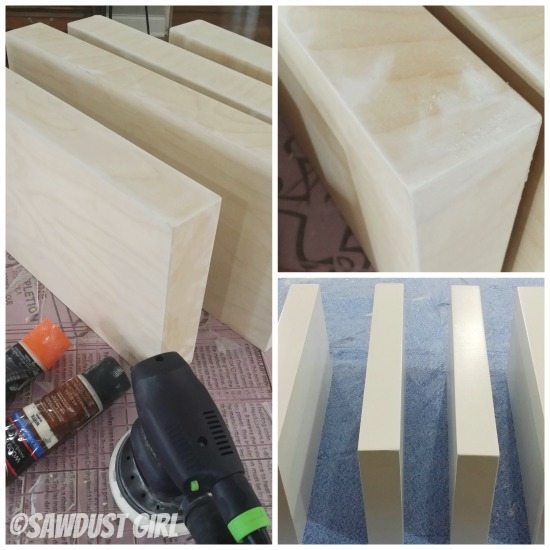
They should be perfectly lovely shelves!
Now you can move onto installing them… How to Install Floating Shelves

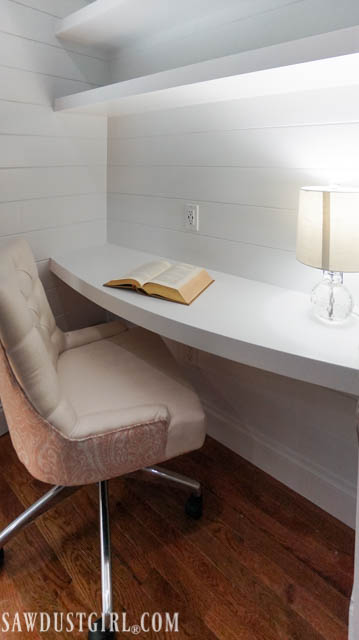
I’m wondering (and hoping) theres a way to get the beveled edge without having to use a table saw. I have a ton of other tools except that (I’ve been lucky enough to get away with using the Rip-Cut from kreg jig).
Would something like this work with plywood? http://www.rockler.com/45-lock-miter-router-bit-1-2-shank
If you have a router table this would be great — I think. It might be difficult to route the ends of the “apron” pieces but if you use a sacrificial piece behind them as you run them through it should work. If you go this route, let me know how it works out for you. I’d be very interested as I have been looking at that same bit in the last few days.
Thanks for the reply! I’ll let you know if it all works out 🙂
You could try to rip them with your circular saw if you can set it at an 45. Use a straight edge and clamp things down good and tight.
Without a table saw however, I would skip the miter altogether and just butt join a 1x poplar piece across the front the plywood. If you are painting and you sand everything well — in the end you won’t be able to tell how the box was constructed. If you are staining, you obviously would need to match up the wood that you use for all parts.
If you have a router table, you can use any number of box joint router bits to create your bevels that will actually give you a much better glue up. (If you have a router table being key to that option.)
Awesome! I agree, they look absolutely fabulous. I also have the same question. … how did you get the beveled edges?
Thanks. Table saw magic.
Those floating shelves look great. How did you get the beveled edges?
I ripped them on my table saw. 🙂