How to Build a Newel Post: DIY Stair Detail
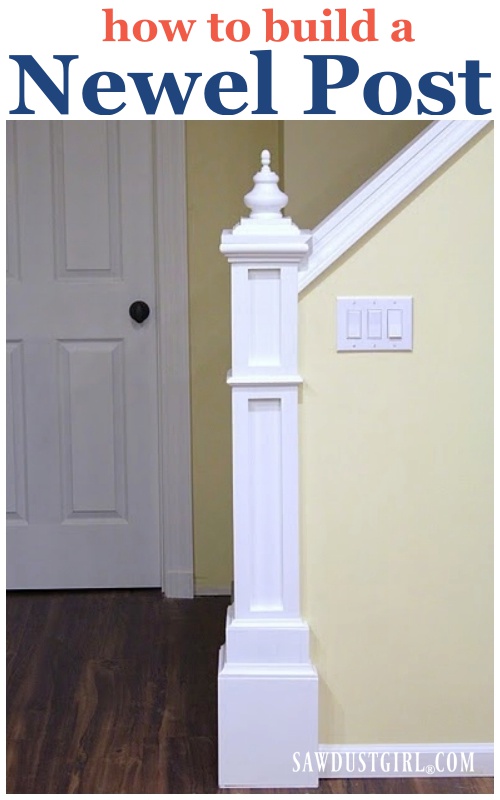
I built this decorative newel post to add architectural interest to a half wall at the base of the stairs in our Illinois house. It’s not a structural post – just a simple box built from MDF and basic trim, designed to give that clean, built-in look. It turned a plain stair wall into a more intentional architectural feature.

Materials Used
- 2×4 lumber
- MDF panels
- 1×2 pine boards
- Trim molding (angled profile)
- Finial(s)
- Wood glue
- Finish nails or nail gun
- Primer and paint
Tools Required
- Miter saw or hand saw
- Drill/driver
- Nail gun or hammer
- Caulk gun (optional)
- Paintbrush or roller
- Sandpaper or sanding block
Step-by-Step Instructions
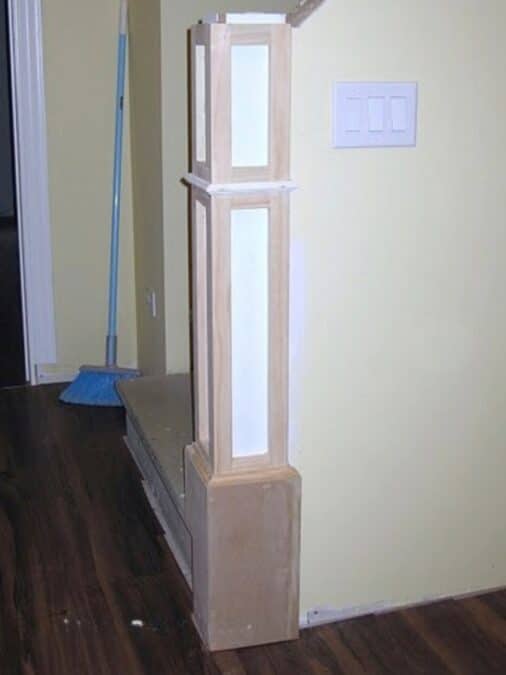
1. Build the Post Frame
- Attach two 2x4s vertically to the end of the stair wall.
- This forms the interior structure of your post.
2. Box It In
- Wrap the 2x4s on three sides with MDF to create the outer post shape.
- Secure the MDF with wood glue and finish nails.
3. Prime and Paint
- Prime and paint the boxed post before adding any trim details.
- This step is easier when the surfaces are flat and unobstructed.
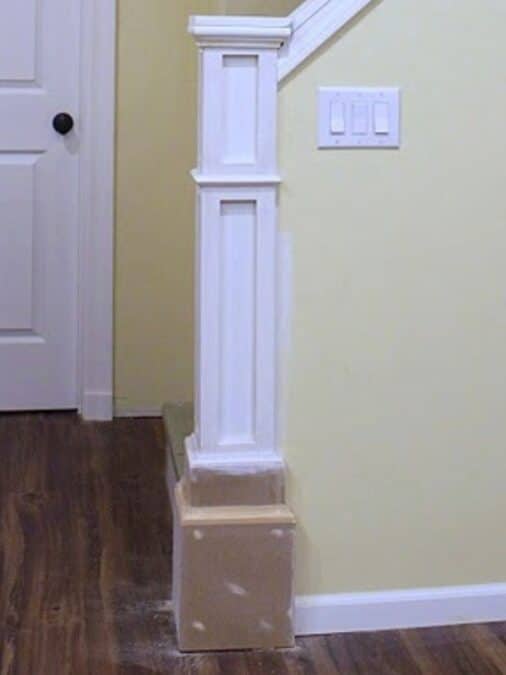
4. Add a Stacked Base
- Cut and attach additional MDF around the base to create a layered, chunky profile.
- This gives the post more presence and weight visually.
5. Add Trim Details
- Apply 1×2 pine boards around the base and midsection for extra definition.
- Simple butt joints are fine — no need for fancy joinery.
6. Apply Trim Molding
- Install a piece of angled trim molding around the top of the post.
- It’s not crown molding, technically — just a basic trim style that adds a nice finish.
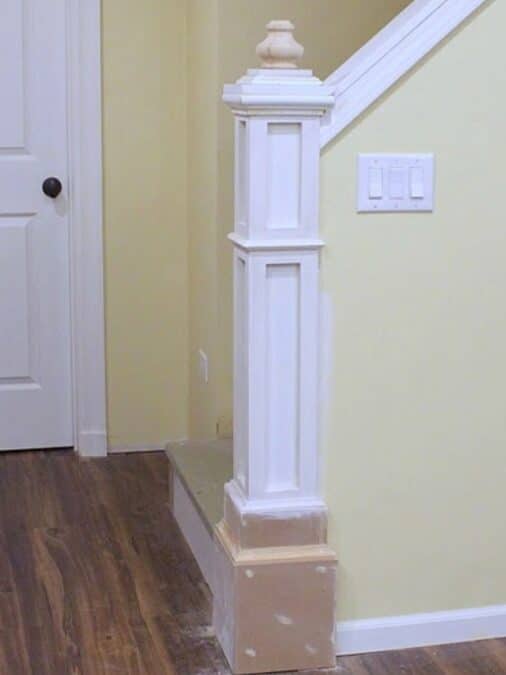
7. Cap the Top
- Cut a square piece of MDF to serve as the post cap.
- Make sure it overhangs the trim slightly for a finished look.
8. Add a Finial
- Attach a wooden finial to the center of the cap.
- I added a second, smaller finial on top of the first one because the flat top didn’t look right to me.
9. Final Touches
- Prime and paint any new trim or additions.
- Fill nail holes and seams with caulk or wood filler as needed.
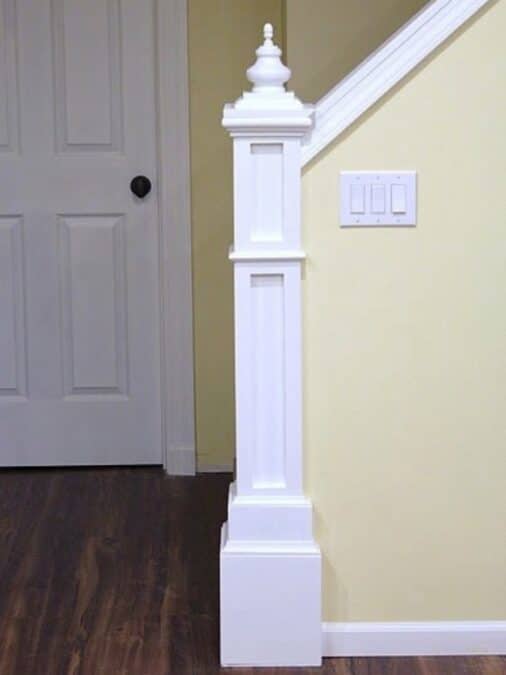
Finished Look
This decorative newel post gave a boring stair wall an intentional, custom-built look. It’s a simple project that makes a big impact — and it still holds up all these years later.
If you’re looking for more ways to dress up a column or trim out your stair area, check out these tutorials:

I’m back to check this post out again. I just had light bulb moment that I may be able to do this. My stairs are boxed in all the way to the end and are half walls like your photo, but on both sides. I thought of taking the walls back and adding railing and spindles, but then I lose wall space. BUT the newel post at the end makes it look so classy. I have to really figure our the 2×4 placement so I can box it all in nice like yours.
No, I didn’t miter anything. If you can enlarge the second picture enough, you can see the right side of the bottom piece of MDF is the end of the piece of MDF on the other side. I just butted everything up and sanded well, smeared some wood filler in the “end grain” of the MDF, sanded again, then primed. You might need to sand the MDF again after priming if you use water based primer that raises the wood fibers and makes it rough. Then you can paint and it should look pretty good. I was trying to hurry at this point to finish and get my house sold. If you aren’t frantic like I was, miters would be nice. 😀
Are the corners of the mdf and the 1x2s mitered? I really want to do this project, but I would love to see pics of the front and back… Pretty please?
That’s the thkinnig of a creative mind
Sandra, you are seriously a genius! and I suppose you did it all in about an hour too?
Love this! Could you share your budget…I need to convince the hubby 😉