Framing a Pocket Door Wall – for my new office!
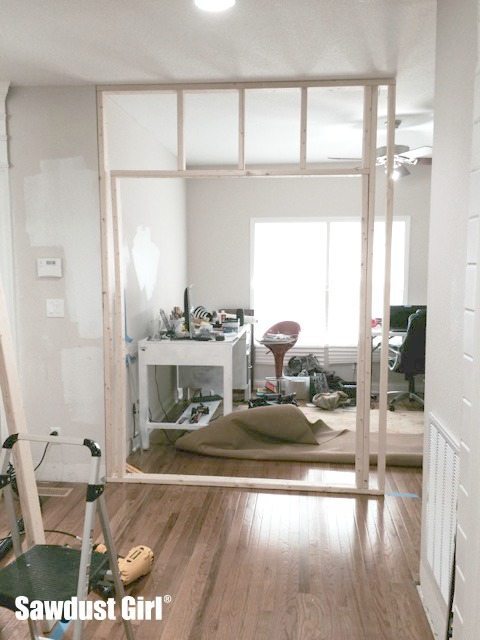
Finishing my countertop with so many coats of dye and Tung Oil means there’s a lot a drying time where I can’t use my workshop at all because I don’t want to create or even stir up ANY dust while my finish coats dry. SOoo, I get to find small jobs in the house that can be started and finished in a day or two. I’ve been itching to do something with the big open room at the end of the wide hallway behind the kitchen for a while so that’s what I tackled! I’ve been thinking about what to do with that room since we moved in and decided it is the perfect location for an office.
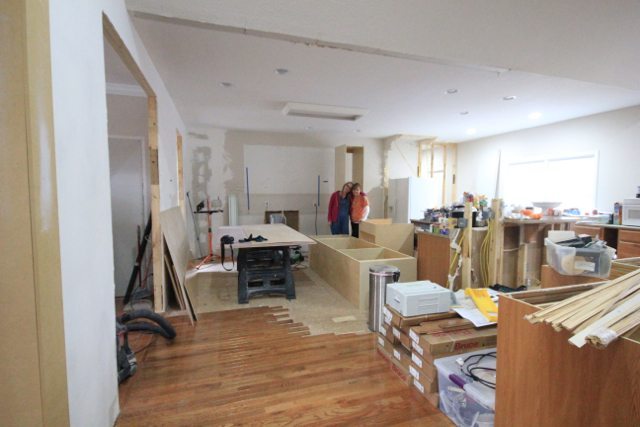
I can’t find a good picture of just that room but to orient you to the space I’m talking about, it’s the room to the very right in the below picture (which is the height of kitchen demo).
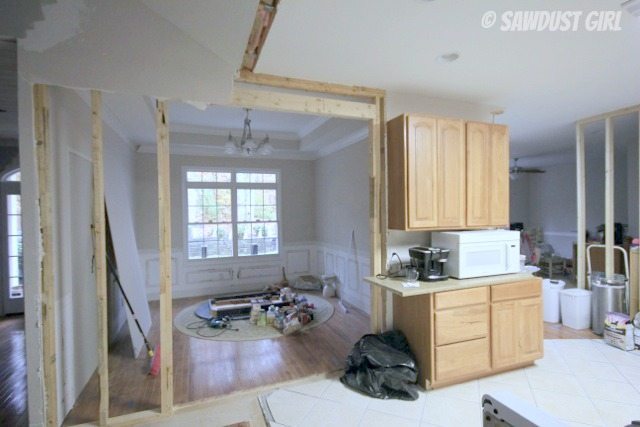
As you can see it was just open to the hallway and I want the office to be a room with a door. It’s the perfect location for a pocket door! I love installing pocket doors whenever possible because they are such space savers! I ordered my pocket door kit from Johnson Hardware.
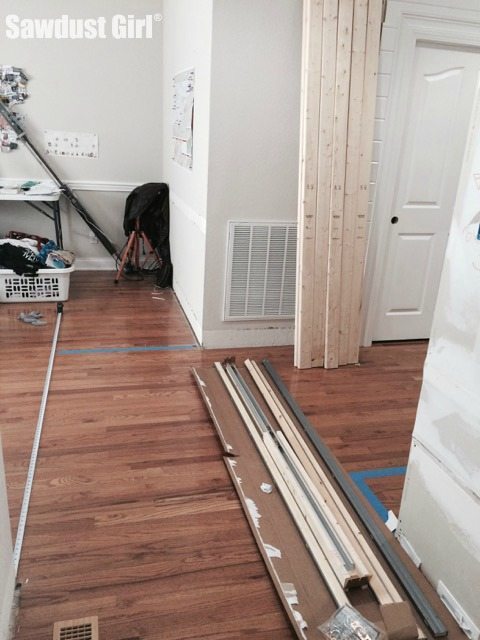
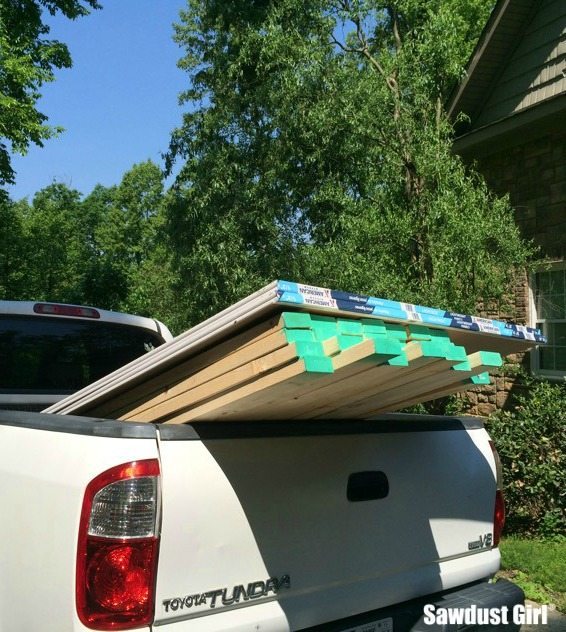
I picked up my studs and even some drywall because I was feeling very optimistic about how much I would accomplish in one day!
Framing is easy and goes quickly. Here’s a couple tips:
- Whenever possible, I build the wall on the floor and then tilt it up into place which is what I did in this room.
- I built the walls right on top of the solid wood flooring and under existing drywall on the ceiling.
- If building on top of wood flooring, it’s wise to drill a larger hole in the flooring material to allow for normal “activity” without janking your wall.
- Your new wall needs to be screwed into the overhead joists or “blocking” that you install if there are no joists above your wall.
I framed the pocket door wall first following the specifications included in my instruction manual for my pocket door kit.

Then the wall that met the door wall and closed off the room.
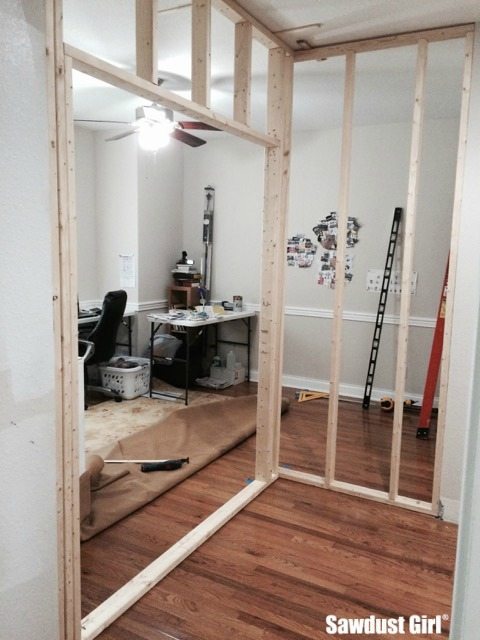
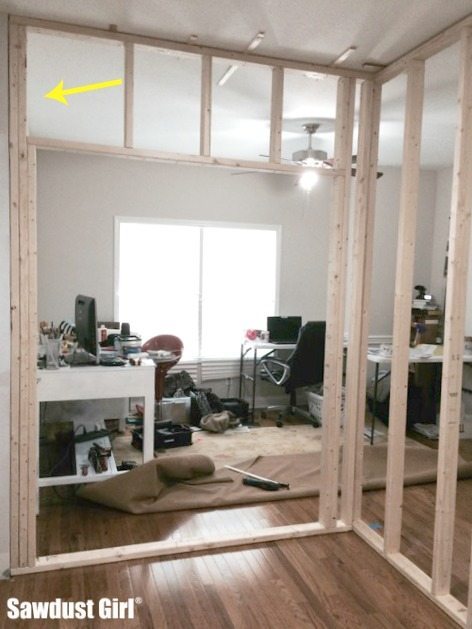
Because of the size of my wall and the placement of my pocket door, I needed to leave some access for securing the new wall to the old wall. So I had to finish rough framing my pocket door after the wall was up. And I still need to add one piece there…
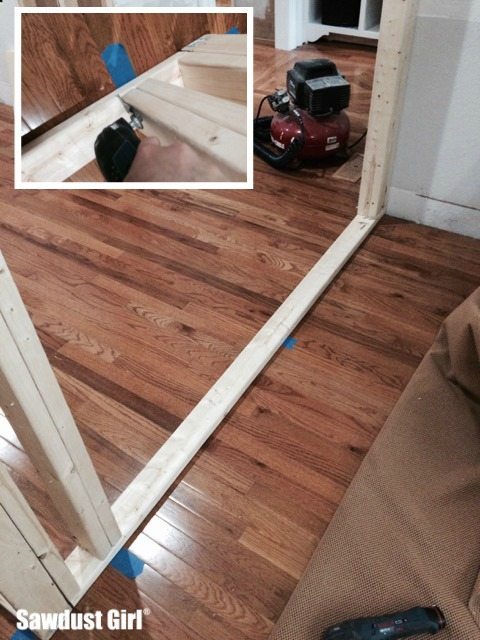
After both walls were secured in place I cut away the bottom plate where the pocket door kit parts would be installed.
This is where installed over finished flooring comes in handy because there is NO PATCHING TO DO! Woohooo!
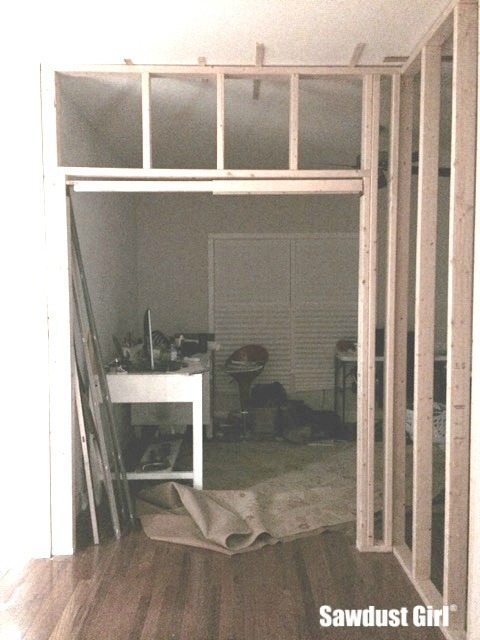
At 8pm I was still raring to finish and get that drywall up BUT it turns out I was missing two necessary parts to my pocket door kit! It’s pretty exciting to get this far but I’ve got to wait for parts so here we sit…
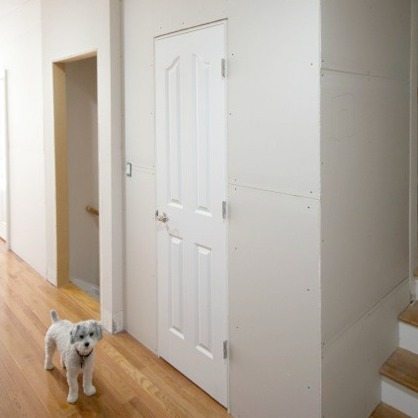
Here’s how it all went up!
