Adding A Decorative Header Over Doors And Windows
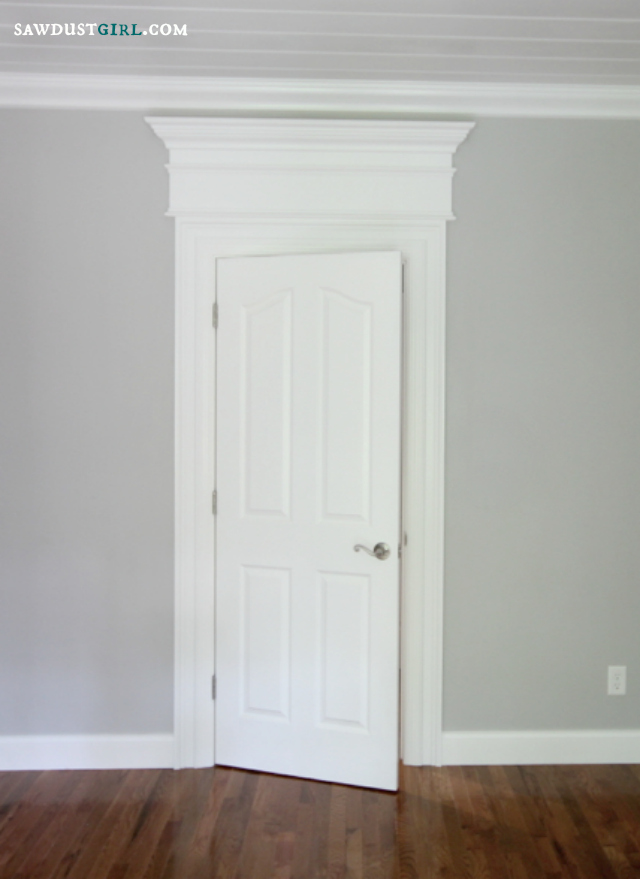 Yesterday I showed you how to layer trim to bulk it out. This was the first strp in my ultimate plan to upgrade my window and door trim molding. I wanted to add a decorative header (that thing at the top) and needed to bulk out the width of the casing first.
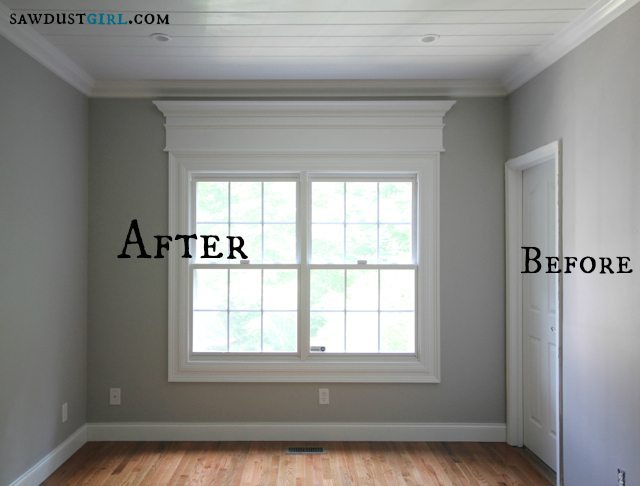
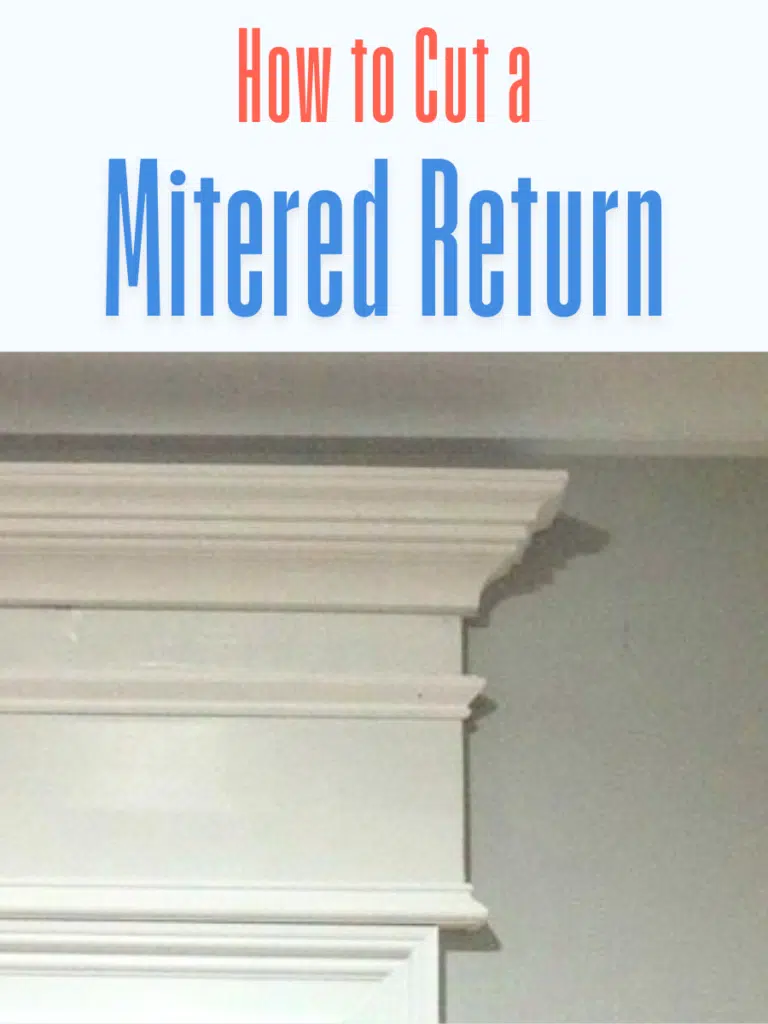
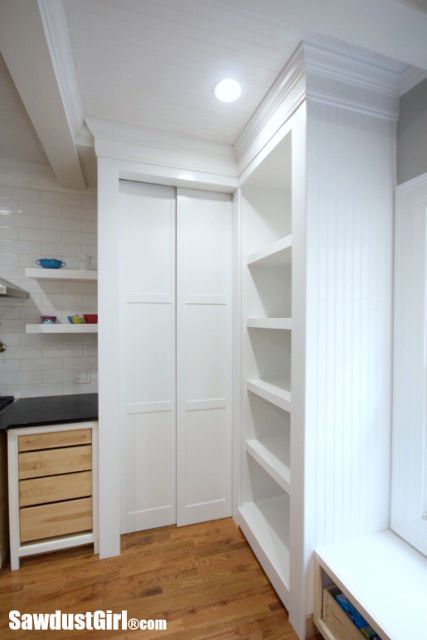
I didn’t want to rip anything out and start from scratch so I made it work with what I already had. Just tricked it out — a lot! Am I going to do this in my entire house? Probably. The decorative header is simply a piece of MDF with crown moulding at the top and a couple pieces of decorative moulding on the face. Depending on how tall your decorative header is, you’ll want to space your trim in order to achieve appealing proportions.
(Except the doors that I’m tearing out like the bathroom and closet doors in this room — ya’ll keep asking me about that.)
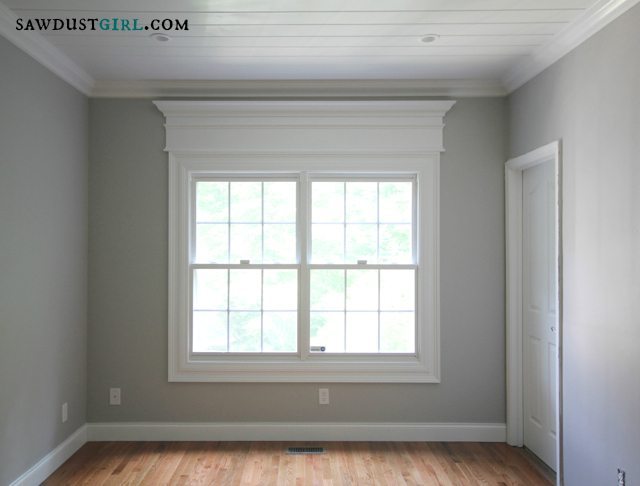
It feels like I spent a week adding a decorative header to one door and one window. I was making it up as I went along so it will go much faster next time. Also, I’ll probably paint ALL the parts before I install them so I only have to fill nail holes once it’s all up. Painting over all the details and in the cracks and corners is a pain. But I think it was worth it.
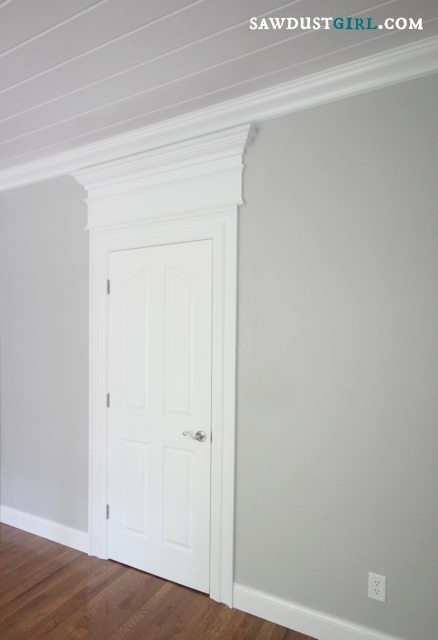
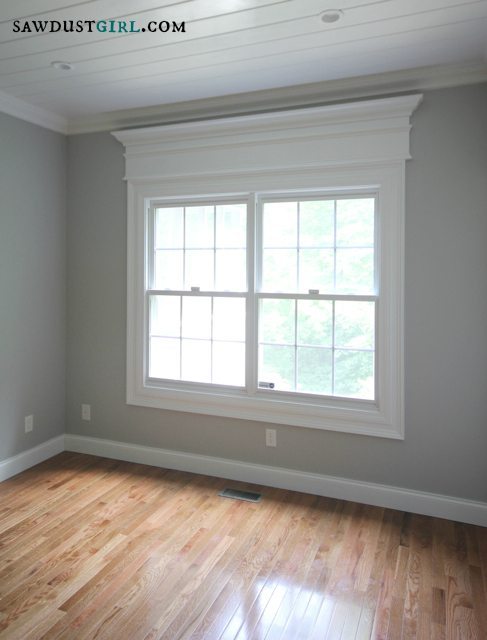
Yes it was worth it because I really like it. I could have stopped with adding another layer of molding around the existing trim because the chunky casing looks great too.
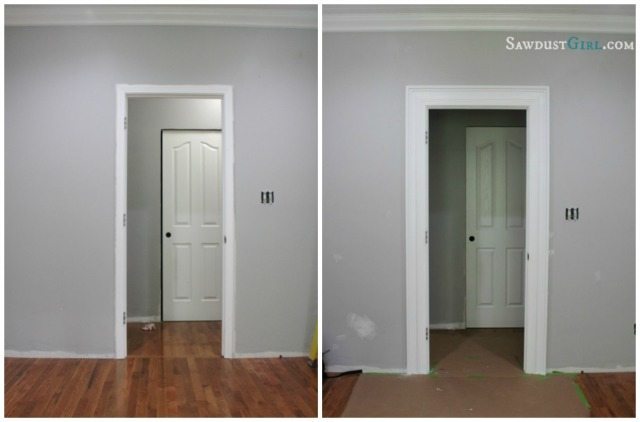
But I really wanted to add some visual height to both the doors and windows. So I added the decorative header and achieved that goal!
I wish I would have taken the window all the way to the ceiling and incorporated the crown moulding in the room to go over the window. I don’t love the small gap above the window. It’s dark and shadowy. Maybe I’ll add a light strip. Like I have nothing better to do with my time! LOL

How tall are your ceilings?
9′
A roman shade mounted on the inside of the casing is what I am doing. And truly the only option for such grand features. I lived in a plantation house what was built in the late 1800’s that was completely covered up in this style of molding. It has completely ruined me for life. I’ll never be able to look at builder-grade homes without longing for that house. However, thinking about the electric bill soon snaps me back into reality.
The ceiling is pine tongue and groove planks. You see them on a lot of walls nowadays. They are available at lumber yards and home improvement centers for around $7 per 6″x12′ plank.
Curious as to what color wall paint did you use?
What paint color did you use? It’s beautiful.
The ceiling and trim is plain out of the can bright white since that’s what they used for the moulding in this house. I matched it so I didn’t have to repaint every speck of existing trim. 🙂
This is absolutely gorgeous! Love it, this is my inspiration for my house. You can never have too much molding 🙂