DIY Tables – Nightstands Finished with Briwax
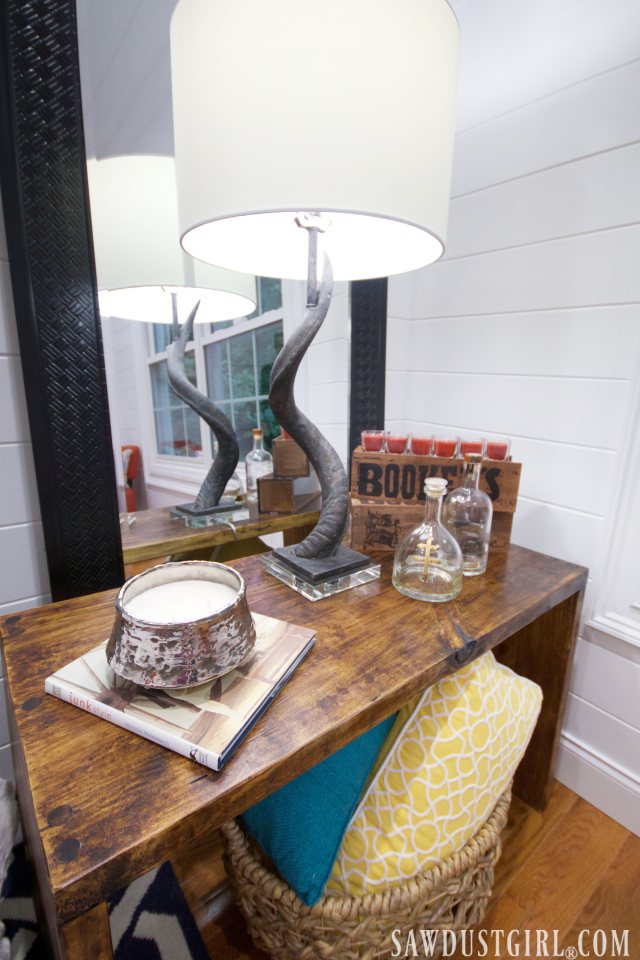
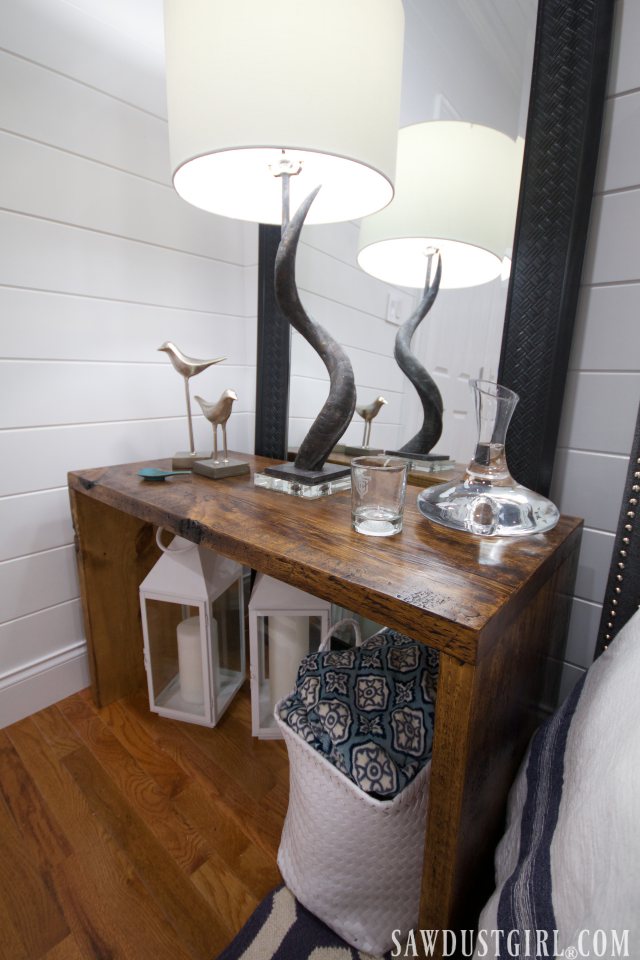
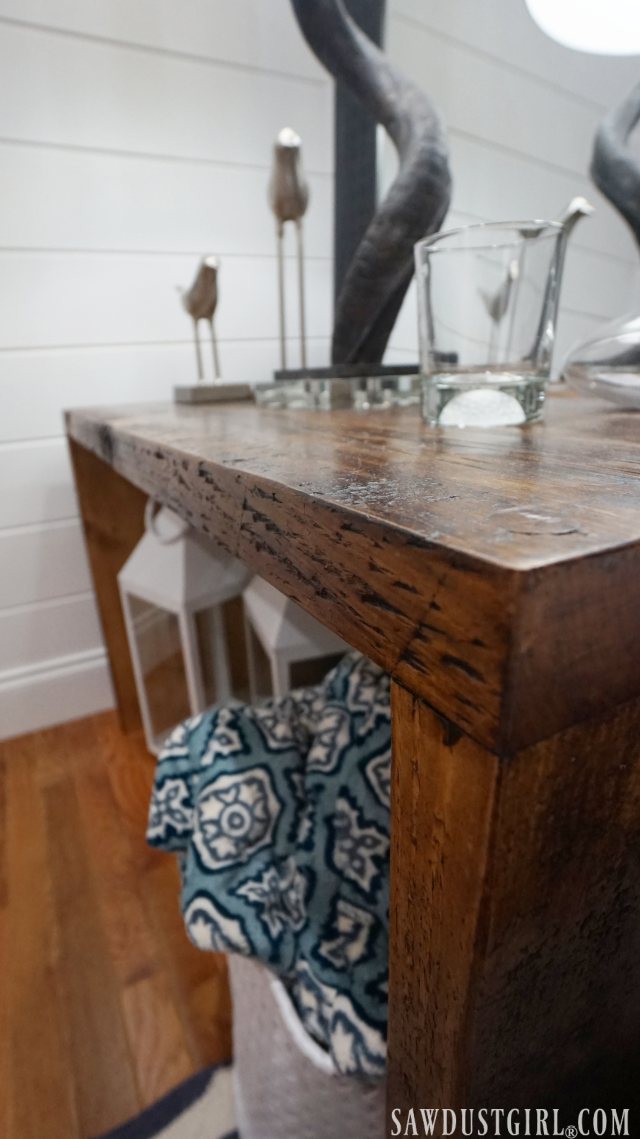
Julie and I built these awesome diy tables to function as two nightstands in the guest bedroom. We used easy joinery techniques and inexpensive wood. The luxurious Briwax finish makes them look like a million bucks! One benefit of building your own furniture is that you can make it any size you want. To fill the space on each side of the bed, our nightstands are 18″ deep x 28″ wide x 24″ tall.
Selecting Wood for DIY Tables
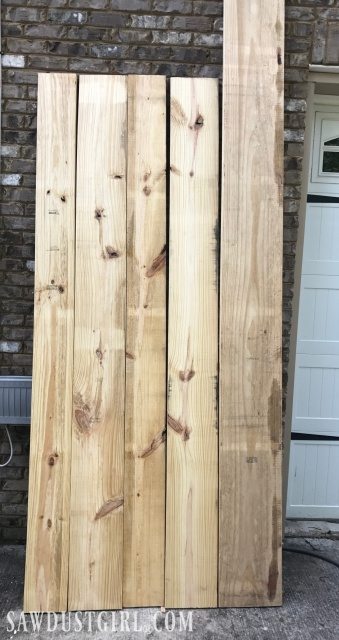
Each table is formed from one 8′ long 18″ wide slab that is made by joining together 2x material. Julie and I spent probably an hour looking through stacks of 2×6, 2×8 and 2×10 lumber. Finding wood with lots of character is like hitting the jackpot. We especially like saw marks, snipe and worm holes.
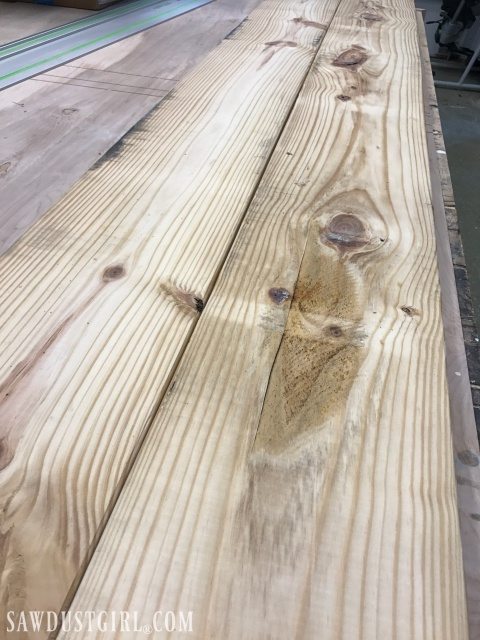
After selecting enough wood to build our two nightstands, we set out to pair the pieces together in the best visual arrangement that be at least 18″ wide. We looked at each side of every piece and tried them together every which way until we found the best configuration for two wide slabs.
Joining Wood into Wide Planks
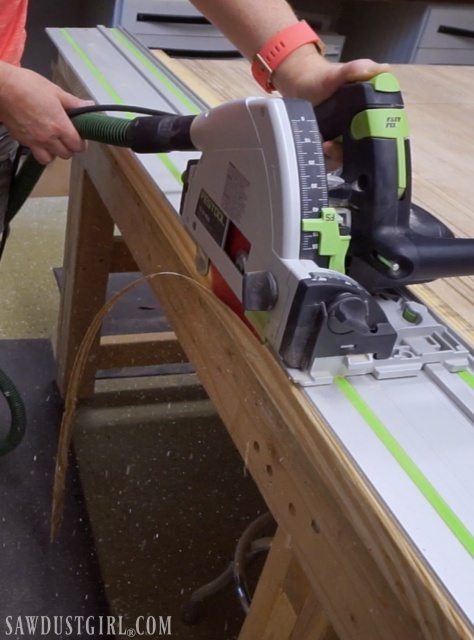
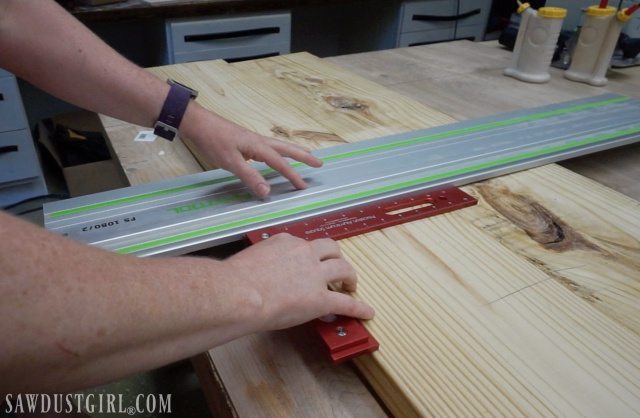
We want our diy tables to look like they are made out of one wide piece of wood. To do that we have to edge join several pieces together. It’s important to have straight edges when edge joining. These planks are 8′ long which is too long to feel comfortable using my little jointer. The easy alternative is to use a track saw.
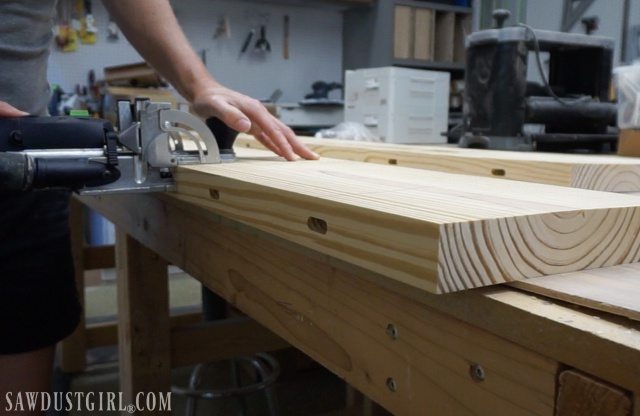
No fasteners are necessary. Wood glue will bond the two surfaces together and it will be as strong as though it was just one wide cut from one big tree. However, dowels, biscuits or tenons make it a lot easier to keep the top surface of both pieces flush with each other when clamping. I’m using my Festool Domino to cut mortises for loose tenons for that purpose.
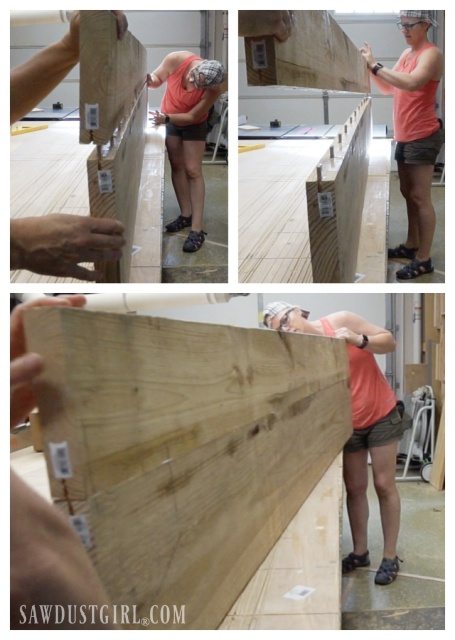
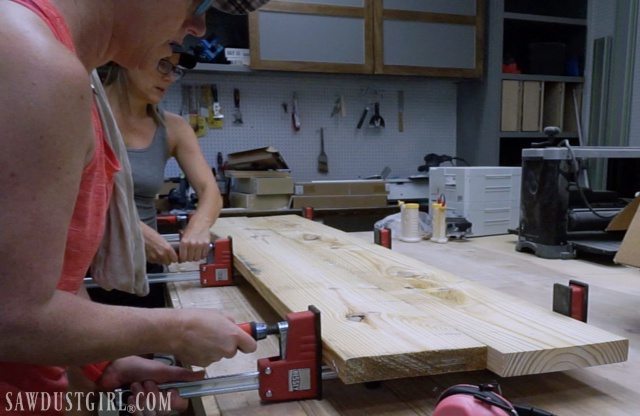
Working together, Julie and I apply glue, insert the tenons and join the two sides together.We used clamps to pull the pieces together without applying so much pressure it would cause the joint to buckle.
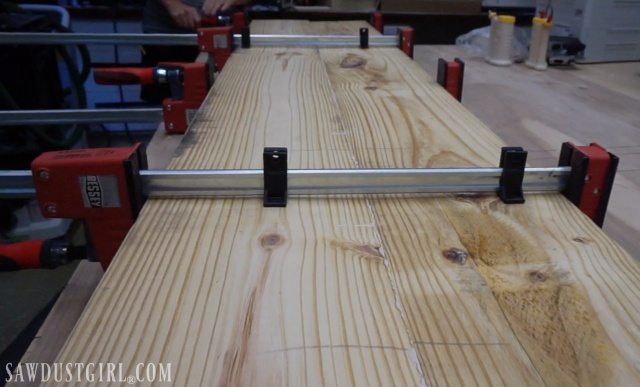
Alternating your clamps, under and over the wood, helps avoid buckling because it applies the pressure evenly.
Building Two Nightstands
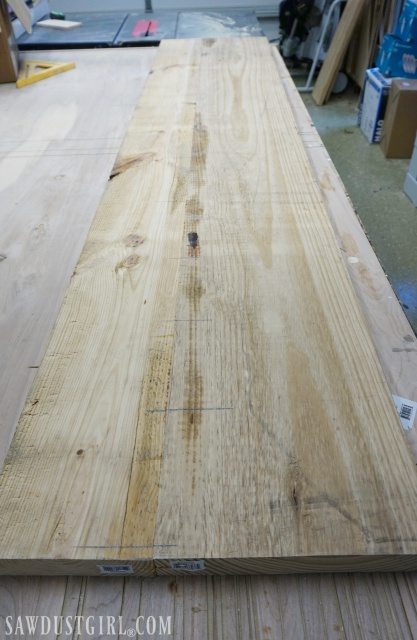
The glue to set up overnight before we started building our two nightstands.
We used the track saw to cut each slab into three pieces for a diy table.
- 1 Top at 28″
- 2 Sides/Legs at 22 1/2″
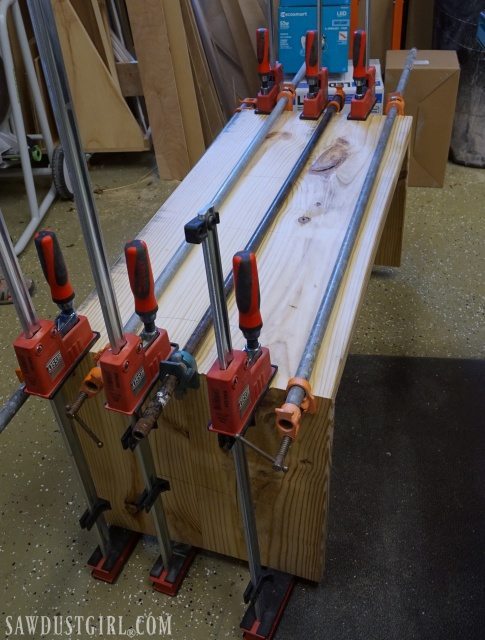
Doing our best to keep the sides square to the top, we glued the top to the sides and used clamps to keep it all pulled together until that set up.
Glued butt joints aren’t very strong on their own. Tenons could have been used as an invisible source to strengthen that joint. However, we used through dowels because we wanted to add more visible character.
Adding Dowels to Strengthen a Butt Joint
- Use a long drill bit and drill as deep as that bit will go
- Pour glue into the hole and use a finger or glue paddle to spread the glue. Make sure to cover the entire depth of the hole
- Insert dowels and trim flush with a flush cut saw
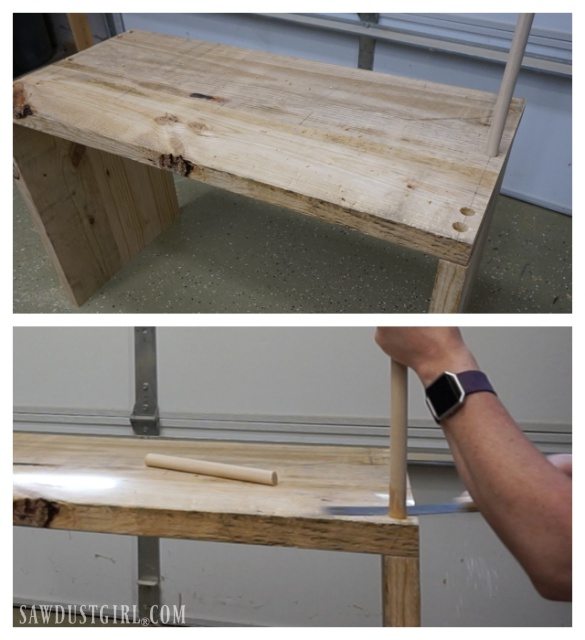
We used long pieces of dowel so we wouldn’t have any waste. The trimmed sections were put back into the “dowel scrap pile”.
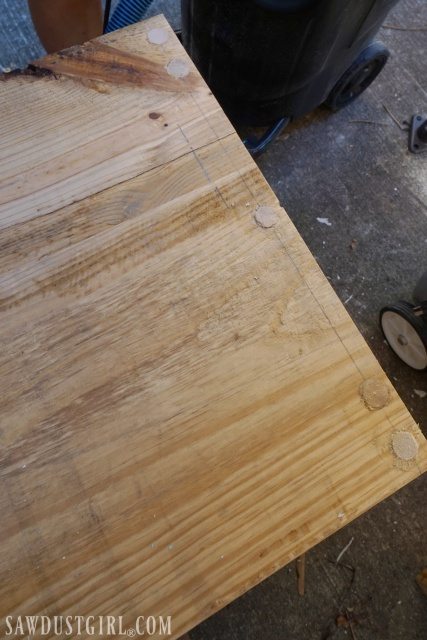
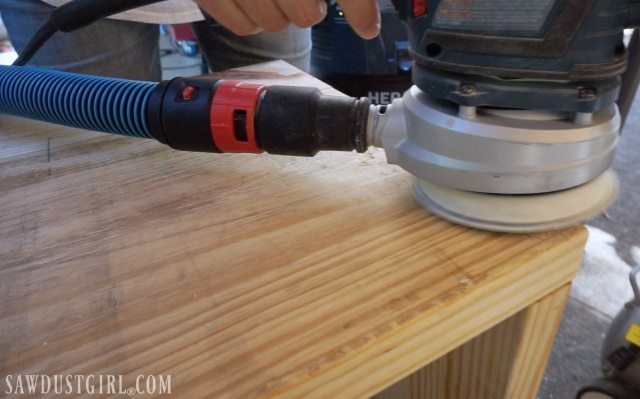
We hit the top of the diy tables with a random orbital sander to level off my rough trimming of the dowels.
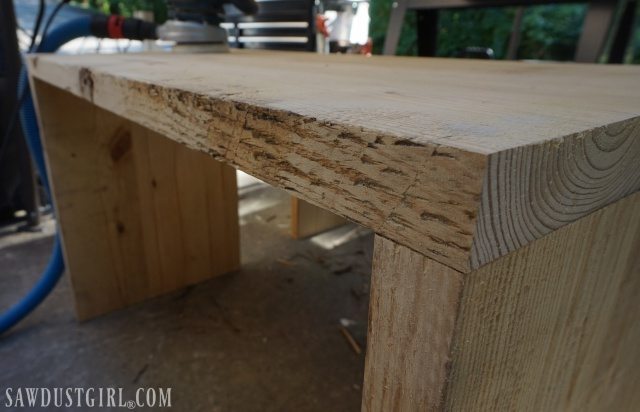
It took us a while to dig through piles of lumber to find wood with character and natural imperfections. We wanted all that to show through on the finished table so we only sanded enough to create a smooth to the touch surface. No slivers wanted.
Then Julie used her magic Briwax finishing technique to create a luxurious finish that looks and feels silky smooth!

Gorgeous!
Not fond of plank chair and nightstands.
In general I am fond of your web site.