• Home
  • About
    • Personal Posts
  • Privacy
  • Shop
    • My Account
    • Checkout
    • Email
    • Facebook
    • Instagram
    • Pinterest
    • Twitter
    • YouTube
Sawdust Girl®

Sawdust Girl®

Renovation, cabinet building and woodworking plans and tutorials. Build like a Girl®

  • My Home
    • Clinton TN House
      • Clinton TN House in Progress
    • Maryville TN House
      • Maryville TN House Tour – Completed Rooms
      • Maryville TN House in Progress
        • Basement
        • Basement Storage Closet
        • Bedroom Office
        • Craft Room
        • Dining Room
        • Entry
        • Garage
        • Guest Bedroom
        • Hallway
        • Jack and Jill Bathroom
        • Kitchen
        • Kitchen Entry
        • Laundry Room
        • Library
        • Living Room
        • Loft
        • Madison’s Room
        • Master Bedroom
        • Master Closet
        • Pantry
        • Porch
        • Powder Room
        • Wes’ Office
    • Illinois House
    • Calderwood Cottage
  • My Workshop
    • Clinton Workshop
  • Build & Breakfast
  • Cabinet Making 101
    • Cabinets
    • Doors
    • Drawers
  • Projects and Plans
    • Countertops
    • Beds
    • Benches
    • Bookshelves
    • Desks
    • Gift Ideas
    • Holiday
      • Christmas
      • Halloween
    • Home Accessories
    • Kids
    • Kitchen Cabinets
    • Lockers
    • Nightstands
    • Organization accessories
    • Recipes
    • Sewing
    • Tables
    • Vanities
    • Wardrobes
    • Woodworking
      • Wood Finishing
    • Workshop
    • Workshop Storage and Organization
  • Remodeling 101
    • Baseboard and Trim
    • crown molding
    • Demolition
    • Door and Window Casings
    • Door Installation
    • Drywall
    • Electrical work
    • Flooring
    • Home Maintenance
    • Painting
    • Plumbing
    • Resources
    • Safety
    • Tile
    • Wall and Ceiling Treatments
  • The Sawdust Diaries
    • Andrea
    • Ava D.
    • Beckie F.
    • Cara C.
    • Courtney B
    • Fawn T.
    • Jenn D.
    • Kelly C.
    • Kristy K.
    • Lara T.
    • Malisa B.
    • Marnie D.
    • Robin C.
    • Val F.
  • Tools
    • Products
    • Tool Reviews & Overviews
    • Inspiration & Ideas

DIY Leather Project Journal

All Posts, Gift Ideas, Projects and Plans

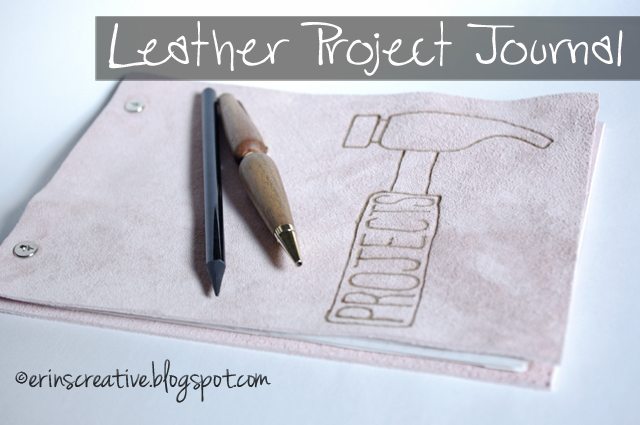
One thing I always have around my house, art room, garage workshop are project journals. I have lots of ideas and need to write them down and sketch them out before I forget them. This DIY leather project journal is really easy to create.  I was able to put mine together in less than 20 minutes and I am confident that you could do it that quickly too!

project journal 01

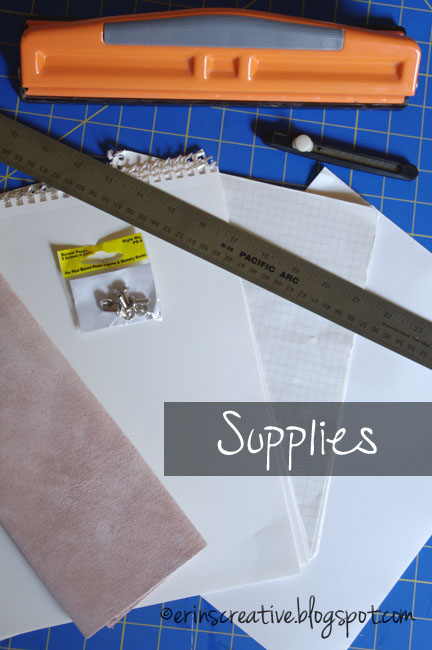
Supplies: 1 12×12 sheet of leather, paper, screw posts, a cutting mat, straight edge, exacto knife, a hole punch, phillips head screwdriver and possibly some super glue.

diy leather project journal

I found my leather at hobby lobby and paid less than $5 for it with a coupon.  The screw posts can be found in the scrap booking department of a craft store.

diy leather project journal

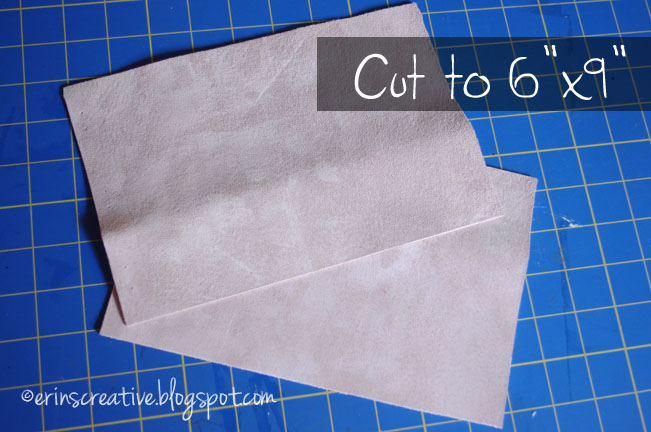
Cut 2 pieces of leather to 6 inches by 9 inches.  This should give you a little leftover to practice with your hole punch.

diy leather project journal

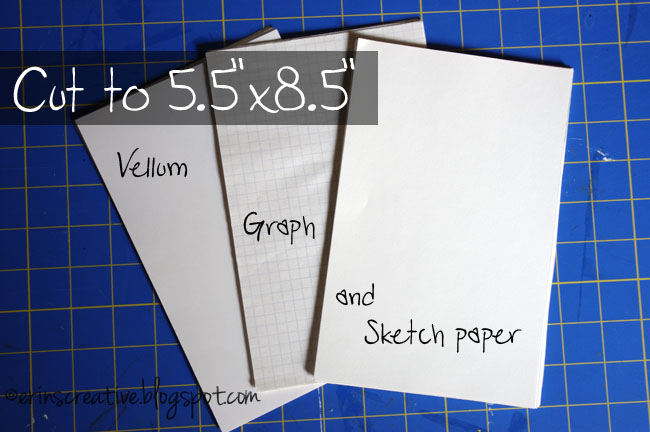
Pick the type of paper that you want in your journal.  I chose three different types.  I wanted the vellum if I was using markers because they don’t bleed on that type of paper.  The graph paper for drawing plans and the sketch paper for everything else.  I like journals with multiple papers and do not understand why you can’t buy them.  So I make them instead.

Cut your paper to be smaller than your leather.  I chose to 5.5 inches by 8.5 inches.  The leather will overlap the paper by 1/4 of an inch all the way around.

diy leather project journal

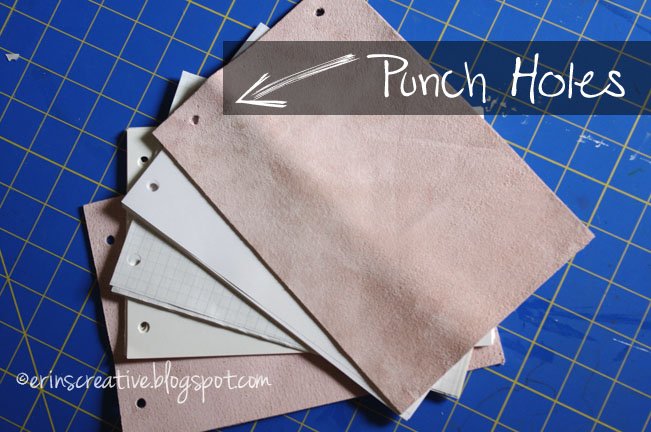
Adjust your hole punch by turning the screws in the back to set it where you want your holes to line up.  I used my scrap leather to test it out.  Once you are satisfied with the placement, punch each sheet of leather individually.  Then punch your paper.

diy leather project journal

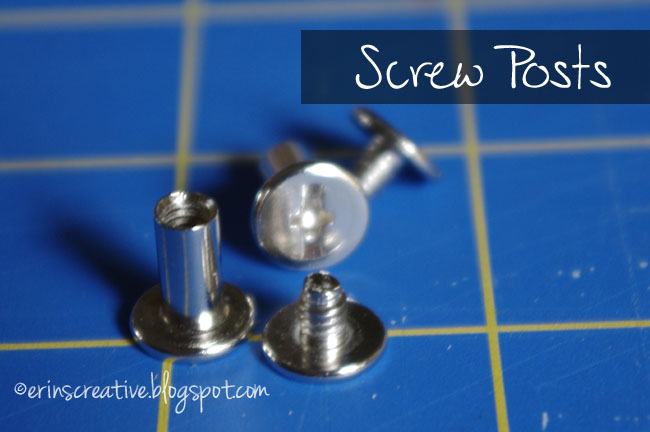
Screw posts come in a variety of sizes and the size you need will depend completely on how much paper you want in your journal.  Choose the ones that will best suit your needs.

diy leather project journal

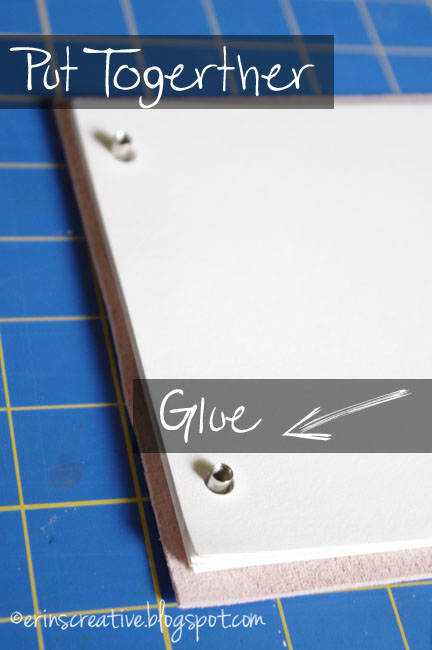
Place the bottom piece of leather on your screw posts and then stack the paper in the order you want and finish it off with the last piece of leather.  If you DO NOT want your journal to come apart, you can place a small drop of super glue before screwing your posts together.  If you want to be able to go back and remove pages without tearing, you can skip the glue step.

diy leather project journal

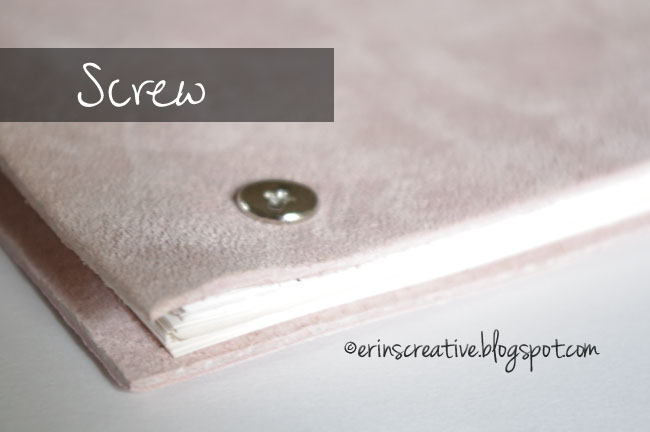
Screw your posts together and you are done!  You will have your very own custom journal to start planning your next project in.  The great part is this journal will fit into an iPad pocket on a purse or backpack.

diy leather project journal

And if you are ambitious like I am, you can even burn a little decoration onto the leather with a wood burning tool to make it really stand out.

If you want to see what else I am up to, come on over to my blog, Erin’s Creative Energy and take a look around.  You will find a wide variety of projects like the ones below.

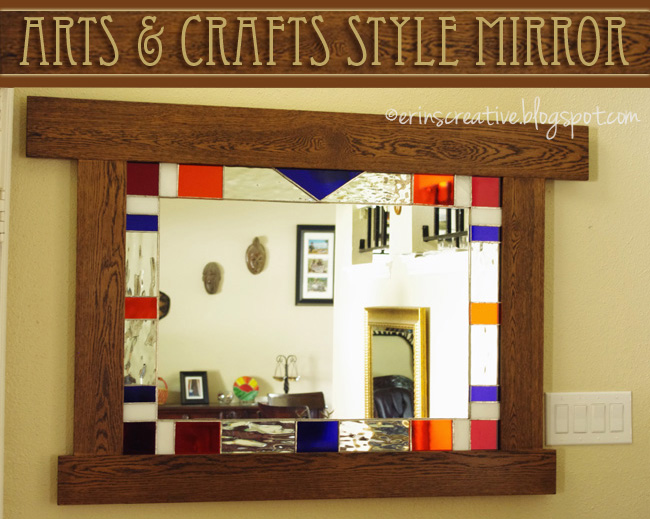
ArtsCraftsMirror txtArts and Crafts Style Mirror

IMGP0310a sm

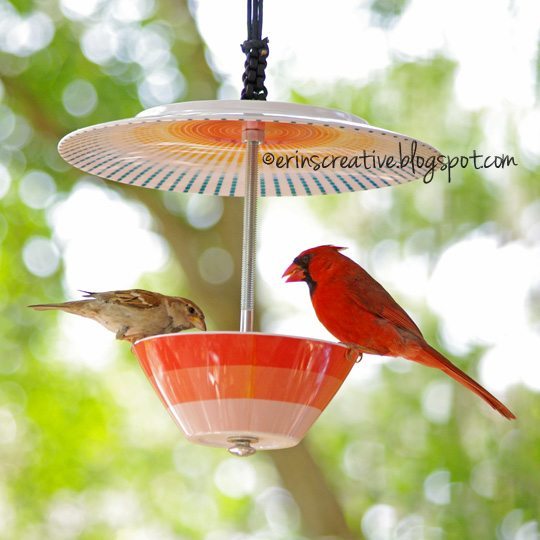
DIY Bird Feeder

September 5, 2013 · 2 Comments

« Best Painting Tips from Around the Web
On Trend Halloween Decor: part 2 »

Comments

  1. Beth @ Sawdust and Embryos says

    September 5, 2013 at 2:23 pm

    I love this! Feels so personal!

    Reply
    • Erin Morey says

      September 5, 2013 at 5:07 pm

      Thanks! I am thinking about making some for gifts this year.

      Reply

Leave a Reply Cancel reply

Your email address will not be published. Required fields are marked *

Categories

New Post email notification signup

You Subscribed!

Legal Stuff

Terms of Use

Privacy Policy

Disclosure

Recent Posts

  • Lodge and Life Update
  • How to Choose Which Track Saw to Buy in 2021
  • How to Choose a Paint Sprayer to Buy in 2021
  • How to Install a Smart Door Lock
  • An Easy Guide to Building DIY Sliding Doors for Cabinets

Disclaimer:

Although it is my intention to provide accurate plans and clear instructions, not all plans have been tried and tested. Using plans or information found on SawdustGirl.com indicates that you agree with the Terms of Use policy and will accept full responsibility for the process and outcome of any project you attempt. All plans are for private use only. Plans and information published on SawdustGirl.com may not be reproduced, republished or distributed in any manner without written permission from Sandra Powell, Sawdust Girl. Actual projects built using Sawdust Girl plans may be published on your own site without instructions or "tutorial" as long as you provide a link to my original post with full post title or "SawdustGirl.com" as link title.

Copyright © 2022 · anchored theme by <a target="_blank"