DIY Lazy Susan Art Caddy
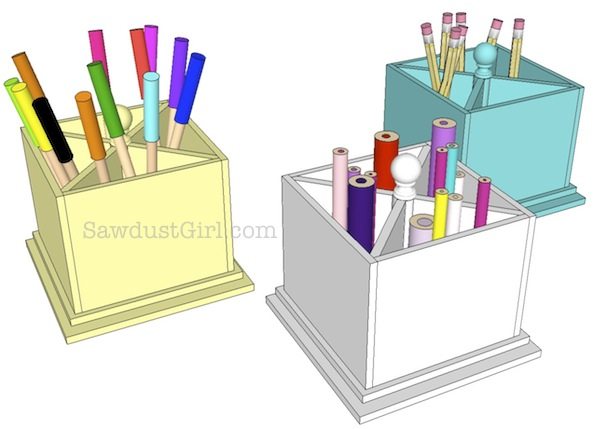
My studio is BAD. I need to get organized and I thought a DIY lazy susan art caddy (or five)would help. (You should see it. It’s embarrassing!) So I whipped some plans and thought I’d share them with you — in case you’re studio or office is in as bad of shape as mine.
Materials needed:
- Quarter sheet of 1/4″ MDF or Plywood
- 5″ diameter circle of 3/16″ hardboard
- Six loose 1/4″ ball bearing balls
- Wood glue
- One 1/2″ #6 screw
- One decorative finial (optional)
- pin nailer
Directions:
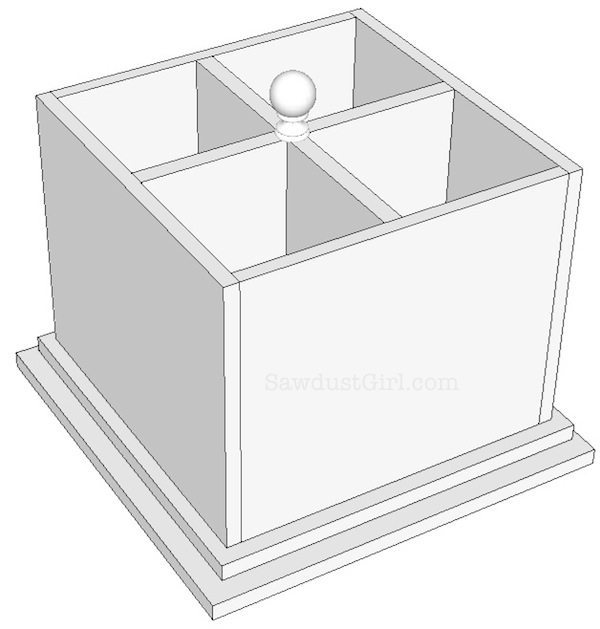
- Start by cutting two pieces 4 3/4″ x 4″. These are your dividers.
- Notch the center (half way down) on each piece as shown below. (You can do this with a table saw or a jig saw.)
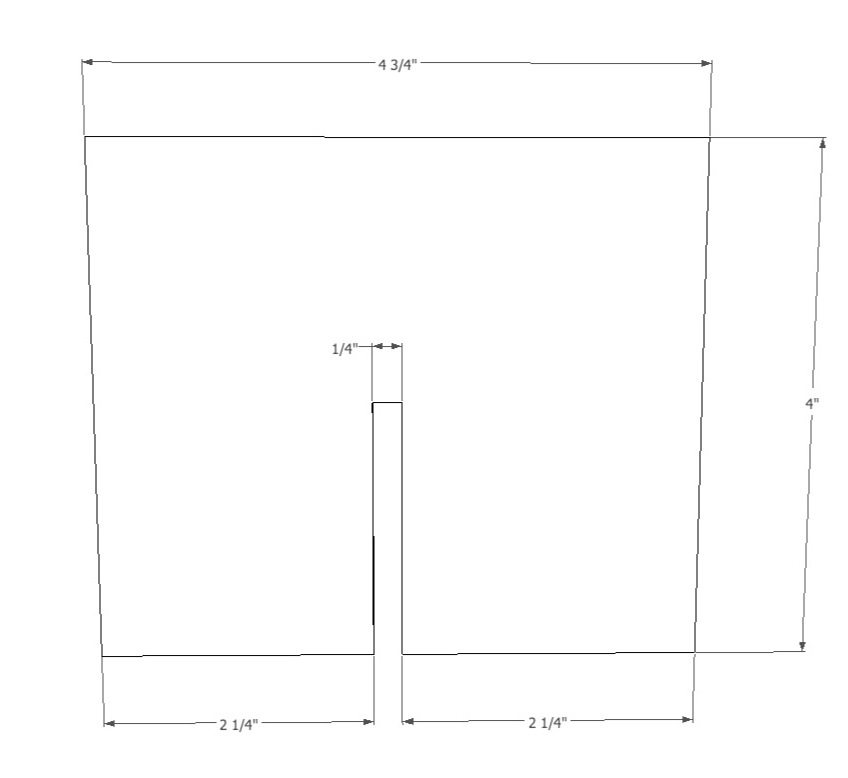
- Flip one divider upside down and slide it down onto the notch on the other divider.
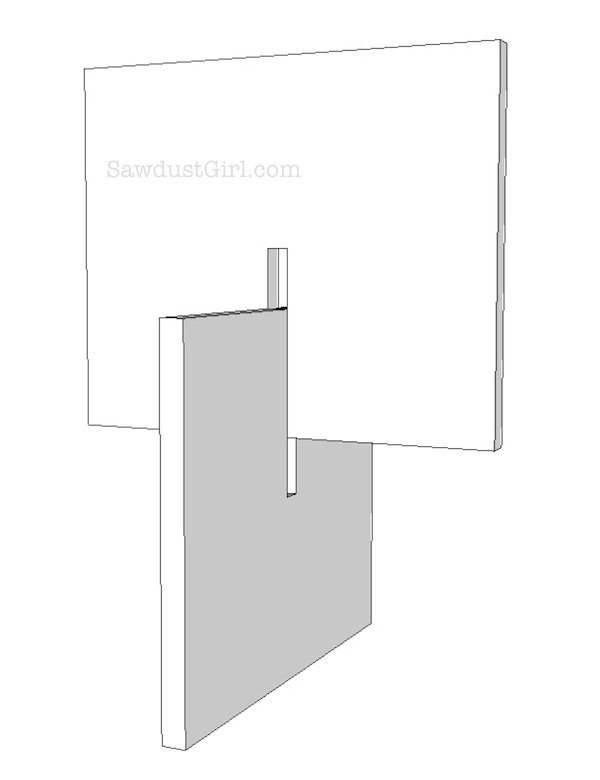
- So you end up with this!
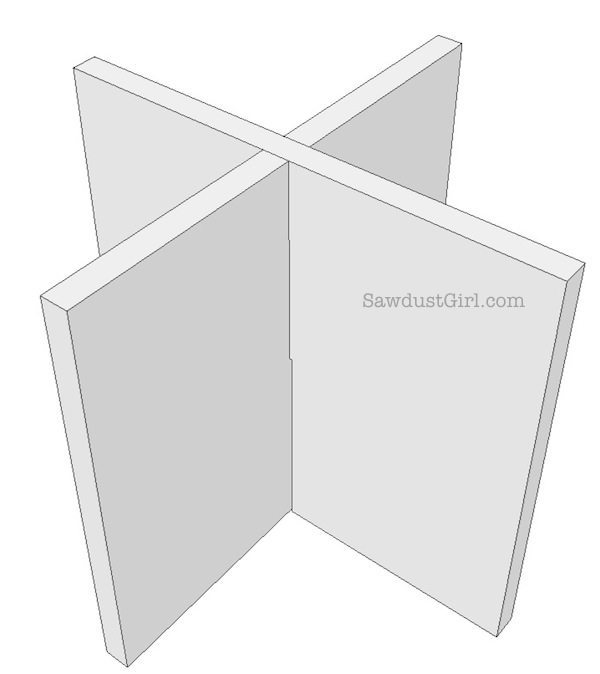
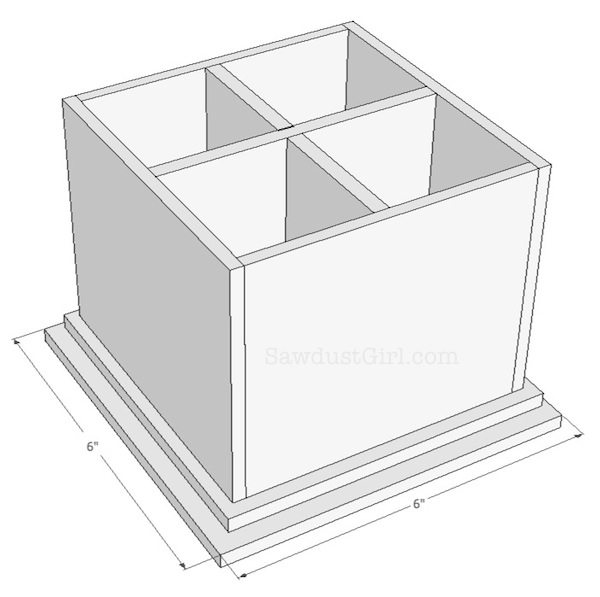
- Now build a box with two pieces cut at 4 3/4″ x 4″ and two pieces cut at 5″ x 4″.
- Assemble the box with wood glue and small pin nails. The shorter sides will go INSIDE the longer sides.
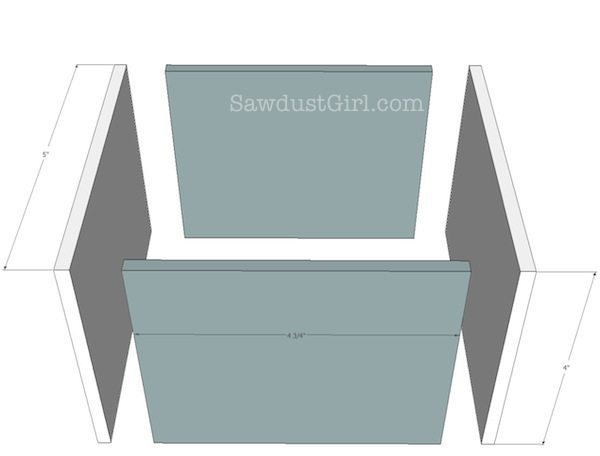
- So you end up with a 5″ x 5″ x 4″ box (outside measurement)
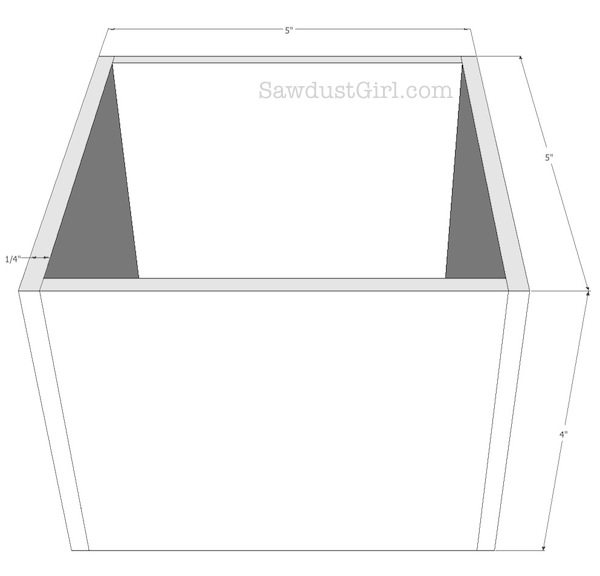
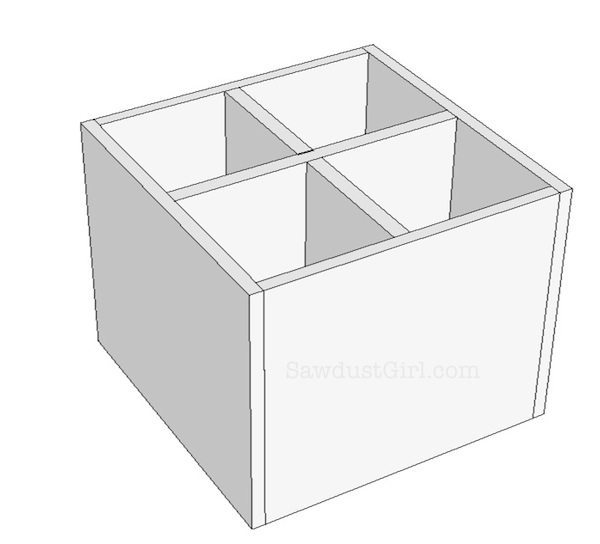
- Now glue the ends of your divider section and slip it into the box. (let the glue dry and that should be sufficient to hold it.)
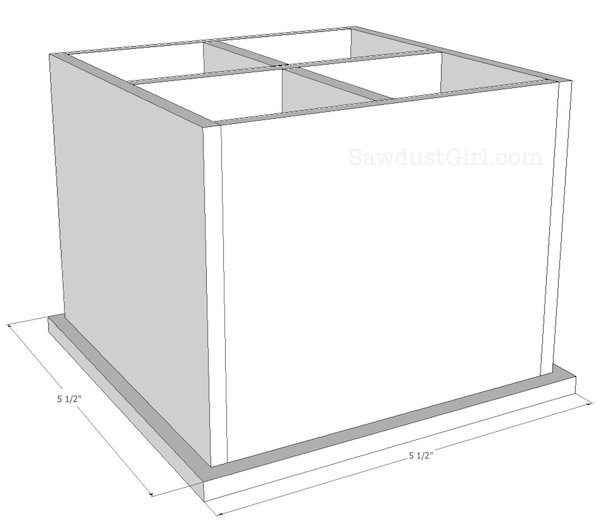
- Cut one piece at 5 1/2″ x 5 1/2″ and glue and pin nail it onto the bottom of your complete box. (Center it so the overlap is the same all the way around.)
- Use your jigsaw to cut a 5″ diameter circle out of 3/16″ hardboard. It does NOT have to be perfect. (You’re not going to see it.)
- Drill five or six 1/4″ diameter holes through this circle.
- Drill one 3/16″ diameter hole right in the center.

- Cut one 6″ x 6″ piece for your base.
- Drill a slight countersink hole into the bottom of your 6×6″ base. Don’t go all the way through, you just want your screw to set below the surface.
- Drive a 1/2″ #6 wood screw into the hole.
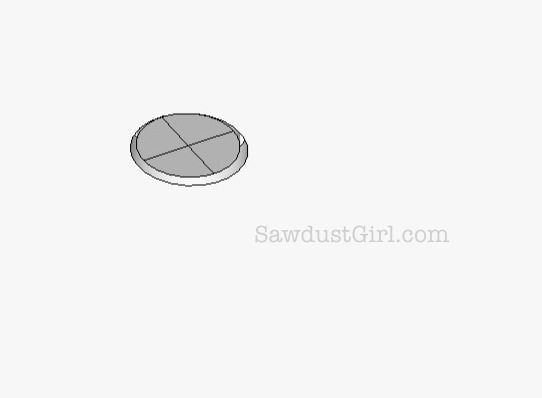
- Set the lazy susan on top of the base, the screw should come up through the center hole, keeping it in place.
- Set a 1/4″ loose ball bearing into each hole.
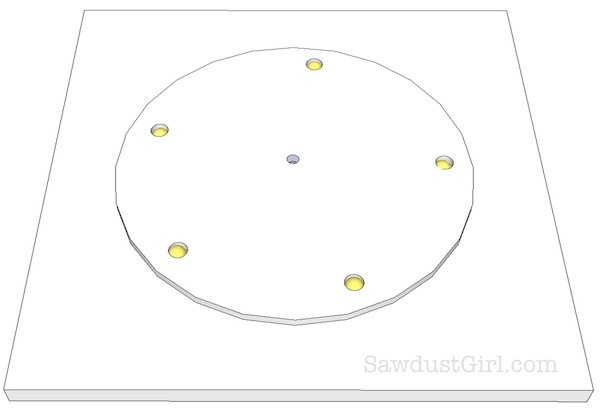
- Carefully set the “box” on top of the base and lazy susan. Hold it firmly while you tilt it so you can drive the screw into the box. (You have to be careful not to let the balls fall out of their holes.)
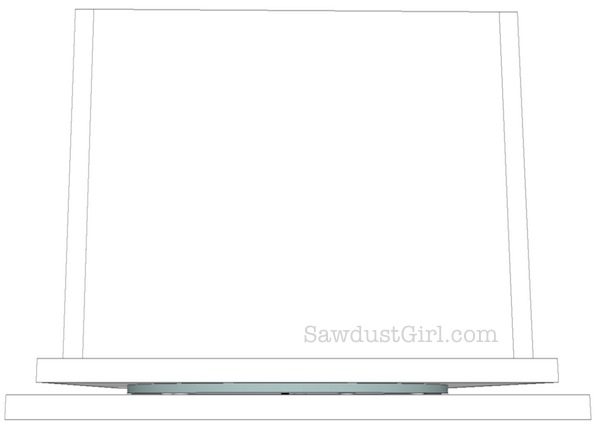
- Attach your finial with wood glue if you choose to add one.
- Sand all the outside MDF edges well and paint. (Refer to my MDF Edge Painting tutorial for beautiful painted edges on MDF.)
- Paint
- Enjoy!

Refer to “terms of use” for all the legal mumbo jumbo about accuracy, accountability and all that. 🙂


The plans change midway through the tutorial. In one pic, the dividers are hitting the middle of the side boards but in the other pics, the dividers are hitting the corners.
Did you taper the ends to go into the corners?
I did two different versions for the dividers but only posted the one that was the easiest. I didn’t change all the pics though. The pics that show the dividers in an X are illustrating the base parts. I wasn’t even looking at the top and didn’t notice the dividers. (sorry if that made it confusing.)
Love your plans and design! I might be able to make these! I love the lazy susan touch to allow them to rotate!
Love it! I didn’t realize how simple making one of these would be! I definitely need a couple of these around the house. Pinning!
I think these just might make their way into our homeschool room. You know, when we actually move in and I have time to make up a great school room. 🙂 If only someone could help me design a workable school room. And a master closet. And a craft room. 😉
Sandra,
Realy!?! That’s all to building one of these!?! I always thought they were more complicated than that!!! The ball bearing thing blew me away! You are so smart and I hope you feel better soon.
Maureen