DIY Organizer Board – $5 gift idea
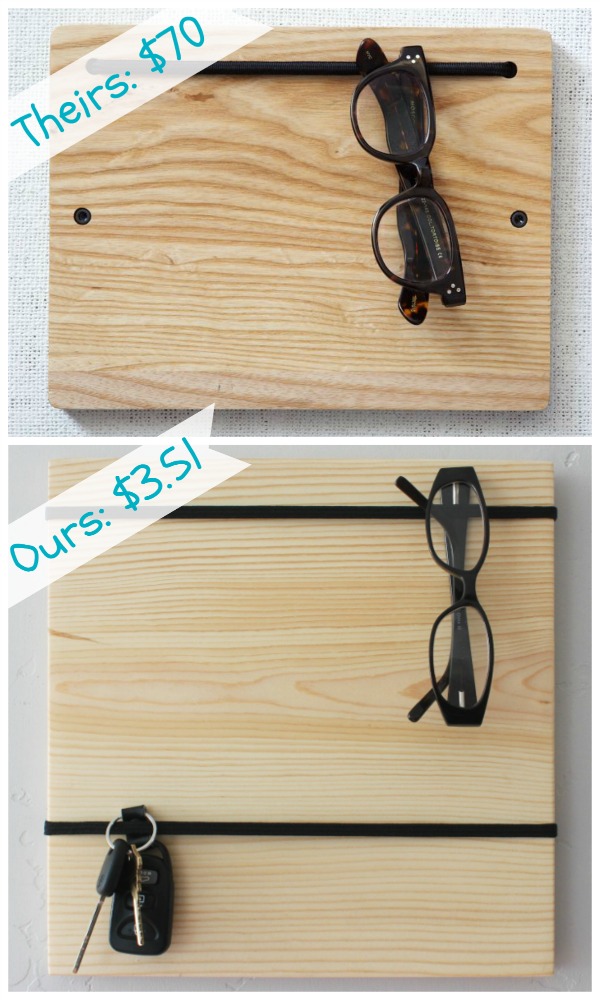 Give the gift of organization with an under $5 DIY Organizer Board. These boards are super fast and easy to make, we’re talkin 20 minutes or less fast depending on how you want to finish your board! They can be used to organize keys, phone, office supplies, eye wear, notes, mail, and a multitude of other small items. And they can be personalized a million different ways, making them the perfect gift for anyone on your list. Compare our Organizer Board with West Elm’s Blokkey Organizer.
The West Elm version has magnets embedded along the bottom to hold keys, while we like the look of a second strap. If you want to add magnets to your board you can add them easily for about another $5.
DIY Organizer Board – $5 gift idea
Materials:
- 1 x 12 #2 whitewood pine board, these come in 4, 6, 8, 10, and 12 foot lengths. The our Organizer’s finished dimensions are 11 3/16″ by 11 3/16″, so you can make one Organizer for every linear foot of lumber. Choose lumber that is not warped and is in good condition. If you are going to stain or leave your Organizer natural then choose boards with interesting graining.
- Elastic straps. I used two kinds and was really happy with both. Headbands from the dollar store, they come in a multitude of colors and are 8 to a pack, and HDX 10″ bungee cord. They come 8 to a pack as well, so one pack of headbands or bungee cords will make 4 Organizers.
- Picture hanger: I like to router a key hole hanging slot on the backs of the Boards, but you could also use picture hanging hardware.
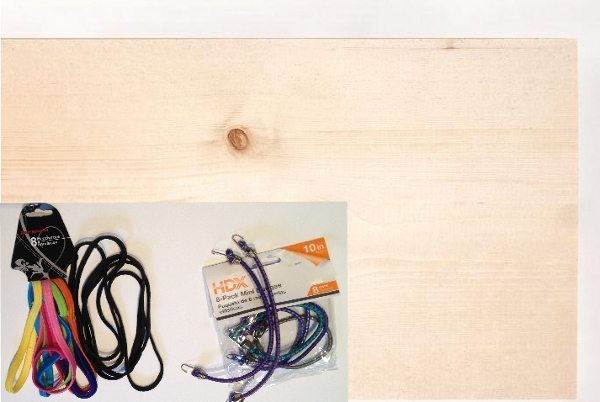
The price breakdown based on making 4 Organizer Boards (This will vary a lot depending upon how many you want to make and what you have to buy in terms of finishing.)
- Lumber = $1.81
- Straps = $0.60
- Finish cost (rough estimate) = $ 1.00
Total = $3.51 per Organizer
Step 1: Cut your boards and drill holes.
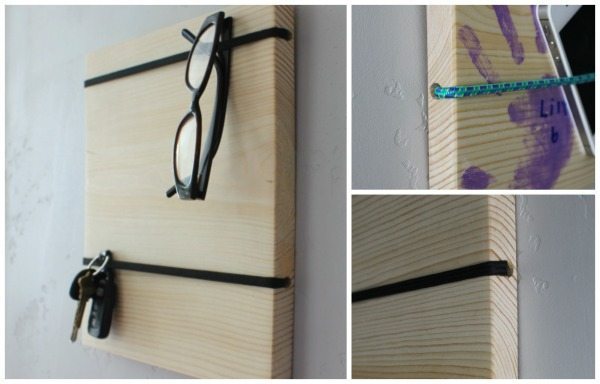
Cut your boards to size, for a perfectly square Organizer cut the width to 11 3/16″. Use a pocket hole jig to drill holes where you want your straps to attach. My straps are at 1 1/2″ and 8″ from the top, except for on the photo board where they were adjusted so that they did not cover a face.

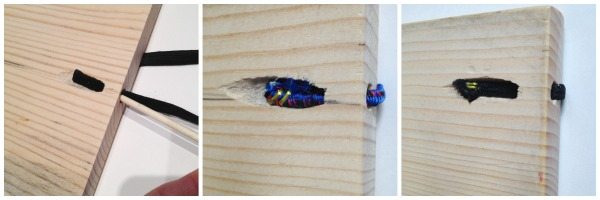
Next use a clamp to stabilize the edges and reverse drill the pocket holes so that they are large enough that your straps can be threaded through, I used a 5/16″ bit. The pocket holes provide a clean way to thread the straps through to the back and allow you to secure the straps so that they are flush, giving the Organizer Boards a clean professional look.
Step 2: Sand
Sand the board smooth, make sure to round the corners and edges so that when the Organizer is being used it feels good to the touch. Clean the pocket holes and smooth with sandpaper or a wood rasp.
Step 3: Finish the Board.
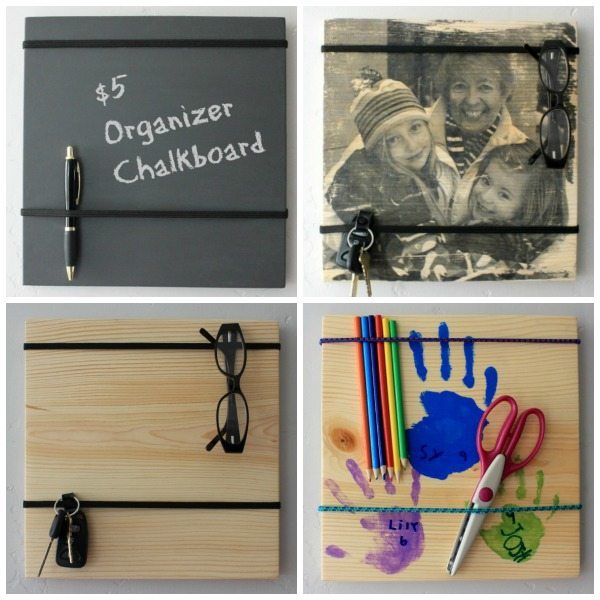
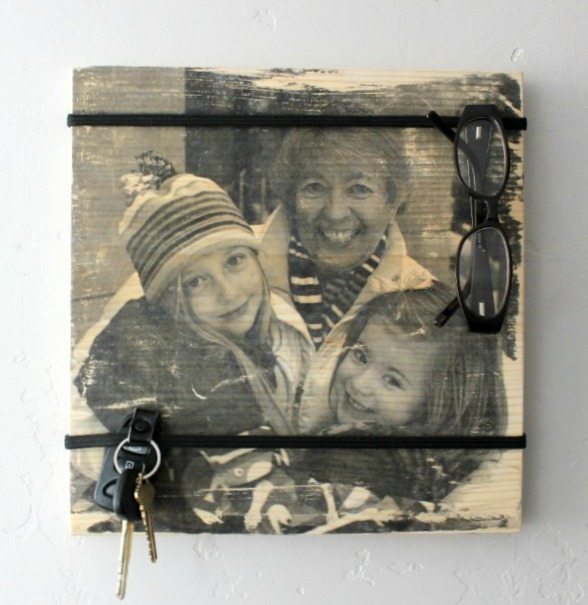
Now that you have finished the basics of your DIY Organizer Board you can have fun personalizing it. A whitewashed board with white straps for a modern Scandinavian flavor, add an inspirational quote, decoupage travel memorabilia from a favorite vacation, let your creativity go wild! Here are a few examples of ways to customize the boards: Chalkboard paint, photo adhered to wood, hand rubbed wax finish, and children’s hand prints.
Step 4: Attach the straps.
Once the finish for your board is dry, use a skewer to poke the strap through a pocket hole and attach using several staples within the groove. Wrap the strap around the front of the board making sure the strap doesn’t get twisted, and thread through the opposite pocket hole. Pull the strap until there is enough tension that the strap will hold items onto the board but not so tight that it has no give or breaks, then secure it with staples. Repeat for the second strap, then trim off any excess strap material.
Step 5: Add Hanger
I like to use a plunge router to create a keyhole hanging slot. But you can just as easily add a D-hook or sawtooth picture hanger.
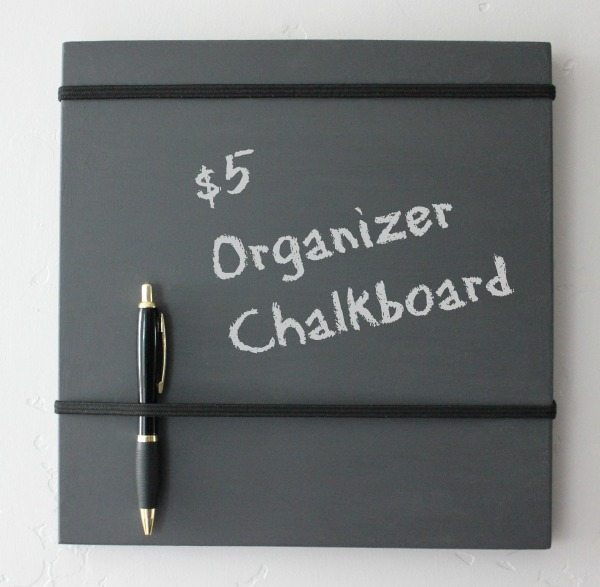
That’s it. Your DIY Organizer Board is ready to use, or to be wrapped up for a special someone.
Check out these other awesome DIY gift ideas!
Love your styles and DIY’s on savings and how to think and utilize ones skills.
Awesome! Five Stars.
This is a great idea!!
Very cool idea!
Brilliant! I love this so much. Wish I could leave work right now and go home and get started on some of them!