Decorative Toekick and Ball Loss Prevention – Day 6
I used this decorative toekick design in the kitchen so I’m adding it to the kitchen entry hutch as well. The hutch looks fine without it, but I want to maintain consistency with my cabinet design. I don’t use it everywhere except on focal point cabinets. This hutch qualifies so it’s getting the special decorative feature.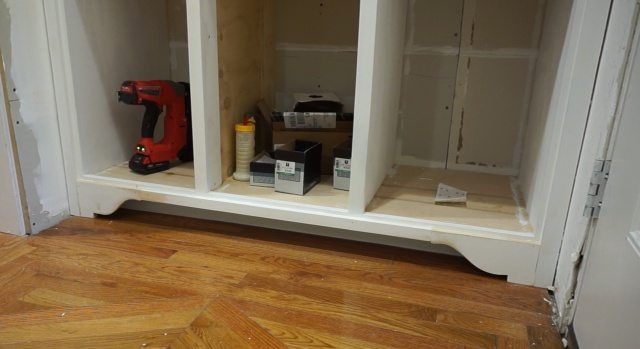
Adding a Decorative Toekick
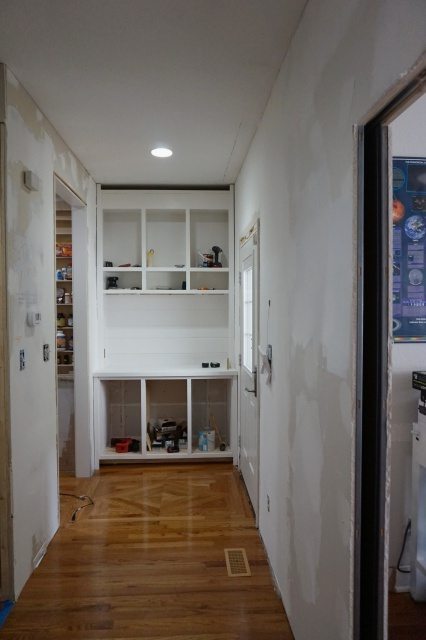
I used a template that I made previously (so I could have a consistent design anywhere that I want a decorative toekick). Printable PDF of this shape along with tips for using it in this post here.
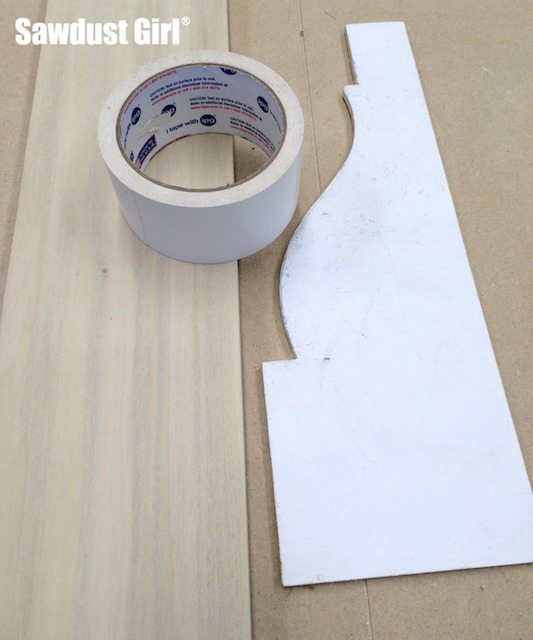
I cut out my decorative toekick in a bottom rail of my second layer of faceframe (that I am using to hide the gap between the hutch and the wall from taking out the planking). If I had space to get a drill/driver back in there, I’d use pocket hole screws to attach it to the side of the vertical faceframe pieces.
However, there is no room to get in there, so I need a way to keep the decorative rail flush with the side (stile). I glued little blocks of wood in place that would do the trick. 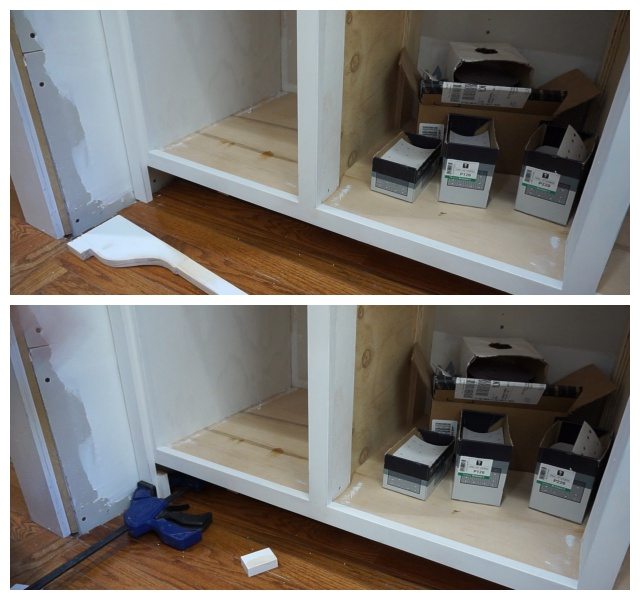 While I’m working down here, I see the exposed 2×4 cabinet base in the recessed toekick area that needs to be painted. It would be very difficult to lay on the floor to paint it so I’m painting a strip of 1/4″ plywood to cover it up. I’ll just use caulk to “glue” it in place.
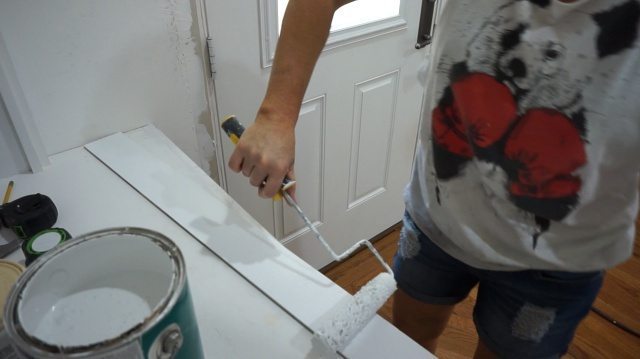
I REALLY should have put this piece in place BEFORE glueing the little blocks of wood in place. In order to even get close, I had to bend it to get it into place. Actually, I had to bend it a lot. So much so that it broke.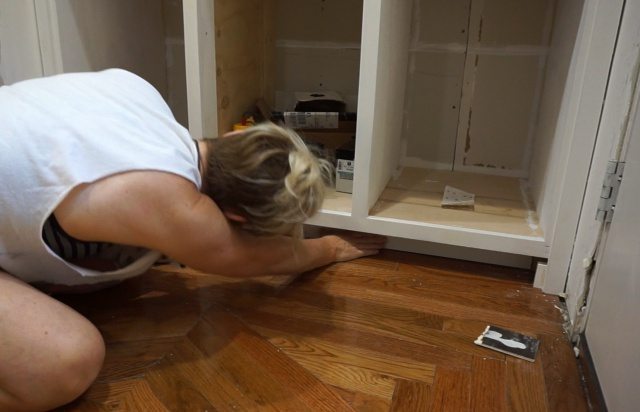
Maybe it wouldn’t have made a difference if I’d done it before glueing the blocks in place. Maybe I should have done it before even putting ant faceframe on. Either way, I don’t look at every detail of the whole big picture of the project when I’m working on specific tasks…so I didn’t plan ahead. To fix it, I just applied more caulk/adhesive and smooshed the broken piece in place. Then, I smooshed caulk into the break line to hide it. This area barely shows so I’m not worried about it. I just wanted it painted.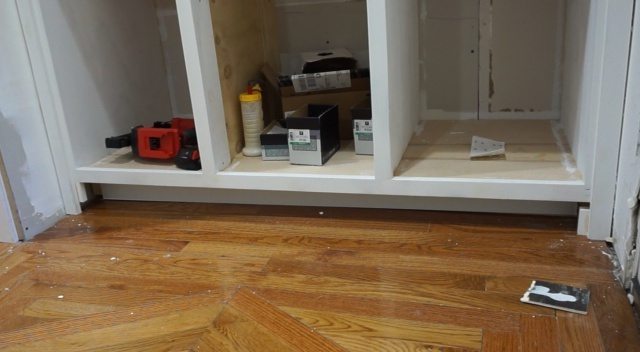
The tricky part of using a decorative toekick in this area was making it appear symmetrical when it was a whole 1/2″ shorter on one side. In the picture first below, I show the piece flipped around so the left toekick piece is on the right side of the cabinet. Directly under that picture, you can see I’ve flipped the toekick piece back around so it’s sides are covering the correct cabinet side.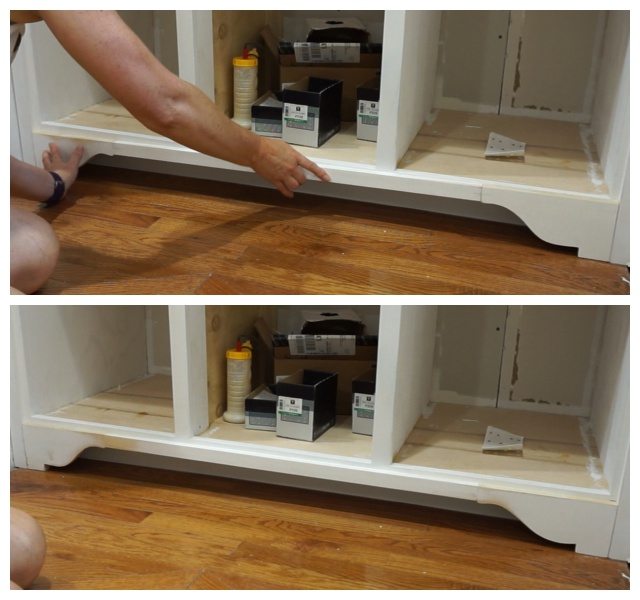 1/2″ over a 52″ span is a big slope. I had to cut the angles of the arches slightly differently to hide the discrepancy as best I could. If I wasn’t telling you about the flaw, you may not even notice it when you looked at the photos.
However, I am telling you about it in case you’re ever installing a decorative toekick in a wonky floored area. So now you probably can’t look at this hutch without seeing the flaw.
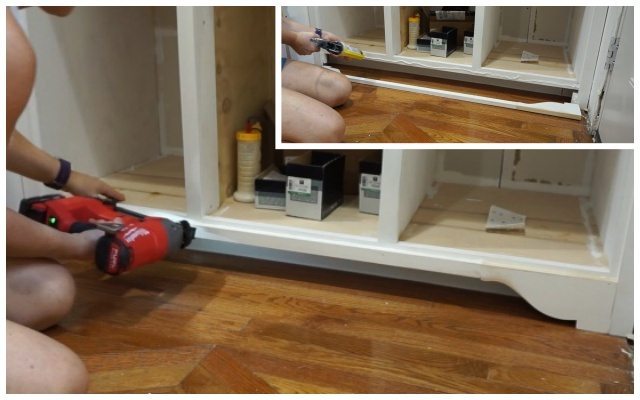
I used caulk and nails to secure the decorative toekick in place.
Now for the second part of this mission…
Toekick Ball Loss Prevention
When I removed the bench on Day 1, I found a ball that had been long lost, tucked back into the dark recess behind the decorative toekick. With an “ounce of prevention” attitude, I’m blocking out the deep side recesses — to keep the dogs’ most adored toys from disappearing.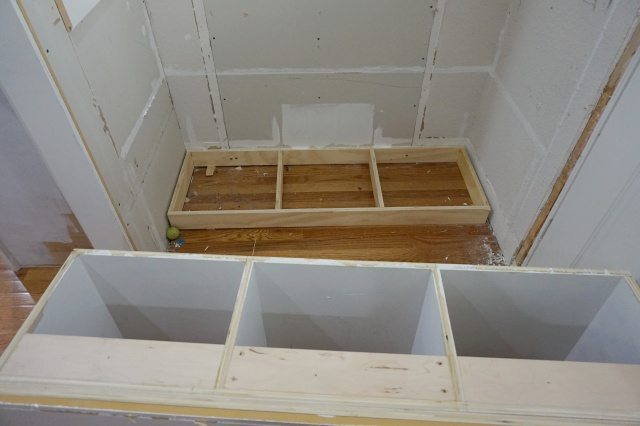
I cut blocks of wood that I could slide back into place. 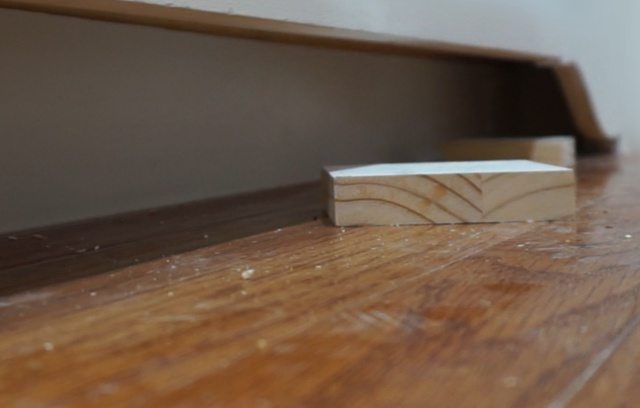
The blocks are just the right width for the space but there is still a gap at the top. No balls will be finding their way into this gap and only see it if you’re laying on the floor and peering in. So we don’t care about the gap.
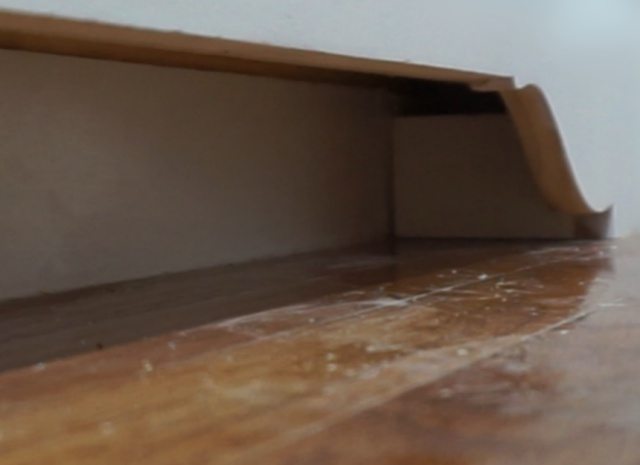
I used caulk adhesive on the back of the blocks to secure them in place. Then I blindly caulked the sides and bottom of the blocks.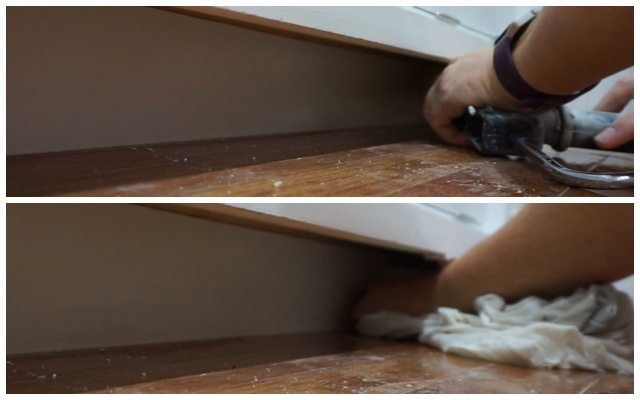
Voila! (Just imagine you are standing up and don’e see the gap at the top of the block.)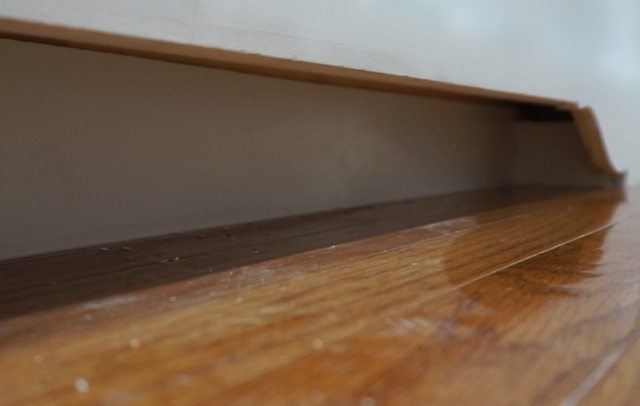
There is still a good hiding spot for a ball back behind the decorative toekick but it’s much better than before. I rolled a ball back in there to see if the dogs could get it.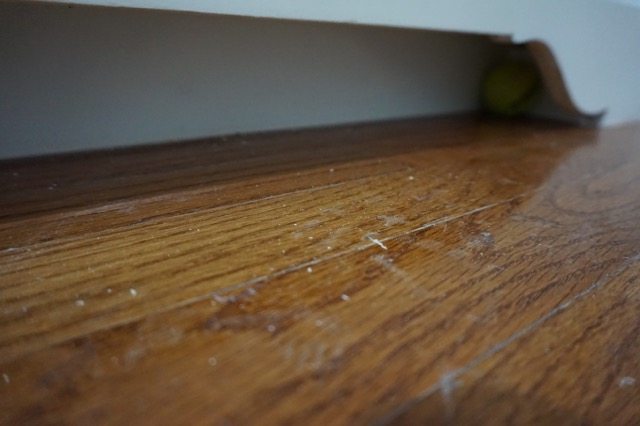
Bella was afraid of the hutch (poor thing is afraid of almost everything) and didn’t get close to it. Brody was persistent and didn’t give up until he had the ball in his mouth…
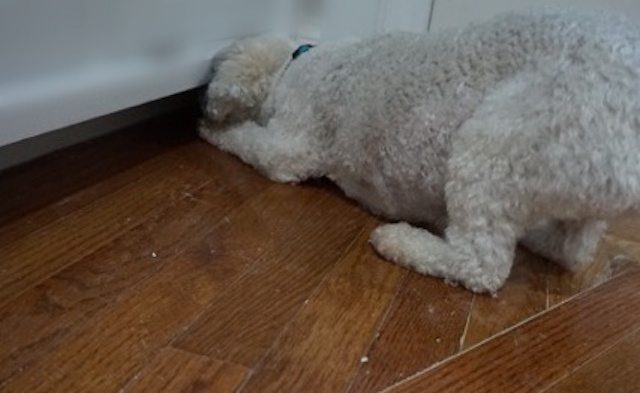
…for 2 seconds until Bella stole it. She is NOT afraid of Brody and bosses him around like nobody’s business. Point of the story is that roll away balls are now retrievable!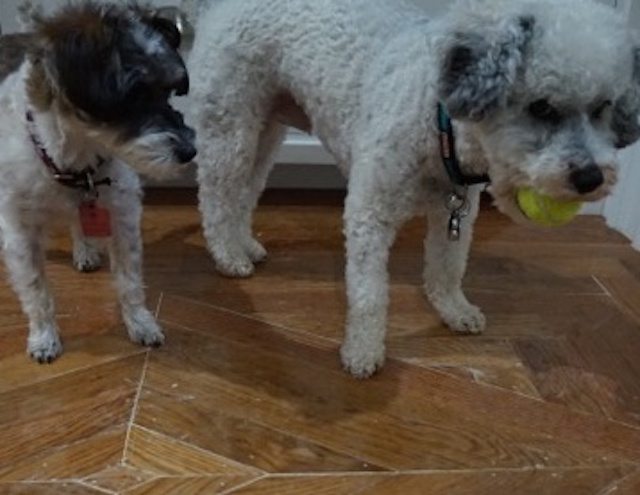
Roll away balls are a common problem in this house. I’m going to have to go back to all the decorative toekicks in the kitchen and install my “ball loss prevention system”. Down the road. I’ll get back to the kitchen eventually but I need to focus on the studio right now. Just as soon as I finish this one day, kitchen entry (hallway) makeover!
Next post: Day 7
Start at the beginning: Day 1
