Magnetic Storage Board
Looking for a cheap easy way to declutter counter tops, desks, tables, etc? This DIY storage board with magnetic cups may be just the ticket.
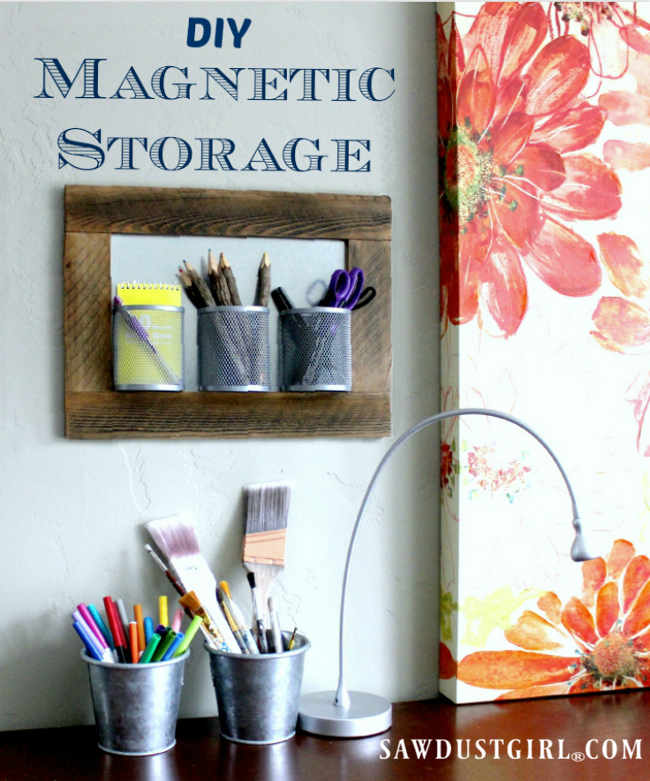
Sandra is waist deep in trying to get her plumbing issues situated, and so the continuation of the Jack and Jill reveal is being postponed by a few days. Instead here is a simple storage project that is easy, cheap, and adds fun portable storage to any room. DIY Storage Boards with Magnetic Cups are a snap to put together and cost less than 5 bucks. They make it easy to store and organize art supplies, office supplies, make-up, toothbrushes, toothpaste, razors, you name it can be stored in the handy magnetic cups. Take the cup off of the magnetic board to use, then when you are done they simply snap back into place keeping everything nice and tidy! They make a great gift for teachers, students, or anyone who could use a little extra storage.
Declutter with DIY Storage Board Supplies:
- Galvanized shingle (5×8 or 8×12)
- Magnetic cups
- Scrap wood or molding
- Rapid Fuse Wood glue
- Picture hanging hardware
- Clear latex caulk with silicone
- Paint or stain/finish of your choice
Galvanized shingles are usually in the building materials section of your big box store by the gutters and roofing supplies. You can find magnetic cups anywhere they carry office supplies, including dollar stores. On this project I used some left over door casing and reclaimed fencing, but most any scrap lumber will work. You will need about 4 linear feet for the large board and 3 feet for the small.
Step 1: Cut Frame
Cut your wood to create a frame, making sure that the inside opening is 1/2” smaller than the shingle. This will give you 1/4” overlap all the way around. You can 1/2 rabbit or router a groove for the shingle to rest in, but it is fine for the shingle to just sit flat against the back of the frame. Miter the corners on a frame made with molding, butt joints are fine for a flat wood frame.
Step 2: Assemble and Finish Frame

Assemble the frame using the Rapid Fuse wood glue. Start with your first corner and spread a thin amount of the glue on one side. Next position the corner pieces together and squeeze for 30 seconds (you have up to 3 minutes of reposition time). No need to clamp, just hand held pressure will result in a solid bond. This is my new favorite way to assemble picture frame molding, it’s so fast and easy! Let the Rapid Fuse Dry for 30 minutes and it will be cured–solid. Sand bare wood to a smooth finish and apply the finish of your choice. We used white paint for the molding frame and a colored wax on the wood frame. If you want the magnetic cups to be a different color than what is available at the store, they are really easy to spray paint any color you choose.
Step 3: Assemble Board
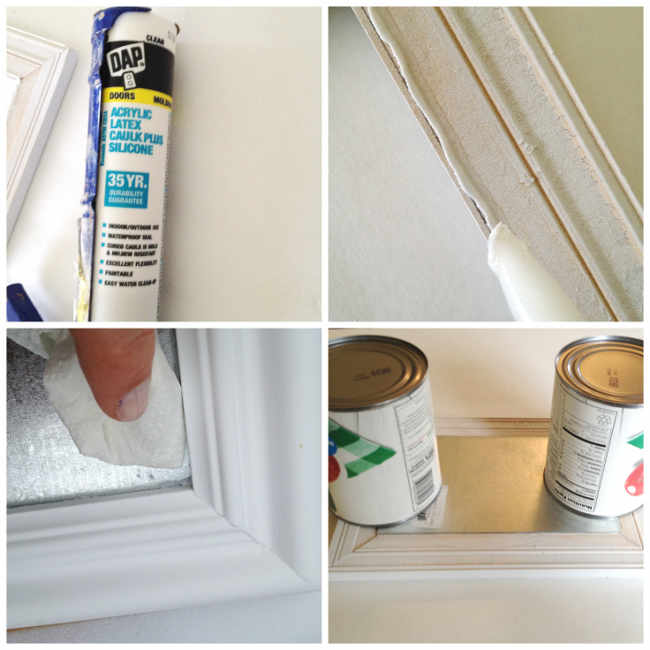
After the frame has dried, run a bead of caulk around the edge on the back of the frame. Next place the shingle onto the frame making sure to get the overlap even on all sides. Now press the shingle firmly onto the frame and flip the frame over. Wipe away any caulk that has squeezed out onto the front of the shingle and then flip the frame back over and place weights on it for a couple of hours to let the caulk dry. Once dry, run a bead of caulk over the exposed edge of the shingle. This will cover the sharp edge and create a little bumper to protect your walls and help keep the shingle firmly attached. Let the caulk dry overnight.
Step 4: apply a hanger

A keyhole hanger works great On flat wood. Unless your molding profile is really thick, use an attachable hanger with a molding frame. For the larger size magnetic board use 2 hangers, one on each side. This will keep the frame stable and balanced when the cups are moved. That’s it, done. Your magnetic storage board is ready to be hung up and used to declutter your space.
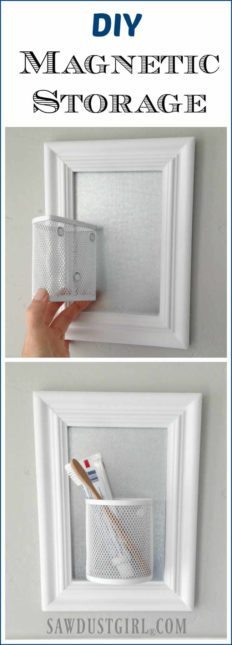
Declutter your space with these simple DIY storage boards. They are the perfect way to organize and store items and keep your space clutter free!

Cute DIY project. I love that artwork! Can you share where you got it?
Thanks Melissa. The art is giclee flowers by Agnes St. Leger.
is the plumbing issue beyond the DIY stage ? I am so sorry for the ongoing plumbing saga you are enduring. we so empathize with something seems to be solved but rears its ugly head somewhere else., and somewhere else. worse than groundhog day movie. sometimes stepping aside vanquishes the evil vampire.