Creating usable space by extending stairway walls.
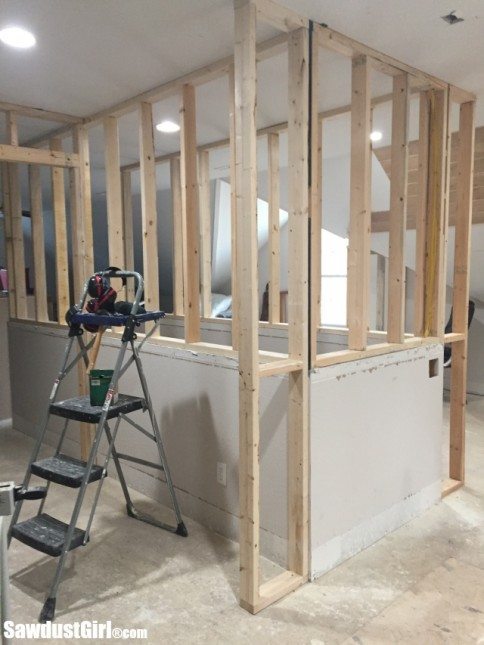 I’m creating usable space in my loft by extending the stairway walls. I want to make use of as much vertical space as possible, especially since a lot of my vertical space around the perimeter of the loft is stolen by those dang slanted ceilings. I’m not sure what the advantage of half walls around the stairway would be. Possibly the idea was just to create an “open feeling”. I think there’s enough space in the loft to keep a spacious feeling AND make use of more vertical space by extending these walls up to the ceiling
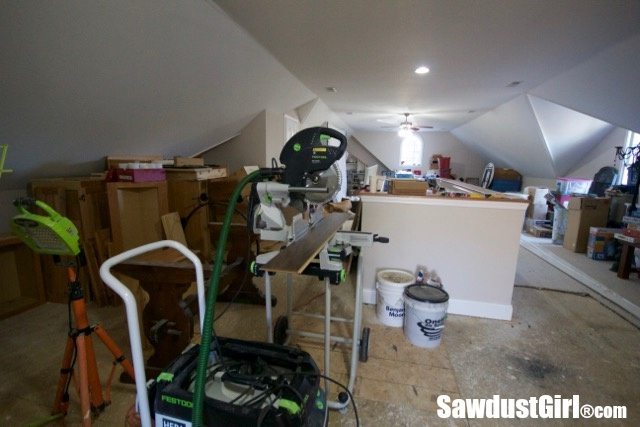
Creating usable space by building up
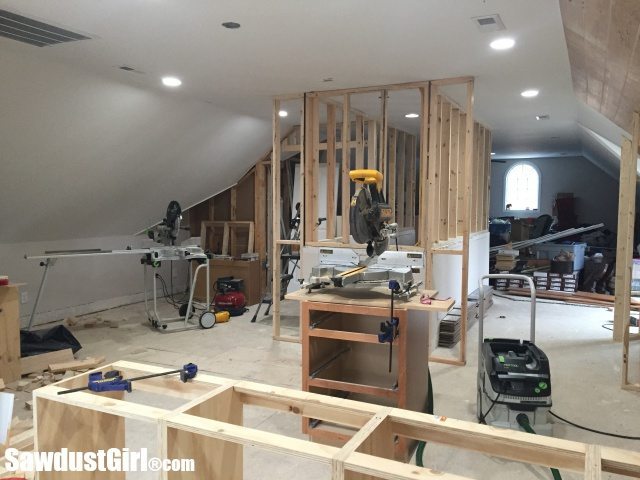
Framing is a good job to do with a helper and Penny was willing. We assembled the walls pretty quickly. Framing straight walls with a flat ceiling is pretty easy, unlike my wonky wall on the angled ceiling. I don’t think we spent more than a couple hours putting these bad boys up.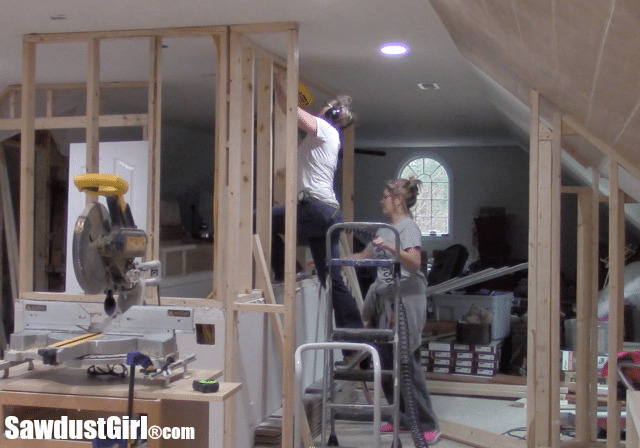
In addition to building the stairway walls up to the ceiling, I extended the wall on the end by 14″ on each side. 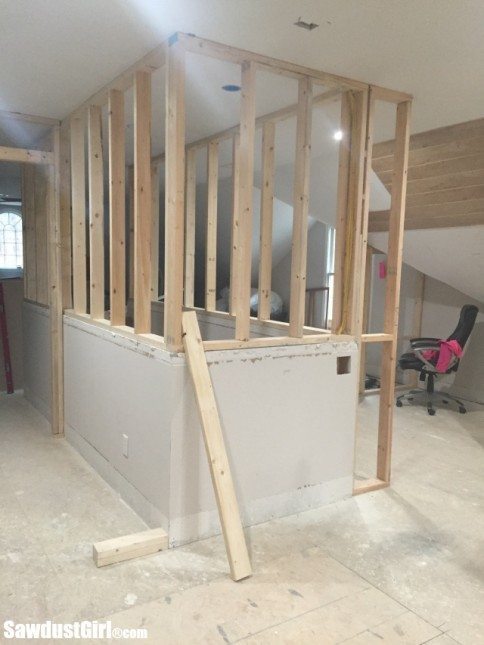
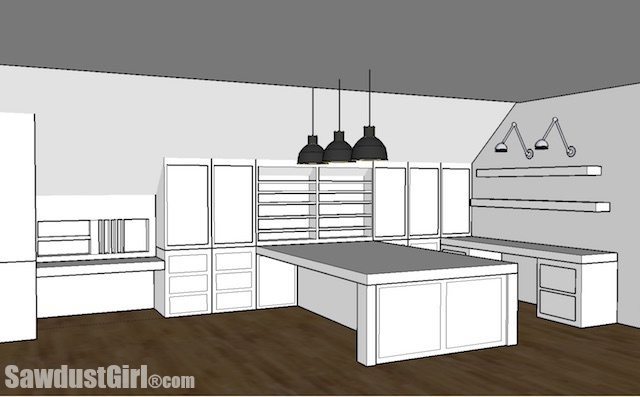
This view is standing at my craft room island, looking towards the opposite end of the loft. I’ll put my cutting table in front of that wall. Behind the 14″ extensions, (on each side of the stairs), I’ll put floor to ceiling, shallow storage cabinets and/or bookshelves.
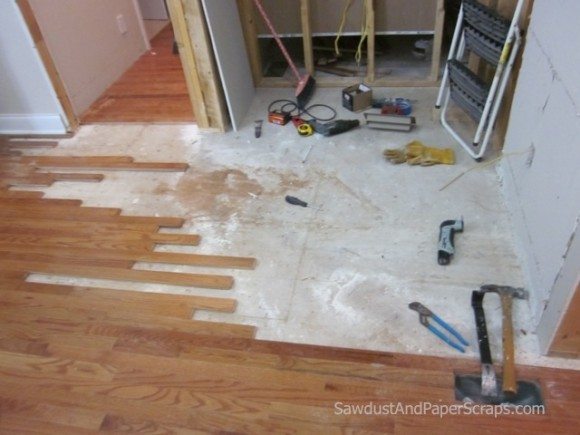
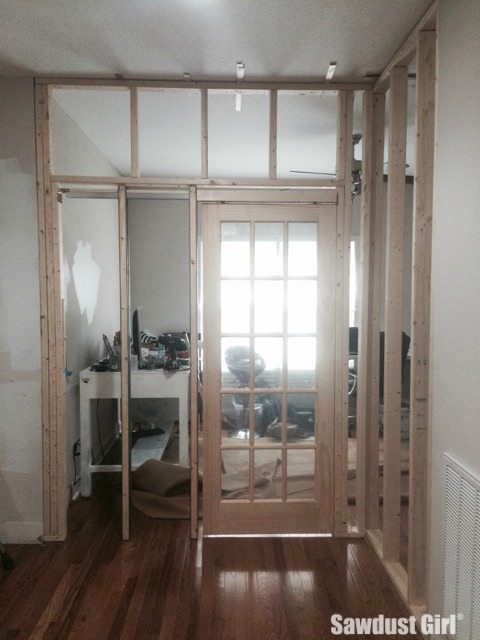
Another area where I’m creating usable space is on the left side of the picture below. I framed the far wall out for a pocket door so you could enter the powder room from either side of the loft. I decided I’m going to put a wall there instead of a door so I can have a whole corner of functional awesomeness instead of wasting that potential in favor of a walkway to a powder room that I can access by walking around the stairs. It’s like 20 steps further– I think I can handle it!
p.s. Wes helped me get my countertop material cut and carried upstairs so I’ll be working on finishing the countertops this week. I’m SO excited about how this space is starting to look!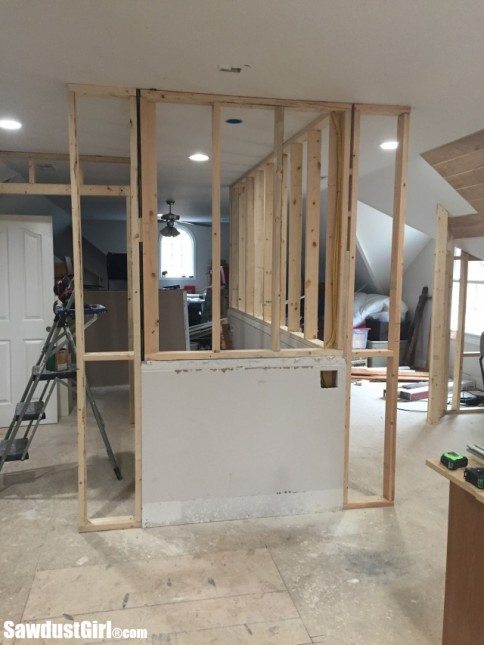

Sandra, you really ARE brilliant. I LOVE this space. You always make it look like you are having a blast and you are so GOOD! Great use of space and design. I can’t wait to see it all finished!
Love seeing the before, beginning, the planning and the room as it is reformed. Look forward to each post (and I did read back from the beginning and on too).
Very smart move -removing the door for 20 steps or less. Lots more things that can be done on both sides of that wall now. Love watching the progress that you are making. I had my own company building houses a long time ago – back in the dark ages I think. Seeing your solutions to things is very interesting and allows my brain to do what it likes to do and that is design and plan for various things. I am now in the process of redoing a 1930’s four square for resale and have also been working on a 1952 ranch that I just bought and have moved into. I will use some of your ideas from this build if you don’t mind a bit of thievery. Looking forward to more of this build
Sounds like you’ve been busy and have a lot more fun work ahead of you. Designing and building functional spaces is so rewarding, you can hardly call it work, right?
you are one SMART gal. great work! You need your own show….I’d watch and be inspired.
I think my blog and YouTube channel are “my own show” that is already available. Exciting stuff, right? LOL
Sandra,
I am in awe of what you do. I too love to work with wood and have done some projects of my own. Thanks in part to some of your tutorials. I always wondered though, how you get through some of your work so quickly? Do you have a personal relationship with your local inspector or do you not need permits in your area? When we went through planning for our attic to be finished, it seemed everything slowed to a snails pace due to inspections. What’s your secret?
Thanks and as always love following all of your projects!
Tracy Cooke