February House Progress

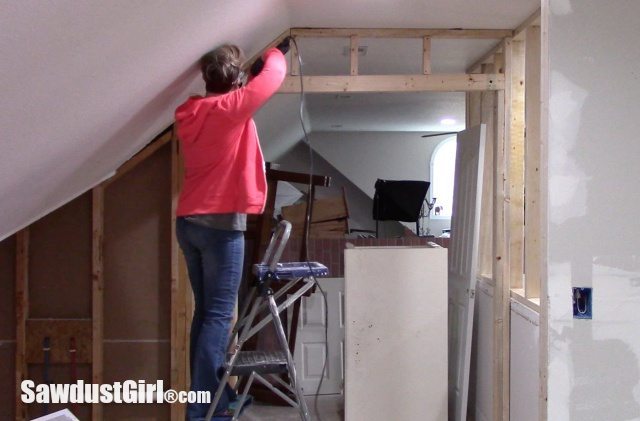
Happy Friday! Here’s a quick update on my craft room progress this week. I removed the pocket door wall I framed. I’m more excited about the extra space I’m getting in both my craft room and the bathroom now that I’m making this a wall instead of a doorway.
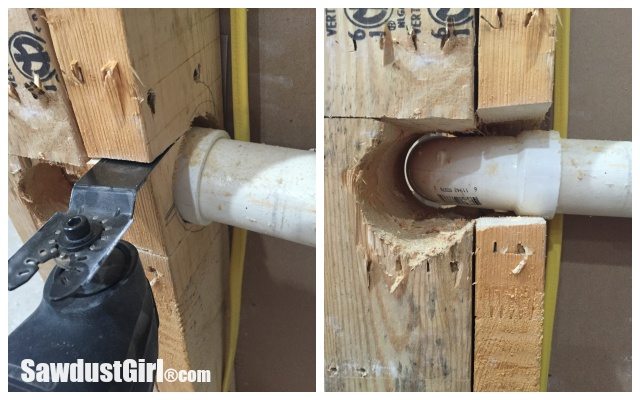
Then I did some strategical wood surgery around the plumbing so my plumber can easily get to the parts he needs to access when he comes back in to bring water and drainage to the new areas where I’m relocating the bathroom sink and installing a new sink in my craft room. My plumber is super cool and comes out to access the situation and tells me what all I can do prior to his next visit to make sure he’s not spending time doing things that I can do myself before he gets here. At $90/hour, I’m happy to have him only spending time on the actual plumbing work and not “prepping for plumbing” work.
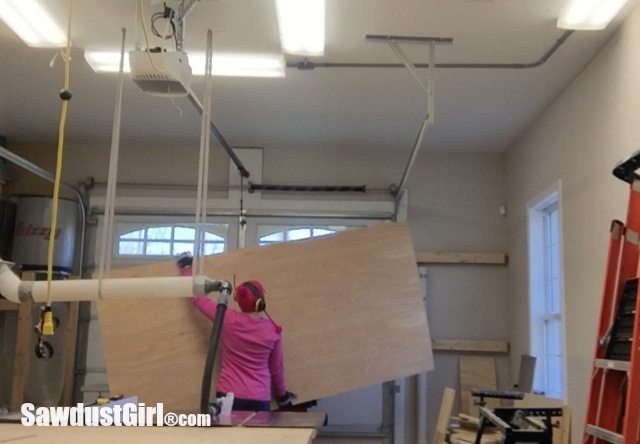
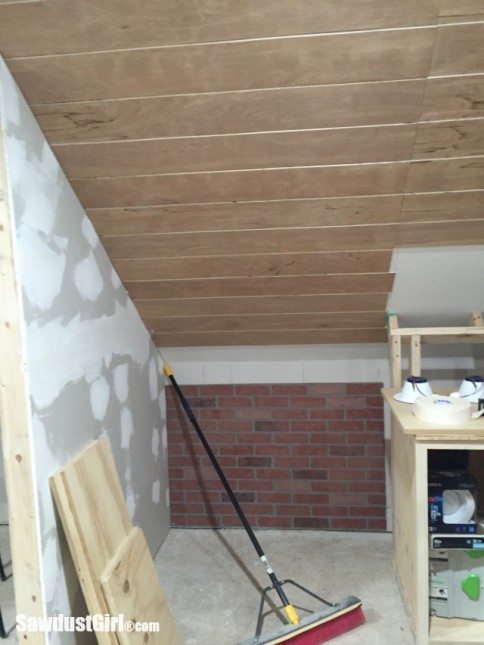
I spent a few hours in my workshop cutting wood for my “plank ceiling”.
I’ve done some drywall work with scraps of drywall I had piled up here and there.
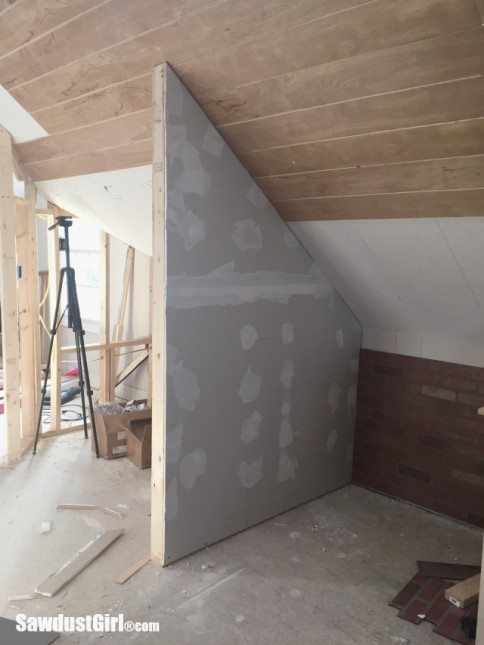
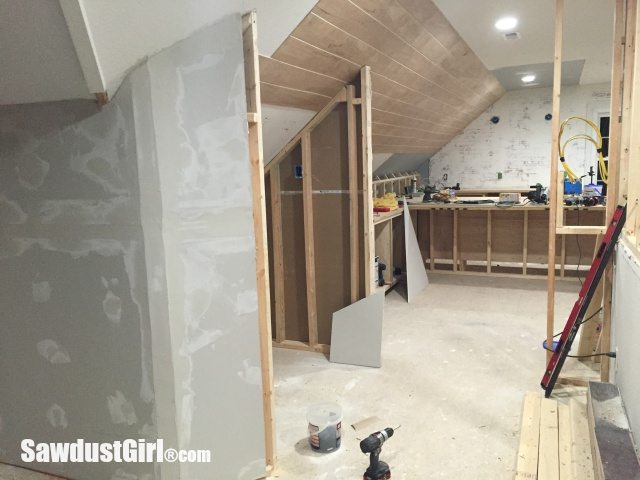
I’m not afraid of mudding and I like using up scraps. Sometimes I prefer to use as much material as I can – even if it means more work for me.
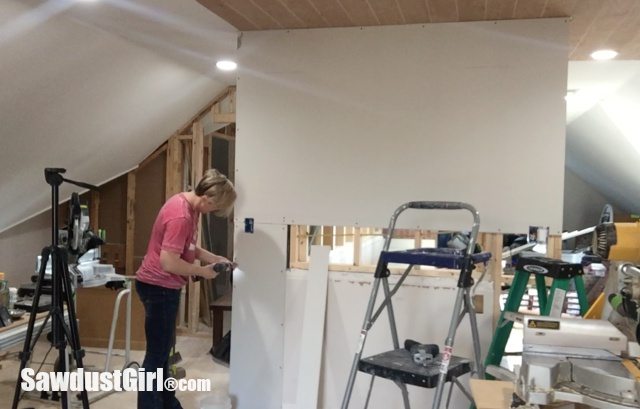
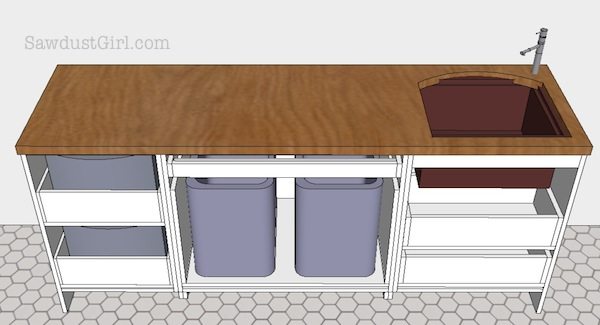
This is where my cutting table is going.
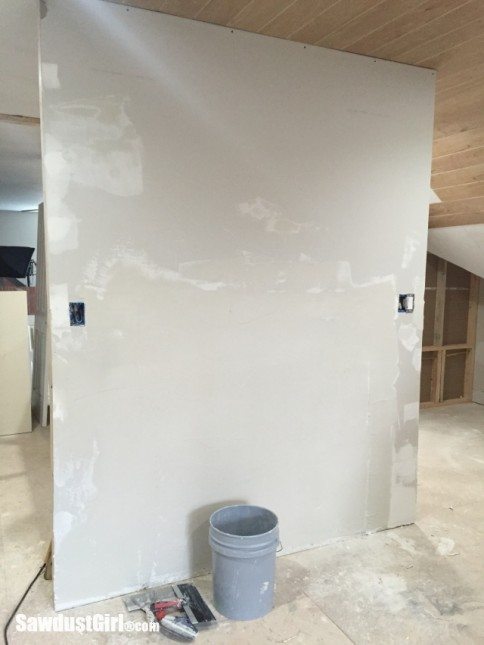
I’ve got the little desk area all prepped but am currently rethinking having a desk here at all (again) because of my plans for the other side of the room. I’m in the brainstorming and yo-yoing stages of planning that half of the room. I’m just waiting for the right idea to land in my lap.
Last but not least, I bulked up my door and window casings to match what I’ve done in the rest of the house. I like my moulding to be uniform throughout the whole house.
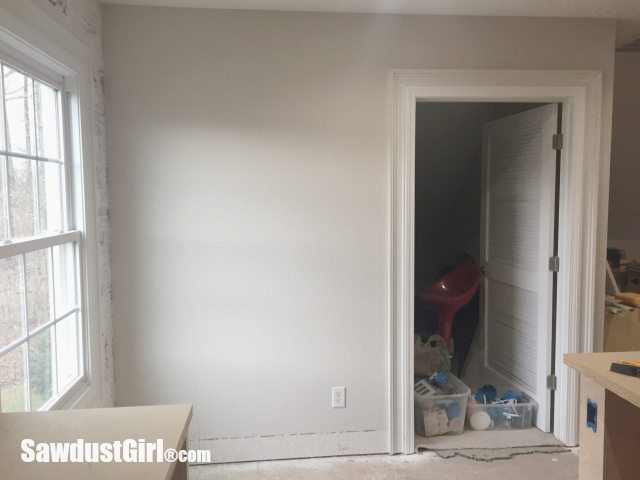
You can see my previous post about layering trim moulding for more details. I also made a video on this if you like that visual. Little by little I’m making lots of progress in a whole bunch of different areas so it doesn’t feel (or look) like I’ve made much progress but at some point it all comes together and BOOM, it’s done.
So keep on working and I’ll see you soon!
Anita the attic space was already finished when we bought the house so we haven’t added anything. There is insulation in the rafters above this room, the walls are insulated and the windows are new so I really haven’t had to do anything but design and build my space how I want to use it.
Love the plank wall. I just started following your blog. What did you do to boost energy efficiency as you go along in these projects? Did you have to add insulation or air seal? When we did our attic, we had to really ramp up the insulation. I couldn’t believe what we lived with for so long. Now, the space is nice and cozy. I think for my next project, your plank wall has inspired me!
Awesome update and progress! It is going to be a great space.
I’ll share a full tutorial soon.