How to Build an iPad Docking Station
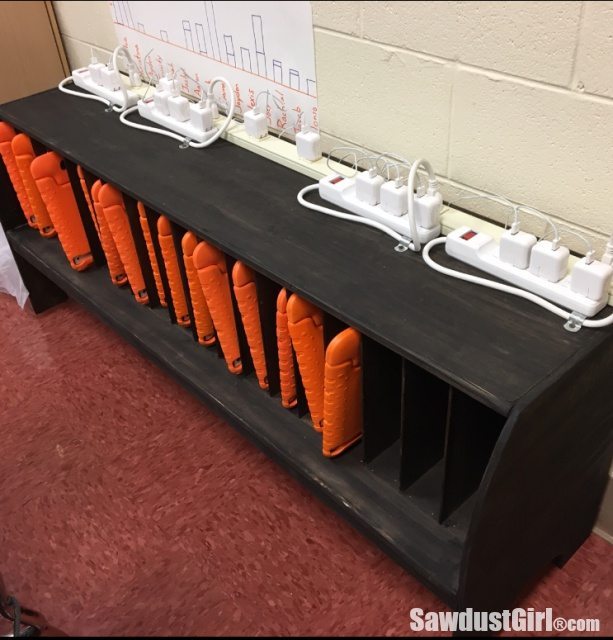
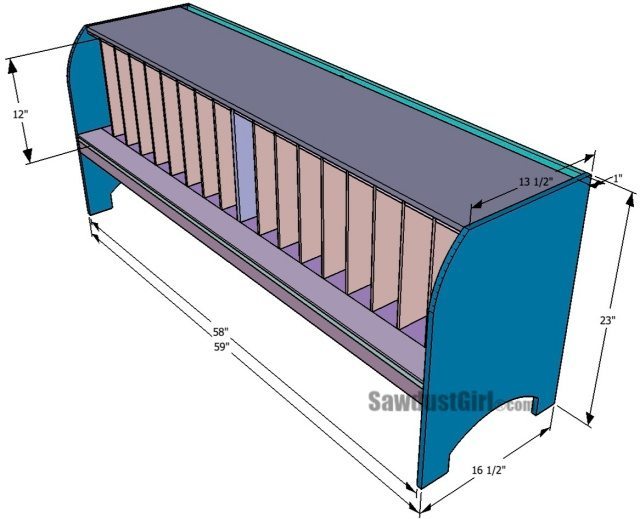
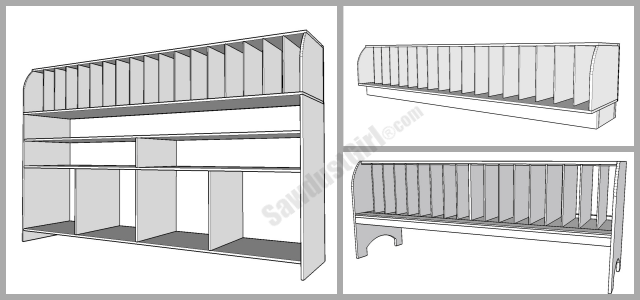
I built this classroom iPad docking station for a friend who teaches first grade for a total cost of about $45. This year in our school district, all the 1st through 4th grade classrooms are supplied with iPads. The teachers were left to their own devices to find a way to store the tablets and keep them charged. I drew up a few different design options and we decided the total height would be perfect at about 2 feet.
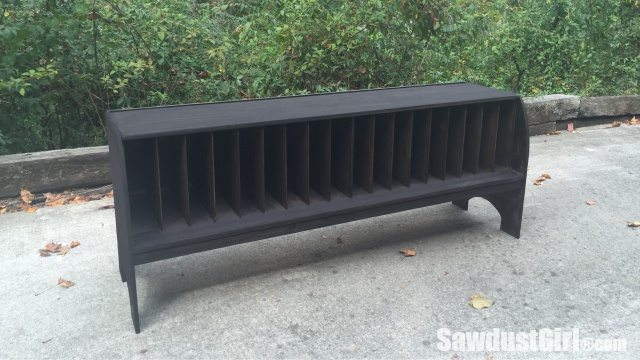
Classroom iPad Docking Station
For this project, I used one sheet of 1/2″ plywood, one sheet of 1/4″ plywood and three 2×4’s.
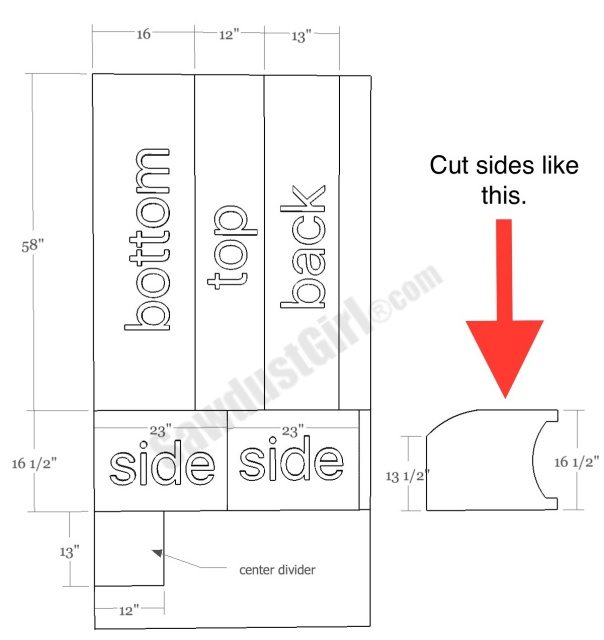
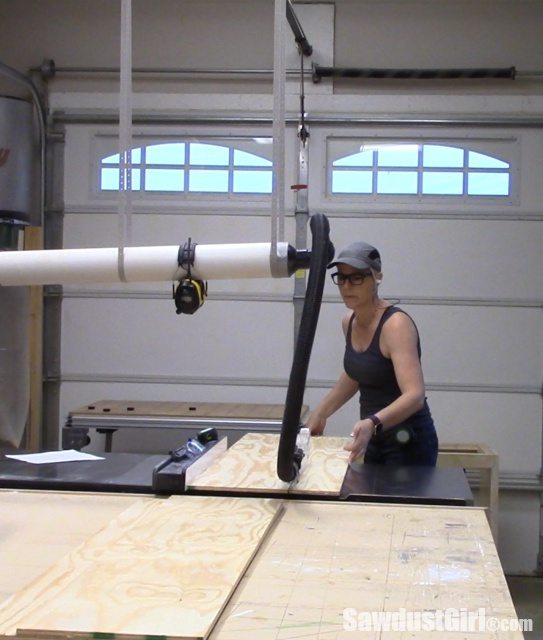
The plywood I used was super inexpensive sheathing plywood. It’s not ultra smooth but that’s something an orbital sander can fix. After cutting my pieces, I sanded everything smooth.
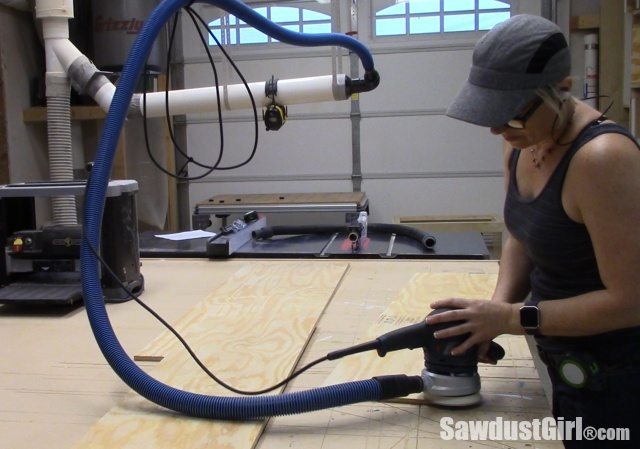
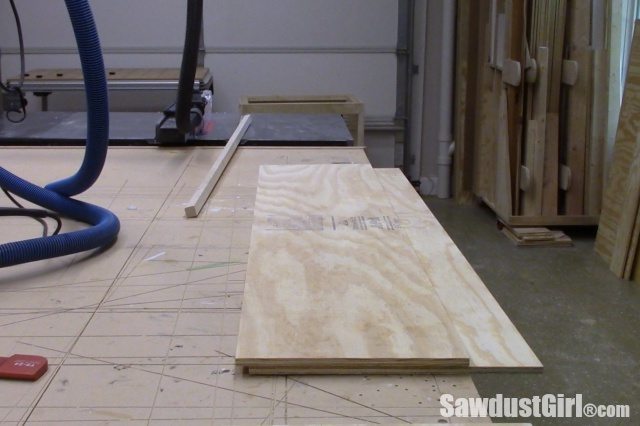
I cut a 1×1″ strip off of one of the 2×4’s. I had a little table saw incident on this step. It didn’t stop me from continuing to build this project, but I have since removed my blade guard. Sometimes safety features turn out to be more of a hazard than not…
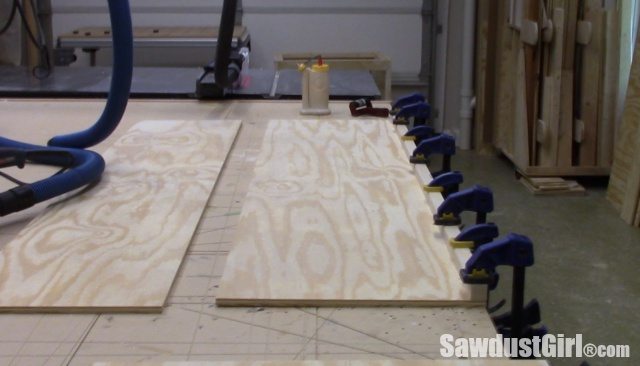
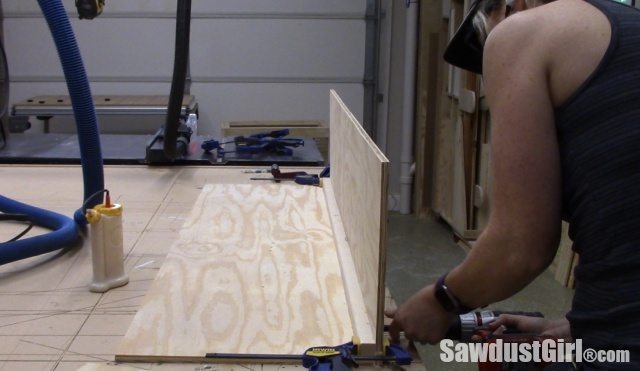
The 1×1 is glued to the bottom and then the back is secured. This 1×1 adds strength to the joint but also serves as a stop for the iPads so the charging cords don’t get banged and damaged as the iPads are put away.
I used wood glue and screws to attach the 1×1 to the plywood.
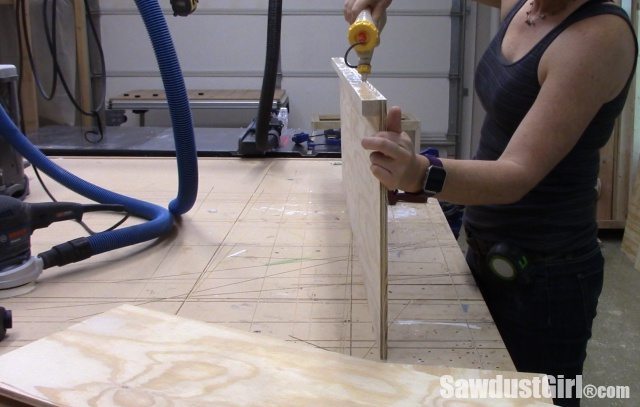
I used a jigsaw to round the top, front corner of the sides.
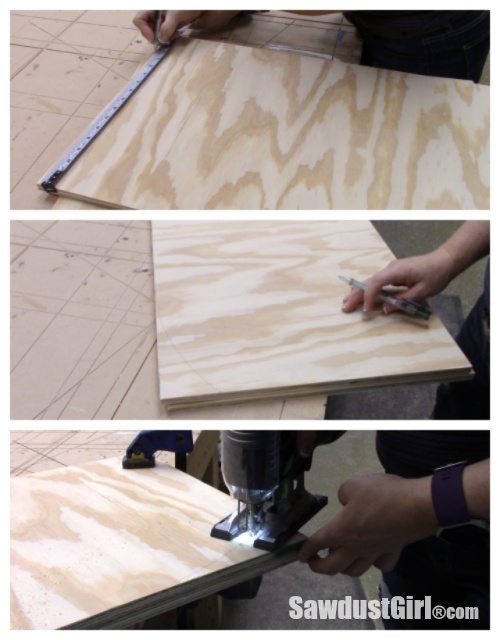
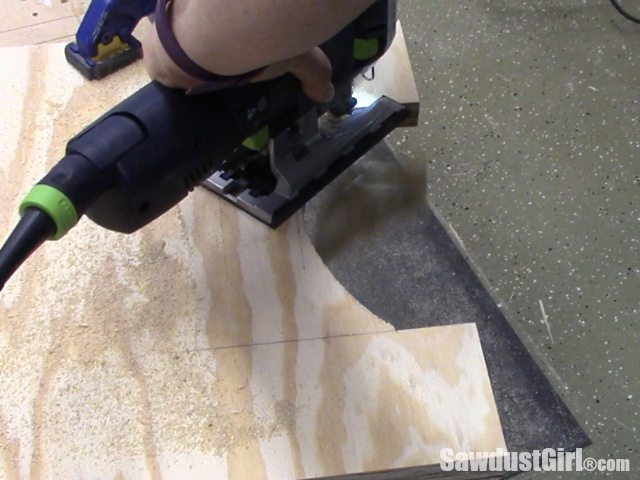
I also added decorative element to the bottom of the sides, as the sides are also the legs.
Finish before Assembly
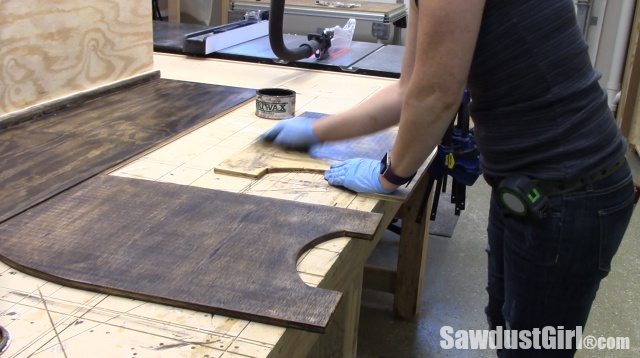
Before I attached the sides, I stained/waxed the sides and the back. These parts will be difficult to finish once the whole thing is assembled.
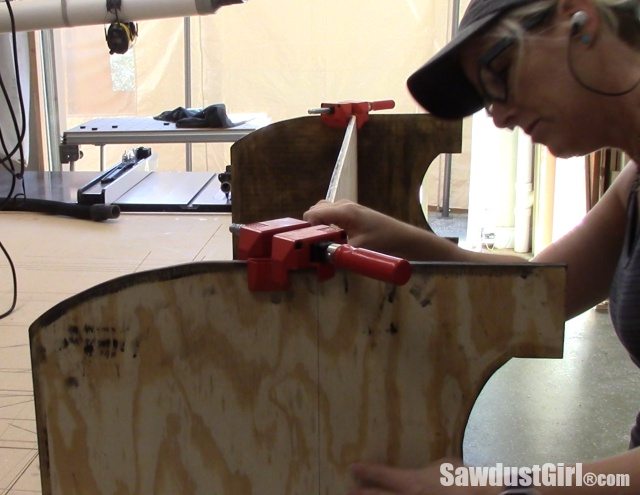
The sides are even with the top of the back. My Bessey angle clamps keep the parts square to each other as I screw them together.
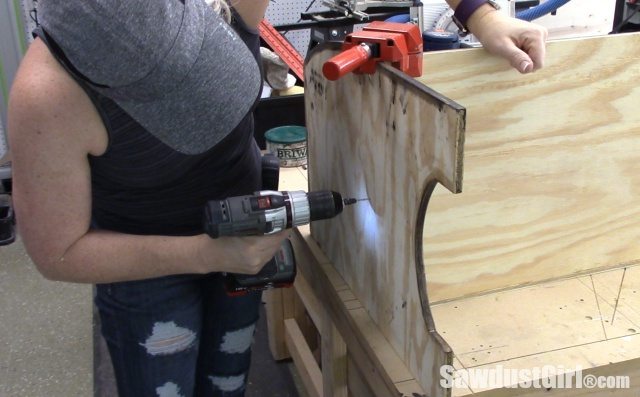
I screwed through both sides into the bottom and back pieces.
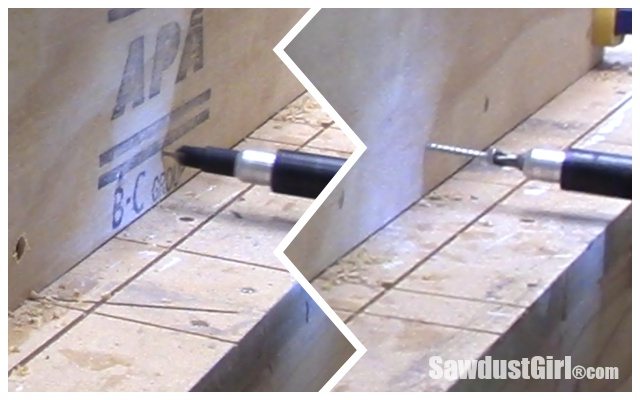
I pre-drilled and countersunk all my screws.
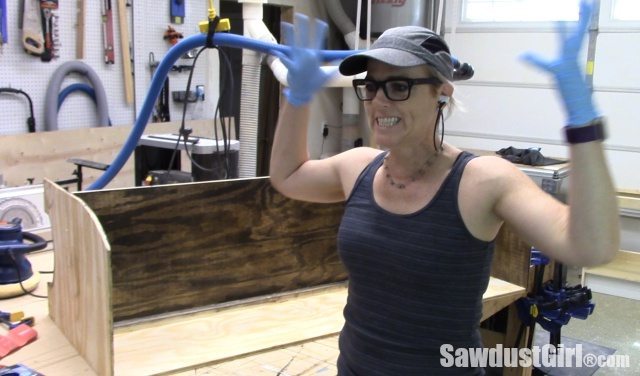
Then, I discovered that I had stained the bottom instead of the back, so I had to stain the correct bottom.
The docking station is supported by three 2×4’s. Two are screwed at the front and back. These support the iPad holding section and also give me extra material thickness to nail into in the coming steps.
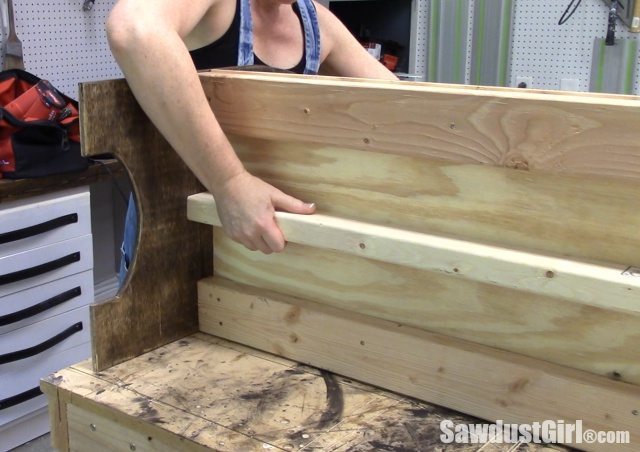
The middle 2×4 (which is now a 2×3 because it’s the one I cut a 1″ strip off of) is attached vertically, so it’s super rigid and won’t bend with weight if it’s loaded up with iPads. Or if any 1st graders happen to sit on it. Not that they should, because they totally should not, but you know kids…
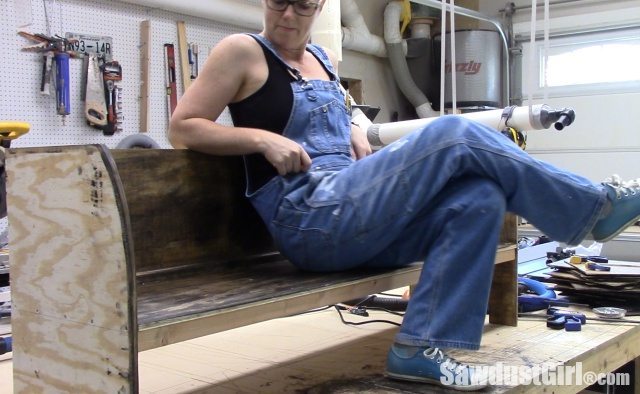
It’s plenty supported now just in case.
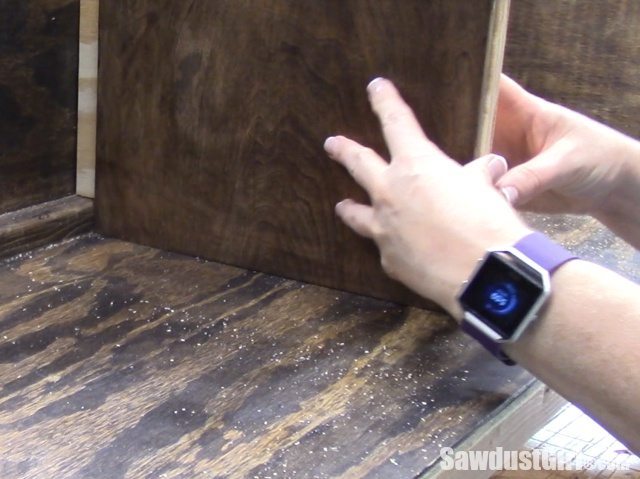
The center divider is 1/2″ plywood to help support the top. I cut a 1×1″ notch cut out of it, so I could secure it with screws to both the bottom and the back. The other dividers are all 1/4″ plywood, and they stop at the 1×2 creating space for the cords.
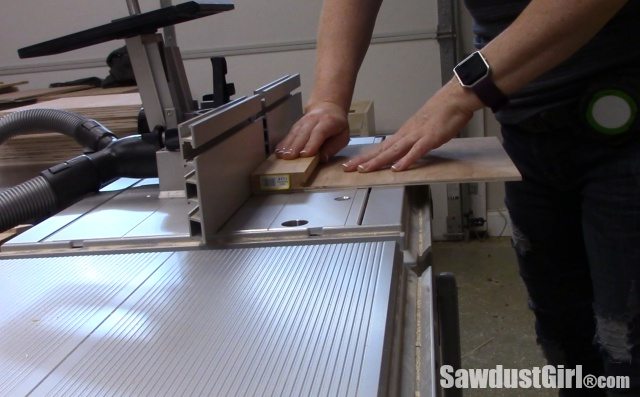
I rounded over the front edge of all the dividers to make them smooth and give them a finished look.
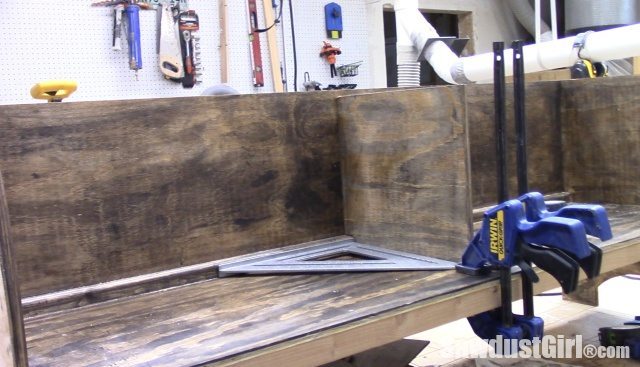
I stained all the dividers before assembly. This was the best idea I could come up with for keeping the center divider square while driving the screws.
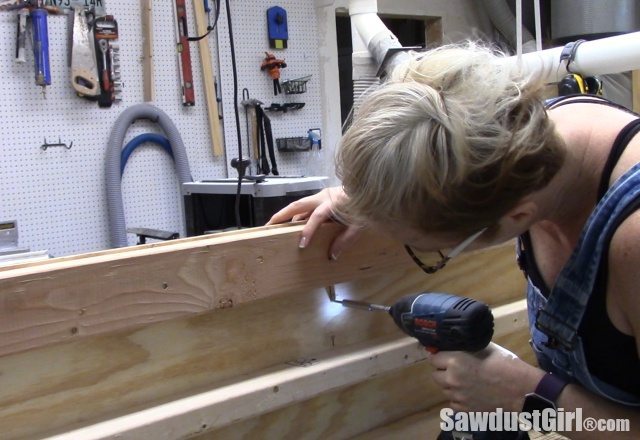
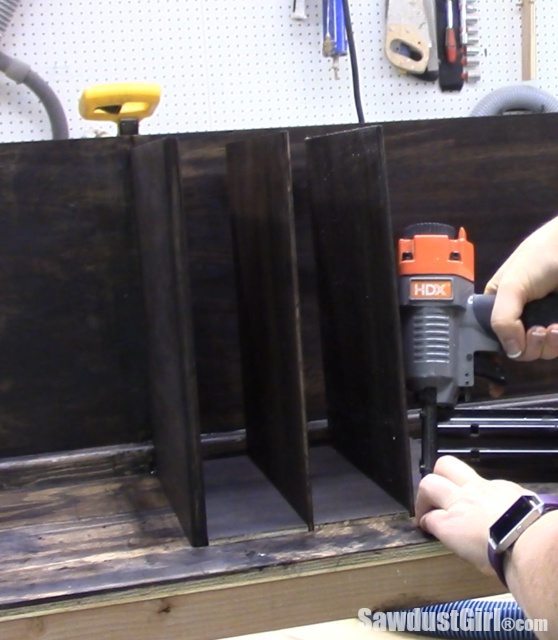
After the center divider was squarely fastened, I added the 1/4″ dividers, working out from the center. I cut 3×12″ spacers out of 1/4″ plywood and used those to hold the dividers in place. I nailed the spacers down, making sure to hit the 2×4’s that I had added previously.
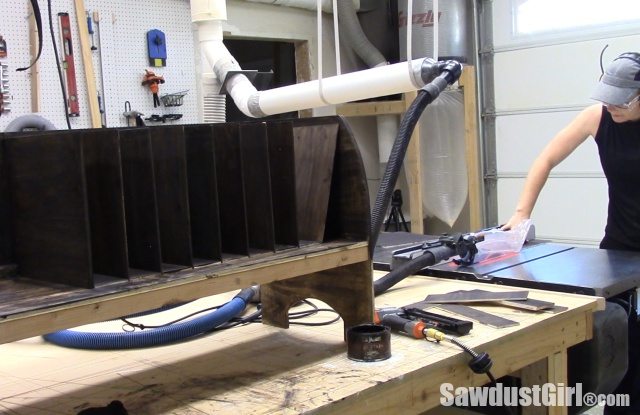
I waited to cut the last spacers until I was ready for them, because I knew it be the same as the other 3″ pieces. If you care terribly about all the cubby’s being exactly the same, you can do more math and figure it out. Especially if you’re using undersized plywood.
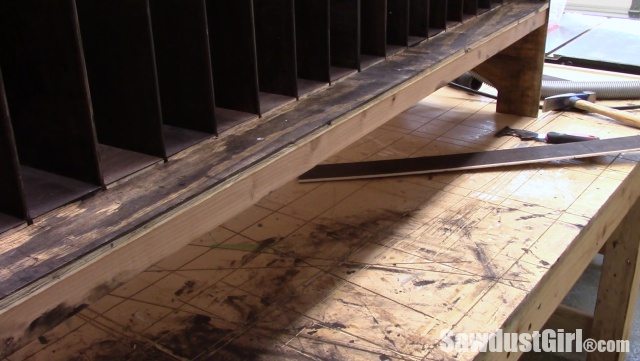
After attaching all the spacers, I had to add a 3″ wide piece of the 1/4″ plywood in front of the dividers as well. This created a level surface as well as preventing the dividers from being pulled out.
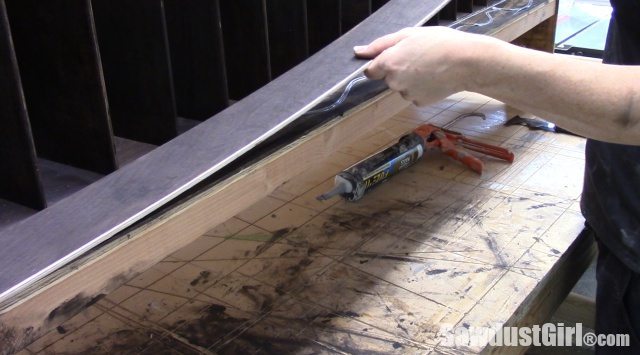
Having already, accidentally finished the bottom, I didn’t trust using wood glue. I had Liquid Nails FuzeIt left over from my studio closet floating shelves project, and that worked great.
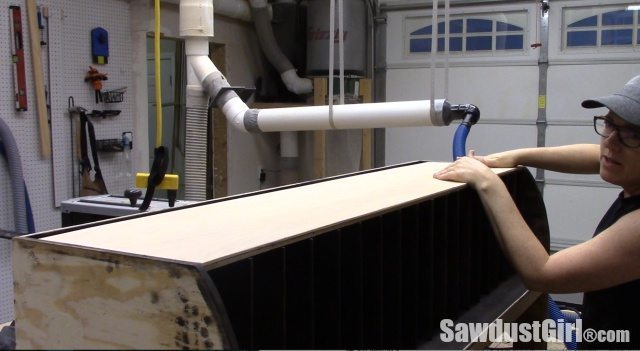
Next, I added the top.
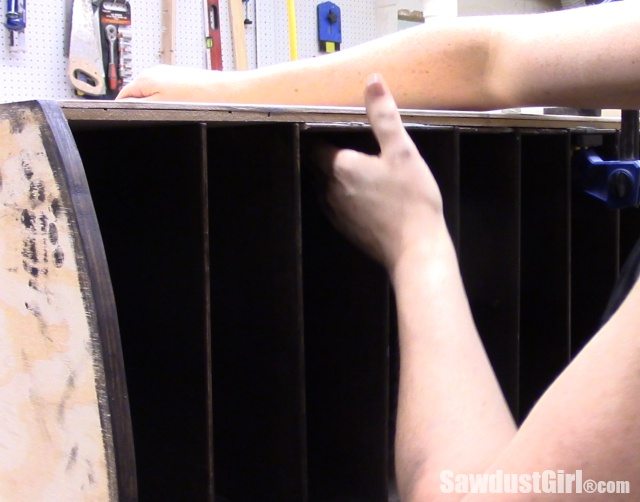
And then more 3×12″ spacers on the top just as I had done on the bottom. I just used FuzeIt on these, no nails.
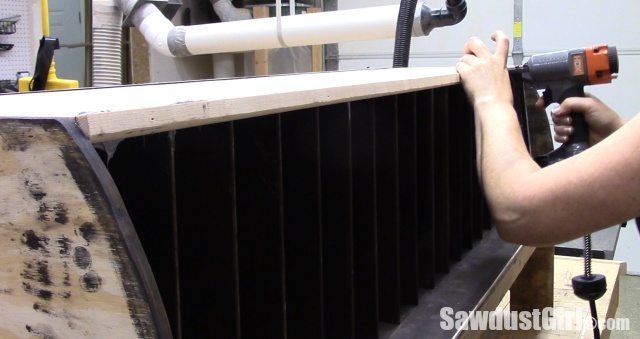
I could have just sanded the front edge of those dividers and spacers, but I had a little strip of something hanging around, so I attached it to cover the top edge.
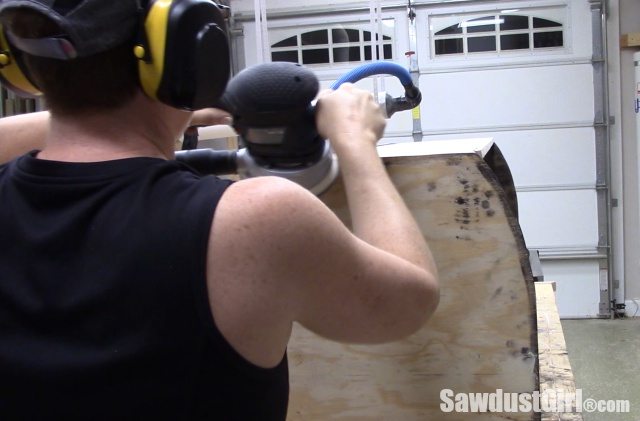
Then, I sanded the heck out of everything. I rounded the corners, softened the edges, filled screw holes, and then sanded again.
After that, I stained. I used a tinted wax on the inside back and sides. It wasn’t dark or even enough for my liking though I lightly sanded, wiped it down with mineral spirits and then went over everything with gel stain.
What color? Thursday Night Special.
I had a few small cans of browns that I didn’t like because they were too green or too red. I dumped those in with a small can of black, and that’s what we call a Thursday Night Special.
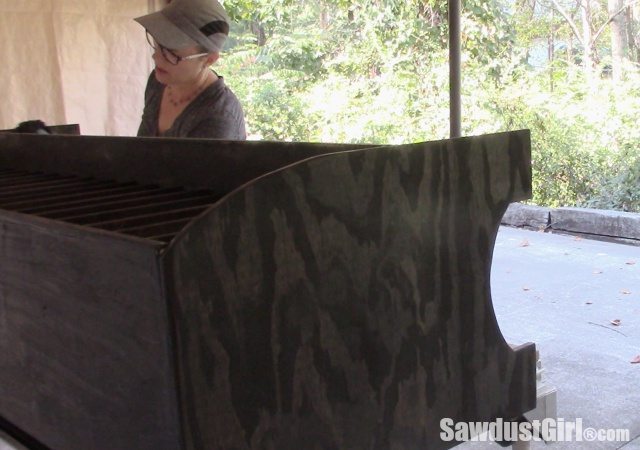
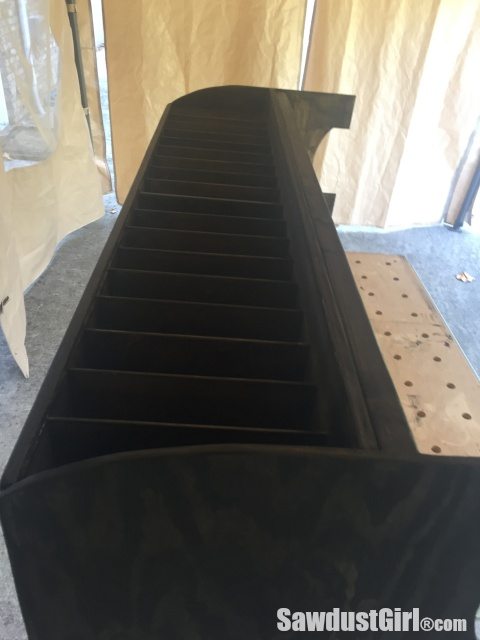

I left it to my friend to topcoat it…because I’m not THAT generous with my time.
Supposedly, it happened. I can’t tell from the pics she sent, but it’s in use and she loves it.
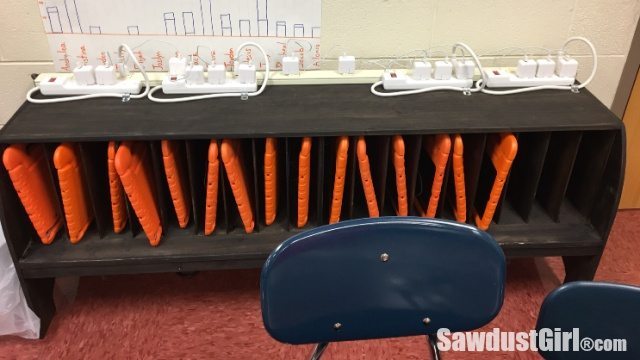
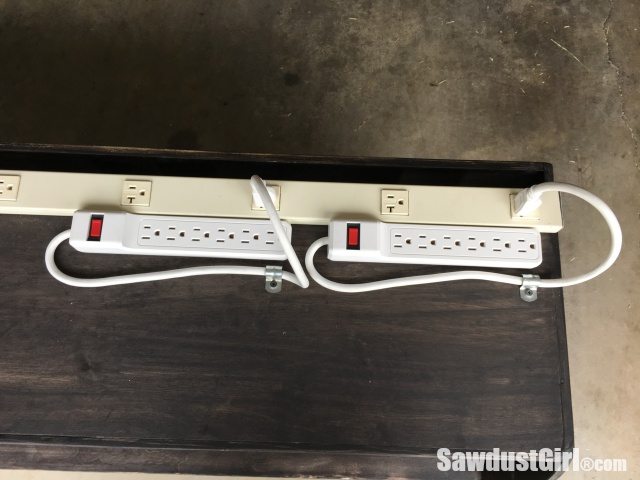
Each cubby is 3″ wide. There is a 1″ space in the back for air flow and access to cords. The power strips on top make it easy to make sure the power is turned off at the end of each day.
