Building MDF Countertops with Seams
[box] Look at my: Painted MDF Countertop post for pictures of what this could look like painted and for instructions on how to edge this countertop with a solid wood strip. The following instructions are to provide information on dealing with seams when you have a REALLY long or extra large countertop that one piece of MDF will not cover.[/box]
I started building out my workshop sometime during my Master Closet build (even though I’ve promised myself and Wes that I will only work in one room at a time in this house!) I was waiting for hardware or paint to dry or something and I was motivated to make progress SOMEWHERE so I started this room.
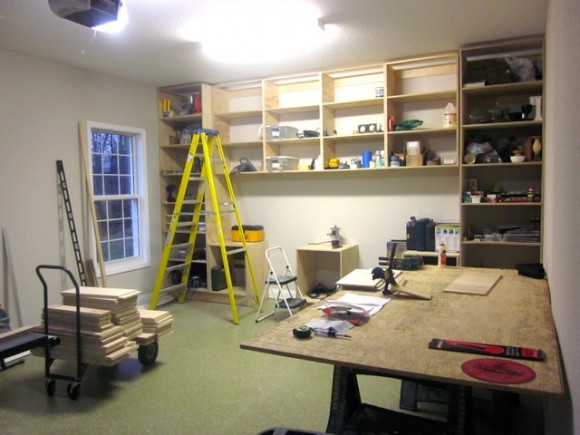
(I got to this point before I rerouted focus onto the closet. Now the closet is mostly done and I NEED to finish this room so I can be more organized and hopefully find the rest of my tools and put crap away…before I tackle my next BIG project in the house!)
First thing to finish up in here was a countertop. I decided the cheapest, flattest, sturdiest, easiest and fastest countertop surface would be MDF.
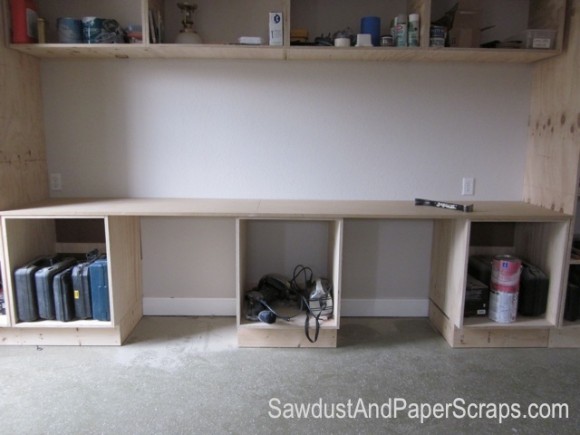
MDF is a really common work surface in a workshop for all the reasons I just mentioned. The problem with MDF, is that it’s not that attractive in the nude!
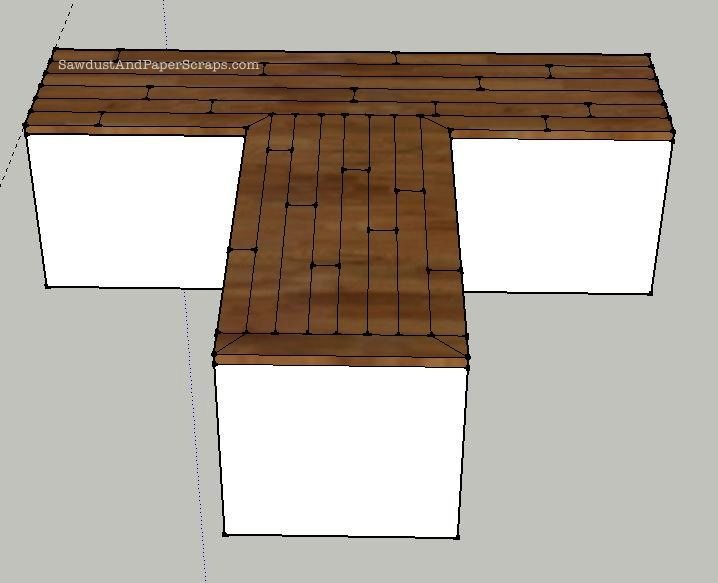
Plus, my countertop is just under 11′ long so there was no way to avoid having a seam! I thought I would be – but it turns out I’m just not OK that!
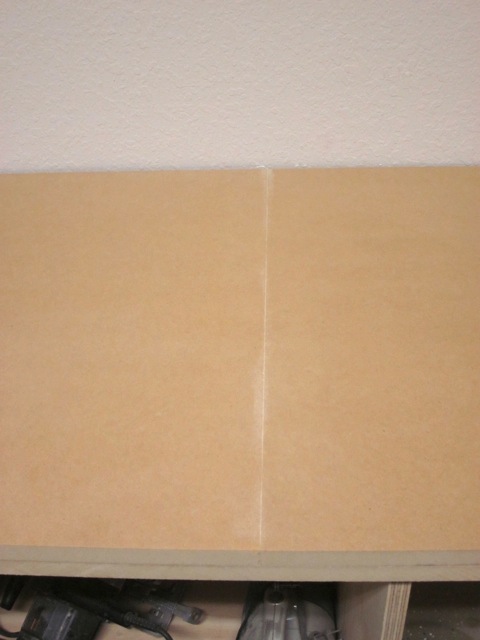
So I ended up doing a whole bunch of work making this MDF countertop perfectly sturdy, straight and smooth… and then ended up covering it up with something else but I’m going to walk you through the MDF process because if a person wanted a cheap, easy, fast, sturdy, attractive countertop for a space like, let’s say a craft room, this could be painted and top-coated.
**Like anything, there are a gazillion and ten ways to do anything, this is how I DID it. Feel free to modify, add your own twist, improve and expound upon in any way you choose!
You will want two layers of MDF (Glued together) to make it strong and sturdy!
*If you don’t have the power tools yourself, have the Home Improvement store cut your wood to size. I DO have the tools but sometimes have Home Depot cut my wood down so it’s easier for me to carry. (This is one of those times.) Don’t expect those cuts to be perfect, it’s hit or miss, but a good option if you don’t have any other way to cut wood.
If you have a surface that is larger than a sheet of MDF will reach, make sure your seams are supported over a cabinet, but don’t have them meet exactly in the middle because you want to stagger your seams.
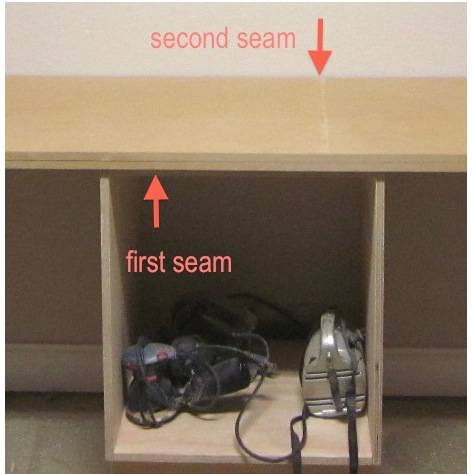
Lay down your first “layer” of MDF and use clamps, prybars or whatever means you can to pull the seam together as tightly as possible. Then pound some wood brackets into it to hold it together.
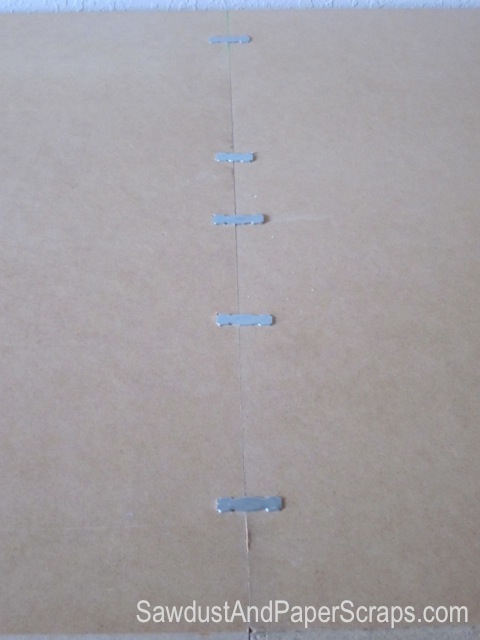
Turn the entire thing over so the brackets are on the bottom and drizzle glue all over. It’s probably a good idea to spread it out but I just slapped the next layer on.
(I don’t care if the entire surface is melded together. This is certainly adequate for holding the two pieces firmly together and keeping the seams tight FOREVER!)
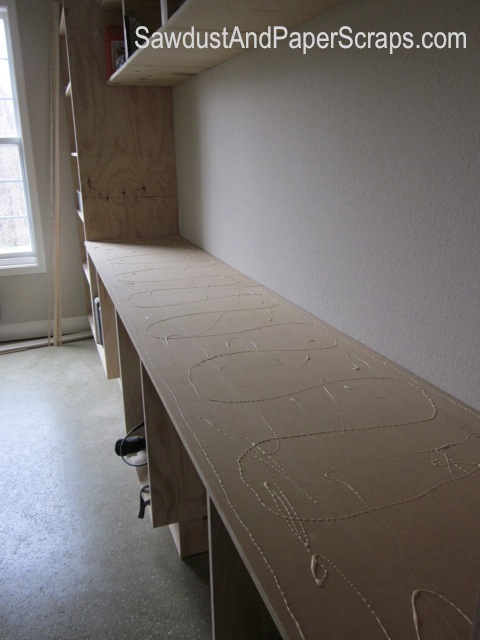
Lay down your next pieces and remember to stagger your seams. I used shims to push the two top pieces together so the seam was a tight as it could possibly be! (You could totally nail the two pieces together at this point if you want.)
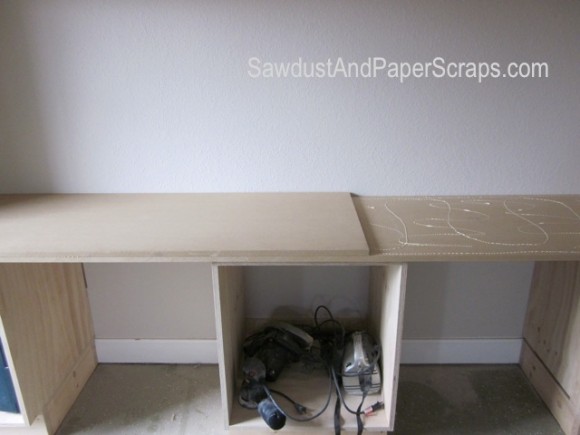
I used as many clamps and heavy objects I could find to smoosh the top layer down onto the first layer while the glue set up. (Time depends on the type of glue YOU are using. I use Titebond original and it’s completely good to go in a couple hours.)
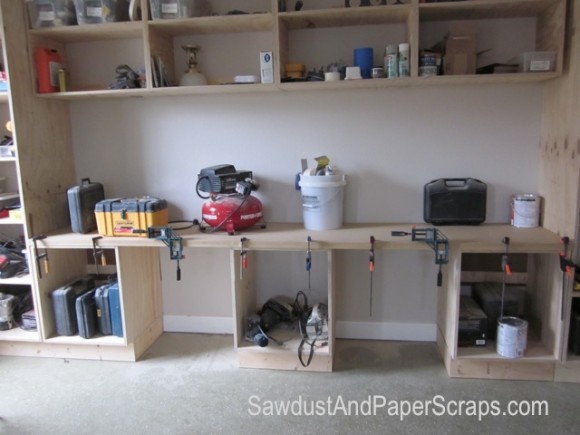
Now you just have to sand your seam. (I used a little wood filler too.) Be sure when you are sanding not to go over and over JUST the seam area because you want to maintain a level surface. It’s easy to sand away a little channel if you’re not careful!
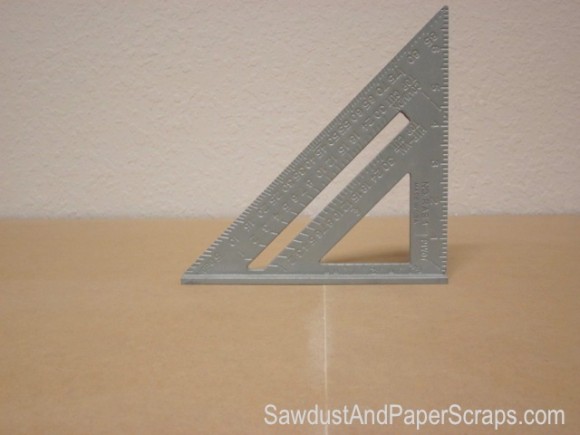
Before you attach your countertop, make sure it’s level. A long level is the best for long surfaces.
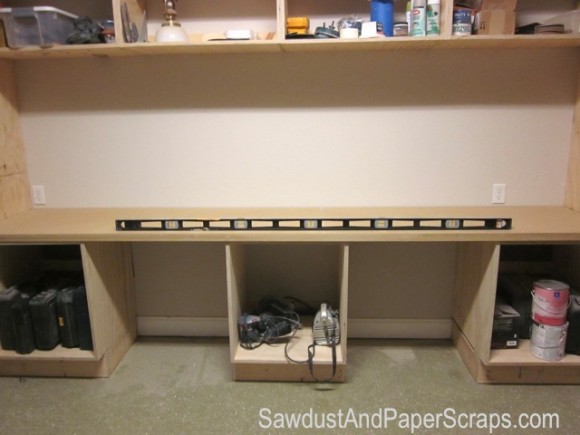
Use shims one one side if it’s not level and then simply drive screws through the cabinet into the countertop. Just make sure they are not TOO long! 😀
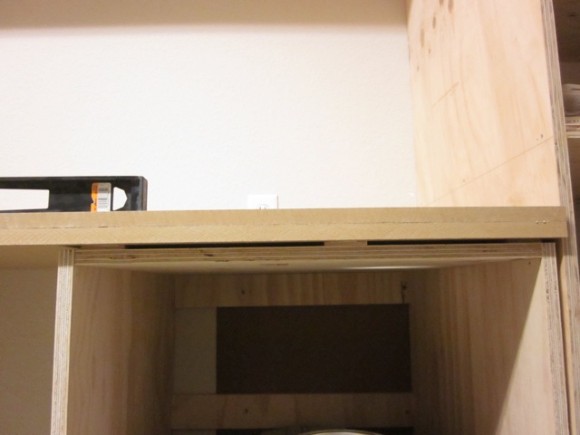
(For the edge, you can either sand it REALLY well, or add a piece of solid wood. (More on adding wood edging on this Painted MDF Countertop post.)
There are many ways to finish off your countertop.
You could wax it, (which I was planning on doing for the workshop originally)
Paint it and add a good top coat (as in the other post I mentioned above).
Cover it with paper or fabric and mod podge.
Cover it with something interesting (like the now overdone penny) and epoxy.
Insert your own creative idea here:
[box] I’ve been asked if you could do a painted countertop in a Kitchen. I personally would NOT. But, I suppose you could if you used a food safe, water resistant top coat and made sure you never set a hot pan on it or cut directly on it… Craft room, workshop, even Laundry room or bathroom if you used a Marine type paint (can be submerged in water and will not get damaged) but not a kitchen. In my opinion! [/box]
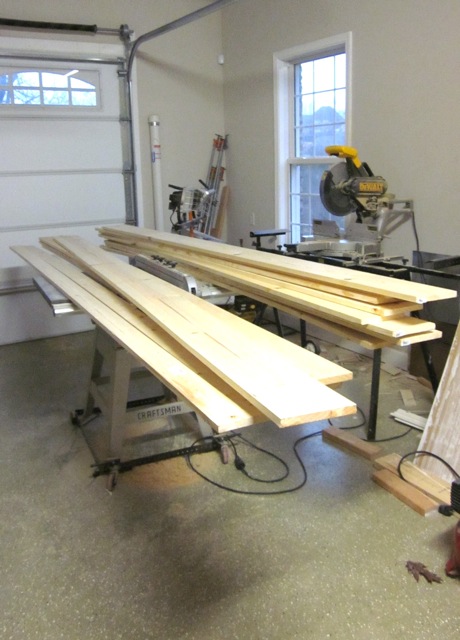
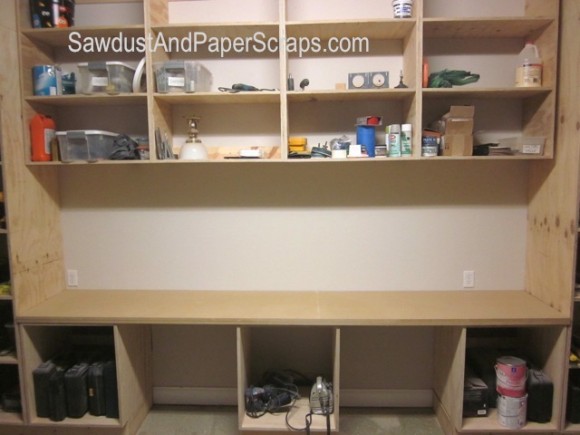
In my workshop, I know my countertop is going to take more of a beating than most countertops do, so I’m using the MDF as a sturdy base and am creating a distressed wood slab – looking countertop.
If I do say so myself, It’s looking GOOD and I’m excited to share!
Hint: I’m finishing with Tung Oil and that process just cannot be rushed!
Have a SUPER weekend and remember to have some fun. Life is not the “all DIY all the time” channel! 😀
You might also be interested in my other countertop tutorials.

Hi Sandra
Quick question if you have time. I am a complete newbie to DYI and I am wondering if you could tell me what type of project you started with? I am not sure where to begin … I want to build a desk in my scraproom (nothing fancy).
Could recommend a book you found helpful?
Thanks
Nancy
My very first projects were a scalloped shelf and a giant dollhouse bookshelf. I had a miter saw and a drill. I love going to the bookstore and looking through all the woodworking, fine home building, trim, tricks and tips…for carpentry and woodworking. A lot of it is really intricate “wood working” that I am not into. I do carpentry. No fancy joints. It’s all basic stuff. It’s taken me 10 years to get to where I am today though. I learn something new every day. I think that is the key. Pick a project that you want to do and then figure out how to do it. That is easier than trying to decide which skills to learn and then finding a project that you can do with those skills. I have a “resources” tab under DIY on my navigation bar that I will try to continue to add to as I find information and books/magazines that I find particularly helpful. One thing I can tell you now: If you are interested in buiding cabinets/bookshelves/built-ins, start DVR’ing “The Woodsmith Shop” on PBS. I also subscribe to some of their magazines and have bought many of their special edition magazine/books. There are tons of useful tips in every show and magazine! The most exciting factor here is that you want to DO and so you will! Just remember that Rome wasn’t built in a day. It takes time to develop any skill. Start small and just Go for it! You’ll be building “beautiful” in no time!
Thanks so much for all the information. I am very excited now to find a project and begin.
If you had a TV show – I’d watch it.
If you had a radio show – I’d listen.
If you gave classes – I sign up.
If you wrote a book – I’d buy it.
If you had a blog – I’d visit it everyday, Oh wait…. you do!!!
I’m so glad I found you.
Thanks again.
First time stopping by your site and love it, including this project. We’ve been outfitting our workshop for the last 2 months including several big projects (making move-able workbenches, building sawhorses, and a few others).
I also hate the dust MDF creates, but the surface is really uniform. Should be a good substrate. I am looking forward to hearing about/seeing the distressed wood surface. I have never personally distressed wood, but much of our furniture is in that style.
Hey Sandra! Just wanted to mention that I have a painted MDF countertop in my kitchen 😉 EnviroTex is an awesome sealer & I painted it to look like granite. Fools everyone and as long as you treat it like you would a normal countertop (use hot pads under pans, cutting boards, etc) then you are good to go 😉
Thank you so much for posting this! Can’t wait to see the finished product. Looked awesome in the pics on Facebook. I totally needed this for a little project in my old guest bedroom/new storage room project!
Another amazing job!I do hate the dust that MDF makes…I wear a mask, it is the all over everything else that bothers me so.
MDF does make A LOT of dust. I think MDF and Melamine are second only to Pressure treated lumber in the “harmful sawdust if inhaled” department! I certainly don’t want to breathe it. I’m not a huge fan of it carpeting everything in the room (or adjoining room) either! 😀