How to Build a Bench with a Built-in Boot Rack
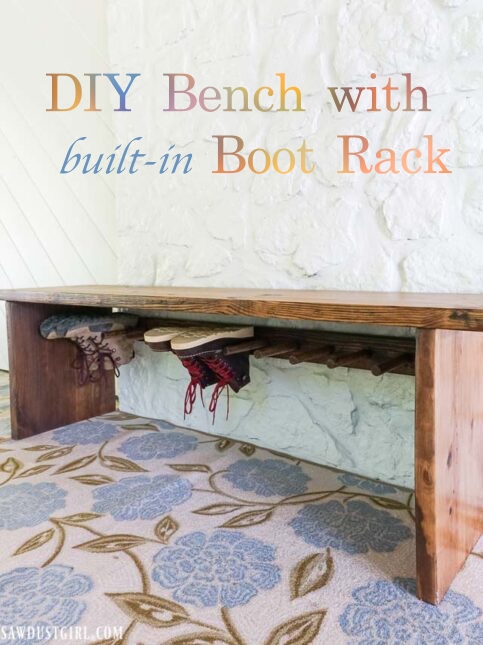
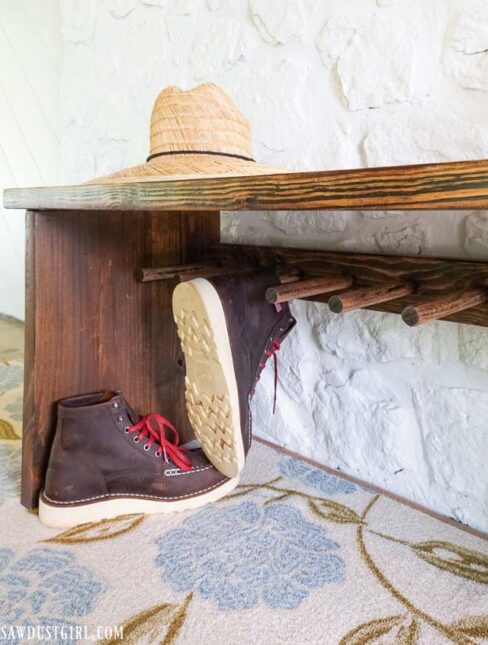
The reason for my recent carport/entry makeover was the pile of shoes and boots outside the doors into my house. I built a Shoe and Boot Storage Ladder which I placed by the front door. For the back door, I built a bench with a built-in boot rack underneath the bench top. This nifty project provides somewhere to sit while removing your boots and also somewhere to store said boots! This project is sponsored by Danner boots.
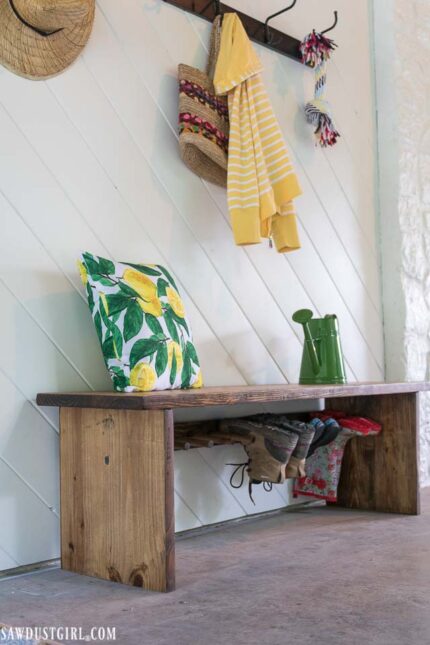
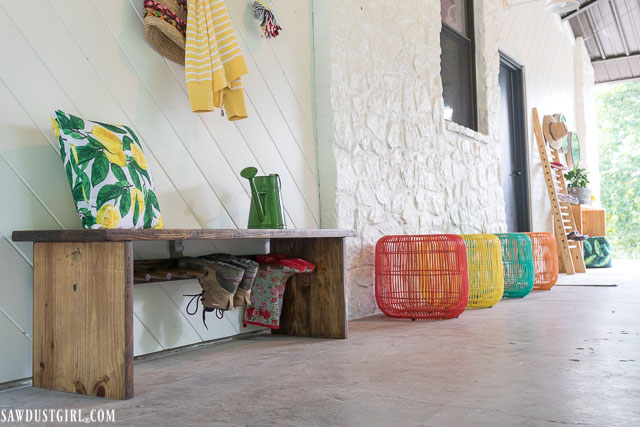
I also removed the coat rack from my kitchen wall and put it above the bench, since the entry is a better place than the kitchen for wet jackets, umbrellas, hats, dog toys…and whatever other random item got placed there for convenience.
Danner Boots
I’ve been wearing the Stronghold boots which inspired the Shoe Ladder post. Danner also sent me the Bull Run; this is such a good-looking boot — it makes it worth the time it takes to break in. It is made in the USA with imported components. The durable, full-grain leather upper has a classic moc-toe design. Probably my favorite feature is that it’s oil-and-slip-resistant.
Building a Bench with Built-in Boot Rack
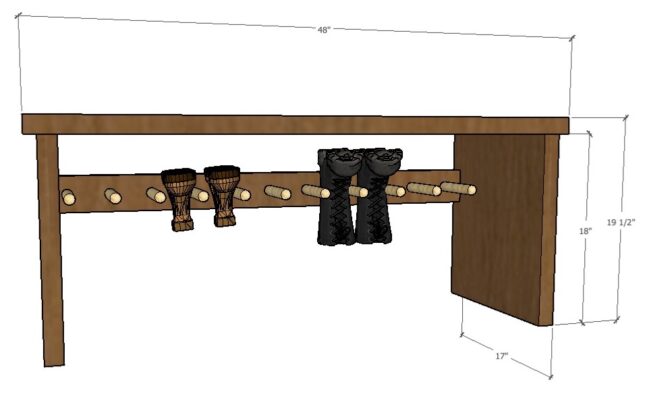
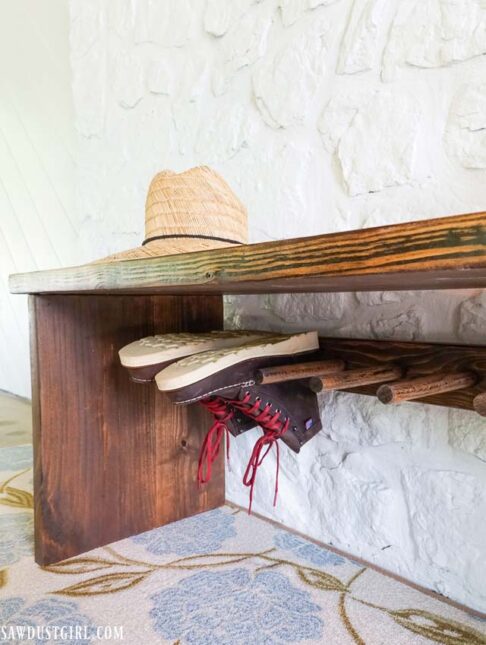
You can alter the sizing of the bench to fit your space. My bench is about 17″ deep, 19 1/2″ high, and 48″ wide. The boot rack below holds 5 pairs of shoes or boots.
Joining Wood to Create Wide Pieces
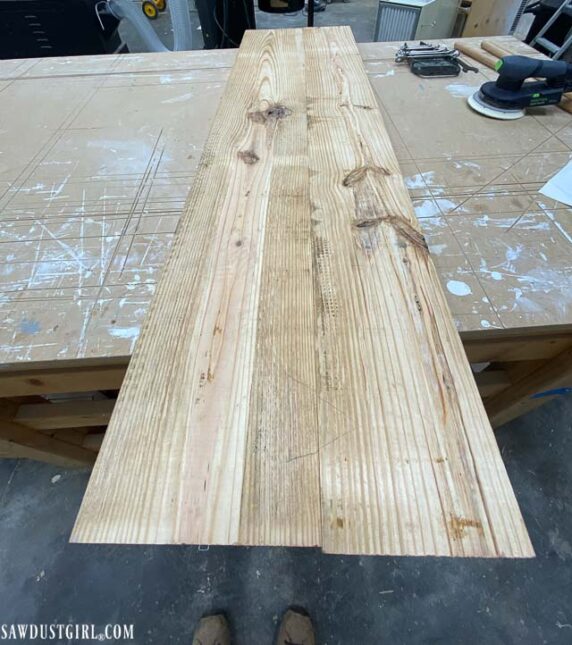
My finished bench is around 17″ deep. I’m not sure it’s possible to purchase a 2×18 but if it is, it’s going to be expensive. An inexpensive option is to create your own wide plank by gluing several narrow planks together. I joined one 2×10 and one 2×8 to give me the total width of around 17″.
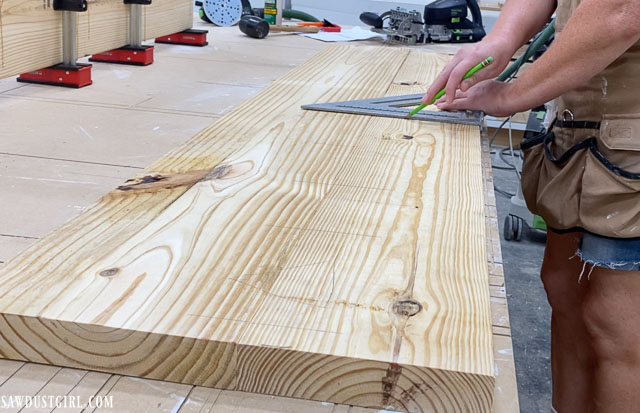
To build this bench, I picked out beautifully flawed construction lumber. My bench is 48″ long but I selected 8′ pieces of lumber. The excess wood allowed me room to play around with matching up the graining where two pieces were joined. Once I found the graining configuration I liked, I drew symbols on each end. The symbols covered the joint, with half the symbol on each piece of wood. This helped me find the matching wood pieces after I joined, planed and dadoed each piece. (This is an especially helpful technique when dealing with multiple pieces of wood at once. It is important to use different symbols: circle, triangle, triangle with multiple lines through it, double squiggly lines, etc.)
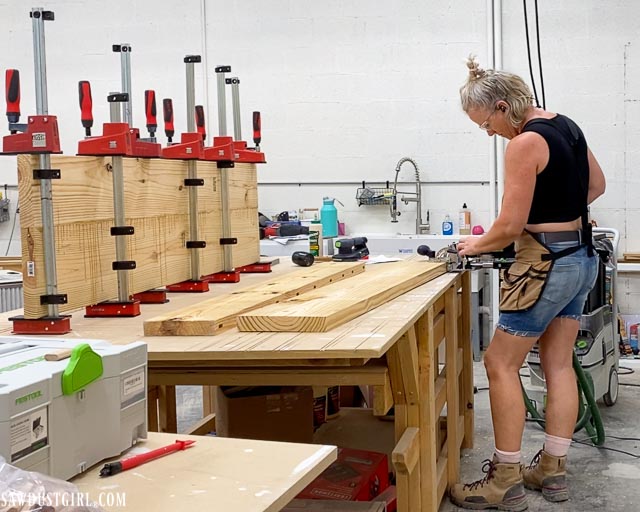
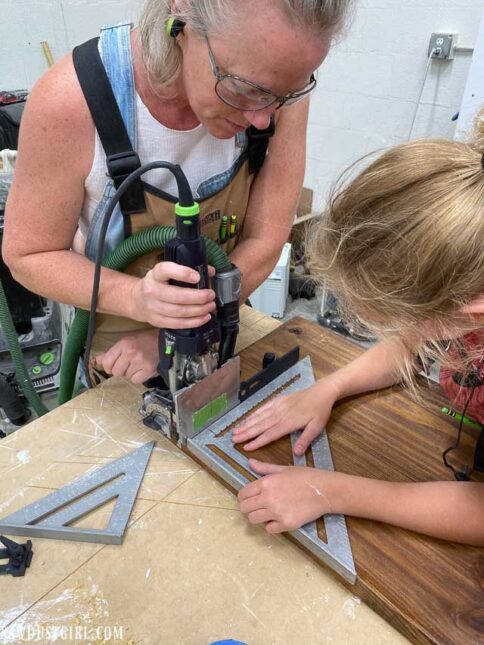
I jointed the matching edges to give me a really clean joint where I glued the wood together. I used my Festool Domino to cut mortises in each piece.
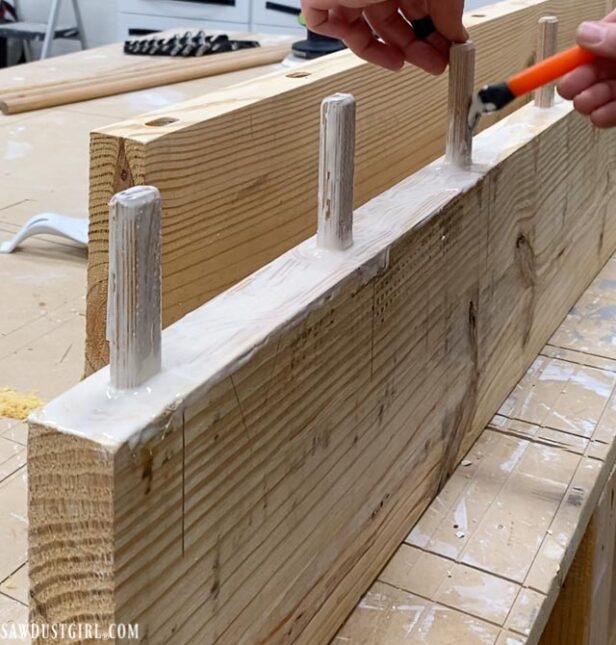
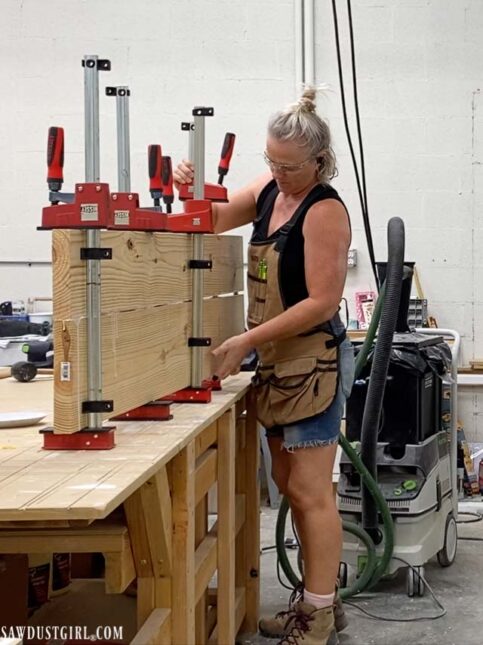
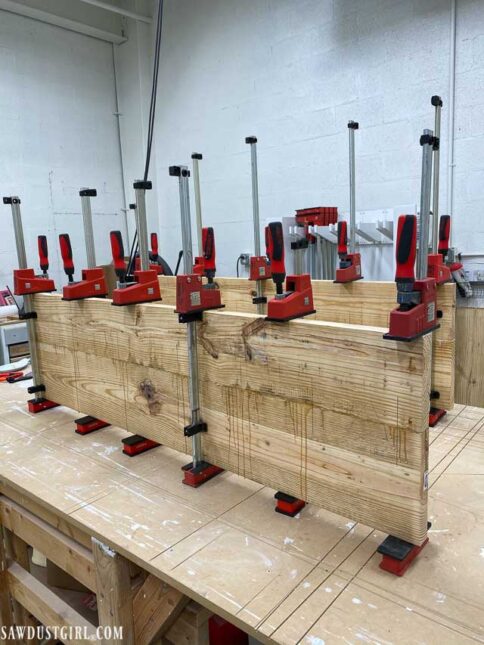
I put plenty of glue on both edges and on the floating tenons which I inserted into the mortises one piece of wood. Then I matched up the mortises on the opposing piece of wood and slid it into place over the tenons. There’s no need for a lot of clamping pressure. You just need enough to pull the sides firmly together.
Wood glue alone is very strong and will meld the two together. You don’t need fasteners to join the wood. The mortises simply keep the faces lined up together as the wood cures.
I created two wide planks. One will be cut down for the legs.
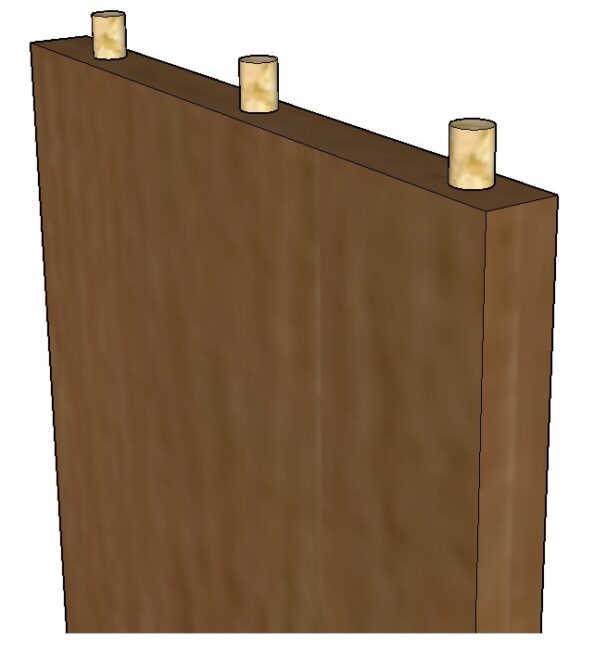
Without any fancy tools, you could just as easily use dowels to keep the faces even with each other under the pressure of the clamps. You’ll have dowels on hand for this project anyway.
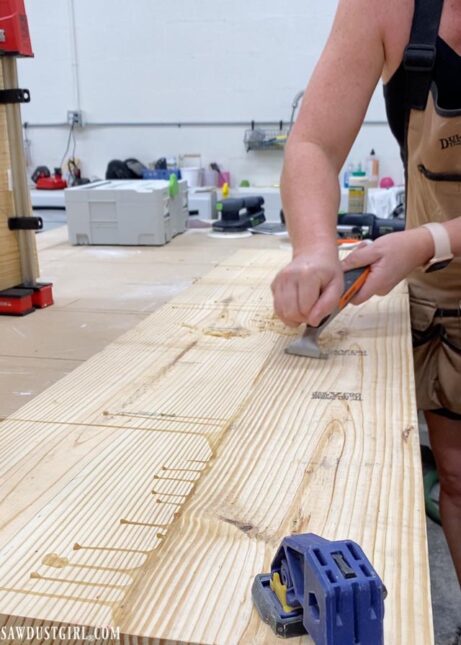
Excess glue can be removed easily if it’s scraped off after it’s just partially dried. Once it dries completely it takes a little more elbow grease but this scraper does the job.
Building the Benchtop
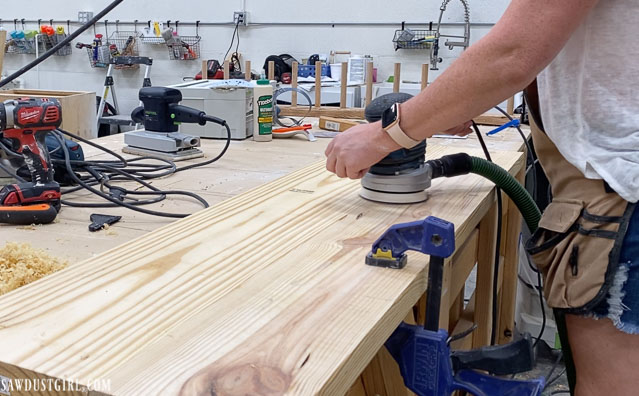
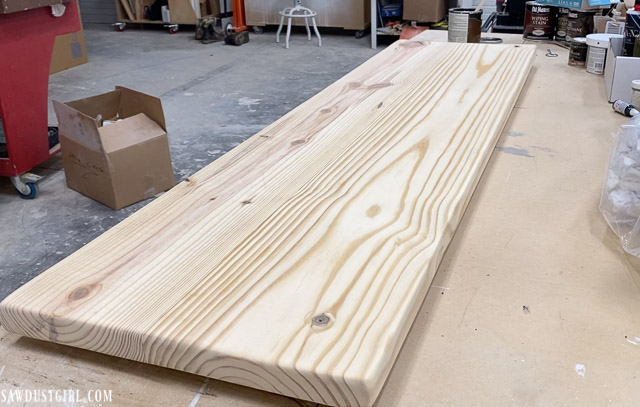
Once all the glue was scraped off, I sanded my boards starting at 120 grit and worked up to 180. For the benchtop, I rounded and softened all the edges and corners.
Cutting the Legs
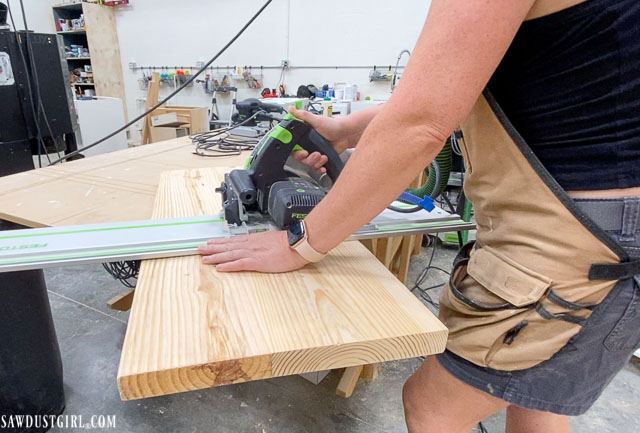
For the legs, I sanded the large piece smooth and rounded the edges that will be the front and back. Then I used my track saw to cut two, 17″ long legs.
Building the Boot Rack
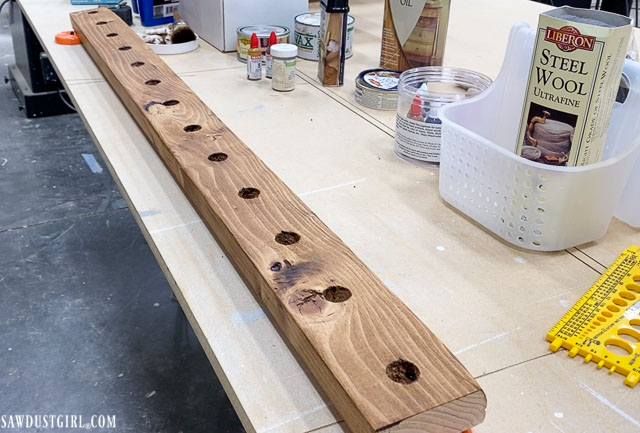
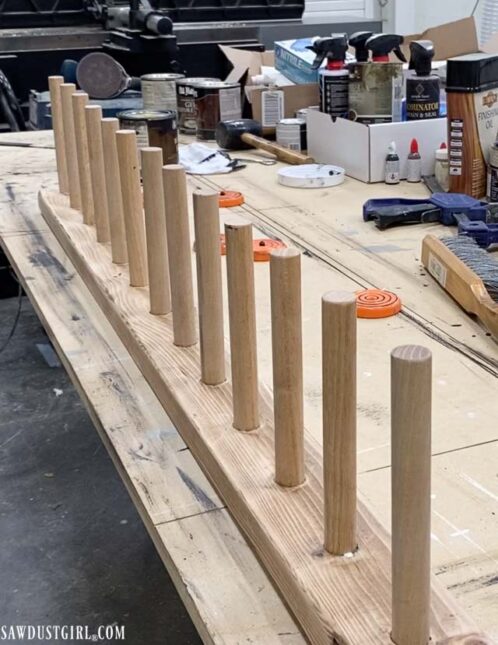
The boot rack is made of a simple 2×4, with holes drilled 4″ apart. The size of the hole will depend on the size of dowel you acquire. Mine are 7/8″ in diameter. If using a hand drill, you just need to focus on keeping the drill straight for all the holes.
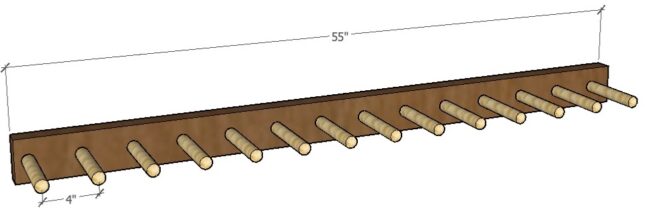
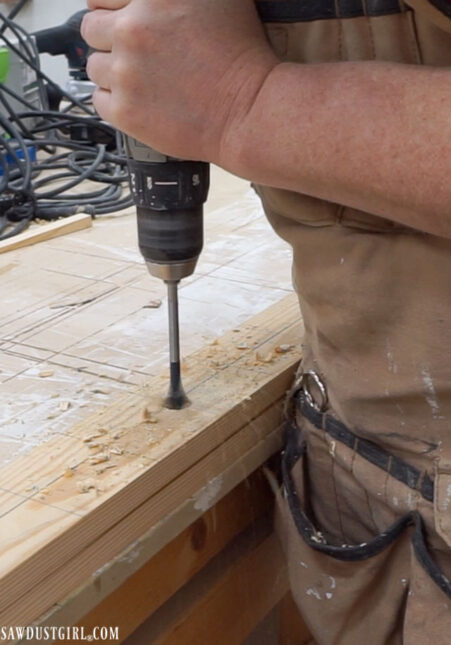
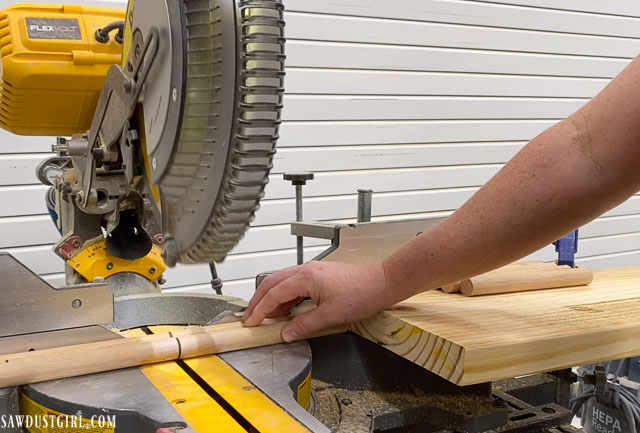
I cut my dowels 9″ long in order to leave around 8″ of usable length once they are glued into the 2×4. (7 1/2″ if you drill through the 2×4)
Tip: If you set up a stop block for your miter saw you can cut all the dowels the same length without measuring every single one.
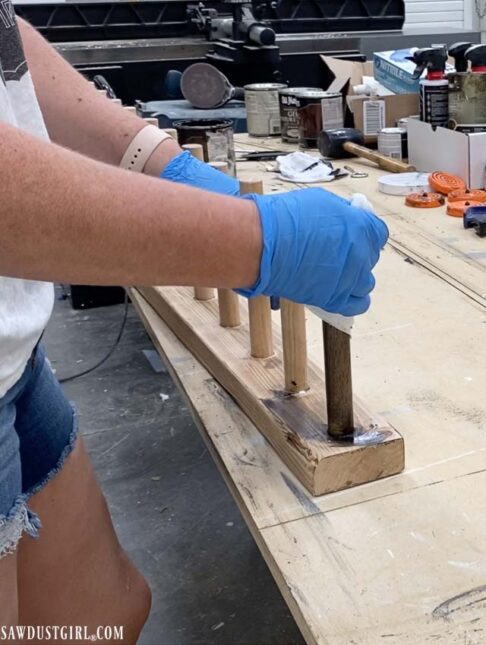
I applied stain to the 2×4 before inserting the dowels to make it easier to brush on and wipe off. Once that was dry, I glued in the dowels and then stained them.
Staining & Finishing
I used a golden oak, oil based stain and finished my bench pieces with Liberon Finishing Oil. I like Liberon because it’s super easy to get a beautiful finish. It’s technically an “interior” wood finish that is water, alcohol, food acid, and heat resistant. My carport is not technically “interior” but it’s covered, and my bench is not going to get rained on so I’m ok with it.
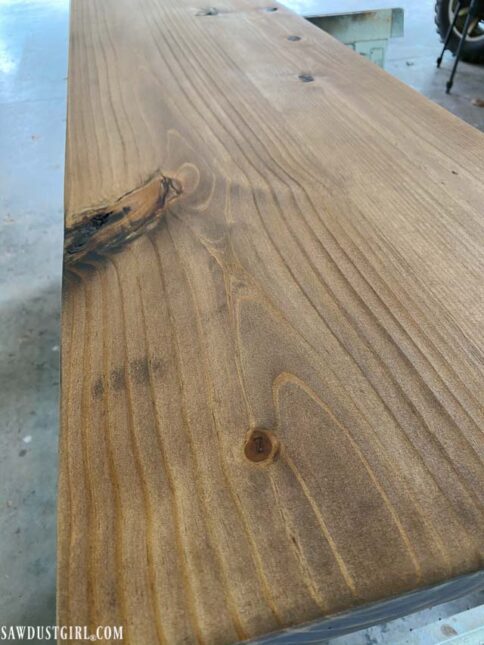
stain only 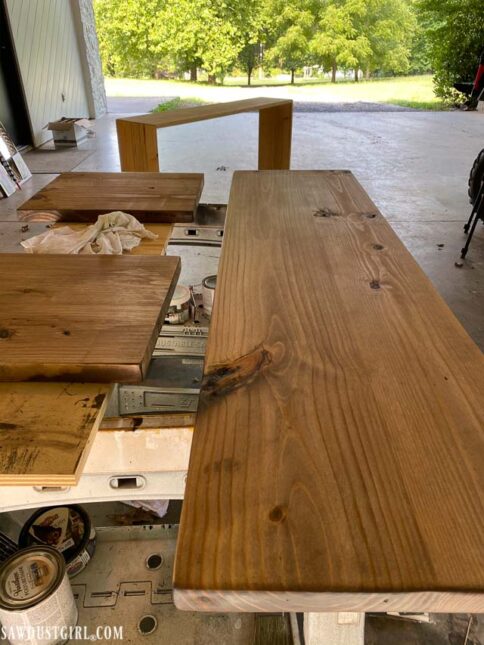
one coat of Liberon oil
Assembling the Bench
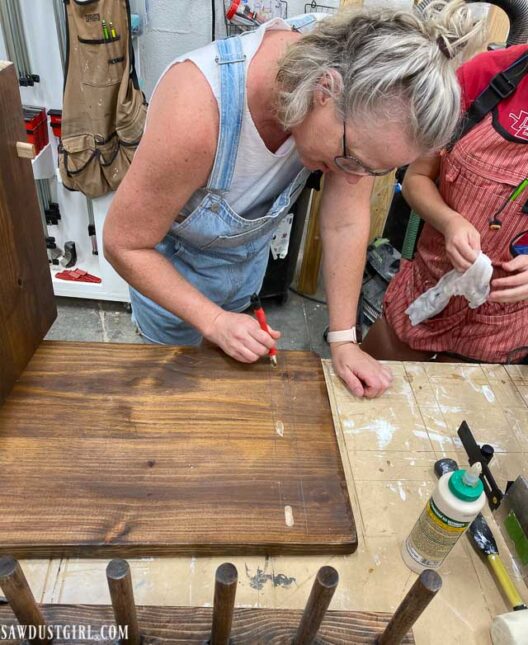
I used loose tenons to assemble all the bench parts. The boot holder is attached to the legs, 4″ from the top. We cut all the mortises and dry fit everything before gluing anything.
Building this bench would be easier if you used pocket screws to attach the boot holder after the legs are secured to the benchtop.
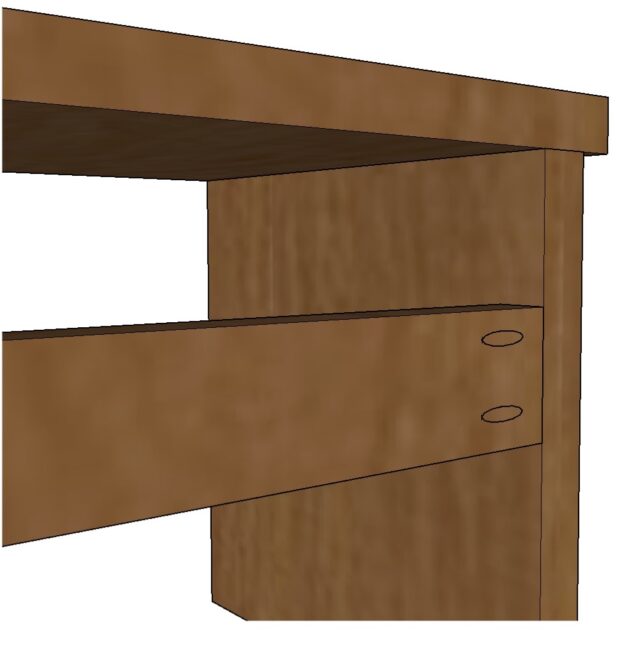
Using tenons, we secured one leg, then held the 2×4 boot holder in place while we “rocked” the second leg in place. Then we clamped it together, making sure the legs were square to the top while the glue cured.
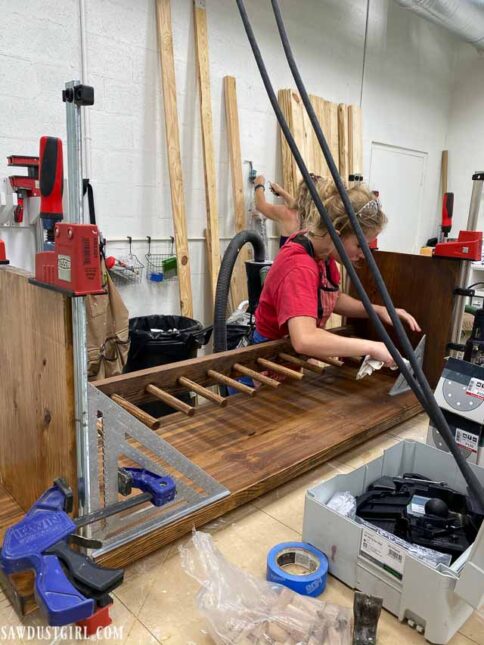
After the glue cured, we hauled the bench up to the carport and applied a couple more coats of oil and bada bing, that was it!
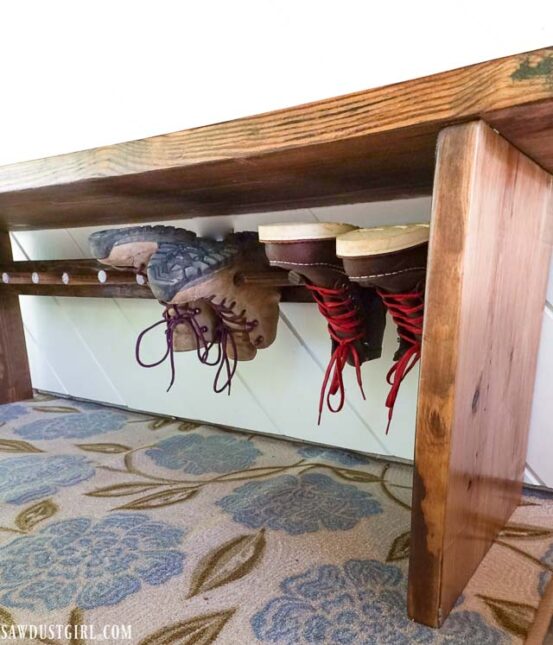
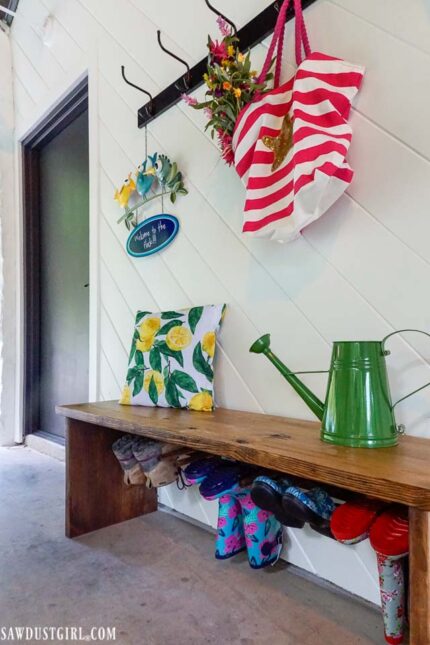
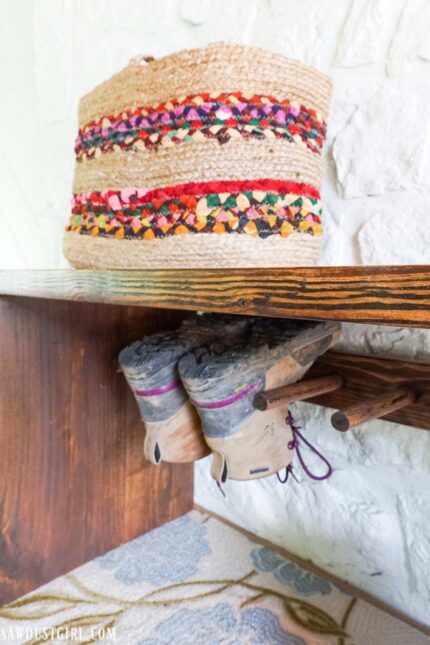
Cool thing is, you can store boots and shoes in three different ways. Hanging with the soles out works well for shoes (Similar to my Easy Shoe Organization project.) The other methods work well for boots. Such a versatile storage bench. 😉
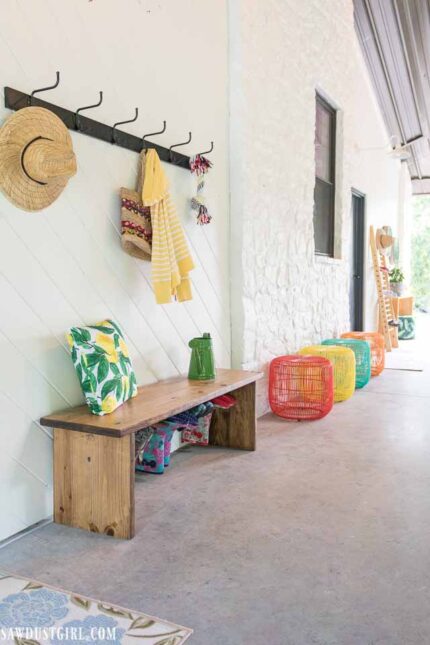
With all of my colorful accessories, the shoes and boots almost disappear from view.

It’s a far cry from what it was before we started this makeover. Removing all the extra junk that didn’t need to be there helped. Making the space beautiful in a way that makes my heart sing every time I see it, will keep the junk from re-accumulating in this space.
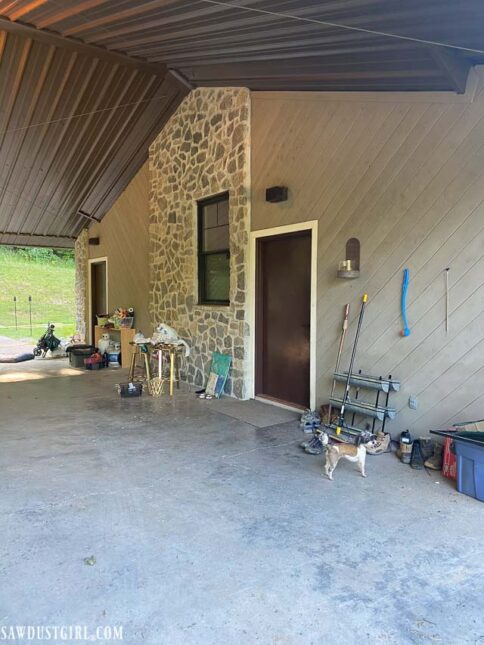
ALL of the stuff in front of the center stone wall is for Julie’s house when she finishes it! (That goal is always two weeks away.)
Also, I just realized that I moved our cat, Maya’s house over by the gazebo and never moved it back…which reminds me that I need to redesign my house addition plans to make sure there’s a place for Maya to live that is cozy and inclusive enough that she’s happy, but we aren’t all suffering allergic misery.
I’m hoping to start building that addition soon so this makeover may be a temporary solution to a mudroom. If this year continues as it’s gone so far, it may be a longer term, temporary solution than I’d like. Either way, the boot bench and shoe ladder add TONS of functionality and the carport/entry is so pretty it makes me really happy!
Big thank you to Danner for sponsoring this project! Check out their full line of men’s and women’s footwear.
I’ll see you soon with more projects! Things are really starting to move along now!
Looks nice and super functional. Why did you choose to nail in the boot holder ‘bar’ rather than notch it into the legs. Would that not be both stronger and hold the piece square more firmly?
I attached the boot rail with loose tenons but showed how one could use pocket hole screws as an alternative method.
I’ve been looking for the right solution to our boot and shoe chaos and I love this. We already have a wooden bench so I’m hoping we can just add the boot rack. I had having boots and shoes directly on the floor; it seems to always be a dirty mess that no one has time to clean up.
I don’t usually comment but I really wanted to read a few posts but it’s so damn hard with all the adds firing off every time I scroll. A video popping up every few inches you have to get rid of but can’t for ten seconds that obscures the content. I know I can’t be the only one. This really sucks.
Hi John. I know adds make getting to the content more challenging but ads are how I compensate myself for the work of creating the content. I always want to consider your experience while consuming the article but the ads are served by a third party and are generated automatically. I’ll reach out to them and see if they can make a tweak or two to make your experience a little better.
Love this project and want to save it to Pinterest but can’t find a link to do that. Is there one I’m missing?
Hi Patty. If you are on mobile, the plugin that allows the PinIt button to hover over the photos may not work. Sometimes it does, sometimes it doesn’t. If you are on desktop, it should be there. So sorry for the inconvenience. 🙁
Love this! It is simple and beautiful and so functional! I am just getting into some basic furniture building and it is so rewarding! You are inspiration and I appreciate you sharing your wisdom in this blog!
Thanks so much Abbey. Hope you enjoy your building adventure!