Beckie’s Studio – Part 4
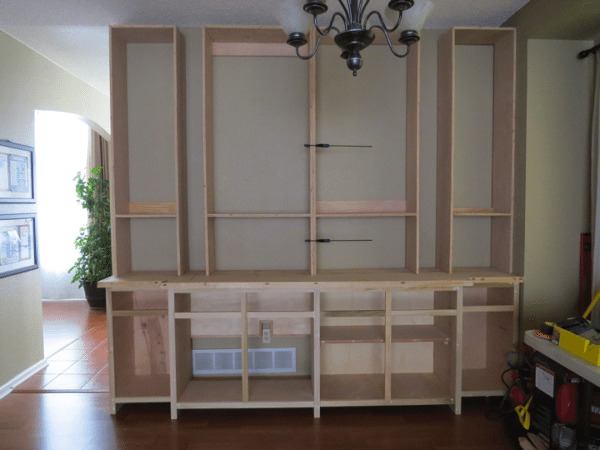
This post is from me, Sandra! I talked to Beckie about door options for her craft studio cabinets and drew up a few different ideas for her to choose from. I sketched up this rough drawing for her to visualize the completed built-ins when we first started this studio project. We talked about doors. I knew she wanted them but knew doors were a LONG way off and I didn’t draw them into the sketch. Catch up: part 1, part 2, and part 3.
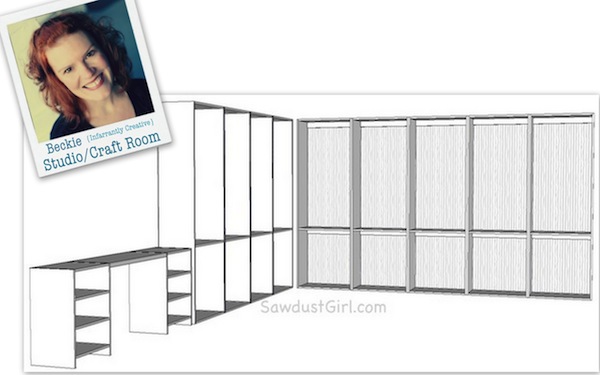
This is what I thought she wanted. I kept talking about decorative baskets and cool containers. Turns out she was wondering why I kept talking about about what her craft supplies were stored in. She did mention plastic tubs at one point…but I didn’t catch on.
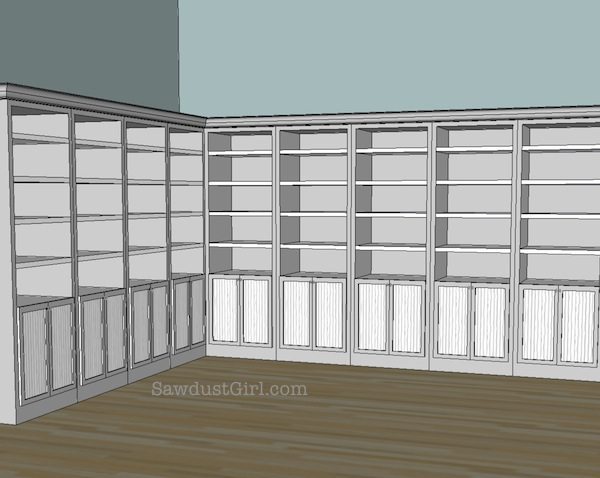
When it came time to measure the opening so I could draw her craft studio plans for the doors, I told her to measure top to bottom …and she stood up on a chair. Turns out Beckie was picturing doors that covered the entire cabinet opening. It totally doesn’t matter. Nothing in the cabinet changes. It’s just totally funny that neither one of us knew what the other was assuming.
So, with the need for MUCH taller cabinet doors, I decided to give her some options. I thought it would be fun to share those options with you too and then see what happens.
Here we go:
Option 1: Most basic. Easiest to build.
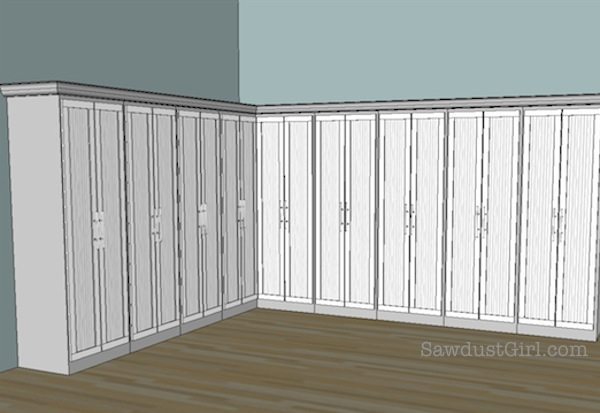
Option 2: Step it up with an extra rail. Makes construction a bit more complicated but totally doable.
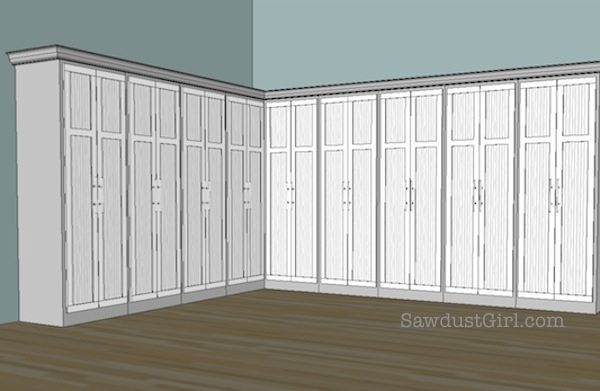
Option 3: Three inset panels with one more additional rail. Even a little more tricky but still doable.
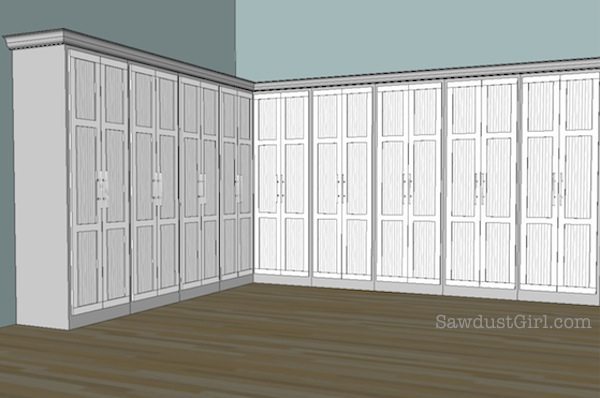
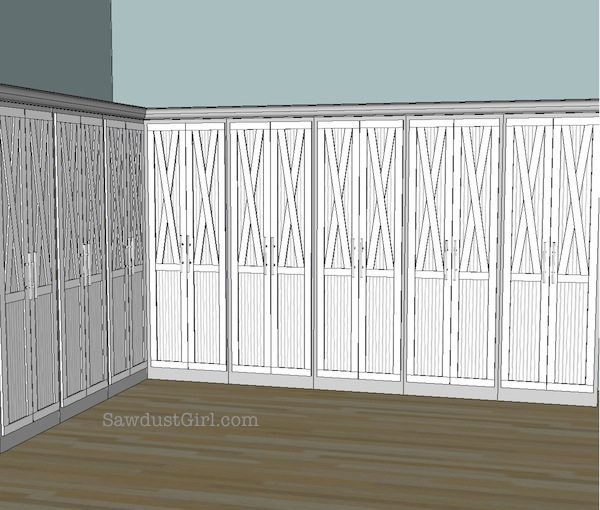
Option 4: OK, so this was not even a real option for Beckie. She’d punch me in the face (if she could reach me though the screen) when she was trying to build these. But I drew it, so I’m going to share! 🙂
You’ll see in the final reveal which door style Beckie chose. Which option do you like best?
