Beckie’s Studio – Part 3
Time for Beckie to install, prime and paint her craft studio cabinets! It can feel like this part takes just as long as the entire build — but it doesn’t. Not quite as long. 🙂 It is one of the most important steps though. If you spend hours and hours week after week, putting blood, sweat and tears into building some amazing built-ins, you do NOT want to ruin it with a sloppy paint job. Taking your time to do it right saves time in the long run. Catch up on part 1 and part 2
– Sandra
Beckie’s Craft Studio Built ins
Today we made the bases. Again I had every intention of trying to build these myself. But I cried uncle after I couldn’t clamp and keep the boards straight with my limited wingspan. I bought premium 2”x 4”s and they were still jacked up. One isn’t sitting straight but I figure once the cabinets are on the bases it won’t matter because the weight will keep it level. So once again we have a night time build. Tim leaves out of town tomorrow so I guess I am going to have to put the bases in place myself and then heave-ho the cabinets on top. I can do that right? We’ll see.

Next day:
I don’t know why I start every next step with fear and trepidation. Sandra wants me to cut openings for my outlets and cable jack. I want to fight her on this one and tell her it doesn’t matter. But I succumb to words like “if you ever sell the house” and “it doesn’t pass inspection,” “not up to code.”
So again we Skype. BTW…can I just tell you that I love that we both look our worse, with no make-up on, kids bothering us and our hair looking like we haven’t showered in weeks. {giggle}. I digress.
So she walks me through how to measure and cut out these rectangles for the outlets. I am not having a good attitude about this because I really just want to shove the outlets out of the way and cover them. After I do it and I realize how easy it is AND that I actually measured and cut it right I kind of feel a bit empowered. And I am glad I listened to Sandra…having outlets is always a good thing.

Next up is drilling the cabinets together. Sandra and I got cut off on our last Skype call after she told me how to screw the cabinets together. Apparently she was just about to tell me what a pain in the butt this part is. That is an understatement – it straight up sucks!
So mind you Tim is out of town so I am solo on this bad boy. Now I could wait three days for him to get home but I just want to see some progress going on in here. So I decide to tackle it myself. Holy &$%#%@…. yes there was a whole lot of choice words for those cabinets – and I am not even the swearing type. The whole time I am whining in my head that I need another pair of hands. After two hours of pushing, tugging, clamping and cussing all 5 cabinets are drilled together. Halleluia!

So now the next step is drilling the cabinets to the studs in the wall. Major problem – my walls aren’t straight, neither is my ceiling, nor my floors. I am so ticked at this point because the cabinets are not lining up side to side so I called Sandra. Truth be told I wanted someone to blame. She told me that we have to take into account these things and that there are ALWAYS things that happen. I was in a pissy mood. I mean pissy. So I decide to get off the phone so that I don’t say anything stupid – I get like that when I am pissed. I also decide to call it a day.
Next day:
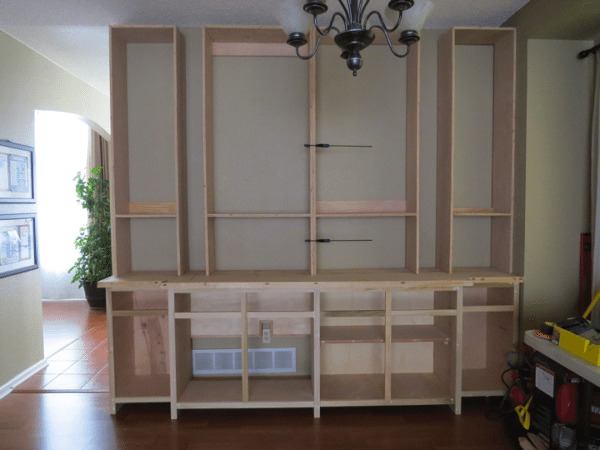
So I wake up the next day with a renewed vigor to tackle the problem. After some shimmying and beating into submission we have the back cabinets in place.
Ever since the beginning of this project Sandra keeps talking about the ceiling vent. In my head I am thinking “I am not moving that vent.” So today Sandra tells me her idea for the vent. It involves some fancy cutting on a table saw, some cut slits into the crown molding. After I realized she isn’t letting this go I decide phone a friend. He came right over and moved the vent for $50. Fancy cutting avoided, Sandra is happy. And even though I hate to admit it, she was right. I would have been ticked in the summer when it was smoking hot up there because there wasn’t enough air circulation.

While the electrician was there I also had him install 6 can lights. Again I was going to do a track light. But Sandra told me it would look ghetto. I think she used other words. But that is all kind of fuzzy. Sandra seems to be winning a lot lately though.
So I get all the cabinets nailed in place but not without pain, agony and calling Sandra some names under my breath (joking on the last part – I love that girl!). Then I added face frames on everything and caulked and wood filled all the holes.

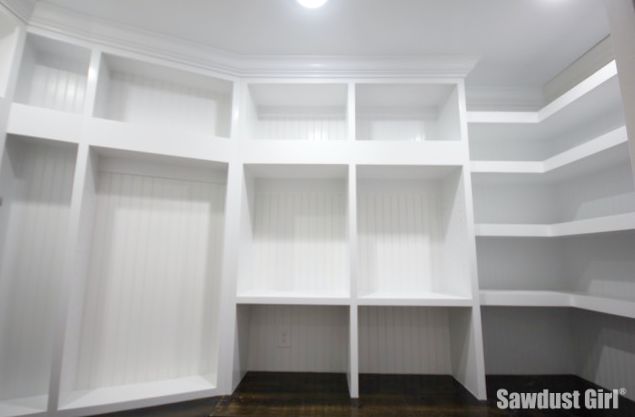
So are you ready to see it all painted….


Next up: Building Doors for the cabinets. And guess what? I am scared. But Sandra has gotten me this far and I know she won’t quit on me now! So onward I build!
See Beckie’s options for Cabinet door styles or skip right to the Reveal.
What size of mdf did you use for the boxes? 1/2″ or 3/4″, and what size of plywood for the backs? What is the material you used for the face frames and what width?
This is an awesome build and now my wife wants something similar….:)