DIY Chair – How to Build a Modern Plank Chair
Modern plank chair by Timisha of Tool Box Divas. Easy to follow instructions to build a diy chair that is both a work of art and a functional piece of furniture.
Hey guys! Yesterday I told you about my mentorship squad. This month is an introductory month. Everyone is sharing a fun project or useful tip so you can get to know them. Next month we will start our “themed” projects. Today, I’m introducing you to one of my protégés. Timisha blogs about home improvement and DIY projects at Toolbox Divas. She is a firecracker. If we’re Skyping and I mention something that she should look into, within 30 seconds, she’ll have 20 tabs open “looking into it” WHILE we’re still Skyping AND she’s holding up her end of the conversation! I need a tablespoon of her ability to multi-task! Like I said, she’s a firecracker!
Today, Timisha is going to show us how she built a modern plank chair.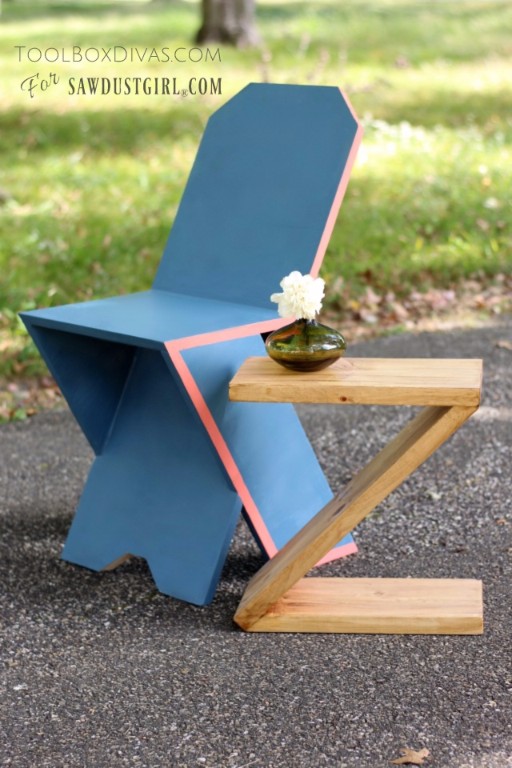 Hey Sawdust Girl readers! It’s Timisha. I am so thrilled to have been selected to be a part of Sandra’s mentorship program. I’ll be here from time to time sharing with you the things I’ve learned as I grow and push myself to that next level as a maker and as a home improvement DIYer.
I love modern furniture and design. I love the clean lines and minimalistic feel. Modern furniture is a mash-up of craftsmanship and artistry.
Today I’m showing you how I made a modern plank chair, a functional piece that can also be appreciated like a work of art. Michael Boyd is a modern furniture designer/artist that I follow. Years ago, he created this simple yet elegant chair made of plywood. I fell in love with it instantly! My DIY chair is inspired by his creation.
How to make a DIY Modern Chair
Materials
- 4×4 sheet of 3/4″ Plywood
- 2″ Screws
- 2″ brad nails
- 1×2 cut to 12 7/8″ (Under seat support beam)
Tools
- Jigsaw
- Circular saw
- Drill
- Level
- Tape Measure
- Long bar clamps
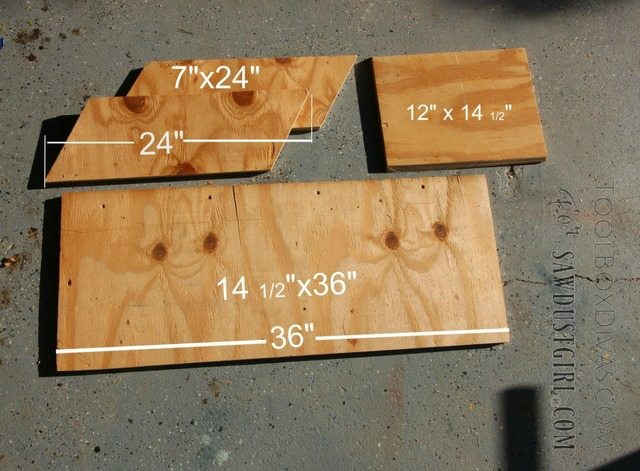
Plywood Cut List
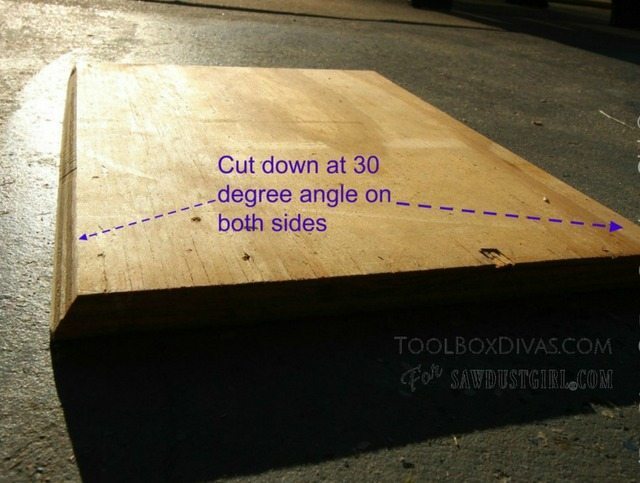
- 1 – 12″ x 14 1/2″ cut at 30 degrees in the same direction on both 14 1/2″ sides (Seat)
- 2 – 7″ x 24″ cut at 30 degree angle in same direction (Legs)
- 1 – 14 1/2″ x 36 cut at 30 degree at the bottom slanted down in the direction at which the chair sits on the floor. (Back)
OK, let’s get dirty!
Step 1:
This project utilizes A LOT of angles. I literally sat there at the dining room table doing trigonometry and geometry to determine the appropriate angles. (I probably shouldn’t admit that I almost failed geometry. LOL). But I wanted to keep it as simple as possible. All the angles are cut at 30 degrees. 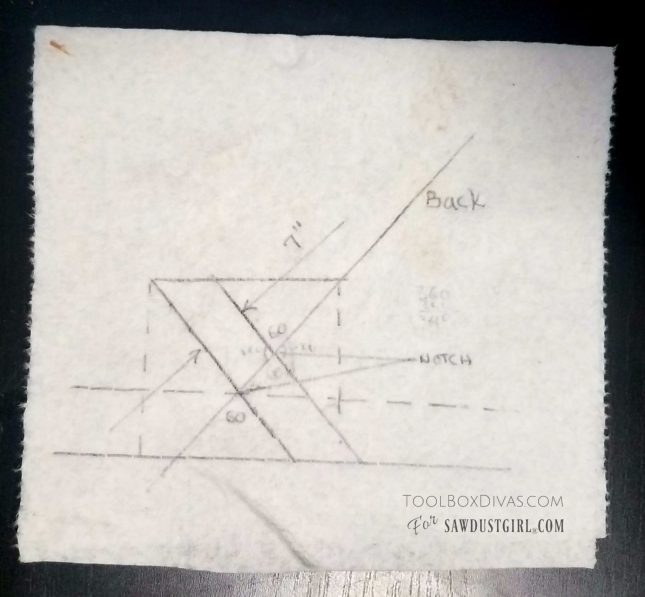
Step 2:
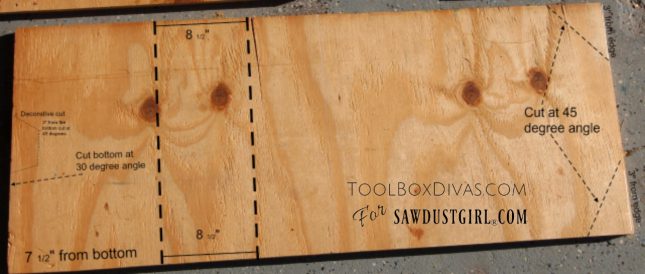
Prepare the back for the legs. The bottom of back piece should be cut at a 30 degree angle so that when its angled and the legs are attached it sits flat on the floor.
Step 3:
Cut the notches out for the two legs on the long back piece. This is best completed with a jigsaw. You want to notch into the plywood 3/4 inches. This is the width or thickness of the board. You want to make sure you’re as precise as possible with this cut because its imperative to the stability and height of the legs when assembling. I also cut out a decorative line at the top of the seating and at the bottom. This cut is not beveled.
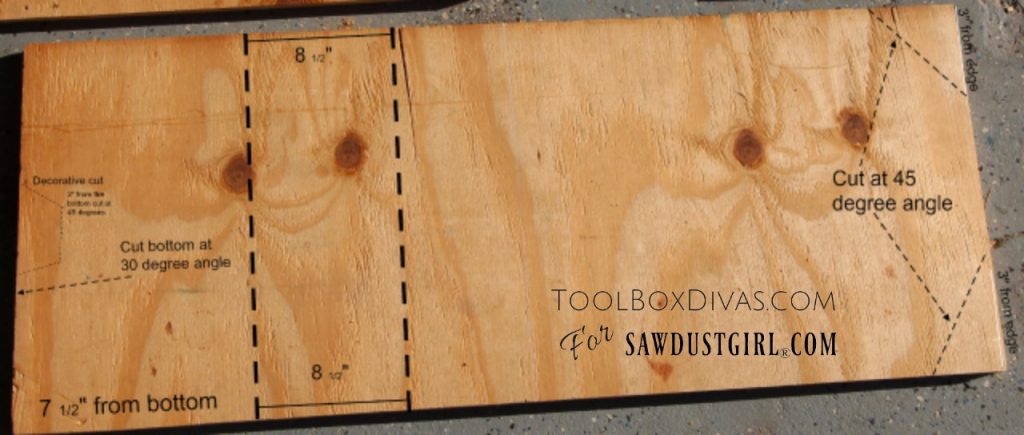
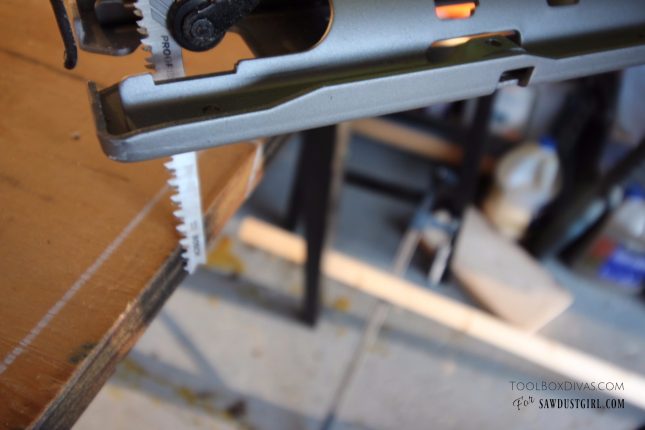 You want to set the foot to a 30 degree angle.
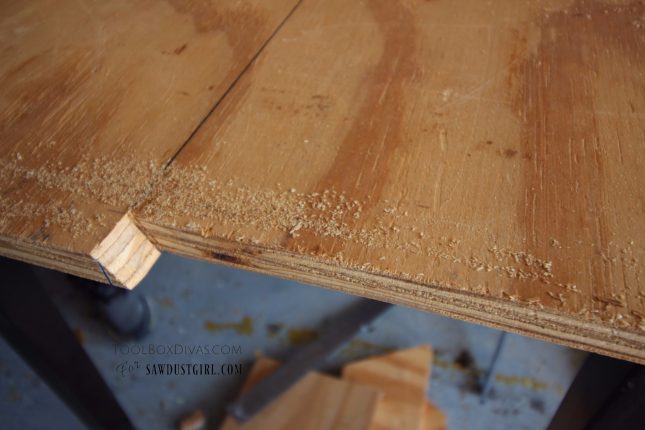
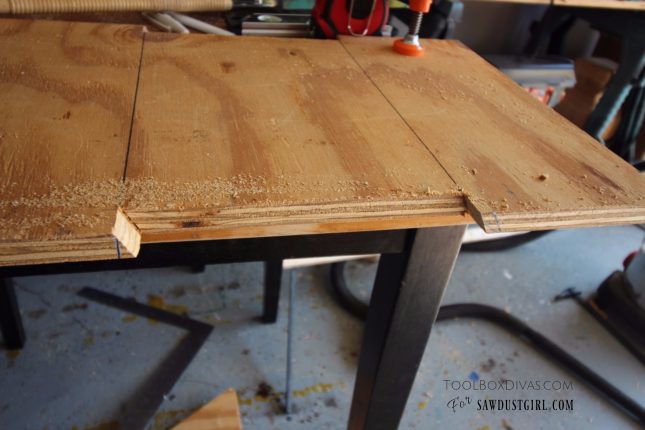
Step 4:
Assemble. This is best done on a flat surface. I recommend using a table to lean the back piece on. Attach the legs to the sides of the main planked back rest of the chair. Hold in place with clamps. Ensure that the leg is level, then screw in place. Do this on both sides of the back piece. You can also rest the seat on top of the legs while your are attaching the legs to ensure that it is level at all times. 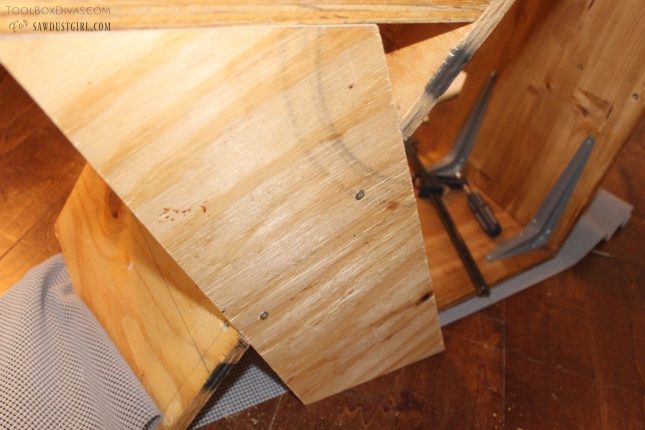
Step 5:
Place the seat on top of the legs and check that the seat is level. I attached the seat to the legs using a brad nailer for the top and screws in the back. 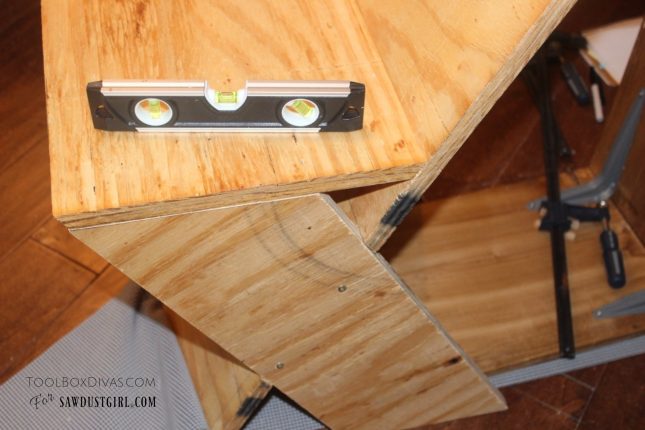
Step 6:
Insert and secure the support beam under the seat. I decided to add this support beam because well I wanted to make sure this chair could accommodate more than a child. I might have over done it, but I say its better safe than….on the floor. 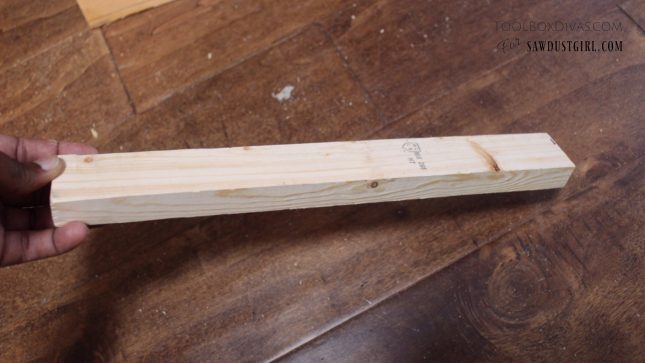
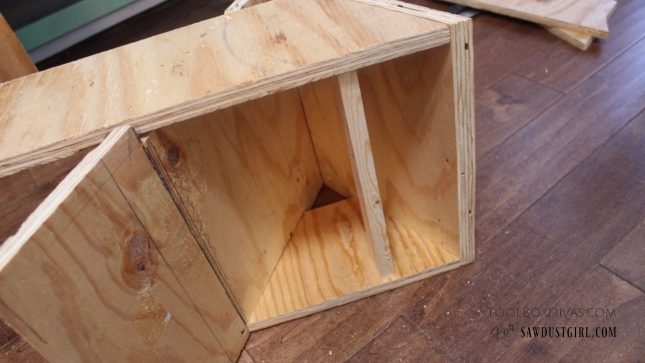
Step 7: Finish
- Apply wood filler to the screw and nail holes and allow time for it to dry.
- Stain or paint your diy chair.
- Now have a seat and take a load off because –you are done.
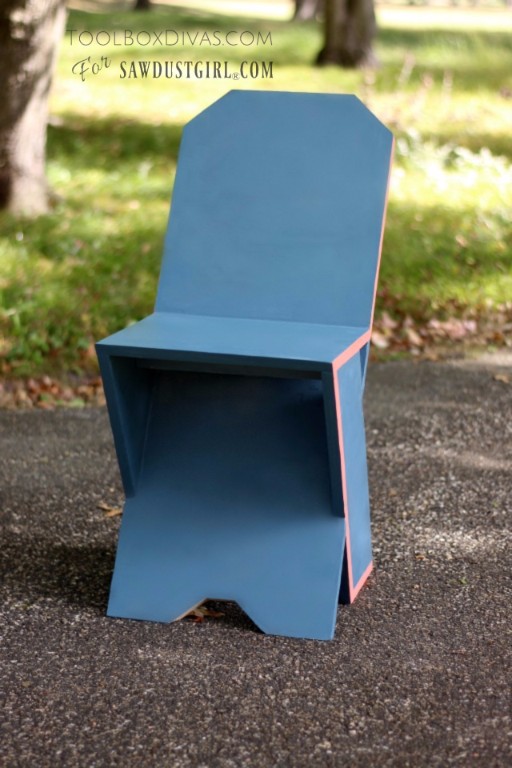
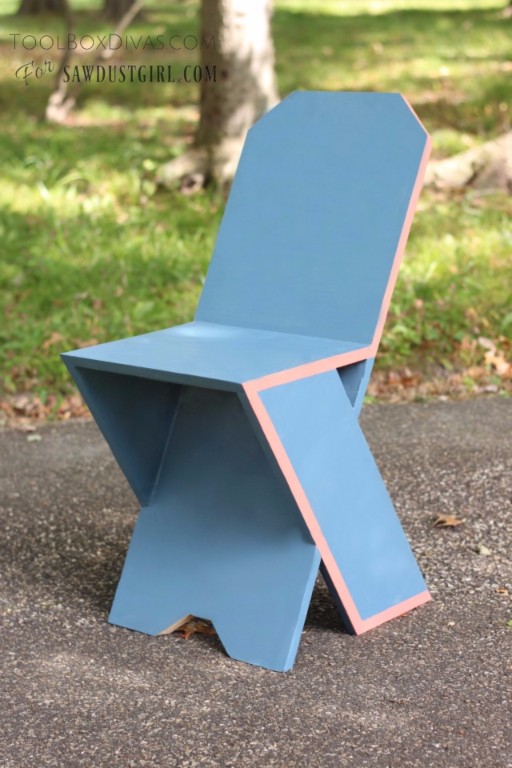
Now some may ask, “Timisha, is this chair comfortable?” Well, my response is, “No. But, since when has a modern chair ever been comfortable?” I mean really people?! lol But it is nice to look at!
I also made a ‘Z’ shaped side table to pair with my DIY Modern Plank Chair. Come on over and check it out!

Till Next Time. ~T.


Ugh, i was trying to figure out a simple design for a chair and this is perfect. Well played, Timisha and Sawdust Girl, well played. Could be cool to extend the legs up as arm rests as well, but would complicate this beautifully simple design.
?
I love how you admit that it’s not comfortable! 🙂