Memo Board and Homemade Chalkboard Paint
I’m always happy to have Brittany (Pretty Handy Girl) over to share a project! I always learn something new or a new way to do something or get a new idea…because she is Pretty Handy! She’s here to share instructions for making your own chalkboard paint (ANY COLOR YOU WANT) and a cute memo board. Just think of the possibilities!!!
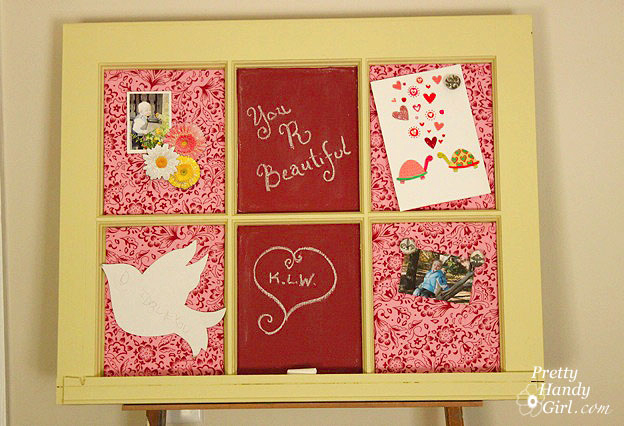
Thanks for inviting me over to your blog today Sandra. What a great idea to start gift making for the holidays!
In my opinion, old windows make the best gifts. Well, after you transform them that is.
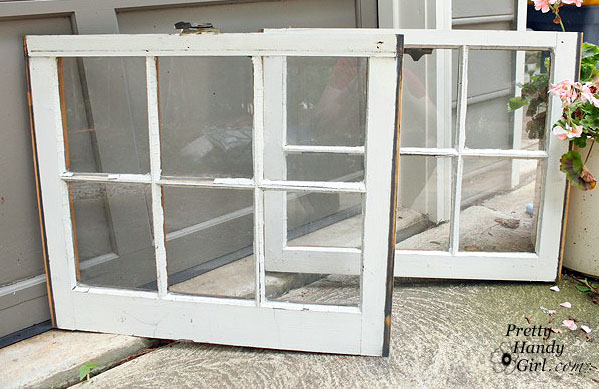
I recently found several old windows by the side of the road. I squealed tires to grab those babies out of the trash. I couldn’t believe my luck!
My favorite upcycling project for old windows is to make them into memo boards. Here’s how I transformation one.
Materials:
- Old divided light windows
- Sheet metal ($10 for a sheet in the duct work aisle)
- Tin snips
- Work gloves
- 3M duct tape
- Scissors
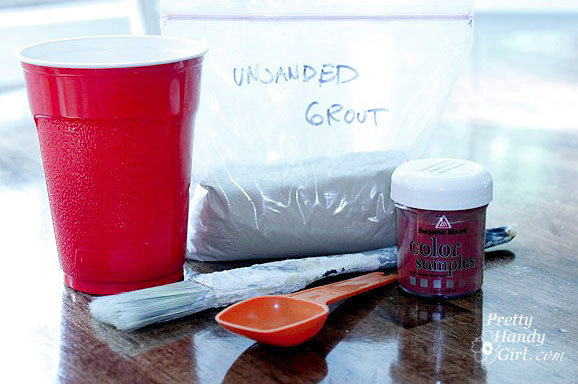
- Unsanded grout
- Raspberry colored paint
- Lemon/Lime colored paint
- Fabric
- Paint brush
- Cup for mixing
- Scotch blue painter’s tape
- Primer
- Fine grit sand paper
- Foam double stick tape
Instructions:
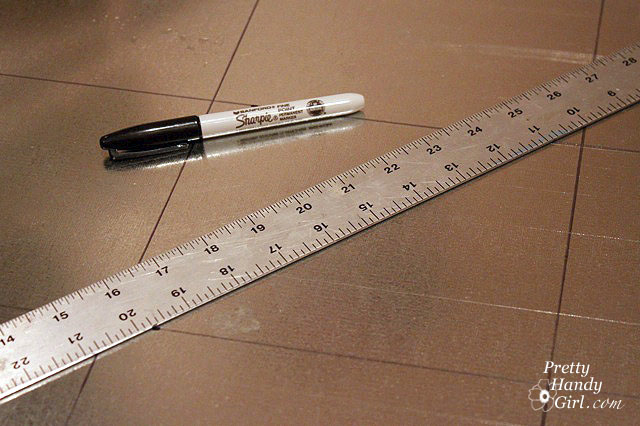
Measure the individual window panes. Be sure to measure close to the glass where the grille is widest.
Transfer your measurements onto the sheet metal.
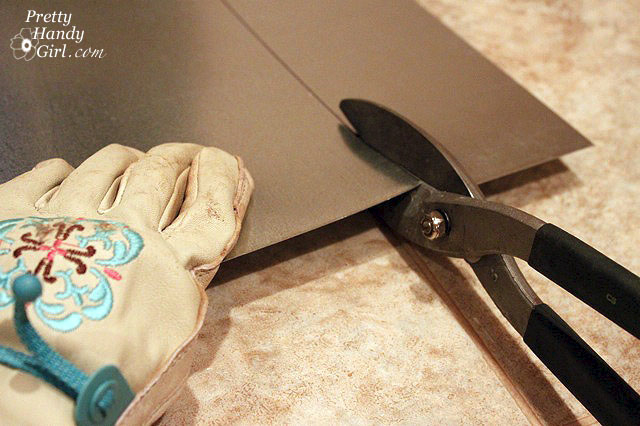
Cut the metal with the tin snips. Be sure to wear protective gloves when working with the metal. It is sharp!
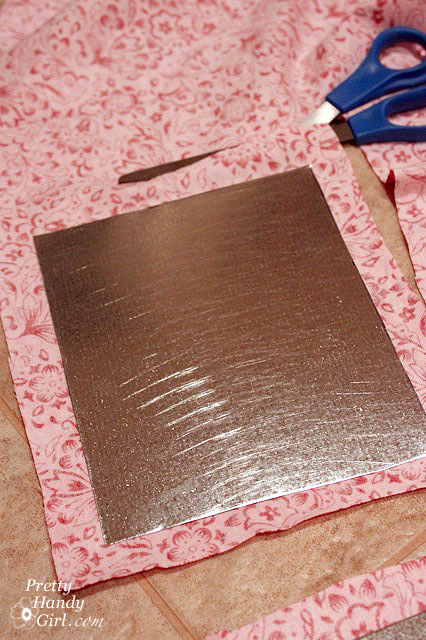
Make sure the metal rectangles will fit in the window openings. Lay the metal on top of your fabric and cut the fabric at least 1″ wider than the metal.
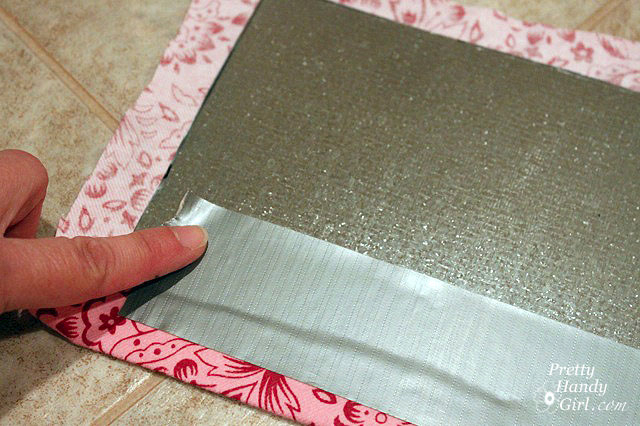
Fold the fabric over to the back of the metal and secure it with the duct tape. Pull your fabric snug, but not too tight as to tear the fabric on the metal corners.
Double check to make sure your fabric covered rectangles still fit into your window.
Clean the windows (use a bleach solution if there is mold or mildew present. Repair any of the glazing that is cracked or missing. To replace missing glazing, you can use paintable caulk. No need to buy glazing.
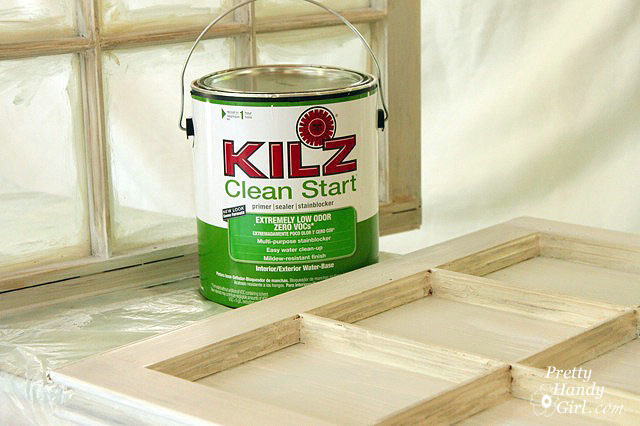
Prime the entire window, glass and all!
Once the primer has dried, use the sandpaper to gently rough up the primer (especially on the glass. But, be careful not to scratch through to the glass.)
Choose a paint color that you like. (I chose a pretty lemon/lime sherbet green.) Paint your window back and front and over the glass.
Let the paint dry, gently sand it again and apply a second coat of paint..
Once the paint has dried, it is time to make your own chalkboard paint! First, tape off the edges of the panes that you want to be chalkboards.
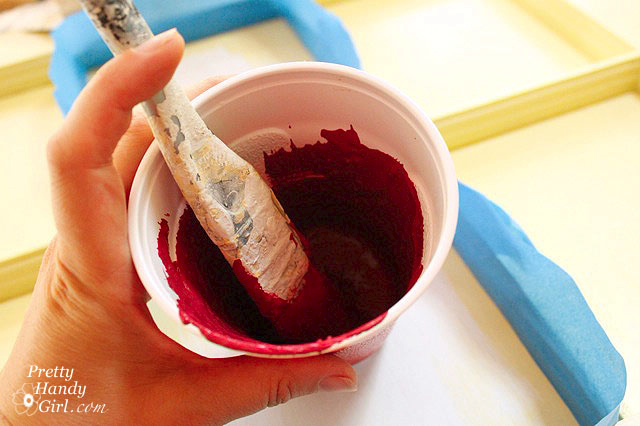
Pour 1 cup of paint into the mixing cup. Slowly add 2 tbsps of unsanded grout to the paint. Mix the paint thoroughly with the paintbrush. The goal is to get rid of all the lumps, but you may still have a few.
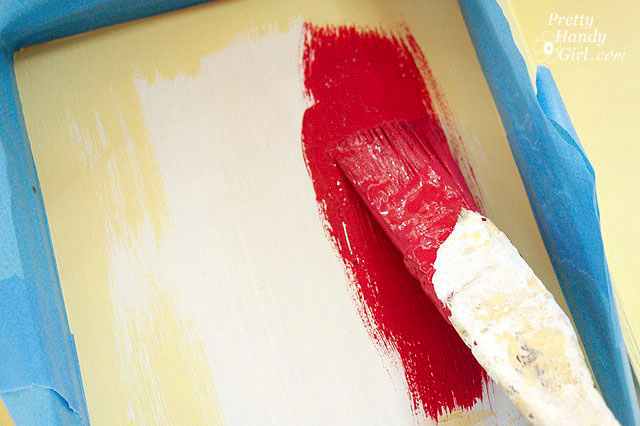
Paint the chalkboard paint onto your window panes keeping all the strokes in a vertical direction. You should be able to smooth out the lumps at this point.
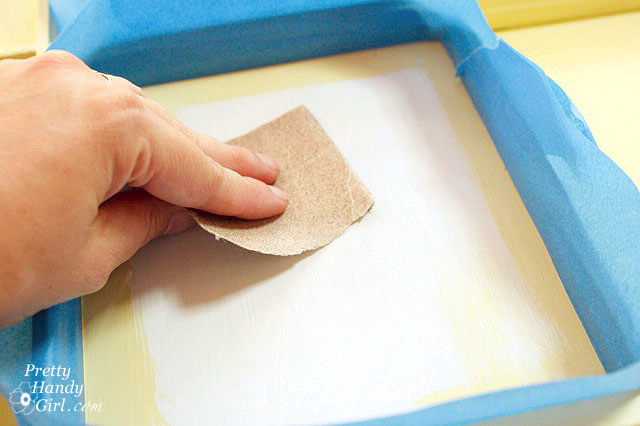
When the first coat of chalkboard paint has dried, VERY GENTLY sand the top of it to give it some “tooth” for the next layer to stick to.
Paint your second coat of chalkboard paint in a horizontal direction this time.
Once the paint has dried, carefully remove the painter’s tape. Touch up any spots that you may have missed. When it is completely dry, season your chalkboard by rubbing a piece of chalk on its side over the entire surface. Then wipe it off with a dry rag.
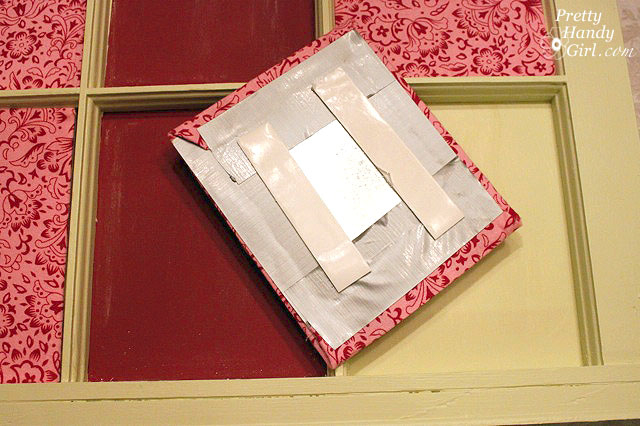
Time to put your memo board together. Turn the fabric covered sheet metal over to the back side. Cut two pieces of foam tape and stick it to the back of the metal. Remove the tape backing and flip over the metal squares. Press the fabric covered metal firmly into each non-chalkboard pane.
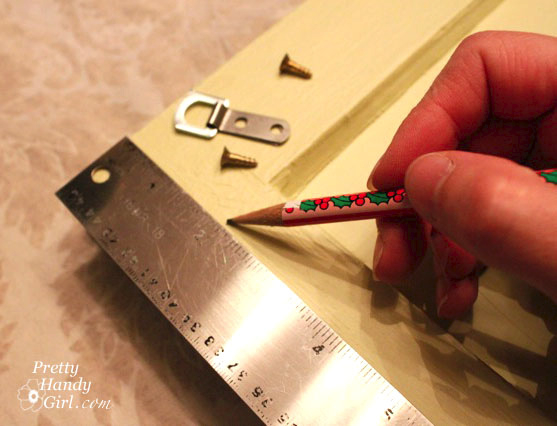
To add a hanger to your memo center, flip the window over and measure down 3″ on both sides.
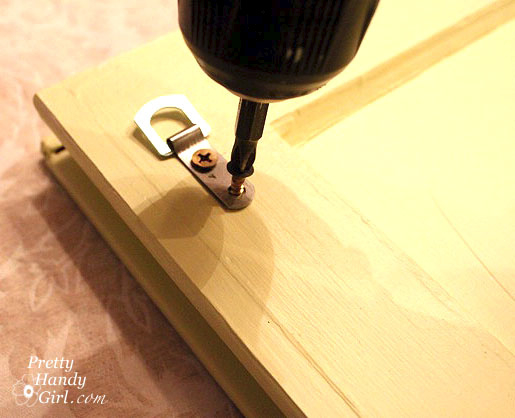
Use a drill to drive the screws into the D-ring style hangers.
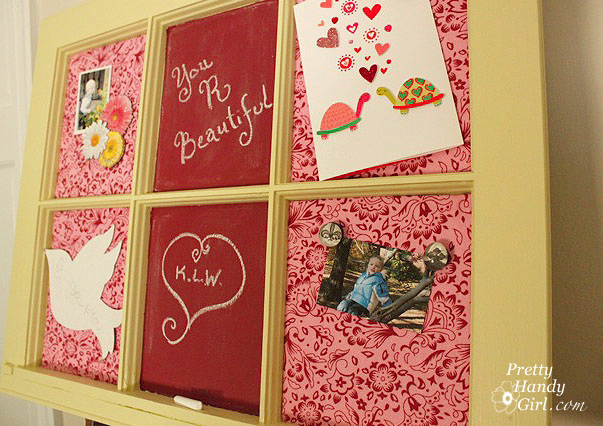
And that’s it! You are done and you just created a pretty memo center for a great gift.
One more note. I found that the heavier duty magnets work best on the fabric covered sheet metal. You can buy them in the hardware store or your craft supply store. To make the adorable glass magnets shown on my memo board, visit the tutorial for making glass bead magnets. Oh, and they make great gifts as well!
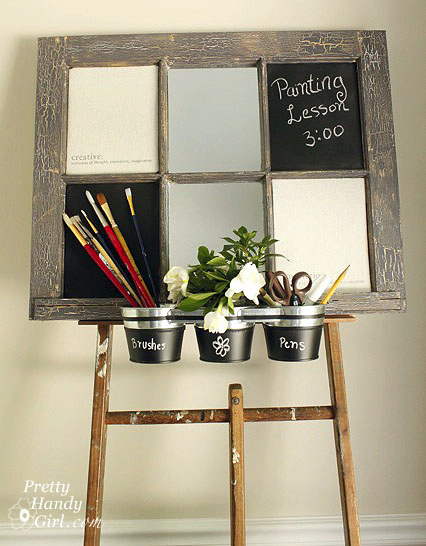
If you liked this project, you might like this artist’s inspiration board. I like to think of it as a real life Pinterest.
To view more of my curbside transformations, have a peek HERE.
Thanks for having me over for your Handmade Christmas in July series. I hope to see y’all again soon.



Brittany,
I love this idea. I’m going to see if my daughter in-law would like to make one with me for our homes.
Another great idea and looks super!!!
I noticed you used latex paint and someone asked about acrylic. I’ve seen lots of posts about chalkboard paint: Some like yours – latex and unsanded grout –some with acrylic paint, glazing medium and the grout — and some with just acrylic paint and the grout. I tried the latter since it was the simplest but I’m noticing the acrylic paint will rub off onto a wet rag. Also – the chalk doesn’t rub off very easily. I’m thinking for starters the acrylic paint is water soluble so that’s probably a factor but I know I have ‘store bought’ chalkboard paint that is acrylic and it doesn’t behave the same way.
I wondered if anyone else had this experience or has any thoughts on this.
The memo board is beautiful – thanks for the ideas!
These would make great gifts! Does it matter what type of paint you use? I was wondering if craft (acrylic) paint would work – that way I could make personalize them in different colours without having to purchase several quarts of paint!
Awesome! Thank you for the post!