• Home
  • About
    • Personal Posts
  • Privacy
  • Shop
    • My Account
    • Checkout
    • Email
    • Facebook
    • Instagram
    • Pinterest
    • Twitter
    • YouTube
Sawdust Girl®

Sawdust Girl®

Renovation, cabinet building and woodworking plans and tutorials. Build like a Girl®

  • My Home
    • Clinton TN House
      • Clinton TN House in Progress
    • Maryville TN House
      • Maryville TN House Tour – Completed Rooms
      • Maryville TN House in Progress
        • Basement
        • Basement Storage Closet
        • Bedroom Office
        • Craft Room
        • Dining Room
        • Entry
        • Garage
        • Guest Bedroom
        • Hallway
        • Jack and Jill Bathroom
        • Kitchen
        • Kitchen Entry
        • Laundry Room
        • Library
        • Living Room
        • Loft
        • Madison’s Room
        • Master Bedroom
        • Master Closet
        • Pantry
        • Porch
        • Powder Room
        • Wes’ Office
    • Illinois House
    • Calderwood Cottage
  • My Workshop
    • Clinton Workshop
  • Build & Breakfast
  • Cabinet Making 101
    • Cabinets
    • Doors
    • Drawers
  • Projects and Plans
    • Countertops
    • Beds
    • Benches
    • Bookshelves
    • Desks
    • Gift Ideas
    • Holiday
      • Christmas
      • Halloween
    • Home Accessories
    • Kids
    • Kitchen Cabinets
    • Lockers
    • Nightstands
    • Organization accessories
    • Recipes
    • Sewing
    • Tables
    • Vanities
    • Wardrobes
    • Woodworking
      • Wood Finishing
    • Workshop
    • Workshop Storage and Organization
  • Remodeling 101
    • Baseboard and Trim
    • crown molding
    • Demolition
    • Door and Window Casings
    • Door Installation
    • Drywall
    • Electrical work
    • Flooring
    • Home Maintenance
    • Painting
    • Plumbing
    • Resources
    • Safety
    • Tile
    • Wall and Ceiling Treatments
  • The Sawdust Diaries
    • Andrea
    • Ava D.
    • Beckie F.
    • Cara C.
    • Courtney B
    • Fawn T.
    • Jenn D.
    • Kelly C.
    • Kristy K.
    • Lara T.
    • Malisa B.
    • Marnie D.
    • Robin C.
    • Val F.
  • Tools
    • Products
    • Tool Reviews & Overviews
    • Inspiration & Ideas

Pallet Wood Arrow – Extra Large

All Posts, Projects and Plans

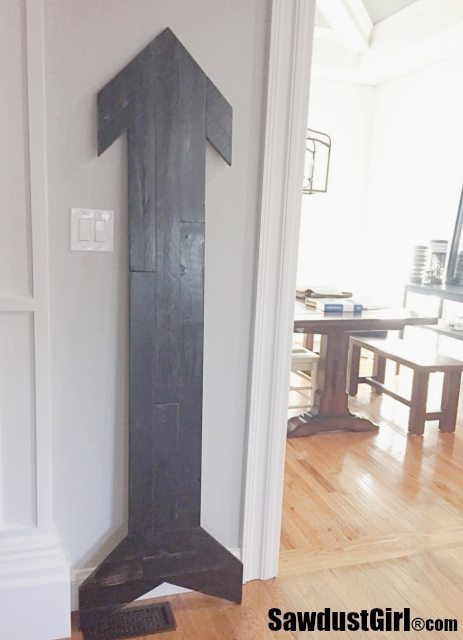
When I get a large delivery, it almost always arrives on a pallet. Not one to waste wood, I leave them outside for a few months. After they get cleaned naturally by rain and sun, I can create something with them. This pallet project is a giant wood arrow.

DIY extra large pallet wood arrow

super easy pallet wood arrow

Build a Large Pallet Wood Arrow

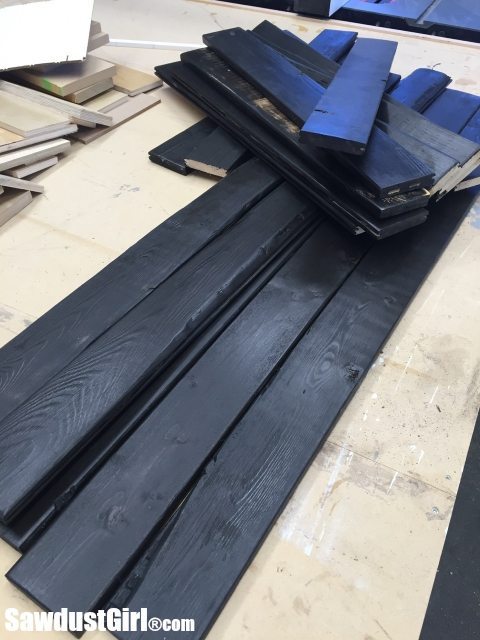
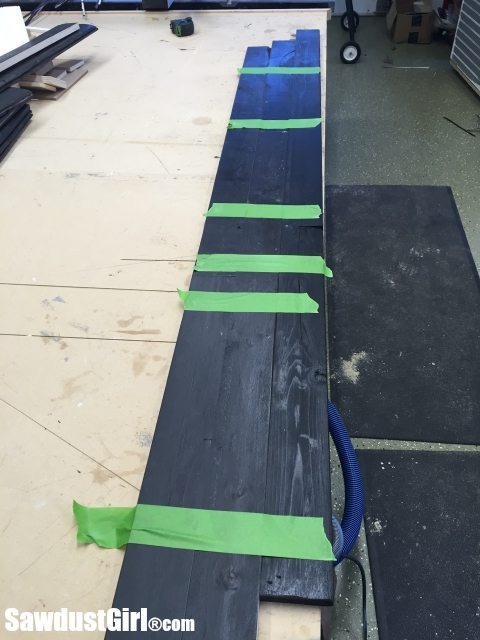
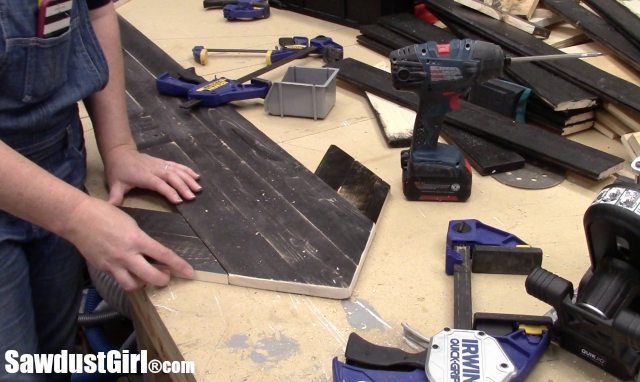
I wanted to stain my arrow dark so I went ahead and stained the wood before assembly. Once the planks are joined, it would be more difficult to get stain into all the crannies. So I stained first.DIY Scrap Wood Arrow

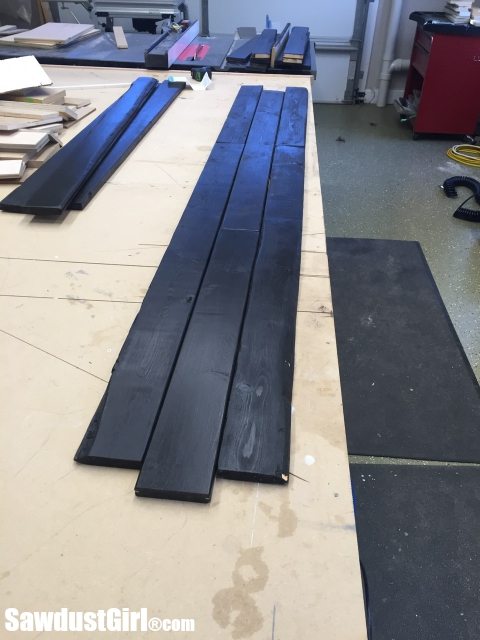
I wanted 60″ tall and 10″ wide.  Lucky me!  Three planks side by side are about 10″ wide and I had plenty of wood to span the length I wanted.DIY Scrap Wood Arrow

Arrange pallet wood planks

After choosing the boards I wanted together, I used painters tape to keep them together. That way I could flip the whole thing over and keep the boards where I wanted them.DIY Scrap Wood Arrow

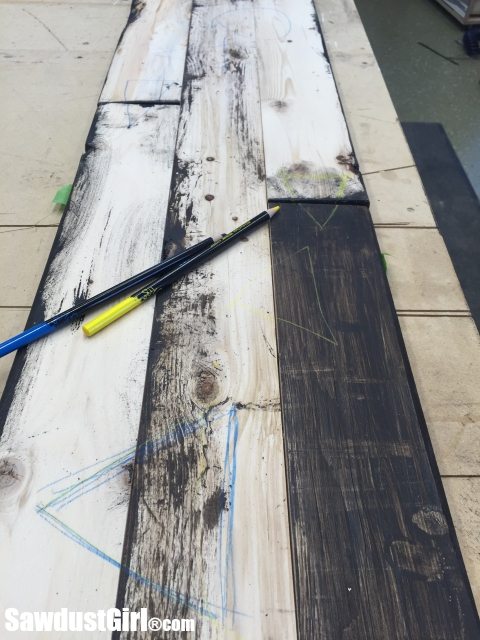
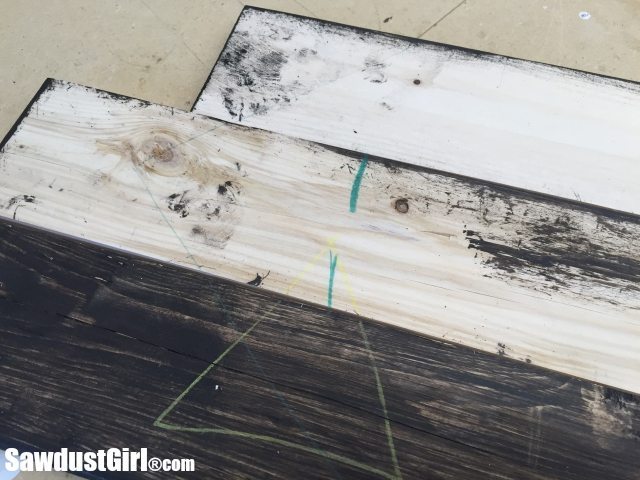
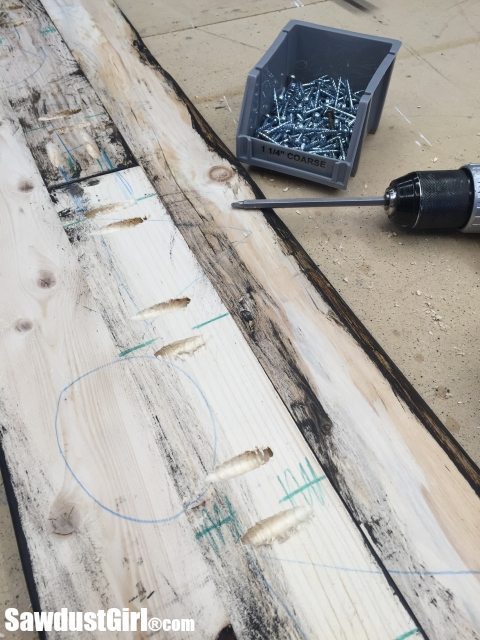
Then I used chalk pencils to mark the wood up with triangles so I could put them back together after separating them to drill my pocket holes.  Light colored chalk pencils show up easily on dark wood and visa versa on light wood.  DIY Scrap Wood Arrow

I used blue and yellow to draw marks to show me how to put the wood back together.  I used green to mark where I wanted to drill pocket holes. DIY Scrap Wood Arrow

Assemble with pocket hole screws

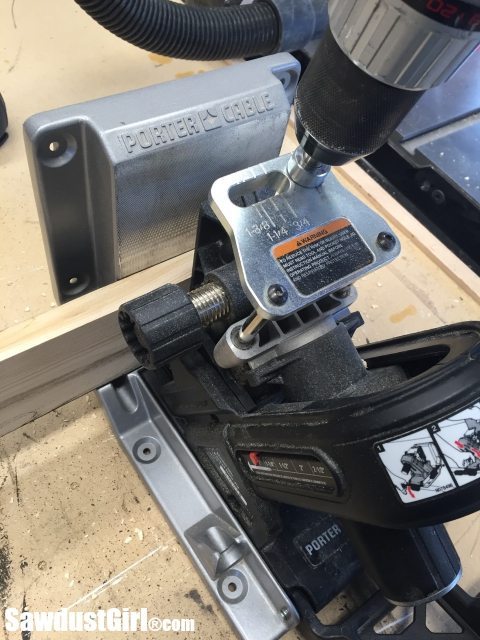
I drilled all my pocket holes with my Porter-Cable pocket hole jig.DIY Scrap Wood Arrow

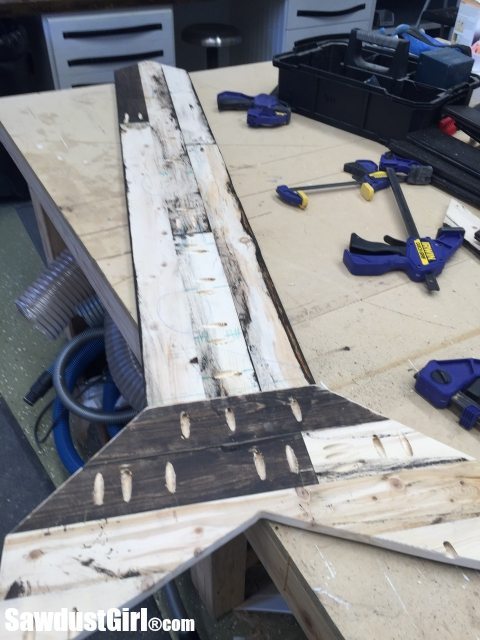
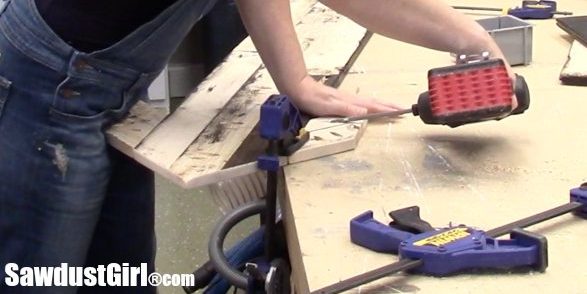
Then I reassembled my arrow and screwed it together.DIY Scrap Wood Arrow

Cut angles

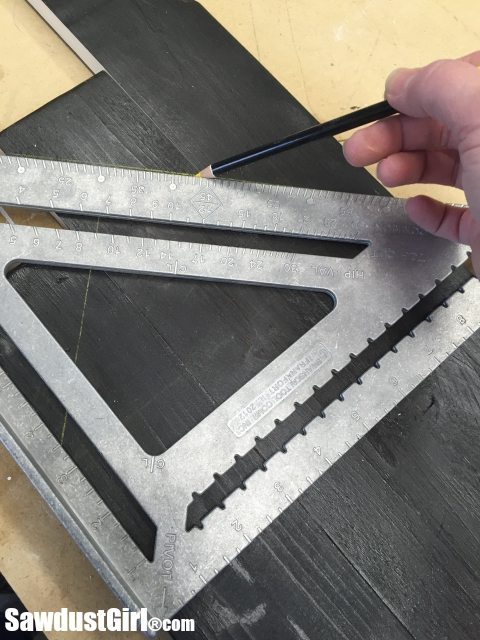
I used a rafter square and a chalk pencil to mark the angles on the top of the arrow. DIY Scrap Wood Arrow

DIY Scrap Wood Arrow

Arrow tail

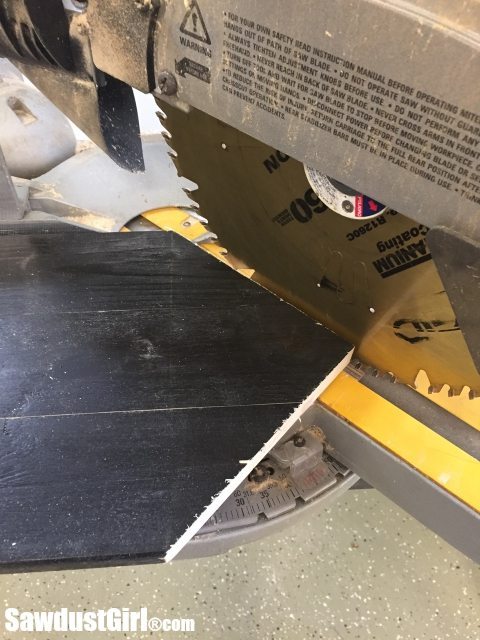
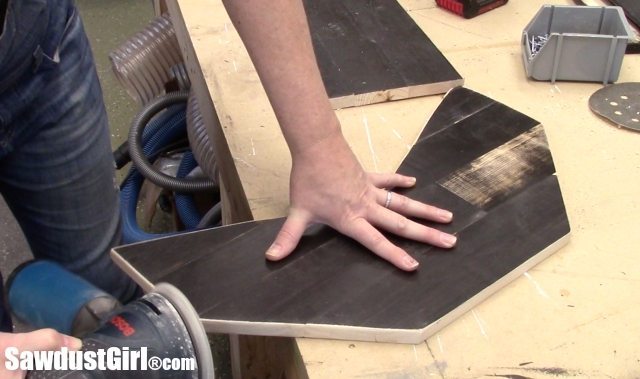
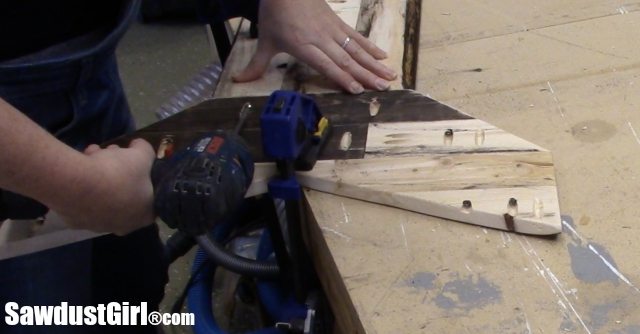
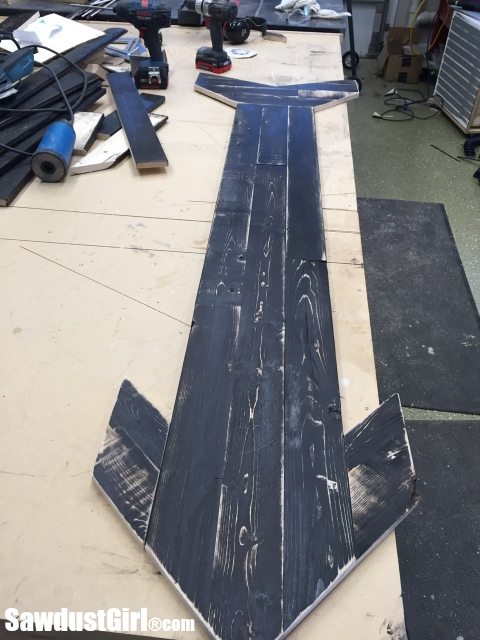
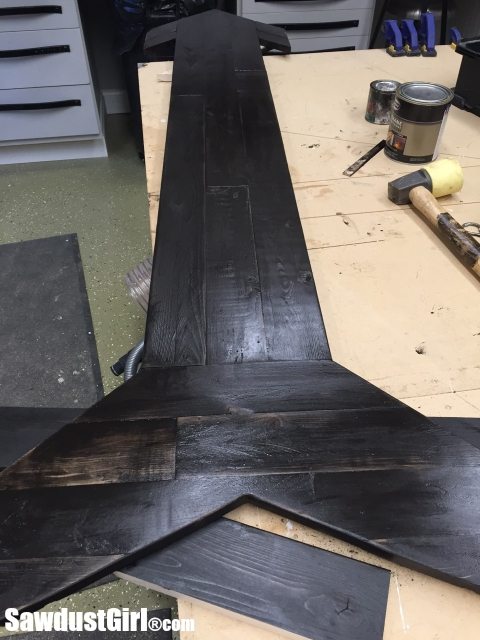
Then I made a tail.  I cut 45º angles on the ends of 4 sized boards creating a longer, continuous angle out of all 4.  I secured them together with pocket screws.  It wasn’t quite right yet so I cut off the outside edges — making sure there were no screws in the path of my blade!DIY Scrap Wood Arrow I also used a jigsaw to cut out the center ending up with what I think looks like the tail of a whale.DIY Scrap Wood Arrow
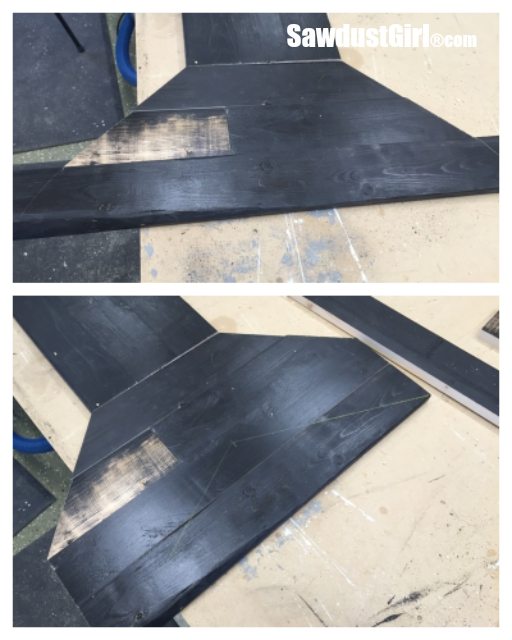
I used it anyway because I didn’t want to start over.DIY Scrap Wood Arrow

I sanded the edges before attaching it to the main body of the arrow.DIY Scrap Wood Arrow

DIY Scrap Wood Arrow

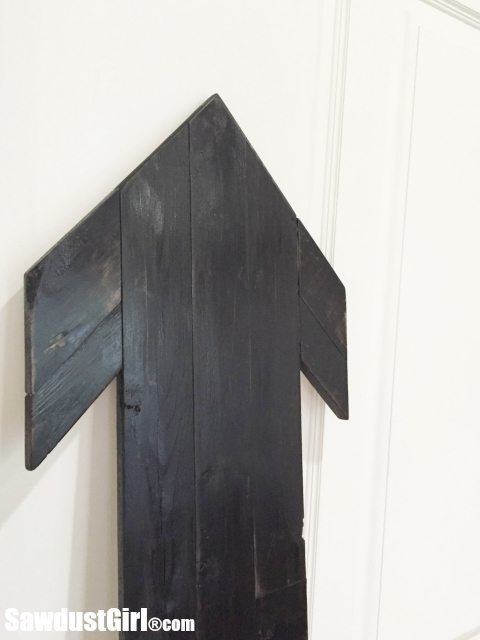
Then I played around with adding wings to the top angle.  I used cut-offs from the tail and secured them with more pocket screws.

Making a giant pallet wood arrow

DIY Scrap Wood Arrow

I then sanded the whole thing down thinking I’d like the more distressed look.  I decided I did not like the distressed look.DIY Scrap Wood Arrow

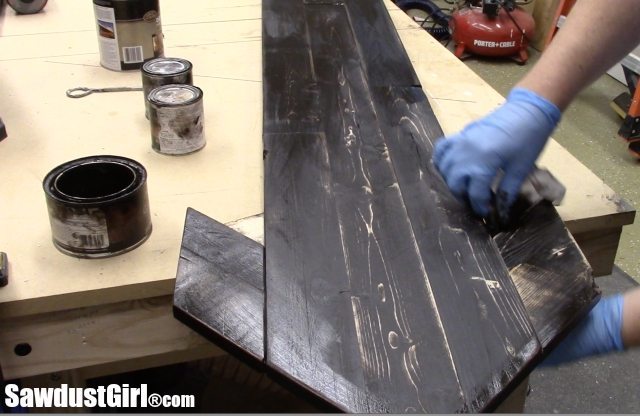
So I stained the whole thing again with gel stain — the color being a custom mixture — a custom mixture being a kind of “Sunday casserole” made of a whole bunch of cans of different colors dumped into one.

DIY Scrap Wood Arrow

And then a light coat of black over the top of that.pallet wood project ideas

DIY Scrap Wood Arrow

That’s it ya’ll!

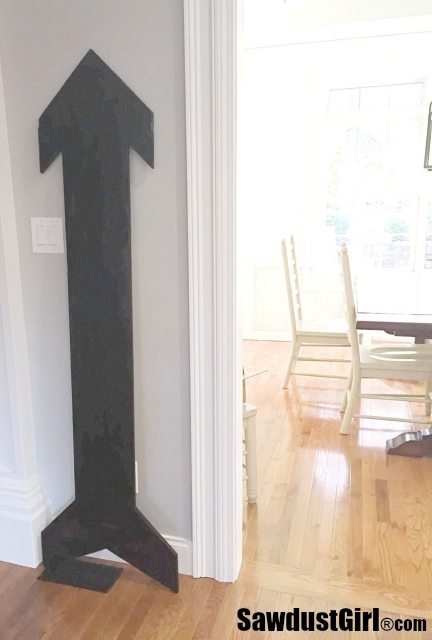
I’ll eventually hang my wood arrow on the wall. But I don’t want to put any holes in the wall until I decide if I’m happy with this whale tail and decide if this is the right spot.Extra large wood arrow - great pallet wood project

Have you made any pallet wood projects?  I’d love to see them.  Tag me on Instagram and show off your pallet projects!

November 25, 2015 · 2 Comments

« sCrap Wood Challenge link up
sCrap Wood Projects – Ideas for your scrap wood pile »

Comments

  1. Mindi says

    November 25, 2015 at 3:31 pm

    I love it, whale tale and all, and it is perfect for you skinny wall! Seriously fun, I think I need a fun project! 🙂 Thanks for the inspiration and for getting us to use our sCrap!

    Reply
    • Sandra says

      November 27, 2015 at 12:10 pm

      Thank you so much Mindi! I’ve tried to comment on your project post three times now and keep getting kicked over to WP so … Awesome use of your sCrap wood!

      Reply

Leave a Reply Cancel reply

Your email address will not be published. Required fields are marked *

Categories

New Post email notification signup

You Subscribed!

Legal Stuff

Terms of Use

Privacy Policy

Disclosure

Recent Posts

  • Building and Installing a Giant Faux Beam on the Ceiling
  • White Wash Pine Wood Ceiling
  • Lodge and Life Update
  • How to Choose Which Track Saw to Buy in 2021
  • How to Choose a Paint Sprayer to Buy in 2021

Disclaimer:

Although it is my intention to provide accurate plans and clear instructions, not all plans have been tried and tested. Using plans or information found on SawdustGirl.com indicates that you agree with the Terms of Use policy and will accept full responsibility for the process and outcome of any project you attempt. All plans are for private use only. Plans and information published on SawdustGirl.com may not be reproduced, republished or distributed in any manner without written permission from Sandra Powell, Sawdust Girl. Actual projects built using Sawdust Girl plans may be published on your own site without instructions or "tutorial" as long as you provide a link to my original post with full post title or "SawdustGirl.com" as link title.

Copyright © 2022 · anchored theme by <a target="_blank"