Creating a Built-in Hutch – Kitchen Entry Makeover Day 3
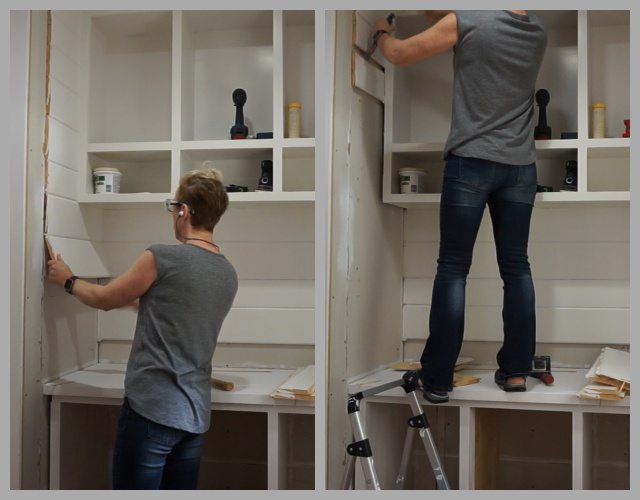
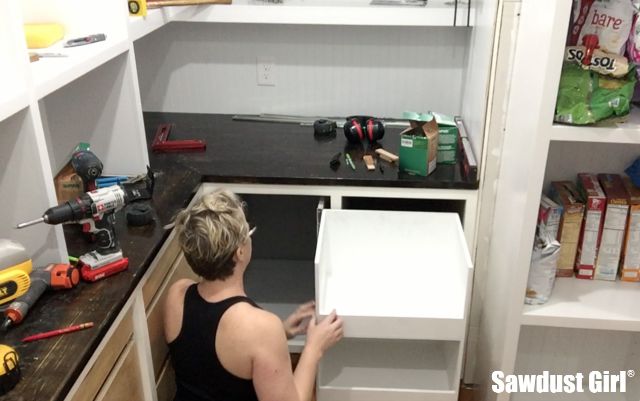
After building and installing the base Entry Cabinet, I took a hard look at the overall area. I decided to tear out the planks on the side walls and create a built-in hutch out of the cabinets I’d already built and installed.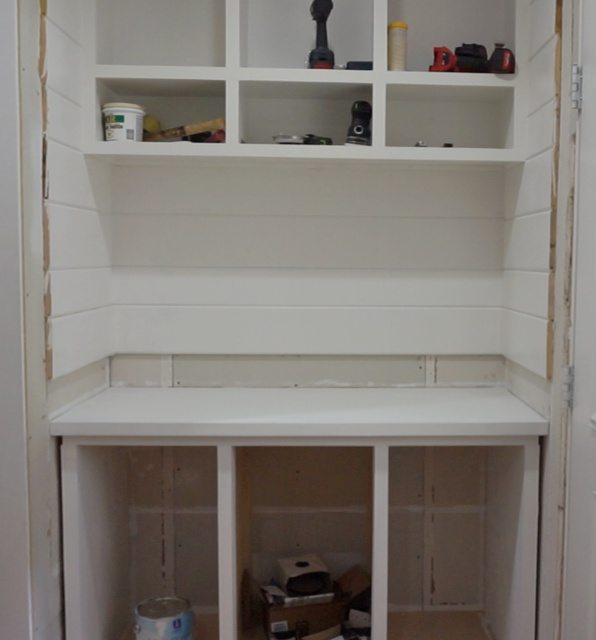
I left the planks on the back wall as that will appear to be the back of my built-in hutch. All the other planks got pulled out. I’m really glad I didn’t use any adhesive when originally installing these!
I’d never been quite happy with this decorative header I put in over the new door. I put it there because I needed a logical termination point for the planks I installed. Since I’m tearing out the planks, I don’t need this giant header anymore –so it’s coming out too.
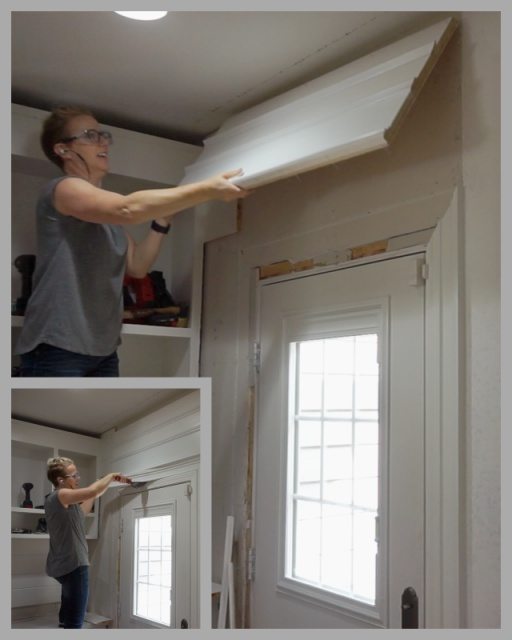
I had to remove more of the door trim to get the header out. It’s all good and well though because it’ll be easier to skim coat with that gone anyway.
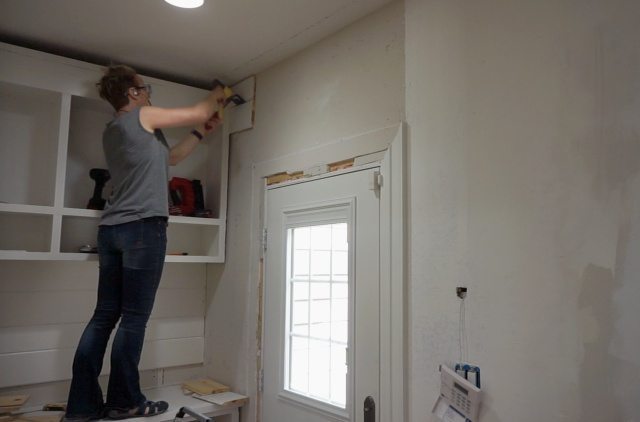
I had removed some of the planks on the back wall in order to build the new, taller cabinet. I now had to replace one of these boards to make the plank wall come down to the countertop. Because of the tongue and groove, I couldn’t get the new board IN without pulling another plank out first (breaking the end in the process).
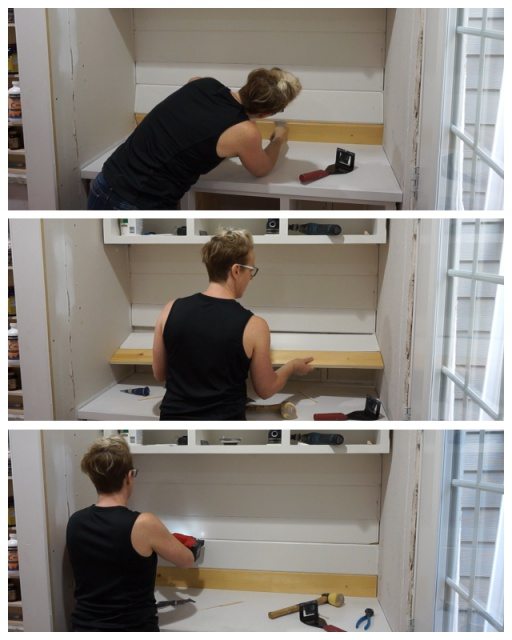
I nailed those two planks in place and glued the broken piece back in. There’s always putty. No biggie.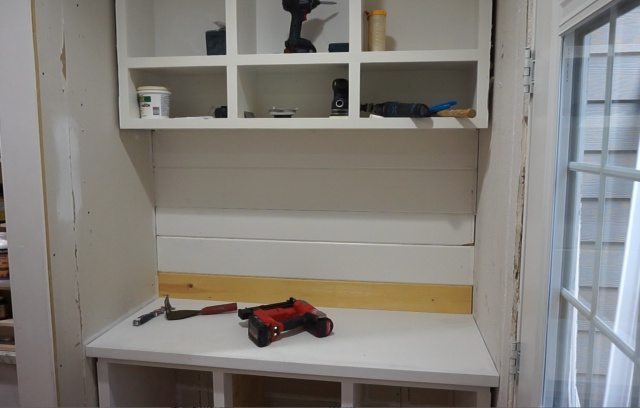
I cut boards that had to be sized exactly — to fit between the upper and lower cabinets. These will be the sides of the hutch. This is a very bassackwardly way to build a built-in hutch but it’s happening!
Creating a Built-in Hutch
But wait. Since I’m making this a drop zone, most likely we will want an outlet here. 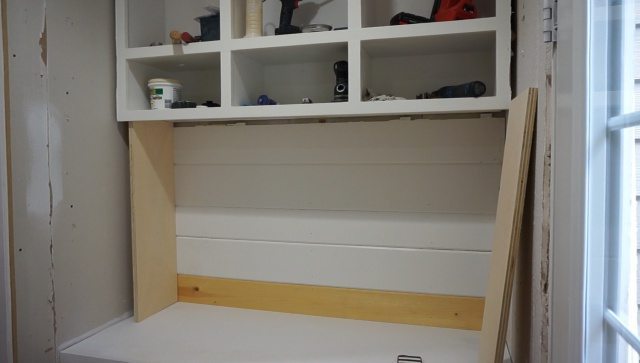
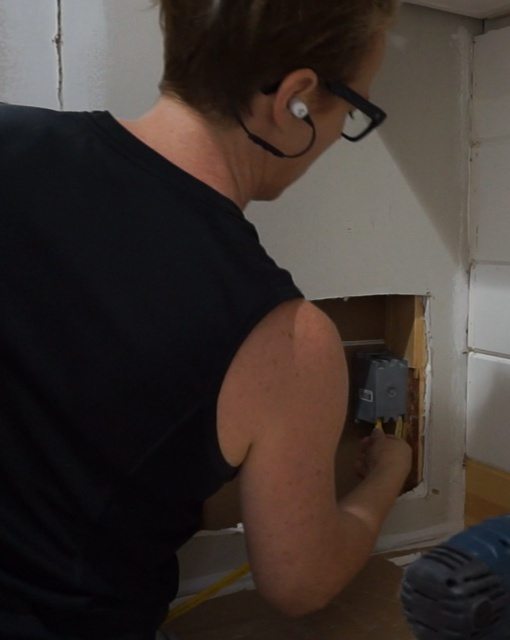
Luckily there is an outlet on the other side of this wall so I can easily tap in and get power to my new hutch. I used a drywall cutting bit on my oscillating tool so I could cut the drywall without nicking the wires that are in the wall.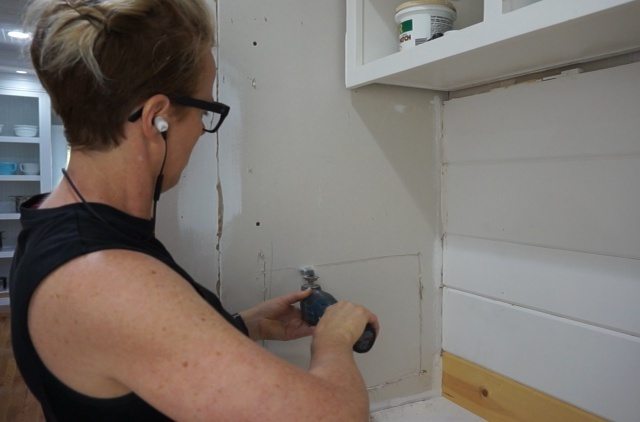
I opened up a large hole to access the existing outlet and determine where my new junction box could go. I had no idea where the wires were running in the wall. Also, notice I cut the drywall out right down the center of the two studs. Makes for easy patching when the time comes.
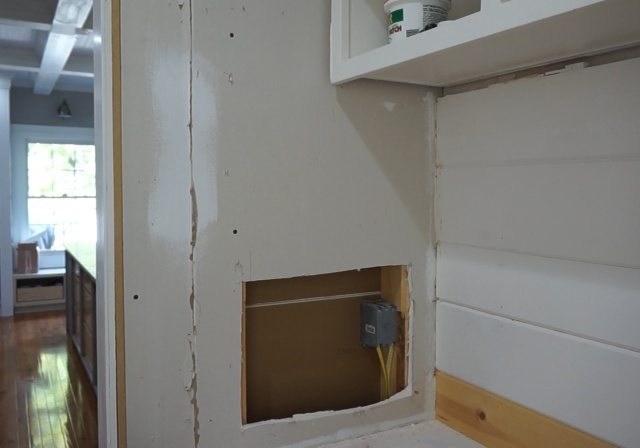
I ran a length of Romex into the existing junction box but didn’t do any wiring at this time.
With my new junction box location determined, I replaced the drywall piece I had just cut out. Four screws — one in each corner is all it took because the drywall sat on studs on each side. See how planning your cut can make patching easy? 😉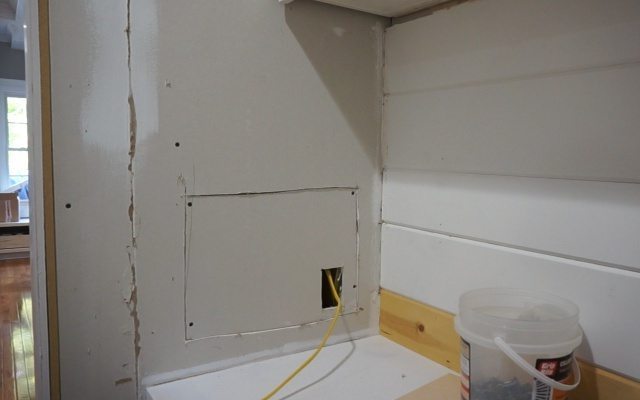
I taped the seams and put on a coat of mud and got back to building my hutch.
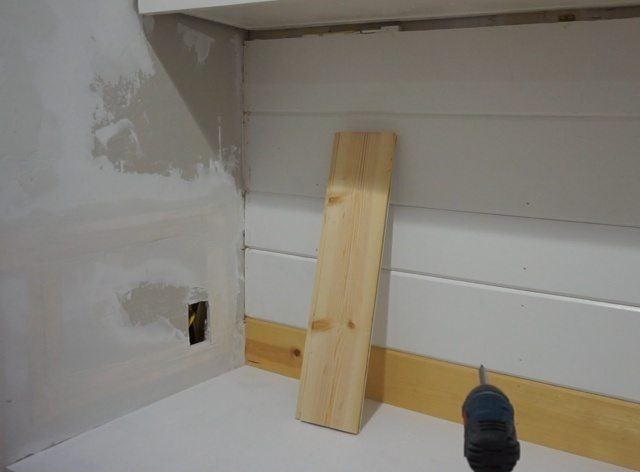
I secured a couple pieces of scrap wood to the wall to sit behind the hutch side because it needs to be pushed in 3/4″ from the wall. 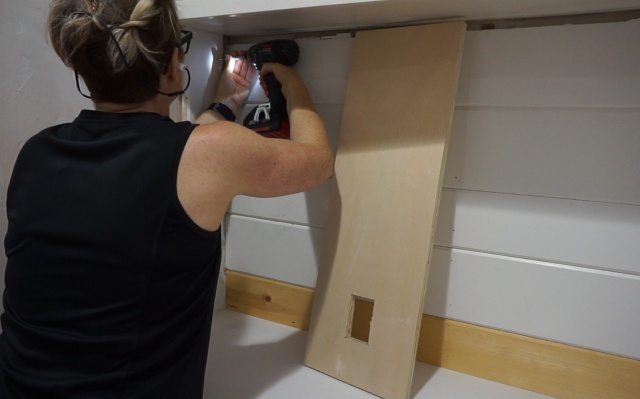
Then I screwed the hutch side to the scrap wood.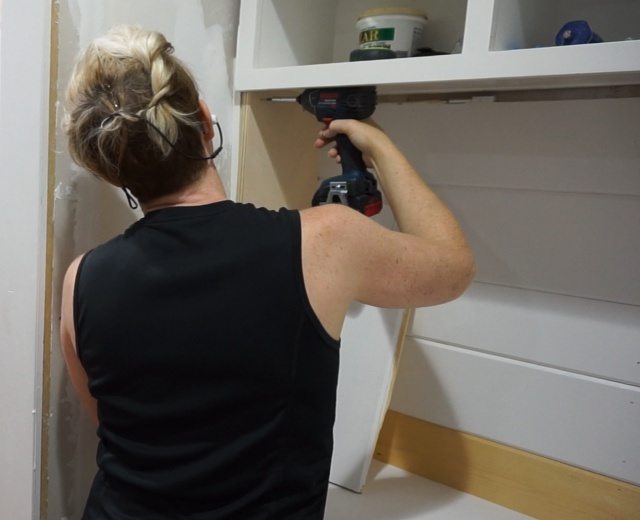
The space on the side (and the scrap wood) will be covered by faceframe.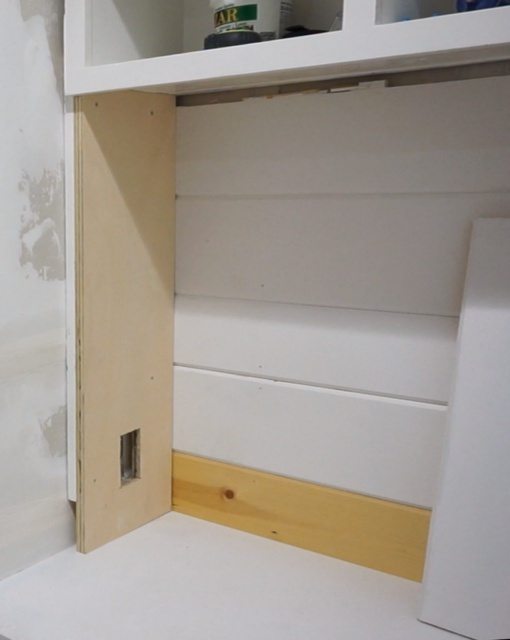
I attached 1×2 faceframe, lining it up with the existing faceframe on the upper cabinets. 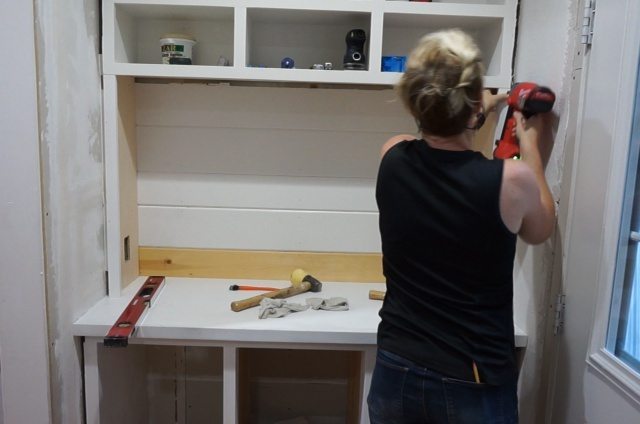
I used a level to make sure this jury rigged faceframe was plumb. There is a wide gap on the outside of the whole faceframe now because I tore out that 3/4″ thick planking. I need to cover that, which could be done in a number of ways.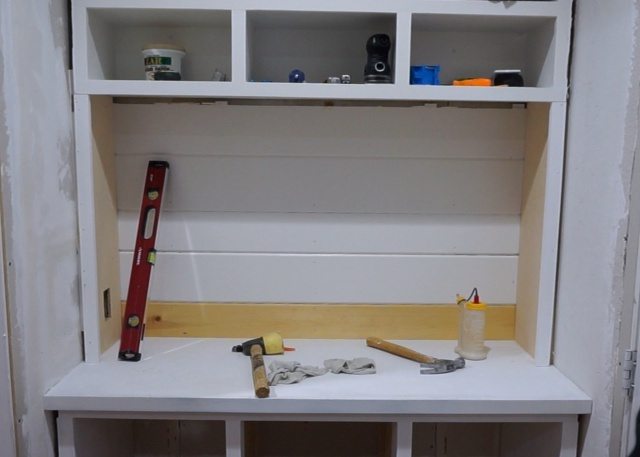
Add an additional 1×2, leaving a 1/2″ reveal of the existing faceframe is how I decided to roll.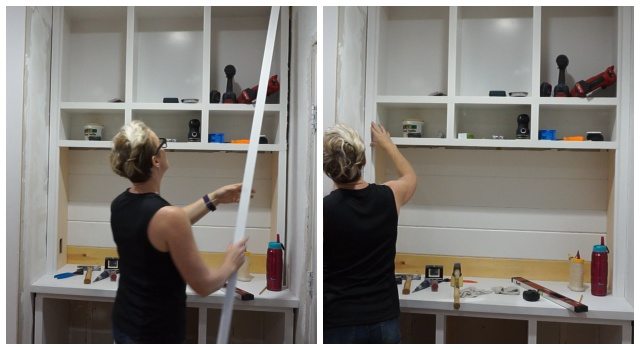
I used a block of wood with a 1/2″ mark to make sure the reveal was consistent and secured the wood with caulk and nails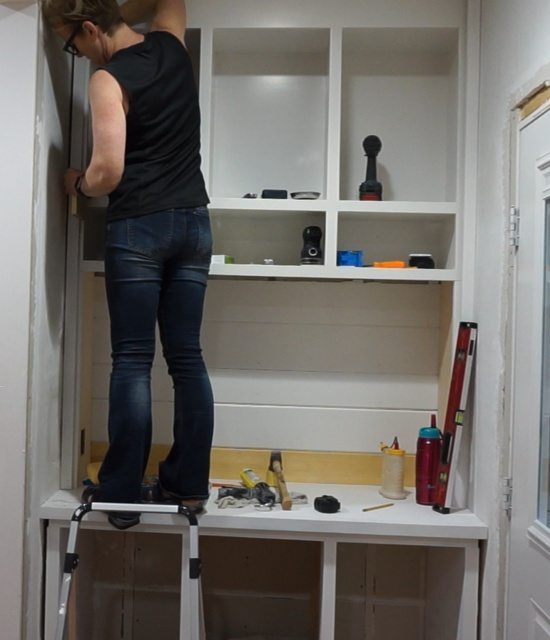
I added this double layer faceframe under the countertop on the bottom cabinets too.
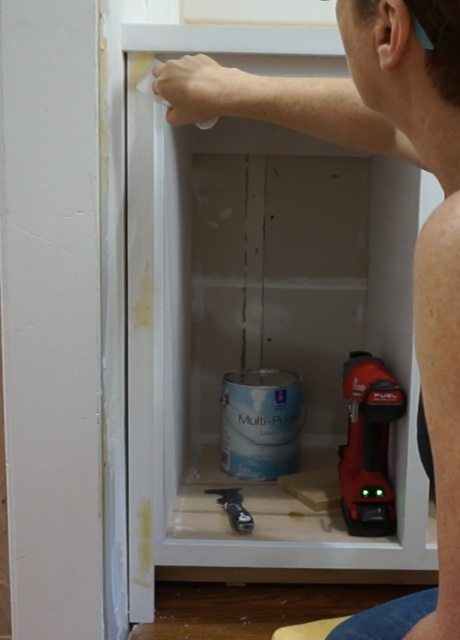
Then I filled all the nail holes, sanded and painted.
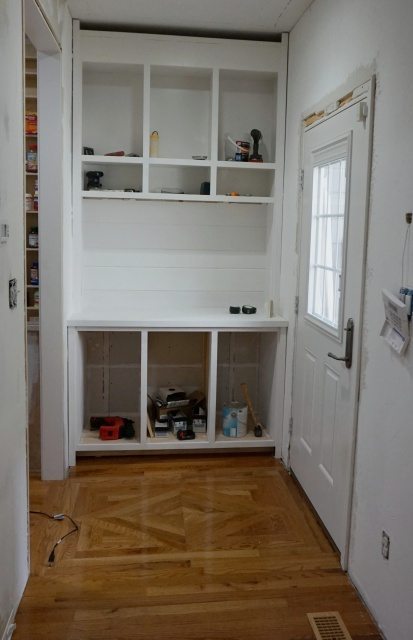
It’s definitely taking me more than one day but I added an electrical outlet and tore out the door headers …so now the “kitchen entry” walls extend down the hall. SO I really have to address the walls in this whole hallway as part of this “Kitchen Entry” makeover.
Next post: Day 4
Start at the beginning: Day 1

Cool, I like how you’ve changed this, although the bench was nice, you need what functions best for your family.
Julie so fun to hear from you! Yes, the bench turned out to be non functional so … Well you know. 🙂