How to make a faceframe with a decorative toekick
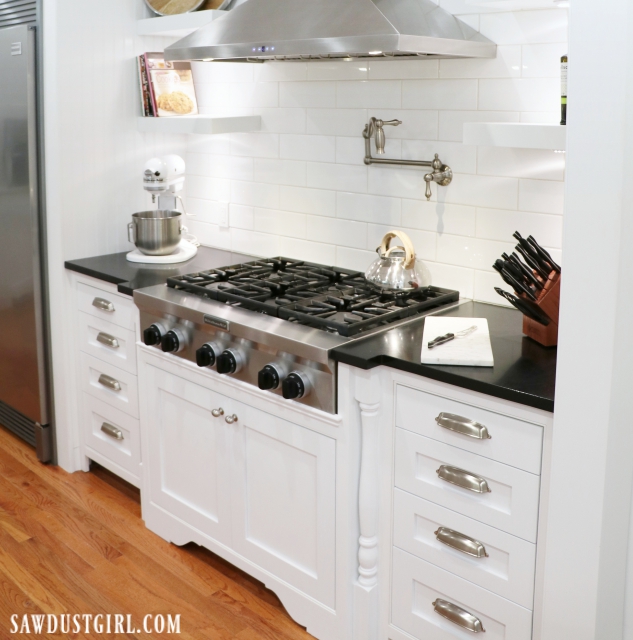
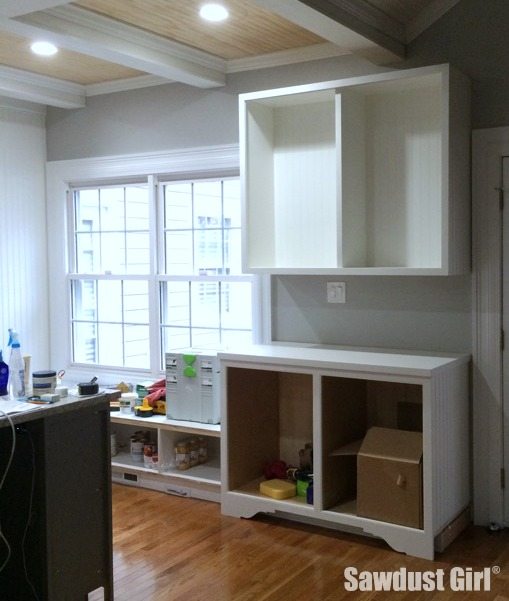 I love adding visual interest by installing decorative cabinets toe kicks. I’ve been adding a decorative cabinet toekick on key cabinets in my kitchen. If the cabinet already has a faceframe, this is a really easy way to add a cabinet toe kick. On new cabinetry, you could cut out your design in the bottom rail but that would require a using more expensive wider rail and creates more waste — so I do it this way.
How to add a Cabinet Toe Kick
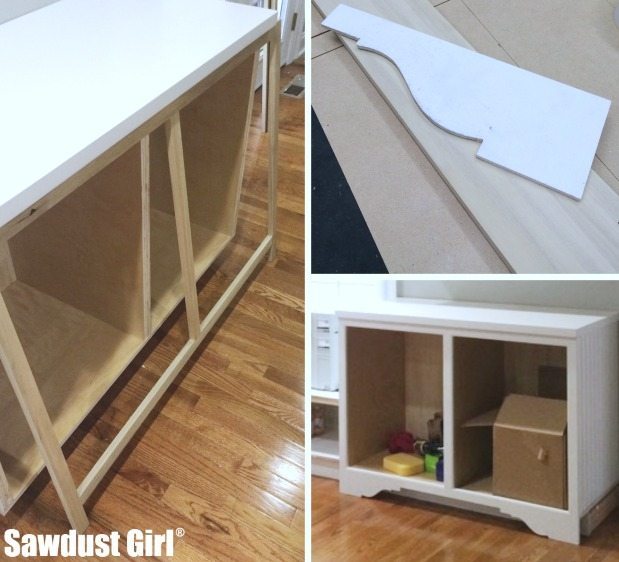
Create a template
- If you want to download and print out my design, click here: decorative toe kick PDF.
- Trace the design onto 1/4″ plywood and use a jigsaw to cut out.
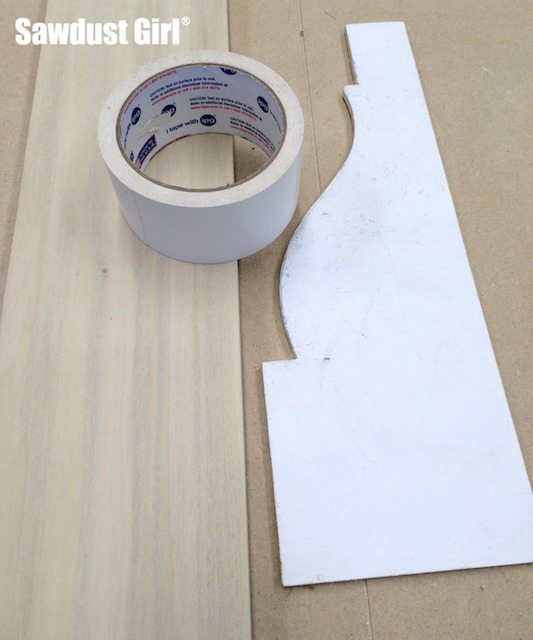
- Once you have your 1/4″ plywood template, use double stick tape to secure the template to your faceframe material. I generally use poplar or maple for painted faceframes.
Cut
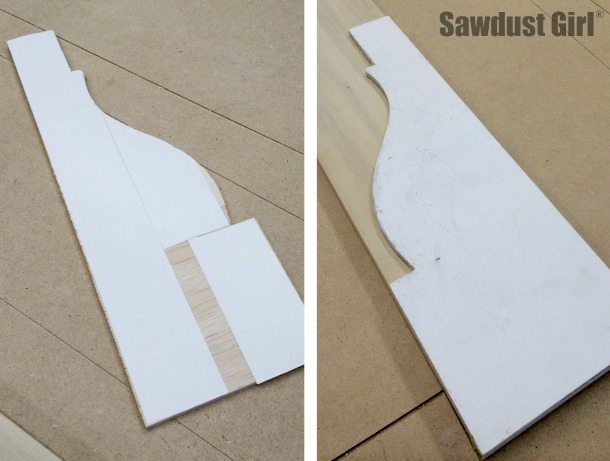
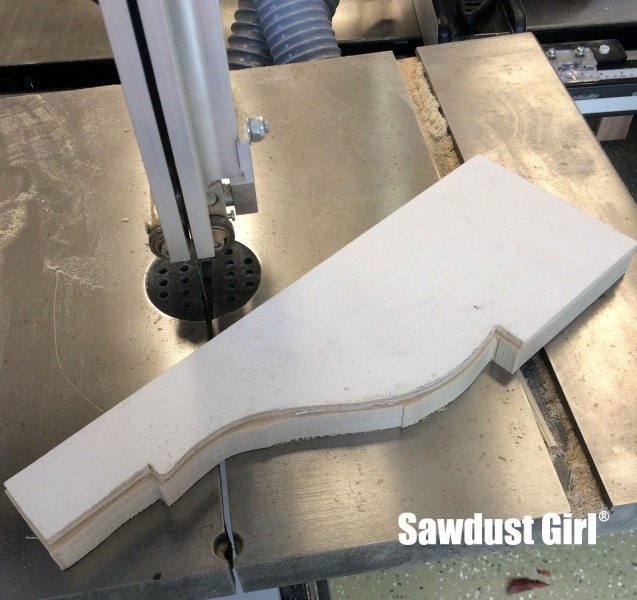
- Use a jigsaw or bandsaw to cut out your design. Cut slightly away from the template and make sure not to cut into the template.
Clean it up
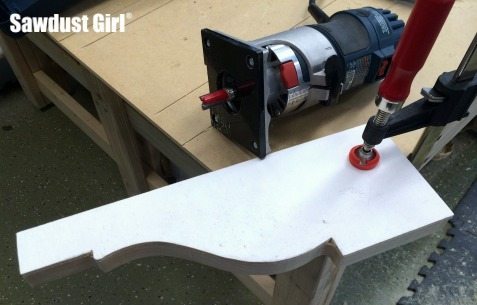
- If you have a palm router, use a top bearing flush trim bit to perfectly follow the template and clean up the cut.
- If you don’t have a palm router, clean up your cuts with a sander.
Attach
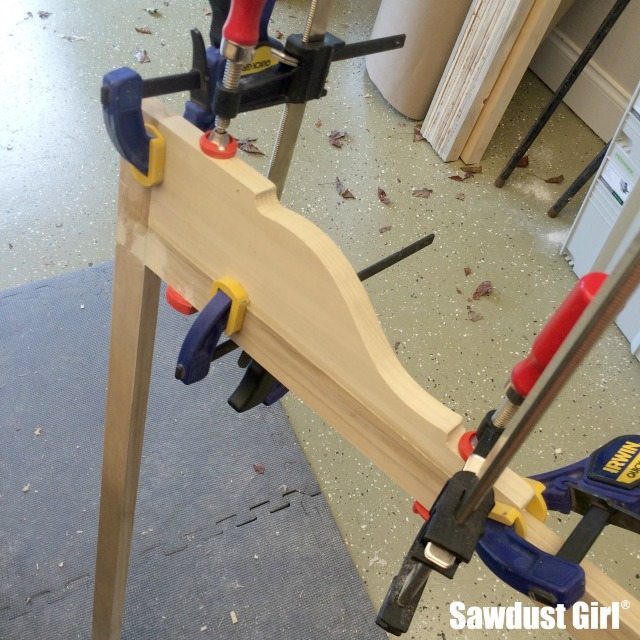
- Glue the decorative piece into place and hold with clamps until the glue is set.
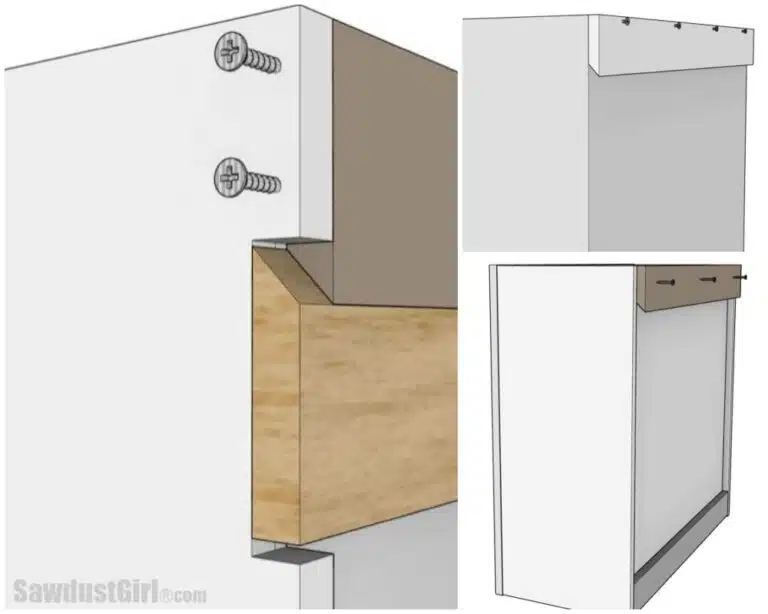
Then you can sand, fill, finish and attach your faceframe as you would any other. (How to build and attach a faceframe)


cool.. Yeah jigsaw or bandsaw are good to cut template.
looks great sandra. this would look great on a bathroom vanity i want to make.
I am definitely doing this to my bathrooms! Thanks for sharing and making it look simple!
Great tutorial! I love this look and wondered how to add it to our bathroom vanities. Thanks to you now I know how to DIY it!
It looks amazing!!!