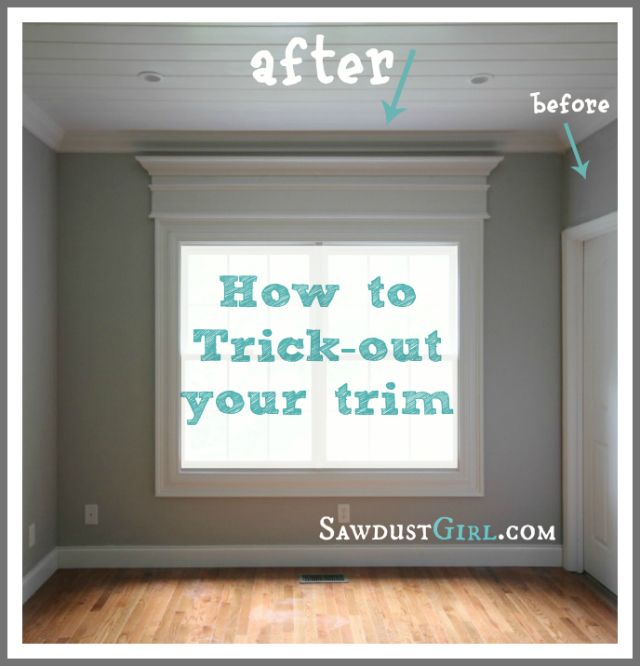
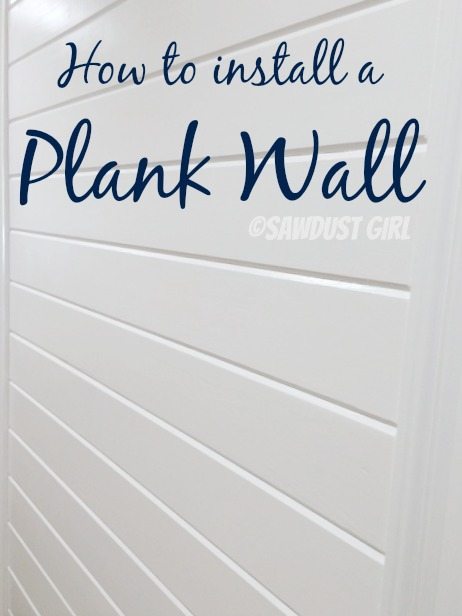
Every time I install a plank wall or ceiling, I get asked tons of questions. I’ve already covered installing plywood V-Groove plank walls. And a plywood plank ceiling! In this post I’ll share everything I know about how to install a tongue and groove plank wall.
Choosing wood for a tongue and groove plank wall
First of all, What kind of wood do you use for a plank wall? Well, it’s actually called “Wood Plank”, “Planking”, “1×6 or 1×8 or 1x whatever, pine, tongue and groove, V-groove/Beaded —- planks”. Fo-reals! Not SHIPLAP.
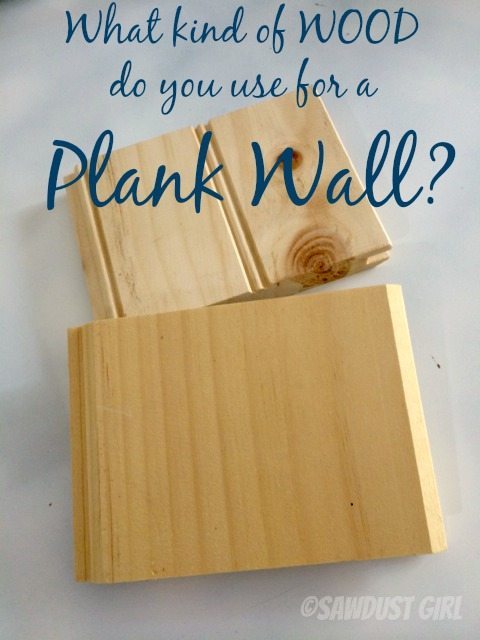
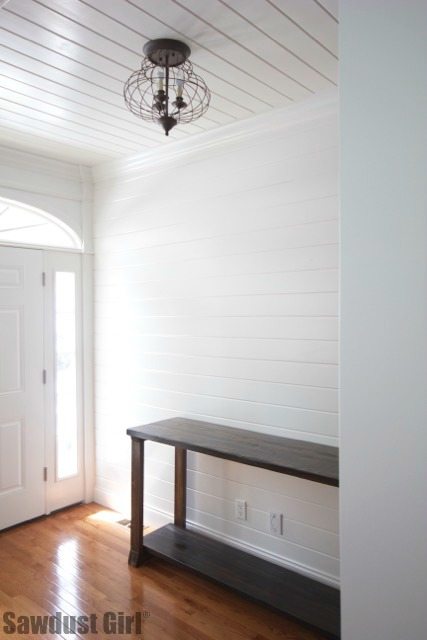
- It comes in various widths but it’s 1x (meaning that it is actually 3/4″ thick). So if you use 1×6 (like I used on the wall in this picture, your planks are most likely 3/4″ thick by 5 1/2″ wide.
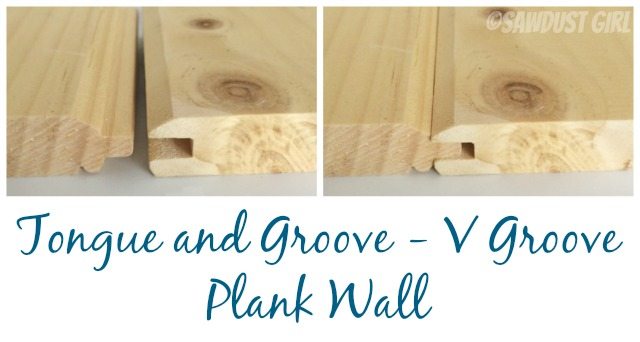
- It’s Tongue and Groove. It has a tongue on one end and a groove on the other so it fits together making perfectly tight seams (like wood flooring).
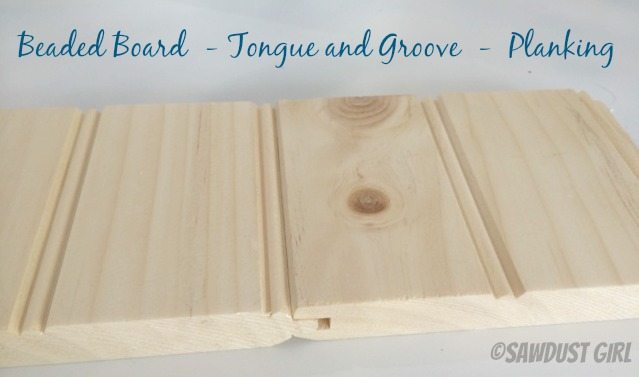
- It’s V-groove or Beaded at the seams. It is flat on one side with chamfers (half of a V) of the ends where the tongue and groove parts fit together so when two pieces are seamed together it forms a V. OR the seam forms a bead if using the beaded side.
- It’s Knotty Pine. I search through the piles of planks for the best ones. Try to find straight planks with as few knots and blemishes as possible (if you plan on painting).
V-Groove plank side
Beaded plank side
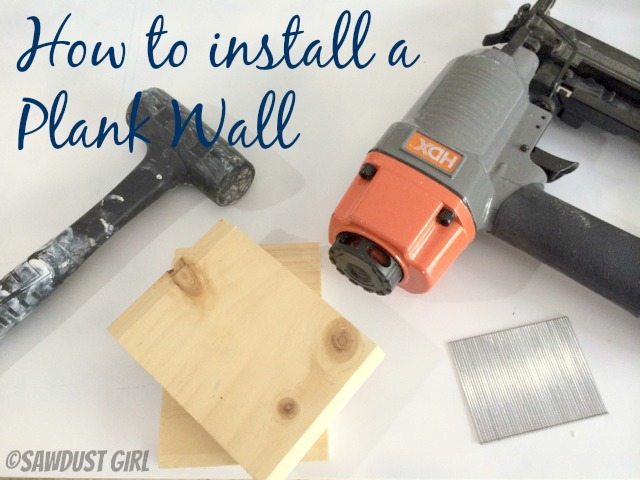
Tools and supplies
- Nail gun — I prefer a 16 ga for this job.
- 2 1/2″ nails (or so)
- Rubber mallet
- a small sacrificial piece of plank with the groove intact
- Level or chalk line to mark studs
How to install a tongue and groove plank wall
Now you are going to nail your planks on the wall. Here are some pointers…
Mark your studs
- Use a stud finder or knock or drill holes until you find the studs at the top and bottom of the portion of wall you are going to install your planks on. Snap a chalkline or use a straight edge and mark a line on all studs so you know where to put your nails.
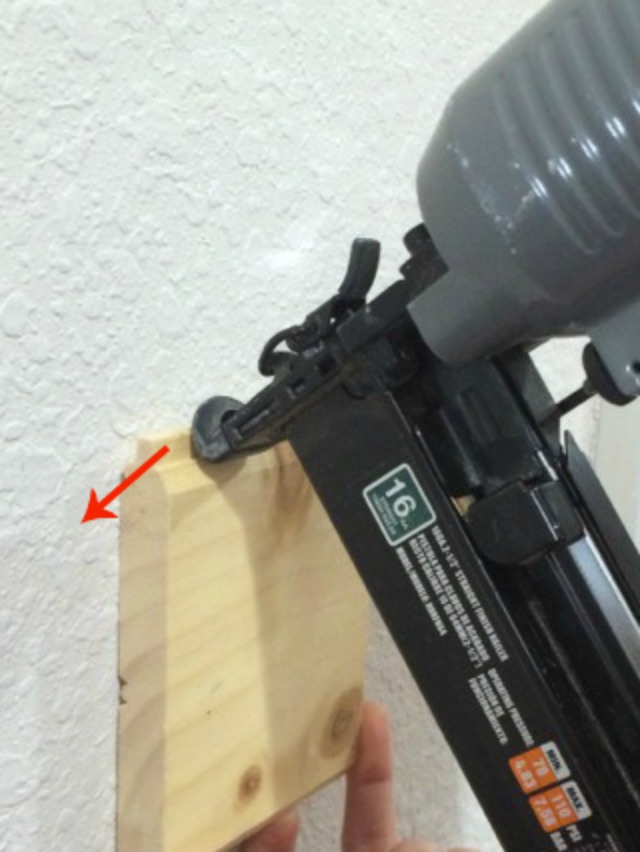
Avoid visible nail holes
- Install planks with the tongue up.
- Nail at an angle directly through the tongue and into your studs.
- You don’t need to nail through the face of the planks anywhere but on the bottom row and near the ceiling.
- Start with the bottom row first and work your way up.
Leave an expansion gap
- Don’t install your first row of planks directly on the floor. Wood expands and contracts and it needs space to do so. I lay one plank down flat on the floor. Then sit the first row of planks on top of that as I nail them to the wall. This creates “movement space”. After my whole wall is installed, I pull that one out of the way and install my baseboard.
Level or parallel
- It’s up to you if you want to install your planks “Level” or if you want them to be parallel with your floor (and hopefully ceiling). If your planks are level but your floor is not, once your baseboard is put on (which follows the floor) you may have a visible discrepancy that drives you crazy. It’s a personal choice here.
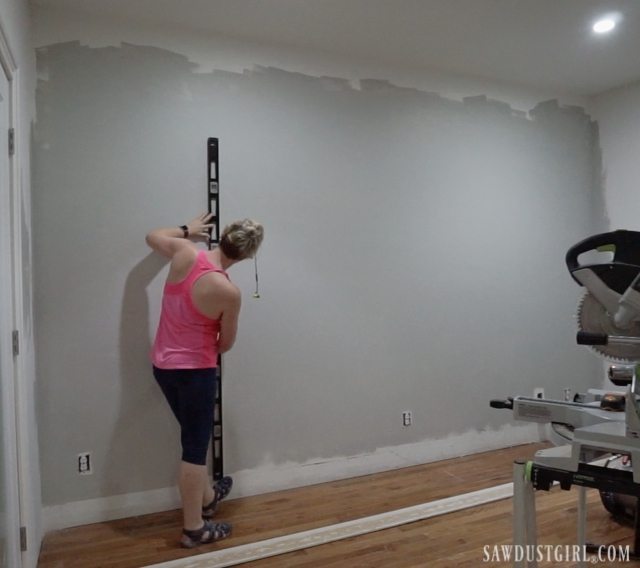
- if you want them level, use a level or laser to keep the planks level as you nail them.
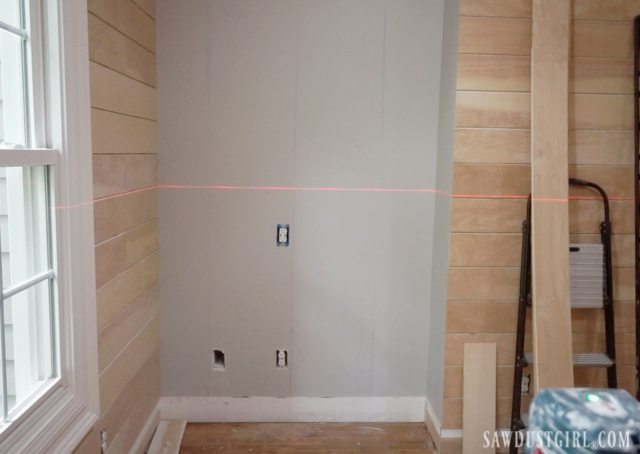
- After the first row, the bottom of each plank will be secured to the wall by the tongue and groove joint so you only need to nail the top of each plank after the first row.
Paint
I like the look of the painted plank wall. A bare wood plank wall would create a rustic look and that’s not what I have going on in my house.
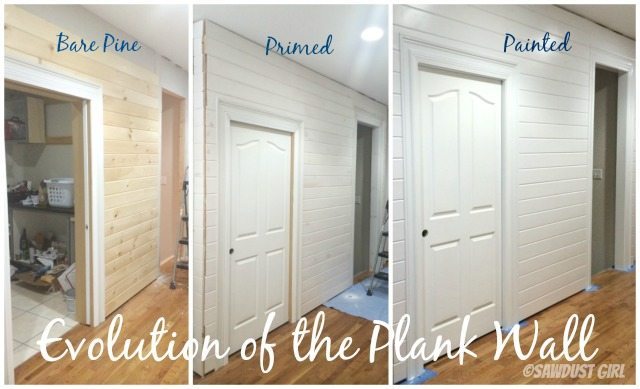
- Make sure you prime with with a good stain blocking primer or you’ll end up with the sappy knots bleeding through after a couple years.
- I use a shellac primer currently.
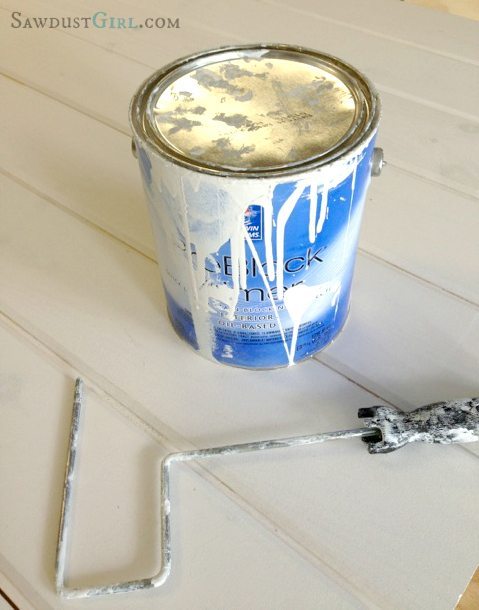
It’s actually a lot easier to prime before installing your planks on the wall. If you can find somewhere to lay the planks out flat, you can roll them. Shellac primer is pretty runny so you have to really protect your floors!
Sand
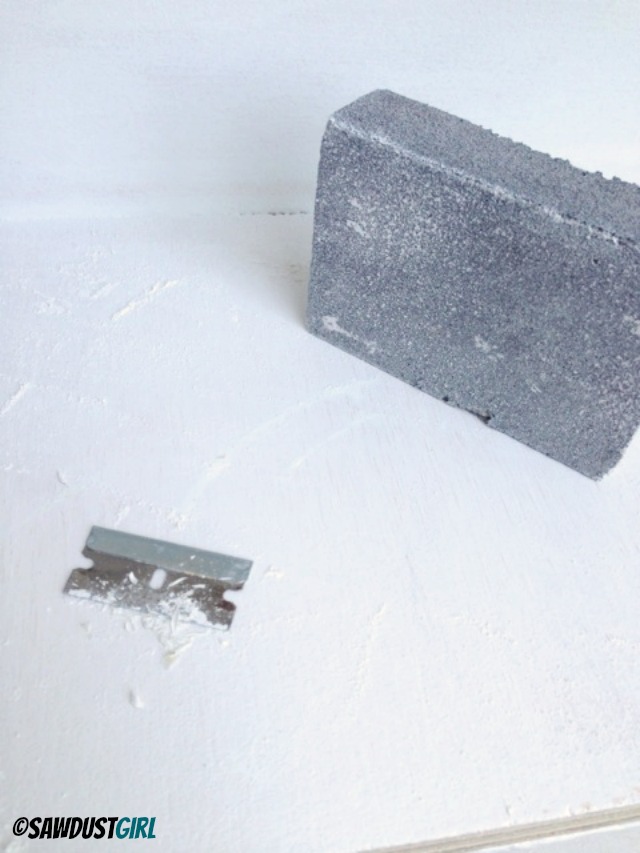
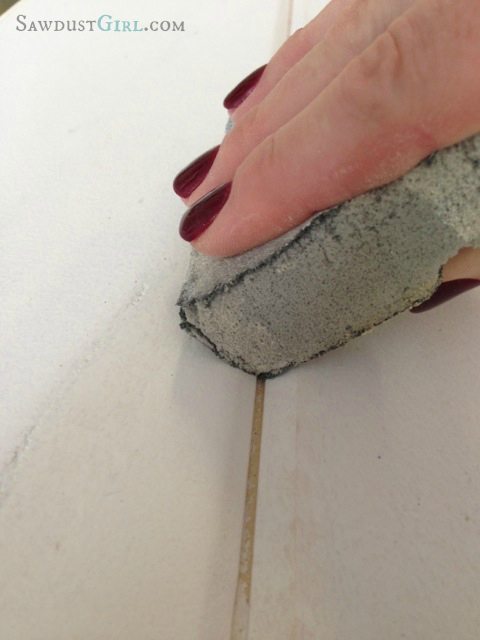
After priming, lightly sand down the planks. The V groove generally needs special attention as it can be quite rough. It doesn’t take much elbow grease, just a light wipe with a fine grit sanding sponge.
Fill
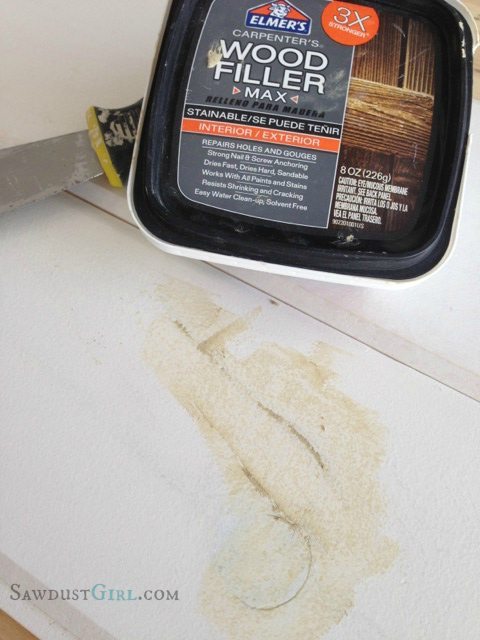
There are often cracks and knots that need to be filled. But I wait to fill and paint until the planks are up on the wall. Even if you nail through the tongue, there are always a couple spots where you have visible nail holes that need to be filled. You might as well do it all at once. Then touch up with some primer over those spots. And then go crazy with the paint.
Caulking
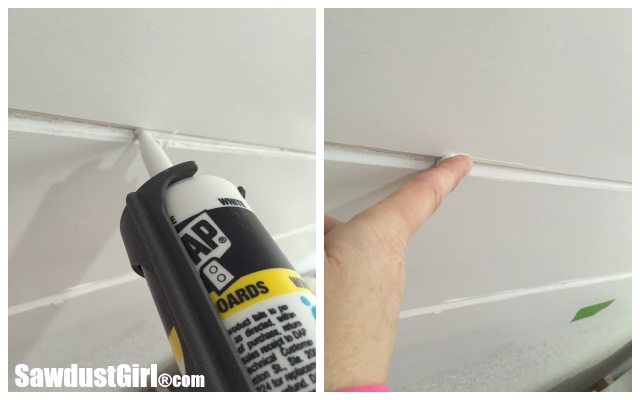
It’s not a good idea to caulk the groove in real wood plank walls. The wood will expand and contract throughout the year and you need to allow that to happen. When the wood contracts, you may see some bare wood (or primed wood). Go ahead and touch up those areas with some paint.
IF you installed a plywood V-Groove plank wall, caulk away! The plywood is stable and won’t move around all year long. That’s the main reason I started using plywood instead of Pine.
Outlets and light switches
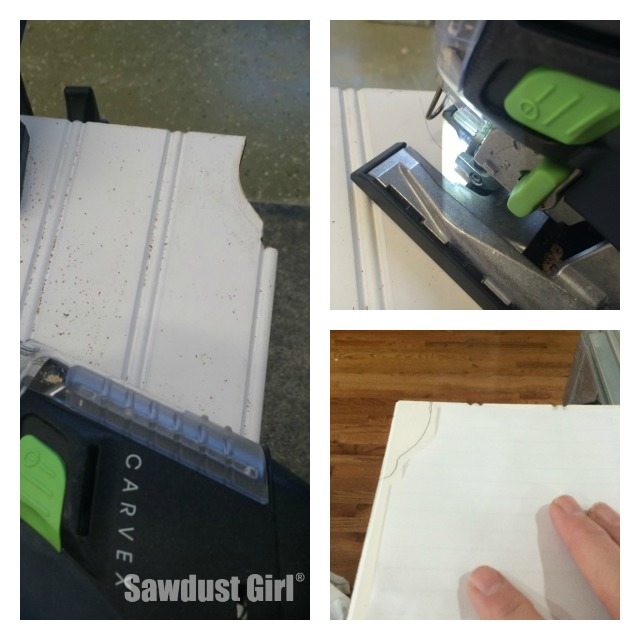
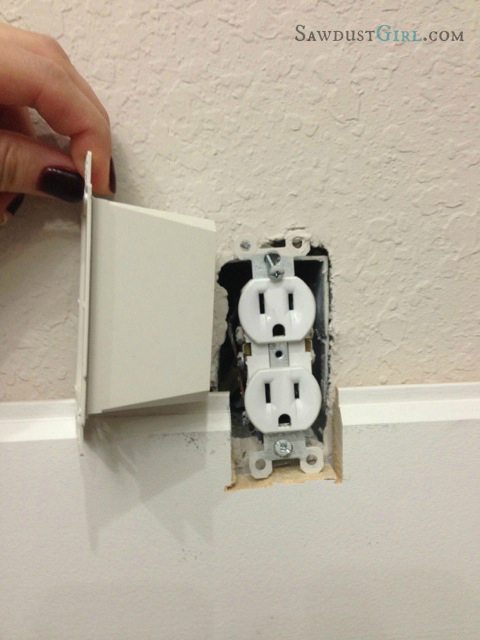
When you run into a light switch or outlet, use an junction box extender. This will cover the receptacle so the bare wires are not close to your wood planks.
Dealing with exposed ends
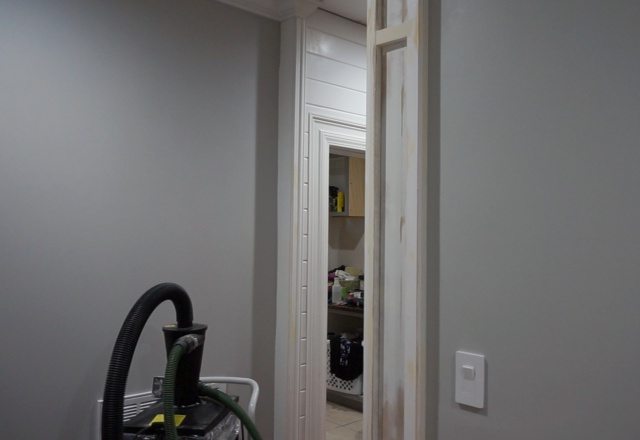
What if you’re installing a plank wall where the ends of the planks are going to be exposed? Like on a wall that bumps out? Like this?
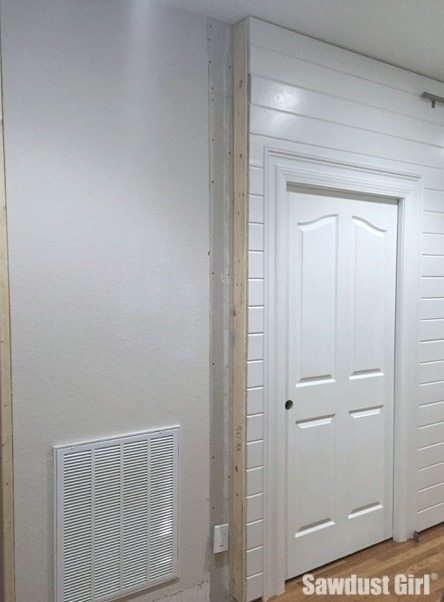
There are a number of ways you could cover those exposed ends. I like to create “features” out of problem areas. So I created a faux column on the end of my plank wall.
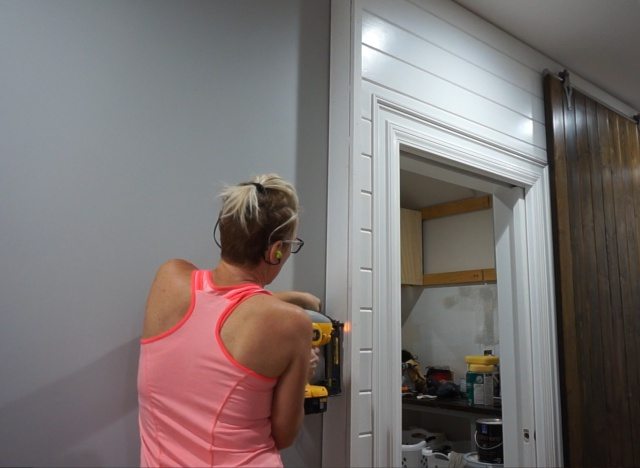
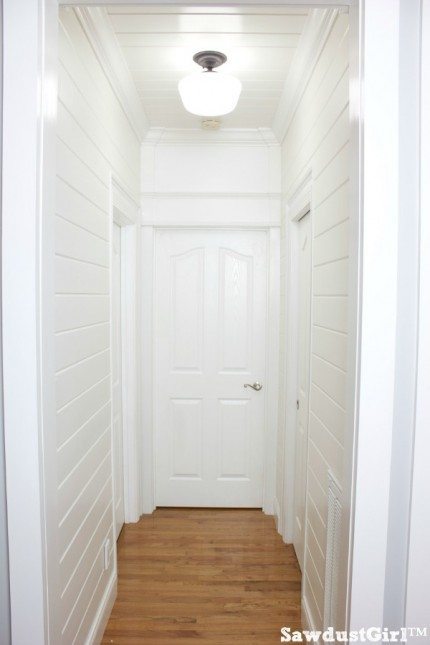
I’ve installed a lot of plank walls in this house! Long before a certain HGTV show went and made “shiplap” a thing. Plank walls used to be a classic. Hopefully once the fad is over being “so last year” and all the people that slapped up the nickel spaced faux planks have pulled them off or covered them up… we can go back to the old classic. One can always hope!
Cynthia @herlovelynest.com says
Sandra, I *love* that super long plank wall. it looks amazing! I recently did a board and batten wall and loved it so much I’m scouting the house for more walls that ‘need’ [my emphasis!] b&b or planks 🙂
Cat Hoehn says
This is what I have to do in our upstairs bathroom- I absolutely HATE doing drywall! This will cover up everything!
Stacy says
do you know why the video says unavailable?is it my computer?
Buffy says
My husband did this in his mancave. We have a half under basement so he put it about halfway up the walls to cover the concrete part of the walls, then topped that off with a drinking ledge (his term and reasoning for not bringing the dry walled top of the wall all the way out to meet the bottom concrete part). He also put the planking on the ceiling. He left it all natural pine and I put many, many, many coats of Poly on it. It’s a lot of wood for my taste but I promised I would give him no input since it is all his room. He also left all the ductwork exposed. My only suggestion to anyone doing this to make sure you have all your outlets, switches, and lights where you want them before you start because you don’t want to have to tear into your beautiful work later if you realize an error. You did a great job SG, I absolutely love this in white! Maybe if I show hubby this….hmmmm….
Kristin says
It’s saying the video is unavailable! ??? Looks good!
Jessie G. says
Same on video being unavailable.
Christan Parreira says
Awesome video! …and entertaining 🙂
heather says
Perfect timing for my mudroom!
Jake's a Girl says
Love it! I have a house full of this stuff…Come and prime and paint mine? 😉
I think it’s really beautiful! We had the same problems with the corners so hubby mitered the
corners of the trim. I’ve always wanted to change it out with something round with a v-groove
cut out in the back to fit over each joint. Can’t find anything round so far that would work.
Can’t wait to see the barn door! I love those, too!
Jake’s a Girl
Chantelle says
We are looking to do this to the ceiling in several rooms of our house and I was just wondering if there was any reason you might not want to paint the boards before putting them up? It’s fairly easy to paint a wall but because we are doing a ceiling, I was planning to paint the boards before installing them and only do touch-ups once they were up.
Sandra says
If you can find somewhere to lay them all out, it’s great to sand and fill and prime…before you install. Depending on the weather, I often don’t have that capability. It rains here A LOT and there isn’t anywhere INSIDE the house that I want to lay out 5000 long planks and try to do all that. If you have somewhere that you can do that — I’d do it. I like to do the final paint once it’s installed but that too is a personal preference.
John says
What trim do you use around the outside corner?
Morgan says
I was wondering where you purchased the planks. The stores in my are only have 1/4″ thick planks, and they’re not all that great. Can you special order them?.. Is there a manufacturer you know of?
Sandra says
My local Home Depot carries 1×6 planks and my local lumber yard carries 1×6 and 1×8. If you have a lumber yard, they should have them and HD should be able to order them in for you.
Sherryl says
How difficult would it be to do this vertically? I have a small fireplace wall I think this would perfect for.
Sandra says
If you did it vertically you wouldn’t have studs to hit behind every plank so you’d probably want to install some furring strips to give you something to nail the planks to rather than just drywall.
Tammy says
Can planks be installed over older wood and over lath….also over sturofoam insulation?
Tammy says
Styrofoam
Sandra says
Yes I believe so. In older homes, a lot of times the planks are the only wall covering. You nail them into the studs. I do like putting it over drywalled walls because the drywall acts as a fire barrier.
Tammy says
Thank you
Tammy says
So one of my walls has styrofoam insulation w the silver mylar facing inward. Its an exterior wall. The joists have rockwool. Exterior has osb and tyvac wrap the vinyl siding.
I know that the styrofoam acts as a vapour barrier as long as all the seams and screeholes are sealed right….
The lunber mill told me to not use vapour barrier behind tge vloint pine as it could cause mold.
Just wondering if i should first drywall over the styrofoam first? Or should i also add a 6mm vapour barrier over styrofoam, then drywall, then pine boatds?
Or…strap the walls vertically , leaving an air gap before pine boards?
Or tape paper (like big rolls of flooring paper, onto styrofoam then pine boards?
O have had to start redoing my oen home myself because ive had a hard time finding someone reliable, who doesnt overcharge or make inappropriate advances
Thank you for your advice.
Sandra says
There is SO much contradictory information out there about vapor barriers, which way to have the insulation facing in different climates… I am at a loss for what to do with my own home. I definitely wouldn’t give advice. LOL Sorry I’m no help!
Tammy says
I agree….sounds like even the experts on moisture in homes scratch their heads over it. From what ive read, its more important for a house yo be able to breatheto dry out yhan to trap moisture..
I just wasnt sure aboutmousture getting trapped behind wood.
Thank you for your quick response.
Elizabeth says
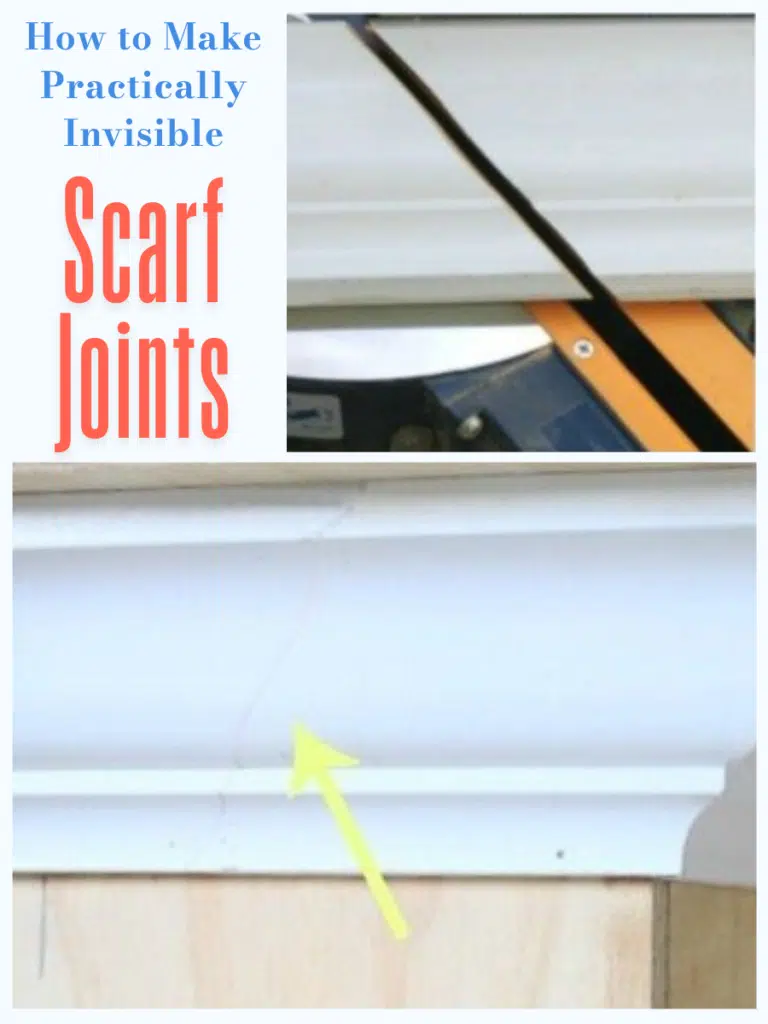
Are the planks staggered or does the butt line run a straight vertical? How dod you treat the butt joints?
Marlene Craik says
I am wondering if I have to remove all the trim around our doors and windows to do planked walls. We finally got that up. I don’t mind removing the baseboard but around the doors and windows would not be fun. I love your article. Thanks for sharing.
Sandra says
The window and door casings give you a place to terminate the planks. If you removed them, you would see a gap, or then ends of the planks.
Sarah says
Hi- love all your work!
My husband and I really want to put up plank walls in our 80’s ranch.
You said you have installed plywood, and pine tongue and groove.
We are really not sure which to do.
What look is best for a living room walls —painted diy plywood or more money T&G pine ?
Kathleen Bell says
How do you secure to concrete wall? I’m doing an exterior wall on my screen porch
Sandra says
Wood secured to concrete walls generally need to be pressure treated and secured with concrete screws that are pre-drilled. In the right situation one could probably attach pressure treated studs to the concrete wall and then attach the planking to the studs.
Kate says
I’m brainstorming ideas for my seriosuly outdated bathroom. I’m trying to avoid having to tear all the old tile out. I’d love to be able to install these boards over some of the tiled walls. Is this a good idea? What is the best way to install over tile?
Sandra says
I don’t know that I’d install this in a bathroom. With the moisture you’d have a lot of issues with the wood contracting and expanding.
Javier Leyva says
Thank you so much for sharing your tribal knowledge. Your comments where a huge eye opener on getting things ready to do this type of work I’ll be reading more of Thanks again
carrie says
Your rooms look beautiful. Do you install the walls or ceilings first?
Sandra says
If you’re adding crown moulding it really won’t matter as the crown will hide gaps. If you’re not adding trim, I would start with the ceiling. Then bring the wall up to the ceiling.
Robin says
We have two very long (& vaulted) walls in our living room, dining room, & kitchen open floor plan. The highest point of the vaulted wall is probably 15 ft (no more than that). We want to install white planking, but we are trying to decide whether to install it vertically or horizontally. Vertically seems like the easier way to avoid seams in the planks — esp if we have a chair rail — but some say it looks more like outdated paneling. Horizontally would be hard to hide seams on an extremely long wall with no windows — unless we create lots of obvious staggered seams — something I don’t want to plan out. What are other pros & cons of vertical vs horizontal planks? Is it easy to hide seams if installed horizontally? All advice welcome! Thanks!
Sandra says
I don’t ever plan out the seams when staggering joints in flooring or planking. I use the cut-off from the last row to start the next row (unless it’s shorter than 6″). If one seam is going to line up with a seam in the previous row, I grab a new, full piece, or cut 6″ off (IF the ends of the planking is not tongue and groove. Most planking is just a blunt cut on the ends so that’s generally not an issue.).
Kirsten says
Thanks for the tutorial! I’m about to do this in our entryway and you’ve saved me making a couple mistakes I know I was going to make.
Cheers!
Heidi says
How do you trim out the base?
Sandra says
I install baseboard over the planks.