Easy DIY – Ribbon Headboard
With so many projects to do that will help the house FUNCTION better, purely decorative elements get put on the back burner. And though Sophie needs the storage that would be provided if I could find time to build the Kristy storage bed, this DIYed ribbon headboard will at least add some “cute” factor to her room. It only cost $3, and provided Sophie and I an afternoon of meaningful together time.
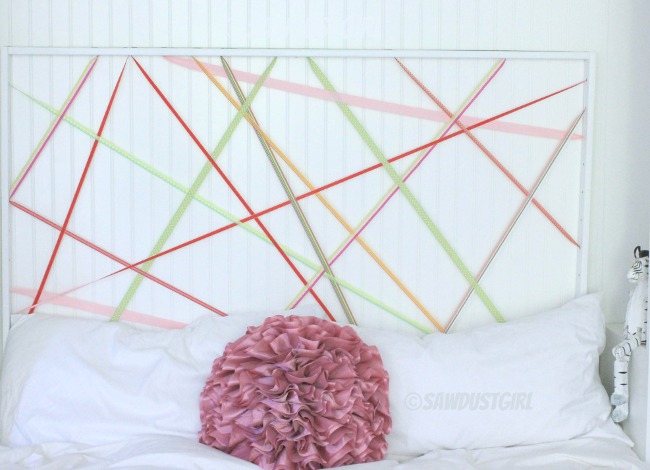
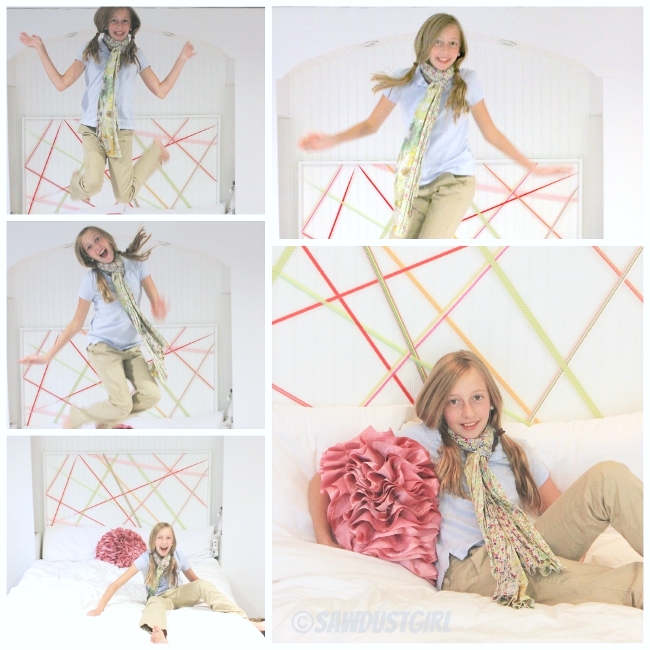
Despite the frugal price tag, she love’s it so much, I only feel half as guilty about not having finished her room yet.
We used three 8 foot furring strips, you could use 1 x 2’s for a higher quality frame, especially if you want to leave the wood natural. However, I had these on hand, and you really can’t beat the price at less than a buck each. I cut two pieces 5 feet, and two pieces at 44 inches (adjust per your space). Then drilled holes every 3 inches using a 5/16 inch drill bit (In retrospect I would drill the holes 4 -5 inches apart). Next we sanded till smooth, then glued and nailed the strips together to create a rectangle, filled the holes and painted.
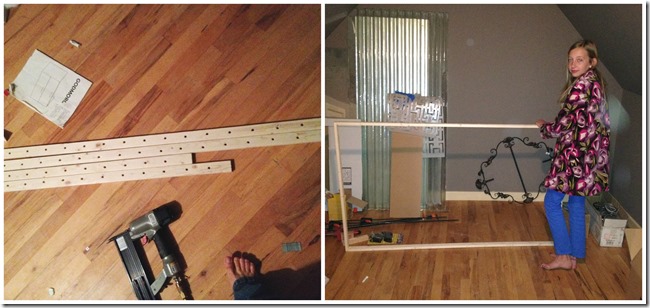
TIP: Try to place the worst looking side of the boards to the outside as they will get covered with a ribbon.
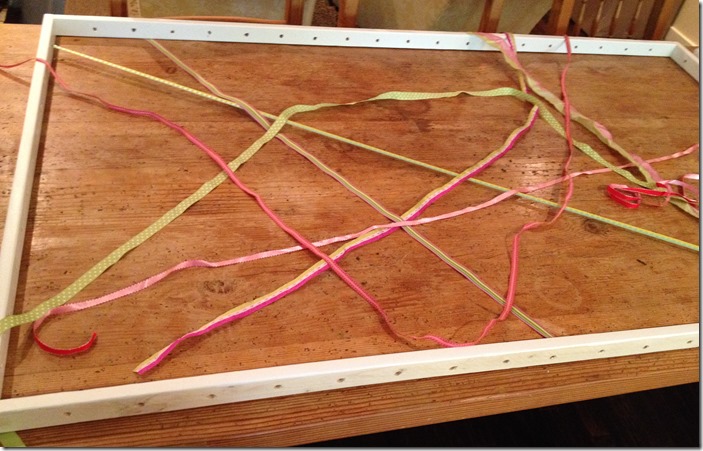
Next we played around with the layout. We learned that we liked using one ribbon in several places to create continuity, and we liked our weave on the spare side, so we left a lot of the holes blank (which is why I would make fewer holes if doing it over). We used ribbons that we recycled from another project, but I think yarn or colored string would work great as well.
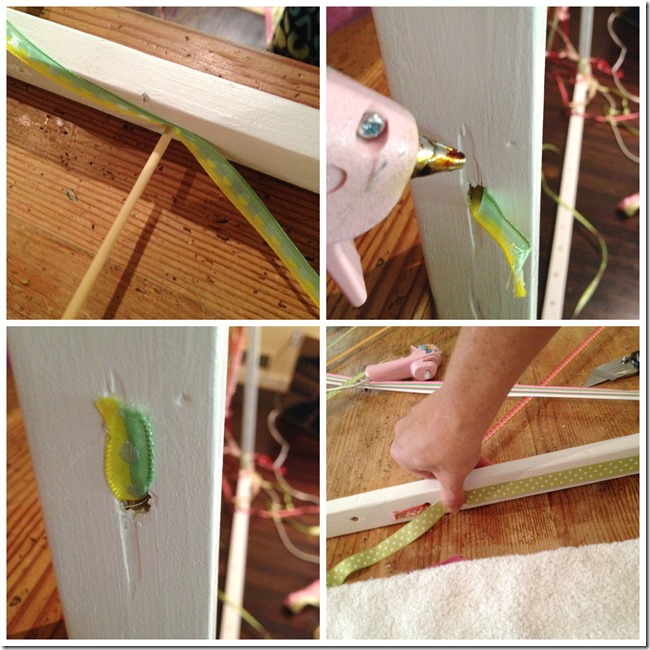
Using a wood skewer we threaded the ribbons through the holes and then secured with hot glue on the outside paying attention to keeping the ribbons centered, taught, and neat. We repeated with the ribbons, weaving and experimenting till we got to the point where we were happy. Then we took another ribbon and secured it around the outside of the whole frame to cover the ribbon bits and glue and create a finished outside edge.
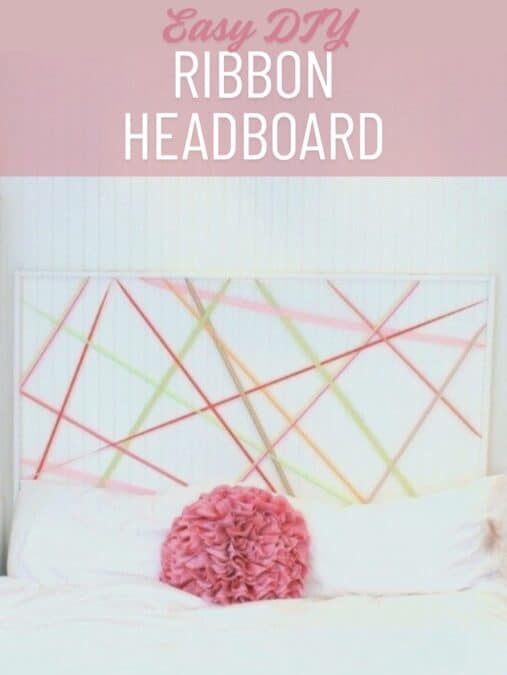
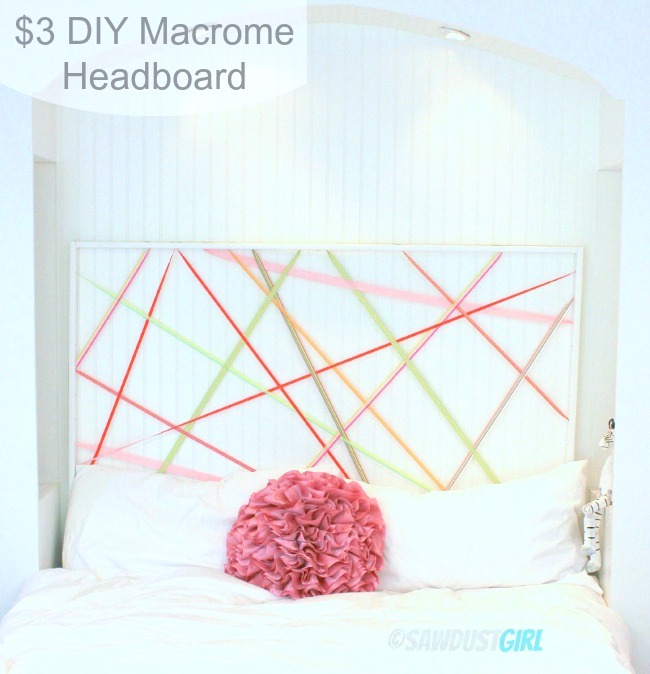
It is not quite the custom tufted upholstered headboard that I have in my head, but it is bright and cheerful and gives her bed a more finished look.
I really like this headboard! It’s so fun and colorful, and it looks like your daughter is really enjoying it. I think it’d be a really fun art project to do with the kids as well! Thanks for the really cool idea!
The only thing though, is that the title is misleading. Macrame is making textiles using knots instead of weaving or knitting. So while all those pieces are really cool, they aren’t macrame, except for the lamp shade. It just made me kind of bummed to click over expecting to see something cool using macrame and not getting to see it. 🙁 Though I am still happy that I got to see something cool!
What a great project! So pretty too!
It’s really light, so I just put 2 small picture nails in the wall and it rests on them. Then I put a bit of museum putty on all four corners so it doesn’t get crooked or knocked off the wall.
Love it! How was it hung on the wall?
It looks gorgeous! What a great idea!