Butler’s Pantry Build – Day 1
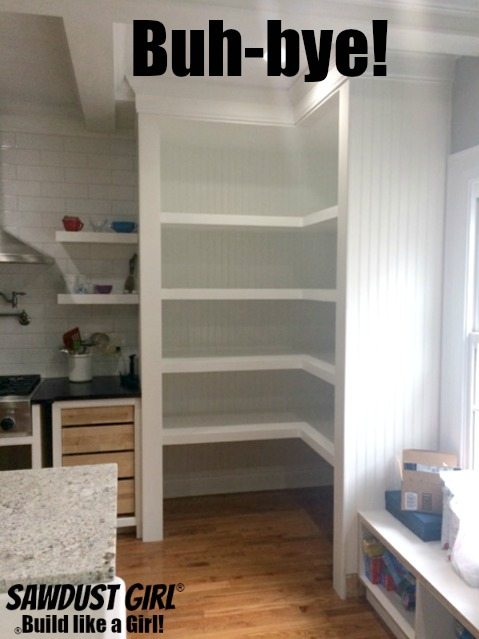
You'll never guess...You should be up to speed on what’s going down ’round here and why.  If you aren’t, go read about it (here) and then come back.

Mission Impossible – Day 1

Madison and I enjoyed a nice farewell breakfast with Wes before we dropped him off at the airport. Then we (safely) raced home because 5 days is not a lot of time and there’s none to waste!

Time to Demo!

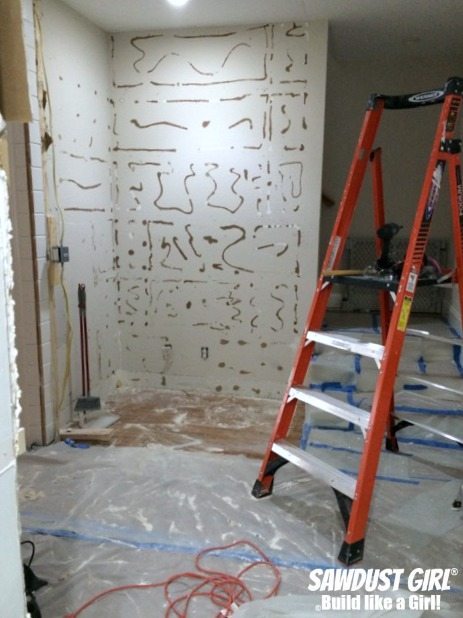
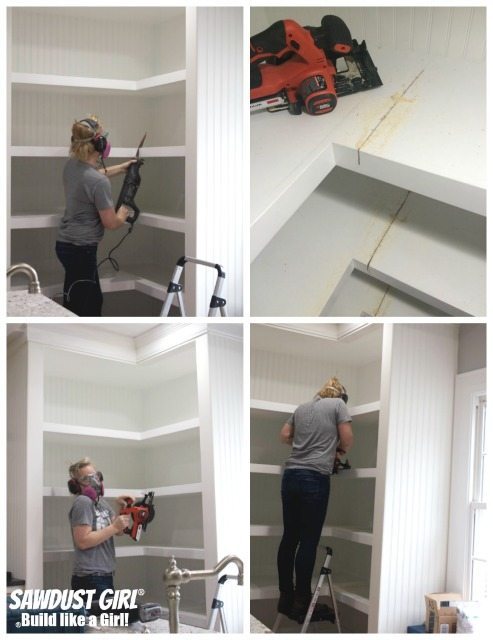
My plan involves keeping the shelves on the right side of the pantry corner intact so I used a combination of circular saw, reciprocal saw and multitool to make the straightest cuts I could manage.
Tearing it up

Then the goal was to remove the plywood with as little damage as possible in hopes of reusing it at some point.  I don’t wan’t to waste materials in addition to my hard work that went into building this pantry.

I was able to get to most of the screws attaching the 2×2’s to the wall after I removed the plywood so most of the materials came out pretty clean.  The lower shelf was stubborn though!  I had to get down in there to get some leverage.
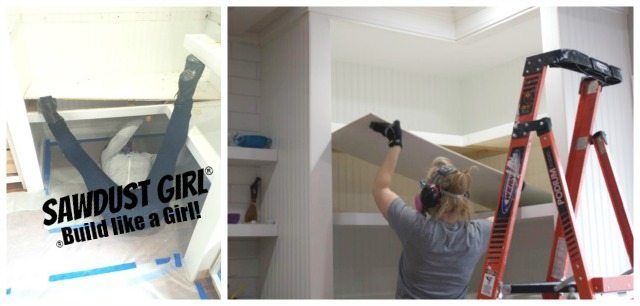
Sawdust Town - again.

The beadboard back was tricky because it extended up behind the pantry ceiling.  My multi tool blade became dull and I didn’t have a replacement blade so we just moved on to busting out the beadboard!  (Shopping list:  New blades for multi-tool and reciprocal saw.)

Oh, and that blondie in the black and grey shirt is Penny.  She is apprenticing with me this week!
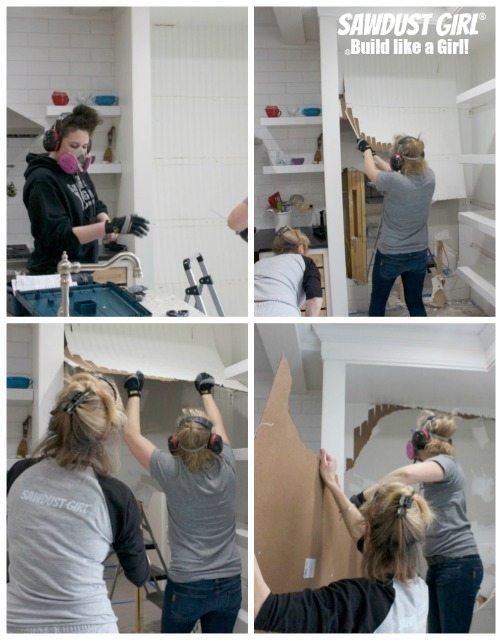
Tearing it up

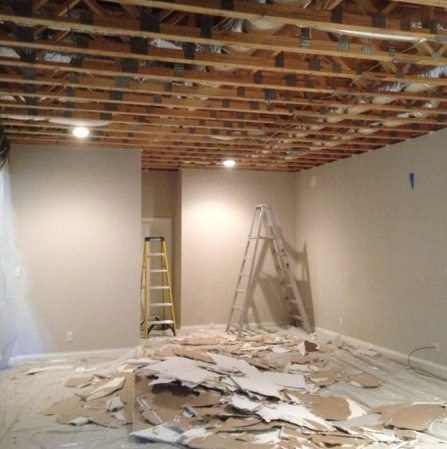
Then we went around to the back of the pantry, which is in the wide hallway to the master bedroom.  We easily removed the drywall on the Hall side because that spot still hadn’t been mudded from when we installed it after closing up the doorway right here.

Madison enthusiastically volunteered to help me kick in drywall!  That girl loves demo!!!
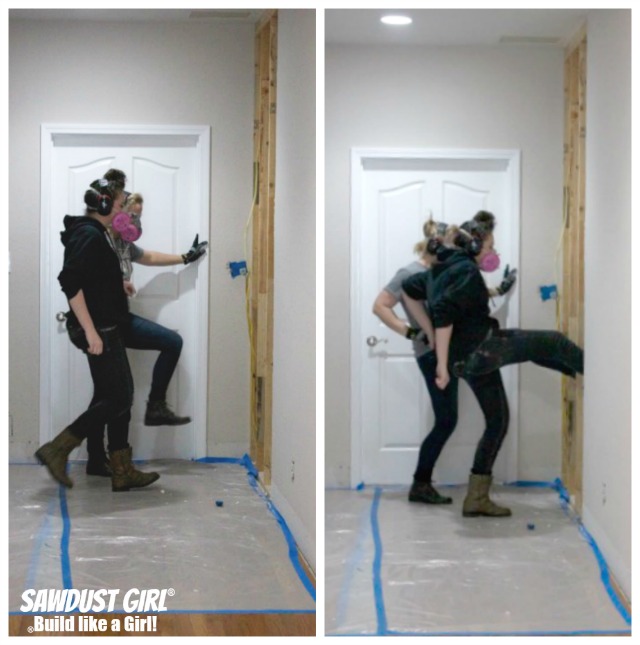
Tearing it up

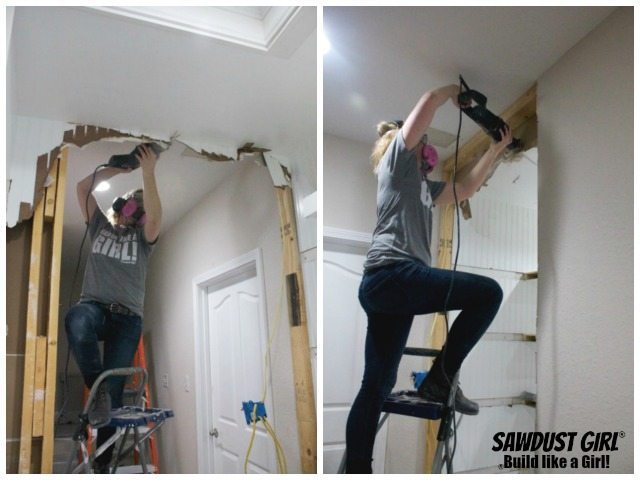
We could only reach so high before I had to get up on a ladder.  I kicked and kicked and couldn’t, for the life of me, figure out how I could possibly be THAT tired already that I couldn’t kick out the drywall at the top.  I was pretty tired  — but really!

I kicked and kicked and kicked…
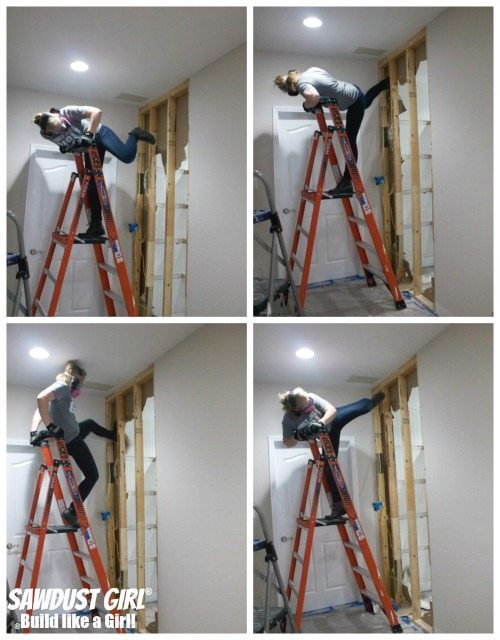
Kicking down walls!

Then I realized that I was actually trying to kick out the pantry ceiling, which was framed out in 2×4’s.  No wonder I was all wore out!

Reciprocal saw to the rescue.  I cut the rest of the pantry drywall and beadboard flush with the pantry ceiling and called it good.
Tearing it up

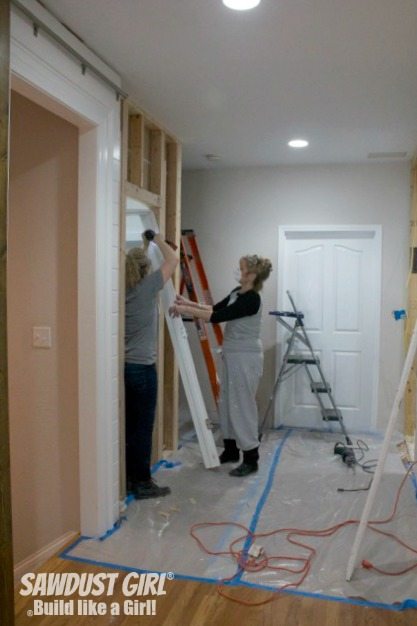
Madison started hauling drywall to the dumpster (Bag) and Penny and I got started on the hallway closet.

!?!

Wha?

Yes, I’m tearing out the Pantry AND the hall closet.
Tearing it up

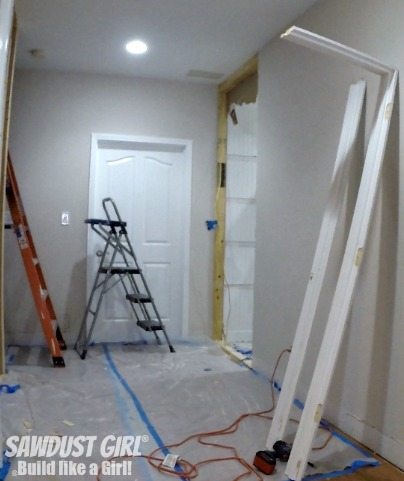
The whole – entire – thing — out!

Remodeling gone crazy

So, a whole lot of coming ’round full circle is how we ended Day 1…and it’s going to get a whole lot worse before it gets better.
Tearing it up

But it’s going to be SOOOO worth it! I swear!  It’s going to be AMAZING!
You Might ALso Like

19 Comments

  1. This is so exciting to watch! You are awesome! If you can do this- I can get off my butt and do SOMETHING around here.. LOL. Seriously this is super fun to watch. If I was your neighbor I would totally come help. Good Luck! (and take care of your back!)

  2. I like to wait until my husband is on a business trip to knock out walls too. But you take things to a whole new level.

  3. Excited to see where you are going with the changes. You inspired me two years ago after I found your blog. I believe I even posted my issue with the floating “pretty plastic” in the ceiling that was to make the fluorescent lighting look great. 14 years I had wanted to do something. I found your blog and read up a bit more and finally felt that I could take it on. Waited till hubby was working 10 hours of overtime and demo work began. The biggest thing that was holding me back was the ac vent it was lowered to meet the floating ceiling and would have to be raised but the hole that was hidden was a mess. Found my solution, my really good friend was married to heating/ac duct work expert (it was his day job). So we traded my skills with custom ceramic for grandparent gifts for him moving the duct work. So I tore out very carefully all the floating ceiling and the three fluorescent fixtures. And sent hubby a picture on his phone to ease the blow before he arrived back home. He was a little concerned that this was above my skills but as most projects he offers help only when I ask and waits or hides in another room. After three weekends, it was done, I had 14 inches of extra head room in a small kitchen which made it feel so much bigger and new can lighting that just made a huge difference in the feel and work area. Along with new led under cabinet lighting for the task area. I DID IT!!!! only 14 years to finally do it. Guess what happened next……..We bought a bigger house and sold ours in 2 months!!!! yep, after finally achieving the kitchen. Truth was we we bought the house as couple and 14 years later 3 kids and 2 dogs, we had completely out grown that house. So we had a few more improvements to make to the house one was the storage shed out back that had always been an eye sore since we bought it but wouldn’t let my husband near it, he would have spend three times as much money and still not know what he was going to do. I spend less than $200 and had it looking all refreshed with all doors looking good and operational. So Thank you for inspiring us, I had done simple things like front door, garbage disposal, ice maker, shelves but never demo to a structure. I would love to share pictures! And yes my husband fears me when he sees the look in my eyes that tells him the wheels are spinning!! The new house, well it has been almost completely remodeled. But they started doing crown molding through out but didn’t get to finish all the rooms. So after I figure out how to score a new compound miter saw since the one I have had is 12 years old and I bought it from the retool shop here it is not a compound just a miter saw. There are a few things that have to be fixed like some eaves outside where there is water damage from runoff on the roof and the porch posts. The porch posts are not level in two directions and have to be redone. I am still doing my research on how to replace posts. The house is about 40 years old but built well and I have a dream kitchen that was remodeled with top of the line everything. Thank you for sharing your talents!! Denise

  4. heeheehee 😀

Comments are closed.