How to Create Symmetrical, Uniform Arches
There is an easy trick to drawing, cutting and installing a series of symmetrical, uniform arches to your built-ins. And you’re in luck — ’cause I’m gonna’ share!
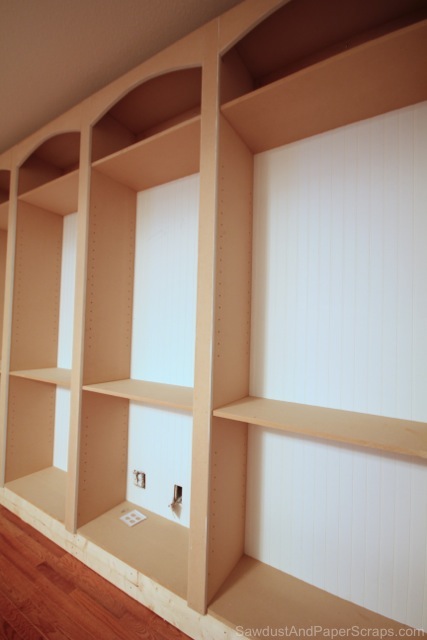
Materials:
- Pocket hole jig (I have the Kreg Pocket Hole Jr.)
- Drill/Driver
- Jigsaw or Bandsaw
- Orbital sander
- Miter saw or circular saw to cut your wood to the correct length and width or you can get it cut at the home improvement store (depending on your local store — some are more accommodating than others.)
- Safety Gear
How to Create Symmetrical, Uniform Arches
If you are only creating one arch for a single bookshelf, get a scrap of inexpensive wood that is the same size as the one you are using for the arch and make two. See step 8 for clarity!
Step 1
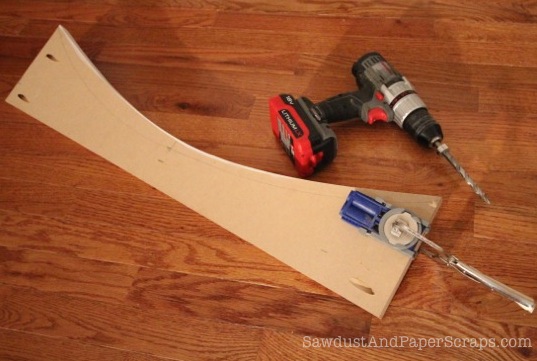
First, you have to measure and cut a piece of wood or MDF to fit inside the face frame of your bookshelf/built-in. You’ll be attaching your arch with pocket hole screws. Make sure your piece will fit snug, no gaps…measure twice, cut once!
*You will have to determine how tall you want your arch to be. If you want a really dramatic one, you might want a really tall piece of wood — like 12″. Mine is 7″ tall and 32″ wide. I wanted a low, wide arch.
Step 2
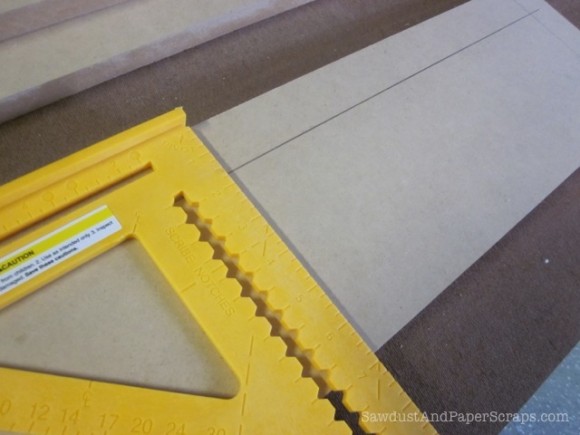
Next, determine how much wood you want to show above the arch. I’m leaving almost 2″ at above my arch.
*If you are planning on adding crown moulding to the bookshelf/built-in above your arch, leave yourself enough wood to nail the crown onto without losing all the visible wood in between the arch and the crown.
Step 3
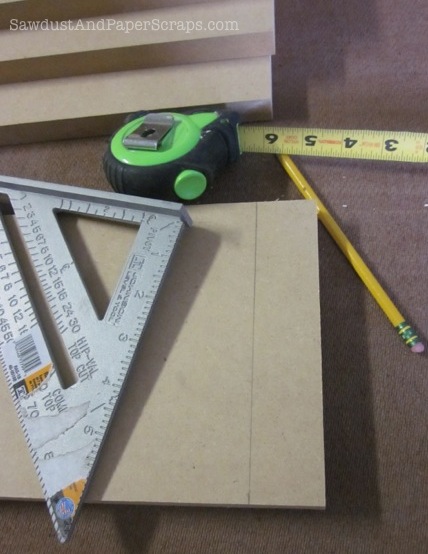
Determine where you want your arches to end on the sides. Do you want the curve to go all the way to the end of the piece? Or, do you want the curve to end inside the faceframe and leave you a couple inches? It’s up to you. I’m taking my arches all the way to the end.
Step 4
Mark the center of your board at the top of your arch and mark where you want your arches to end on each side. Hammer a small finishing nail (like a picture hanging nail) into all 3 marks.
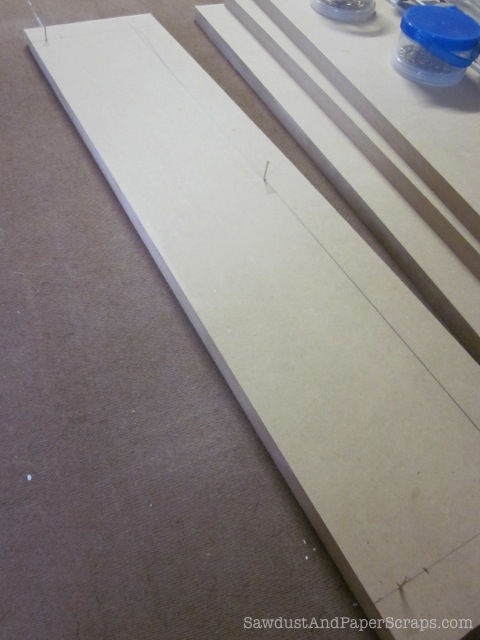
Step 5
Working alone always has it’s drawbacks but — just make it work!
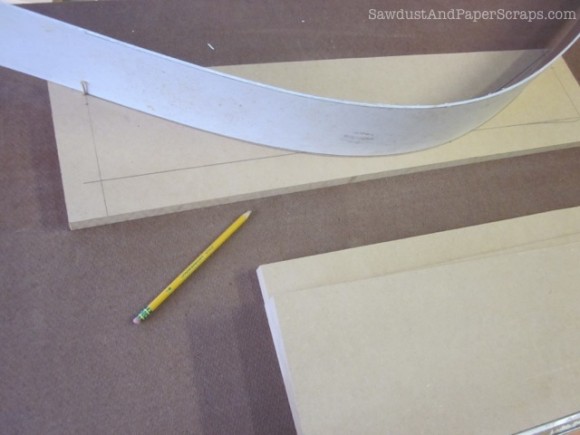
If you are making more than one arch, (WHICH YOU SHOULD BE DOING EVEN IF YOU ONLY WANT ONE…see yellow box at the beginning of the tutorial) do the exact same thing and draw your lines on all boards.
You could go ahead and cut one and then use it as a template but unless you cut it out EXACTLY PERFECTLY, you’re going to end up with an imperfect template and you’ll probably have to do a WHOLE LOT MORE sanding than you need to. It doesn’t take long to hammer in a couple nails and trace a line after you figure out your measurements.
Step 6
Now cut out your arches. I used my bandsaw but if you don’t have a bandsaw, use a jigsaw. Cut slowly and carefully but don’t worry about to much about a little mess up. That’s what the sander is for.
Step 7
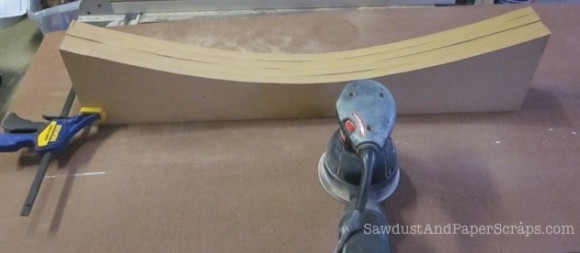
Clamp all your arches together and SAND baby, sand! When sanding, keep your sander moving from side to side all the way from one side of your arch to the other. That will help you create a smooth, even, flowy, beautiful arch! Don’t stop and work over one area…just keep flowing side to side.
***WEAR A DUST MASK!
Step 8
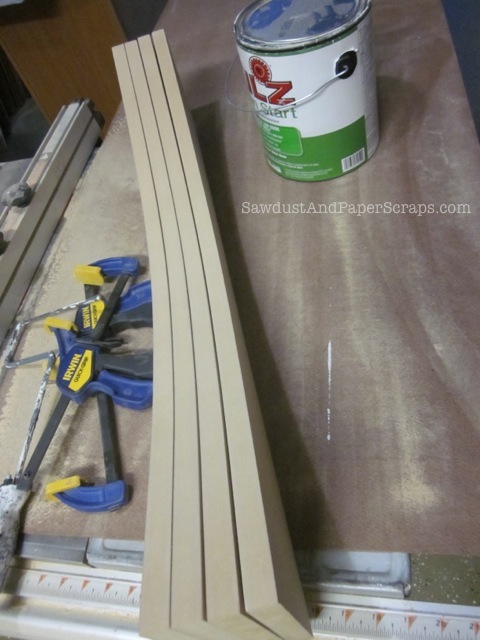
And this is the KEY to SYMMETRY here people! Pay attention! After you sand your arches to the point that they look perfect. Take half your arches and flip them around mirror image — not upside down) and clamp them all back together. This will let you see if you’ve got a little more sanding to do to get them perfectly SYMMETRICAL. The same on both sides or the tippy top of your arch! K?
If you need to, and you most likely will, sand a little more.
Step 9
If you are using MDF, prime the edge of the arch. Let that dry and then lightly sand again to knock down the fibers that swelled up from the moisture in the primer. That will make them baby’s bottom smooth. See my tutorial on getting smooth edges on MDF for more info!
*I used KILZ’s new low odor 0 VOC primer. I’m liking that stuff a lot!
Step 10
Attach to your bookshelf with pocket hole screws.
Now fill, caulk, paint or whatever depending on whether you’re adding your arches to existing, finished bookshelves or to something you are building from scratch. AND ENJOY!

More cabinet building tips and tutorials. And check out my free woodworking plans.
Hi Sandra!
I’m loving the library bookshelves! My husband and I are in the process of building them and so far, they are looking awesome! We’re grateful for your easy tutorial for us novices. I’m a little confused on how you determined where to put the bottom nails on the arch. I understand the top nail is in the center and however far down you want the arch, but how did you figure out where to put the other 2 nails? I’m wanting my arches to look just like yours! Thanks for your help!
The first nail is to hold the “bendy wood” (or whatever you’re using to create your arch) at the top of the arch. The second (and third) nails hold bendy wood so the arch ends at the outside edges at the bottom.
I just discovered your site: love it! The arches are beyond my level of expertise (so far), but can you advise on the standard height for the shelves themselves? What is the height you used between each shelf in your library? The post/pics showing how you styled the shelves proves that you allowed for sufficient space to include varying heights of books and other accessories, but there is good amount of “blank” space between each, so they don’t look too crowded. Great job, and thanks again for sharing.
I had two fixed shelves, the ones you see in these pictures, and the rest were adjustable so I can change the spacing to fit whatever I want to put on the shelves. 🙂
Thanks Sandra!
Why not make one, and use the router to copy to others? Definitely less sanding involved….
Because doing two and flipping them, is what creates the perfect symmetry on both sides of the arch. Then you could use one as a template and use a router — but lots of people don’t have routers.
thanks,I am a woodworker[beginner]and appreciate all the help I can get!!!!
What built ins are you making here? Another great project of yours…
Library bookshelves!