How to Make a Whimsical Wooden Vase
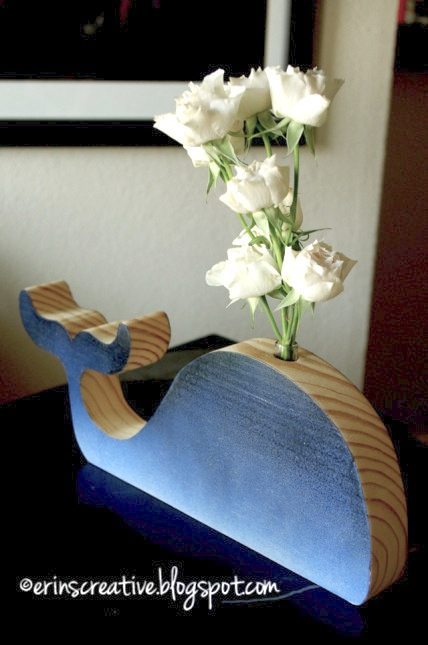
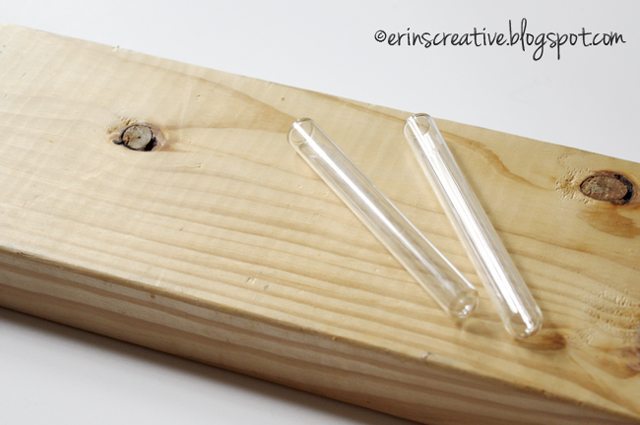
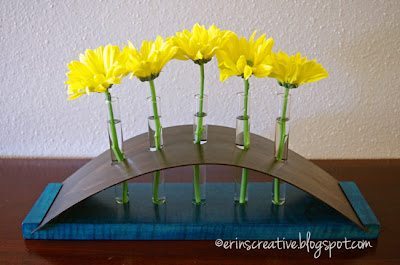
If there is one thing that I have more than I know what to do with, it’s scrap wood. I am always trying to get rid of scrap wood. My husband and I cannot just throw it out. So, I grabbed one of the 2×6 boards and some leftover test tubes from a project last summer and decided to make some vases.
Step 1
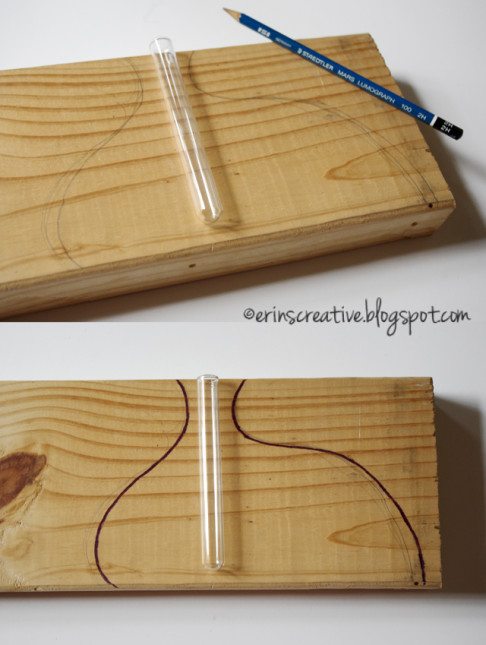
I started with sketching out a fun shape on the wood and then marking my final cut lines.
Step 2
Since the bottom edge of the board was rounded, the first thing I did was cut it off. I took less than 1/4 inch off with the band saw. This could be done with a table saw, circular saw or jig saw. I happen to love the band saw.
Step 3
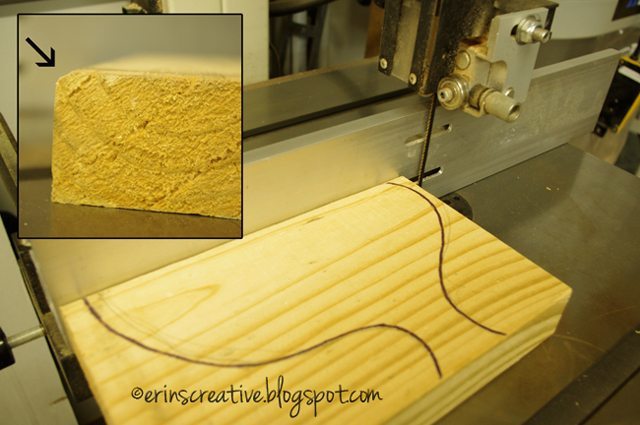
I then cut out the shape of my vase. This can also be done with a jig saw, but please follow the tips below if you use a jig saw.
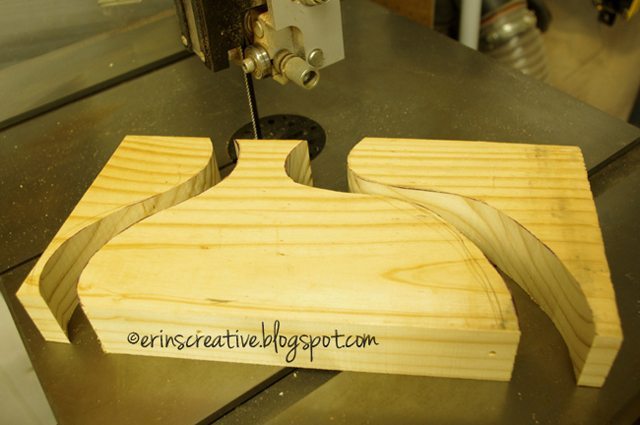
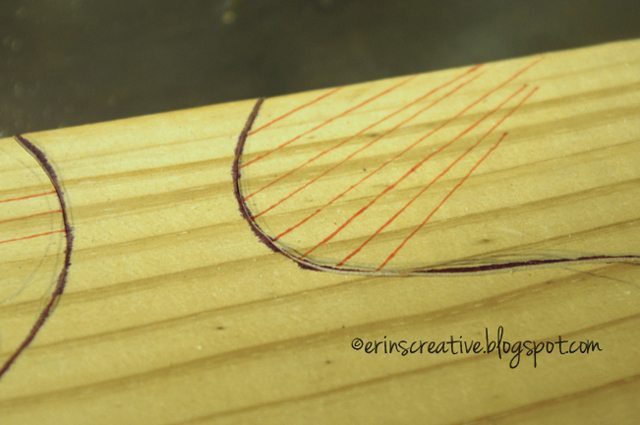
Since the blade on my band saw is rather thin, I can make curved cuts quite easily. A jig saw has a wider blade making those same curved cuts more difficult. If you use a jig saw, you will need to do relief cuts. See the orange lines below? You will cut straight lines up to the edge of your vase FIRST! Then, once you cut the edge of your vase, your blade won’t bind up and you will be able to follow the curve of your cut more accurately.
Step 4
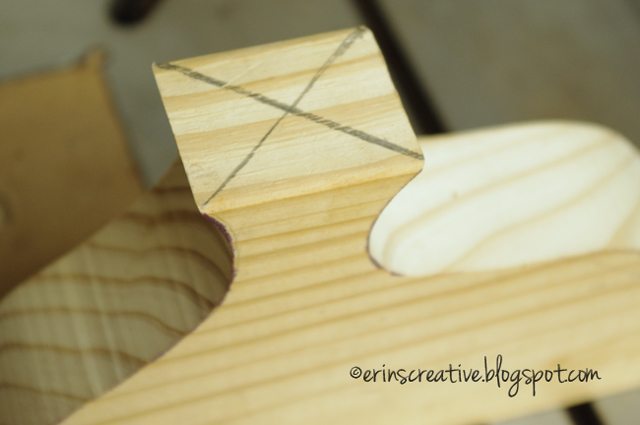
After my vase was cut out, I needed to find the center of the top so I knew where to drill. The easiest way to do this is to draw a straight line from opposite corners.
Step 5
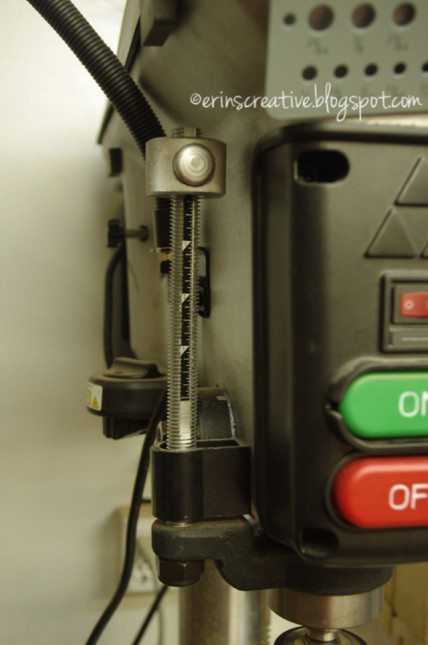
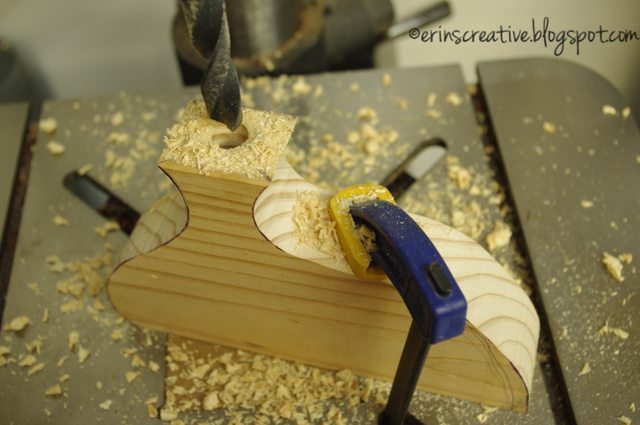
I then figured how size of drill bit I needed. It was a 5/8″ drill bit due to the size of my test tubes being just a hair larger than 1/2″. I then figured out the depth. I have a drill press, so I used my depth stop which prevents me from drilling further than what I want.
If you don’t have a drill press, you can still use a powered hand drill, but I would recommend a jig that allows you to keep your drill perpendicular so your test tubes sits in the vase straight up and down. As for the depth, a trick that my husband told me about is to tape the drill bit at the depth you want to stop. Pretty genius!
Step 6
When you drill, make sure you clamp down your vase for safety reasons. When designing the shape of your vase, you will want to keep this in mind.
Step 7
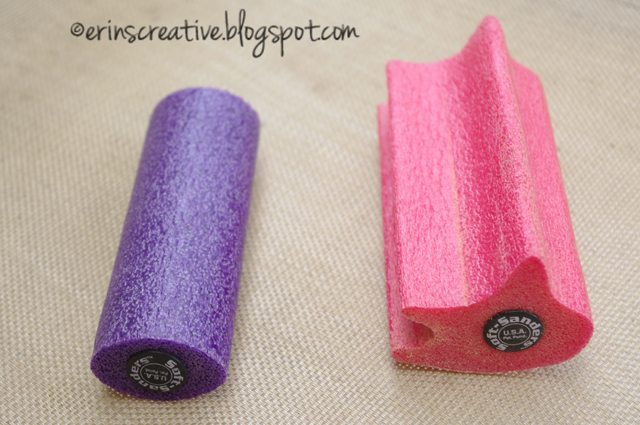
After the vase was cut and drilled I started sanding. I really like using sanding blocks. They help a lot. It makes sanding curves much easier and it keeps my hands from feeling the heat of the friction. All you do is cut your sandpaper and hold it around the shape of the sanding block you are using.
Step 8
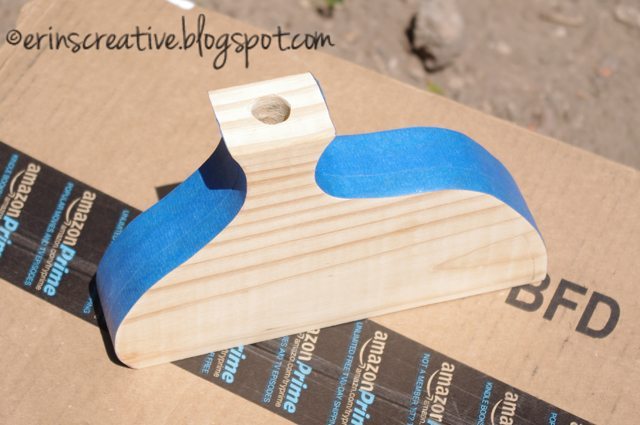
I sanded starting with 80 grit and worked my way through 150 and 220 grit papers. After that was done, I used a lightly damp microfiber cloth to wipe the vase clean. I then taped up the sides of the vase.
Step 9
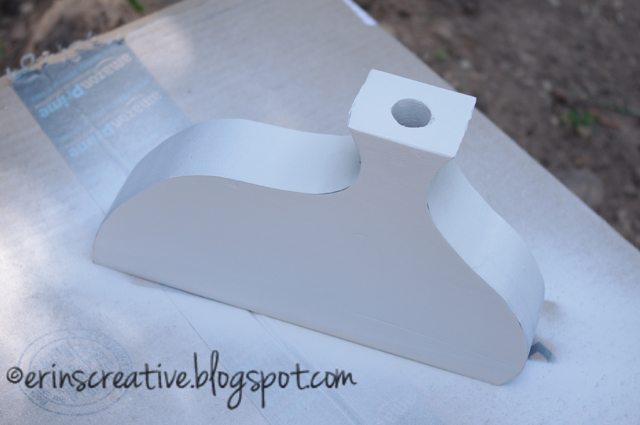
In order to get the ombre paint effect, I started with painting the entire vase white.
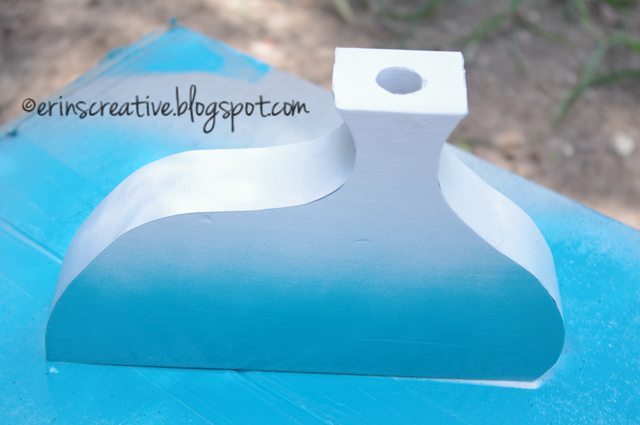
Step 10
After your paint dries, remove the tape and clear coat the entire piece to keep the wood from taking on any water once you put your test tube of flowers in. Then, you can stand back and admire your handy work.
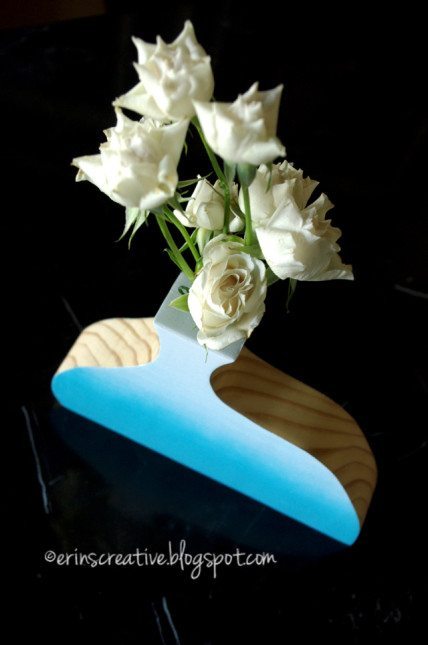
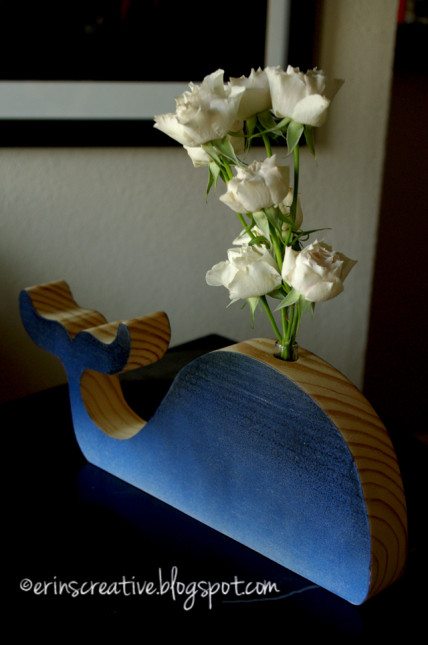
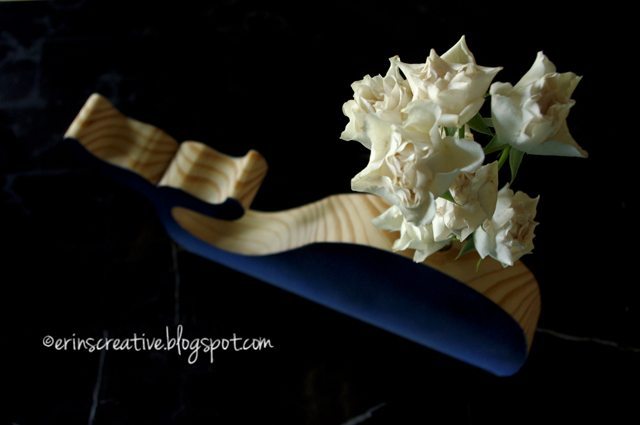
You can think you are done, until you have a husband like mine suggest an even better idea for a whimsical vase, like a whale. I hate do admit it, but I loved the idea and had to immediately execute it!
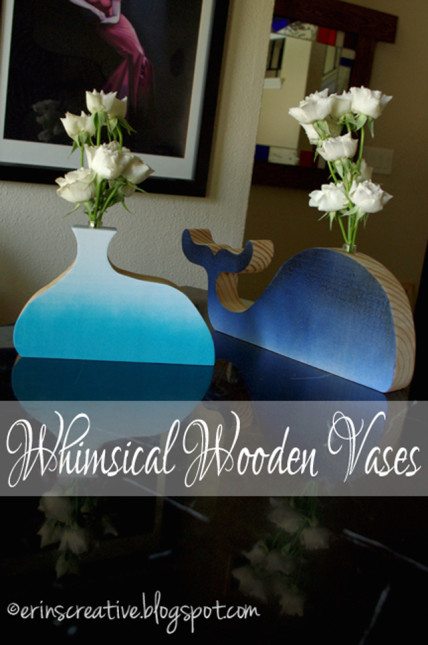
I love how the flowers look like the spray from the whale. I also love both of my vases and hope that you try making one of your own.
Thanks for having me Sandra!
Sandra speaking now:
I’m so excited to bring Erin on as a regular contributor here on Sawdust Girl, she is multi talented! Make sure you click over to Erin’s Creative Energy for more creative tutorials and projects!

Those Whimsical wooden vases are gorgeous! I love that it has different designs which are very attractive and stylish. I believe that in making and cutting for those woods it is very essential that they will have sharp and the right tool for it. I will let my husband see this. Thank you for sharing, Erin.
Love this! I want to make the whale and use for a toothbrush holder in the kids bath.