Spray Shelter for Painting
I am literally days away from finishing my pantry. I set up a Spray Shelter for Painting all the drawer fronts and doors. I’ve been sharing updates on Instagram and Facebook and got tons of questions about this spray shelter and painting set up so I decided I better put down my paint sprayer, have a cup of tea (or 10) and write up a post with lots of juicy details.
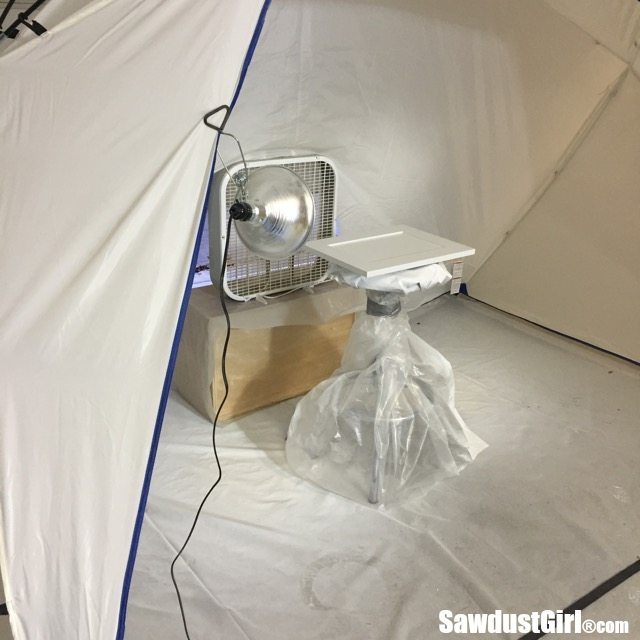
Spray Shelter for Painting
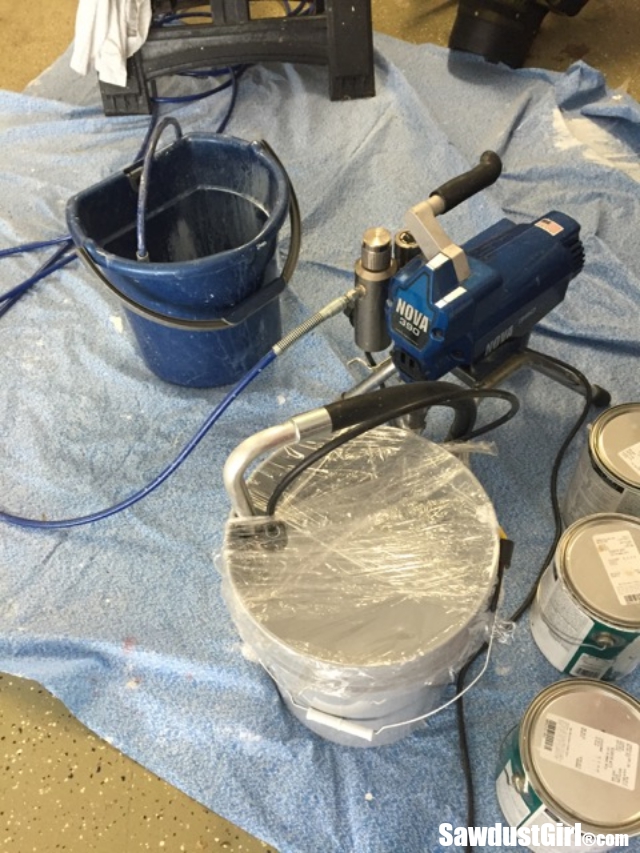
I’m using my Graco 390 airless sprayer. I wrote a post about paint sprayers in general if you’re interested: 411 on Paint Sprayers. Here’s a post about the paint I’m using here too. ’cause you were just about to ask. Right? 🙂
A lot of times I paint by hand with a brush and roller. That’s how I painted my pantry doors. If done well, a brush and roller can provide a super, fine finish. I’m always weighing the extra work of cleaning out the machine before and after painting against the extra speedy application of the sprayed paint finish.
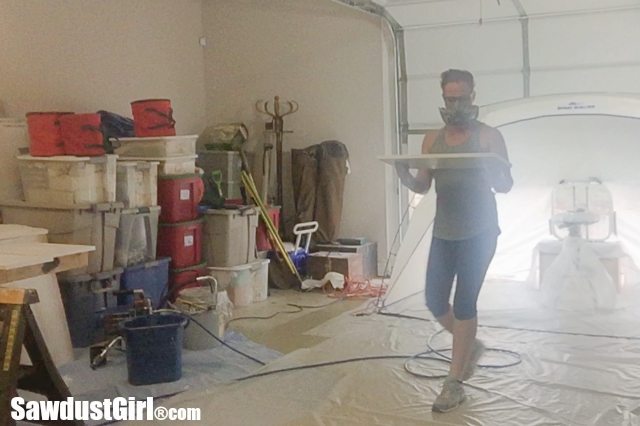
Sometimes it’s not worth it. I decided it would be worth it on these 10 drawer fronts. I took over Wes’ garage (because it’s a big empty space when he’s off to work) but I needed to create a paint booth in order to keep the paint OFF of everything else. This was the perfect time to try out this Spray Shelter that HomeRight sent me. (That there is an affiliate link yo’)
I just had to unbox it and set it up. I was almost tempted to think about jumping off the back porch with it to test it as a parachute. But we don’t have a trampoline like I did when I was a kid and did that sort of thing with a tablecloth or fitted sheet. (Fitted sheets were the best because the elastic creates little pockets for feet!)
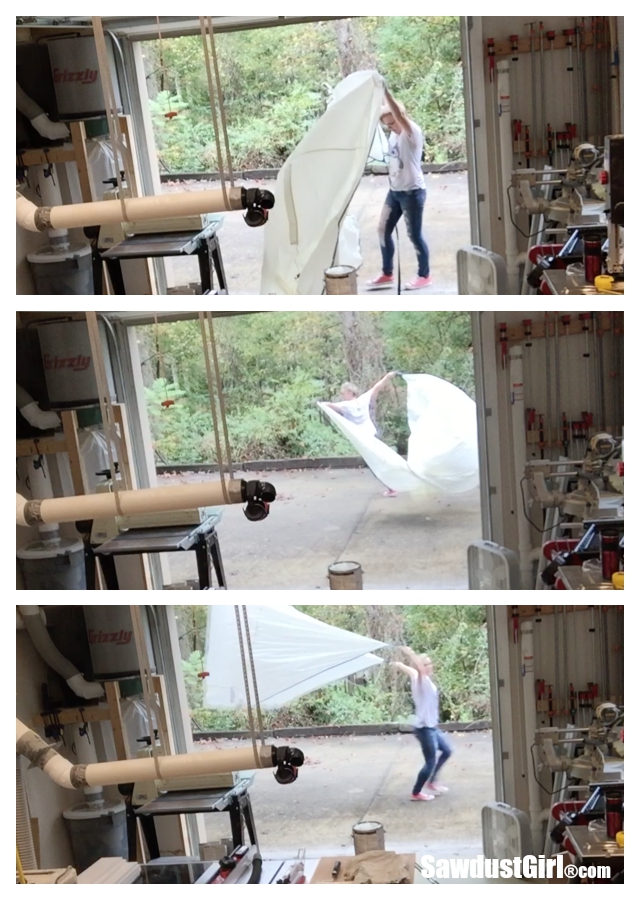
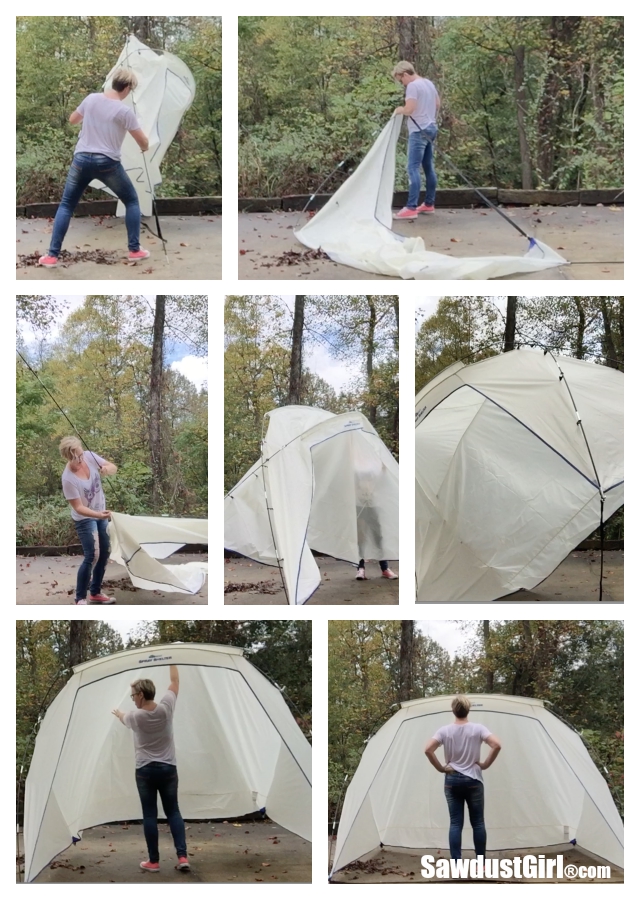
But I DID NOT try to parachute off the house. I just went back to setting up the tent. That’s basically what it is. It’s a 3 sided tent. It was super humid outside which did not help my mood when fussing with trying to get the poles through the pockets and secured in place. Here’s a tip: just do one pole at a time. I don’t know what I was thinking! The first day it took my like 500 minutes to set it up. The second day it took 10-15.
I put down a big ole’ sheet of very thick plastic to protect the garage floor.
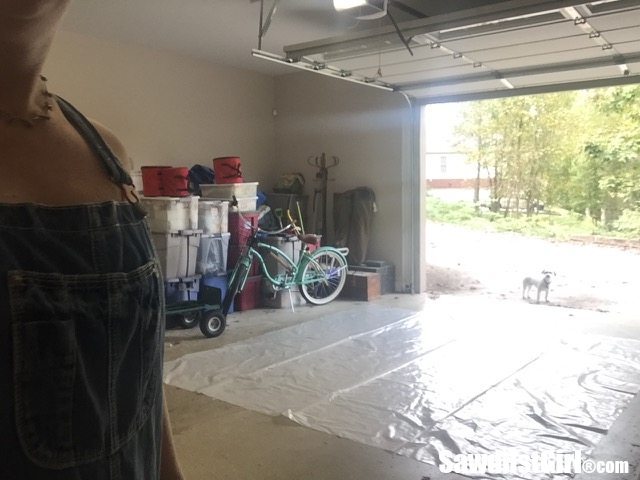
Then I moved the spray shelter into the garage.
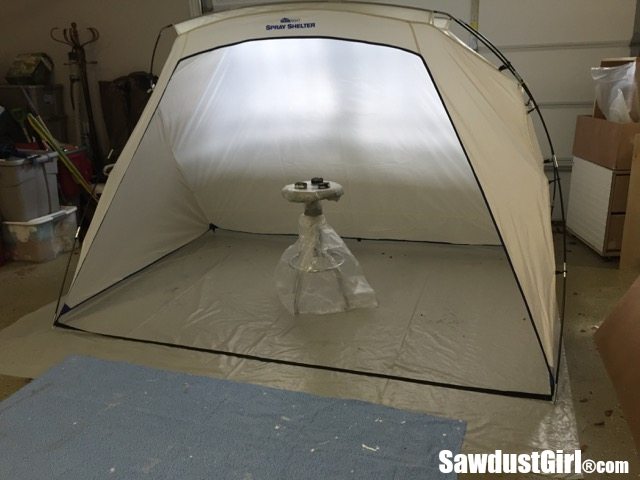
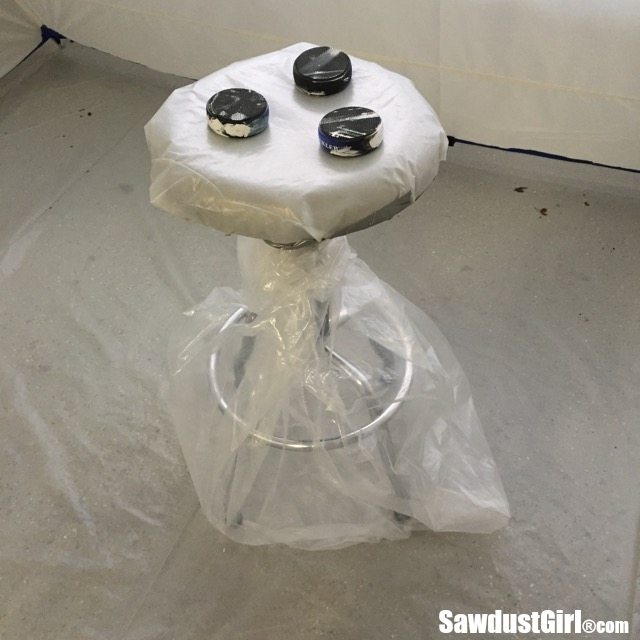
Then I wrapped my shop stool in plastic so I could use it as a swiveling table to set my doors on while I sprayed them. The base is wrapped in a giant plastic bag. I duct taped the top closed and then duct taped some plastic sheeting on the top of the stool leaving the swively parts still able to swivel. Then I used some work grippers to raise them up off the surface of the stool and keep them from sliding around on the plastic.
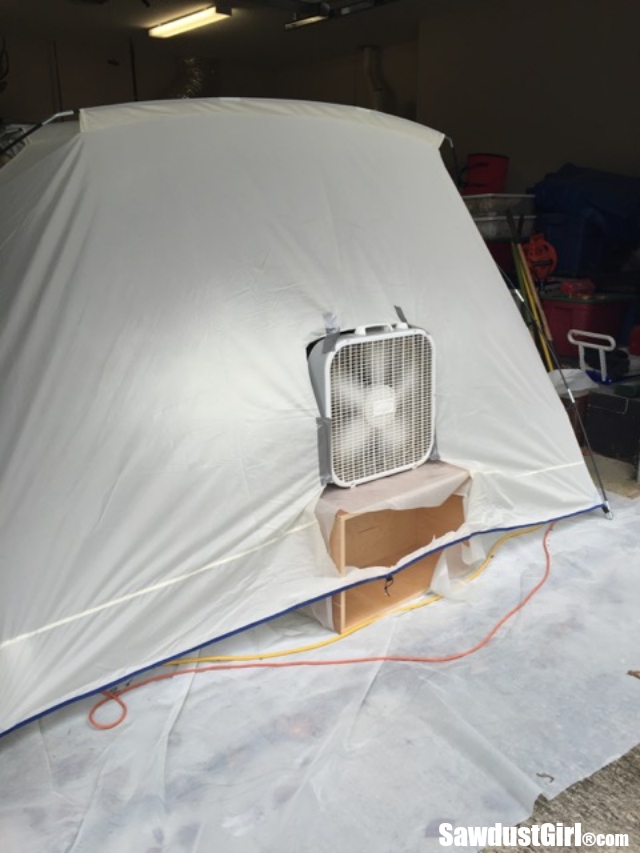
Now, there are instances when I paint, where I may want a spray shelter just like this. Like if I were using bottles of spray paint or maybe when using an HVLP or painting by hand outside where I wanted to just keep crap from settling into my wet paint. I tried putting a box fan in front of the booth thinking it would force the paint particle ridden air back, down and under the bottom of the tent. It didn’t seem to do that so I had to make a modification.
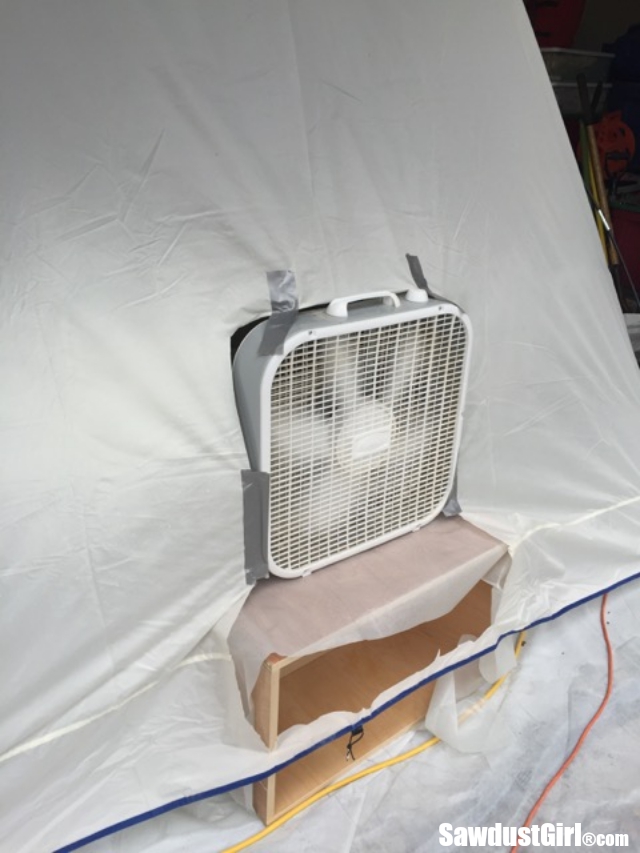
I cut a square hole in the back for a box fan. I actually cut two holes because I first had the fan sitting on the ground but then decided to raise it up. I think it would have been fine on the ground but whatever. It’s done.
The point of the box fan is to pull the overspray out and away. Away from the surface that I just painted and away from me so I don’t walk into it so it stings my eyes and get’s tiny white particles all over my hair and glasses and skin and clothes…
The fan is blowing OUT of the tent, not in. Just to be clear.
I also rigged up a little light that clamped onto the side of the tent. I’ve talked about the importance of angled lighting on your work surface before.
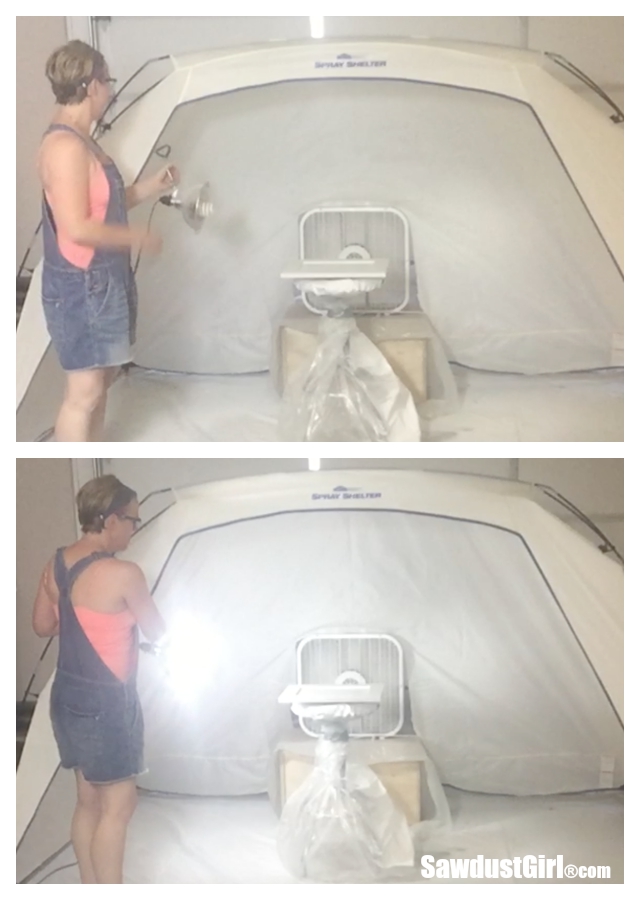
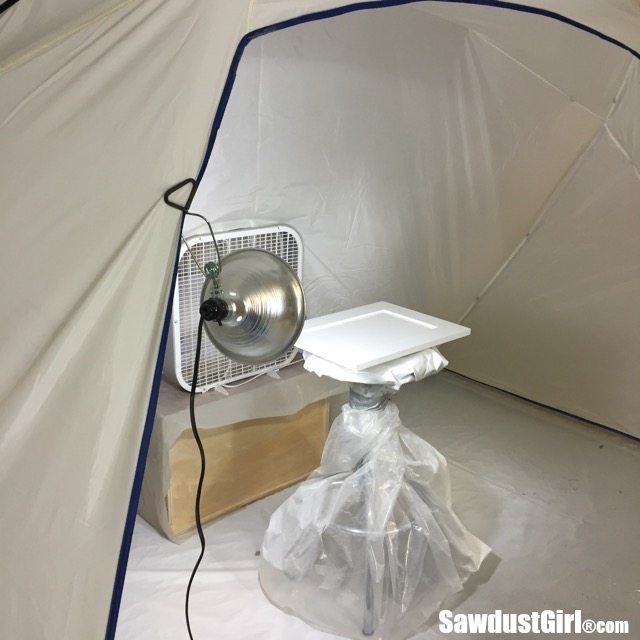
Lighting is a game changer.
I closed the garage door just above the box fan and pulled the tent back, blocking as much of the doorway as possible to prevent dust and leaves from blowing in. It was not a windy day or I would probably have taped plastic to the sides of the garage too.
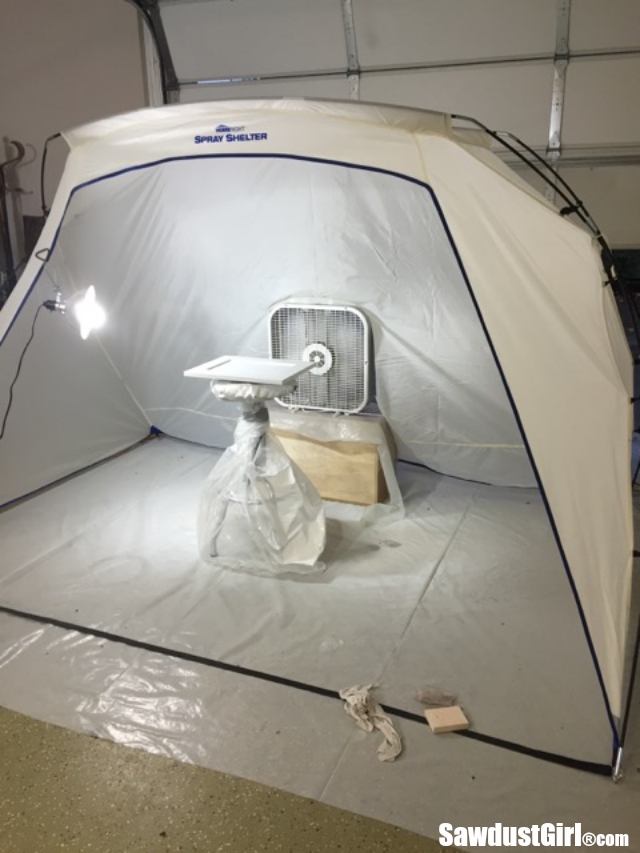
I kept a wet rag and a sanding block on hand for the moments I’d set a door down onto my “painting table” and then see an imperfection I needed to wipe/sand off before I painted. No dust creating sanding — just one time I had to smooth out some primer…
I strained and mixed my paint, primed my machine and tested my spray pattern on some scraps of wood. Then, after avoiding this moment for as long as I could possibly excuse myself from…I painted.
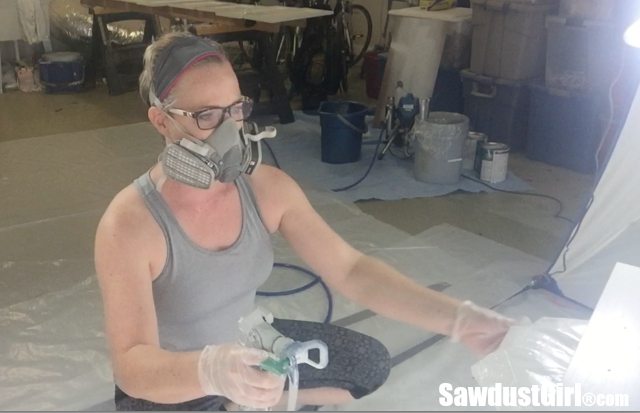
I sprayed the sides, fronts and backs (but just around the outer edges on the backs because I had installation notes that I didn’t want to cover).
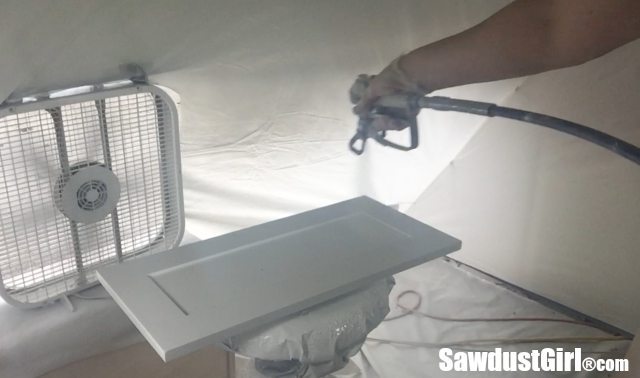
And my swively shop stool worked awesomely as a paint stand!
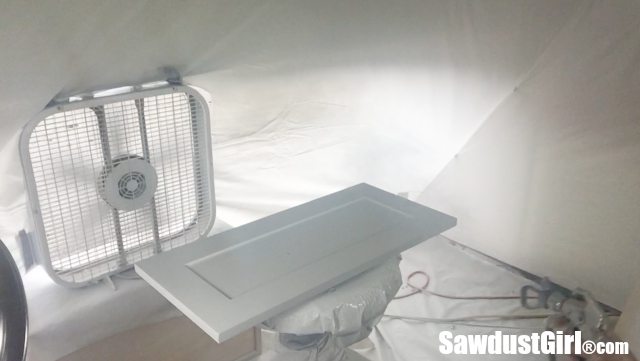
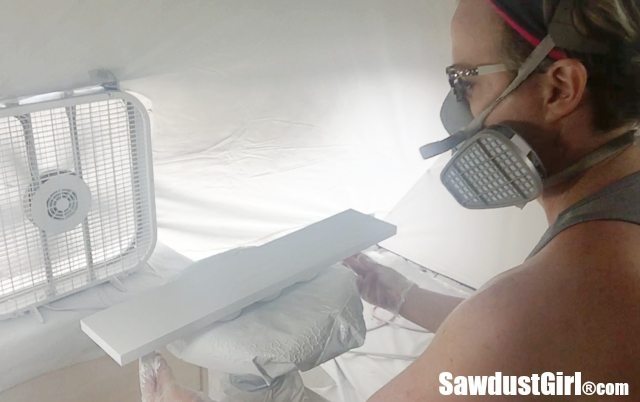
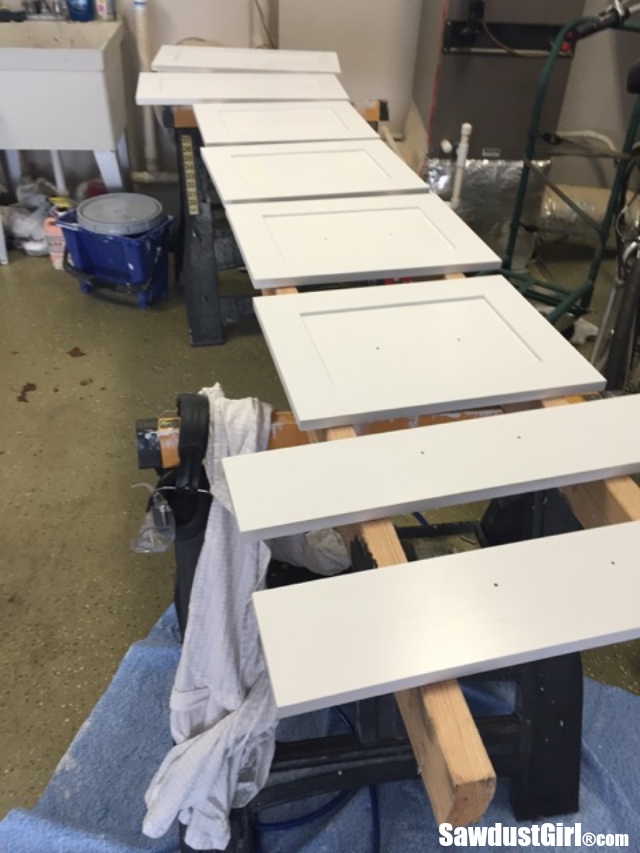
I sprayed one door (drawer front) in my spray booth and then lifted it up from the bottom to move it to the “drying rack”.
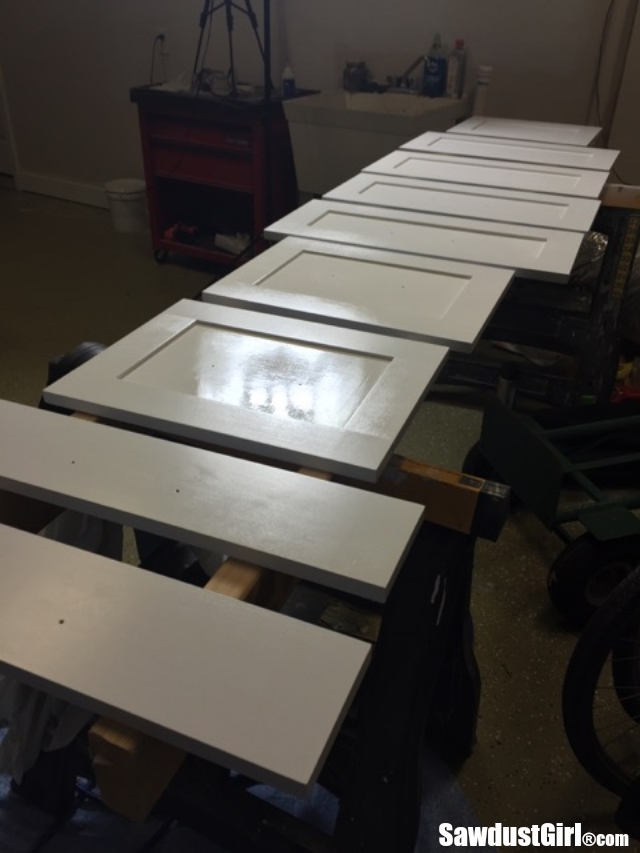
The “drying rack” being two long 2×4’s set on two sawhorses.
Despite the leaves you see laying on the garage floor, the space was pretty dust free and the doors dried beautifully. Smooth like butta…or glass. Even though that’s a really crappy photo I’m showing ya. I’m so excited to install these and get the hardware on. No. Scratch that. I’m not excited AT ALL to install these. It’s a chore. I’ll be excited to be done with that. That’s what I’m excited about. 🙂

I jus saw someone build a sorry tent on another site. They cautioned about having the FLAMABLE paintparticle being used over the warm fan motor. Idk if this is something to worry about or not hut just a FYI. Love the pics of you floating away in your yard btw!
I almost never spray anything but water based paints. Easier clean up, better for me and the environment and don’t have to worry about any combustion. I’m not sure I’d do anything different in this situation if I were using an oil based product. It’s not a true “booth” and there’s a lot of air. The fan is simply pulling the oversrpay (tiny paint particles that dry before clinging to the product) away from the workpiece so they don’t settle down into the drying paint. That’s a big cause of bumpy, not great spray finish.
Hey Sandra,
I’ve been thinking of doing HVLP spraying in my garage. My idea was to get a cheaper 12 man tent (They are BIG), seal myself in wearing a full body suit/respirator.
The setup you use is wide open on the back… So I just don’t understand how that help contain all that airborn ‘stuff’.
I think the fan (with an air filter on each side!) just inside the tent would circulate and capture most stuff… doesn’t have to blow outside.
Anyway that’s my idea… I wonder what you think after using your setup.
Initially, I just laid out a big dropcloth behind my spray tent so the overspray could exit and not land all over my driveway. I did later add a box fan with an air filter taped to it in the back of my tent. You don’t want to just seal yourself in without pulling out the overspray or you’ll be in a fog of paint particles which will settle onto whatever you’re painting. Depending on the air filters, if you use one on both sides of the fan, you may restrict airflow too much. You don’t need a lot of airflow, but you do need enough to draw the overspray out and away from whatever you’re painting.
Thanks… I’m thinking of feeding fresh air in and pulling air out on the other side of tent. I figure I could get the speeds just right to really keep the overspray cleared out but…. I might be too optimistic. I’ll post results when I get there (probably months away but this is how I spend the winter thinking)
As with all things painting – it’s about finding the right combination of “just right” elements. Good luck and keep me posted.
I spray with hvlp from rockler very little overspray poly mostly stain and lacquer from Deft expensive but nice to work with.