Repurposed Metal Fireplace Screen
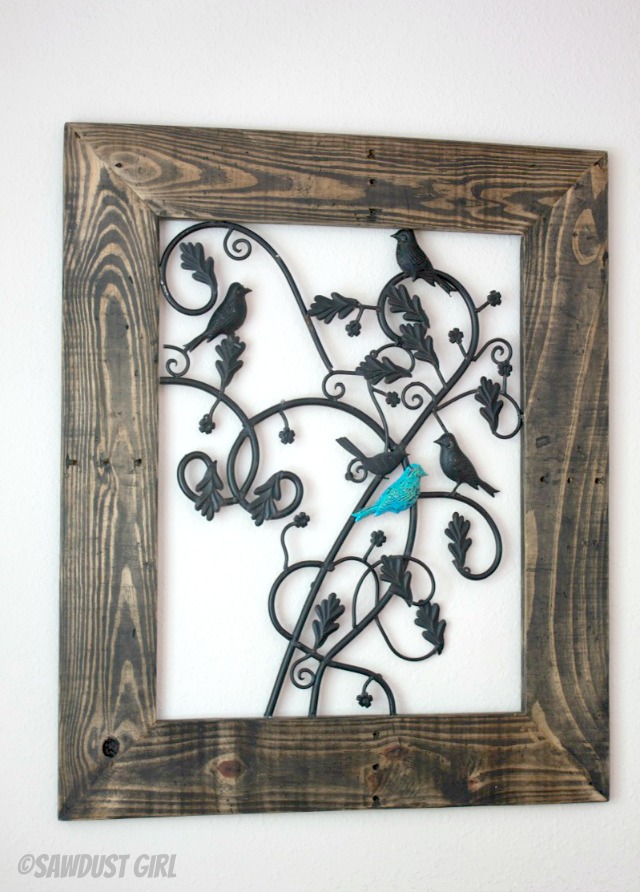
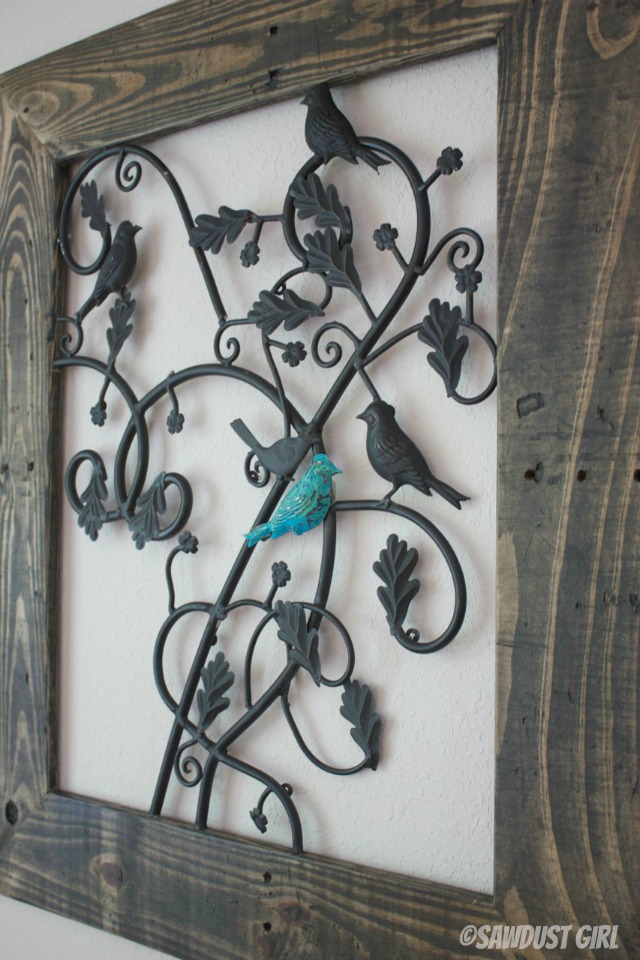
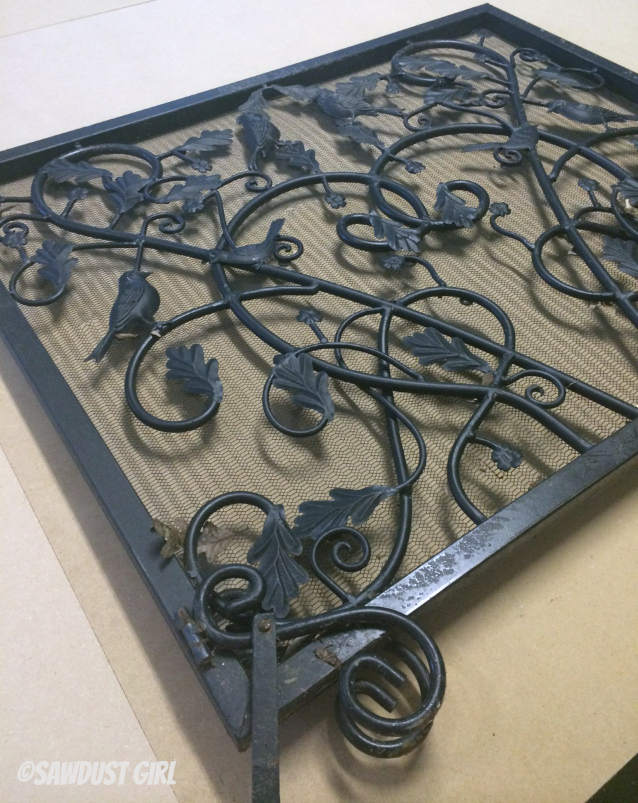
I had SO MUCH FUN this week creating this DIY wood frame with a metal insert made out of a fireplace screen that I repurposed. I’ve had this old fireplace screen for years. I’ve moved it from house to house even though we didn’t need a fireplace screen because I knew that someday, I would cut off the screen and use the scrolly metal branches with the cute little birds on them and make — something.
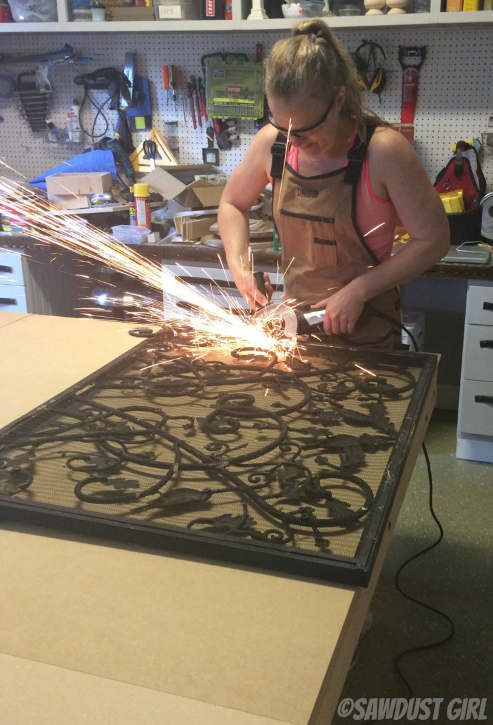
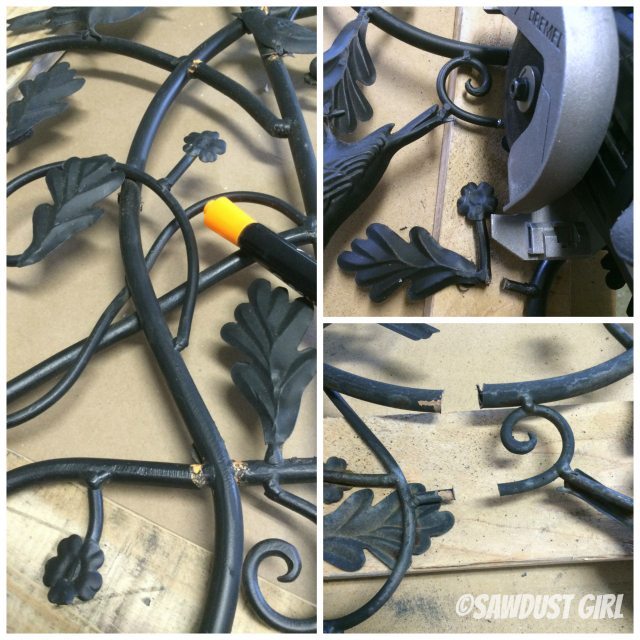
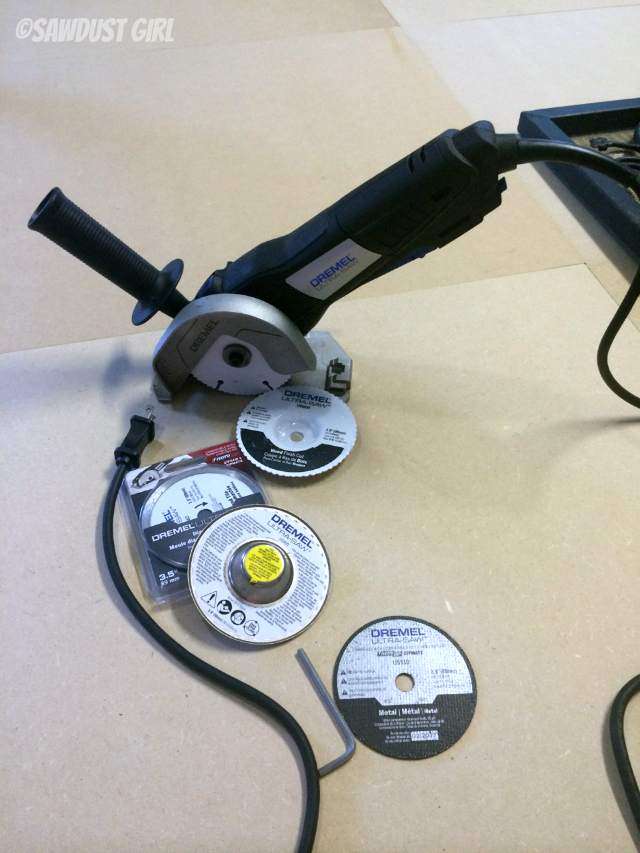
This week was my “someday”! The Dremel UltraSaw with a metal cutting disk is just what I needed for this job.
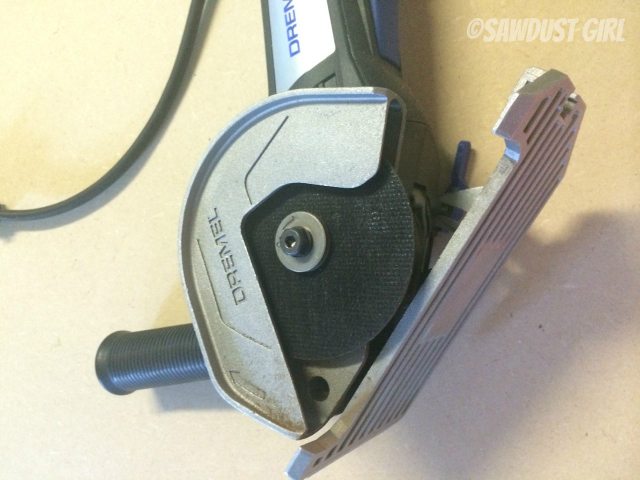
I made sure to wear eye and ear protection. I also put on gloves before handling the metal. It get’s hot in addition to being sharp when cut. Also, as you can see, cutting metal makes lots of sparks. It’s important to be aware of where those sparks are flying!
I cut around the perimeter of the frame to cut off and remove the screen.
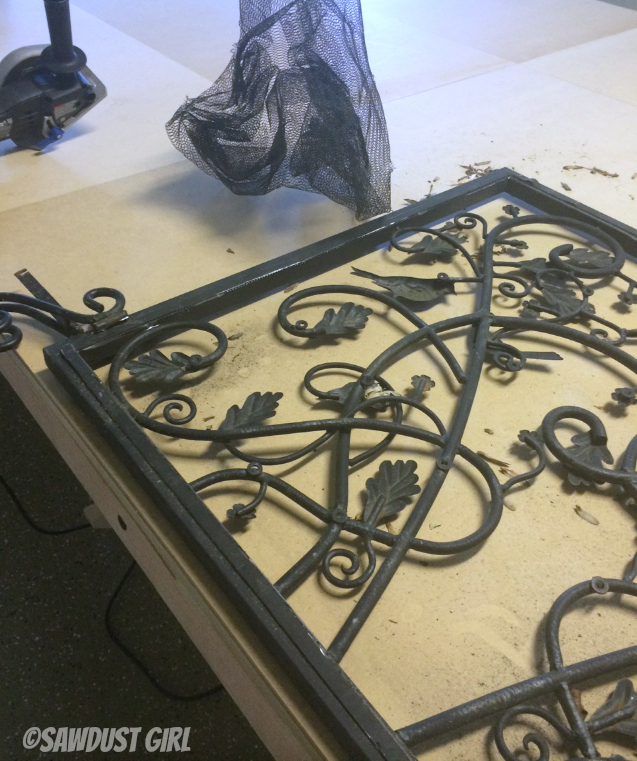
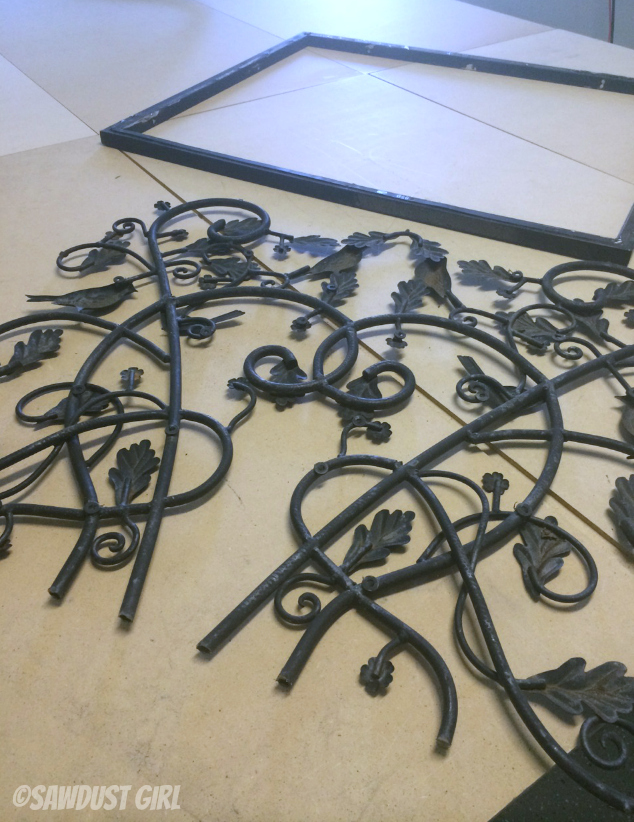
After removing the screen I cut and removed the decorative portion from the frame.
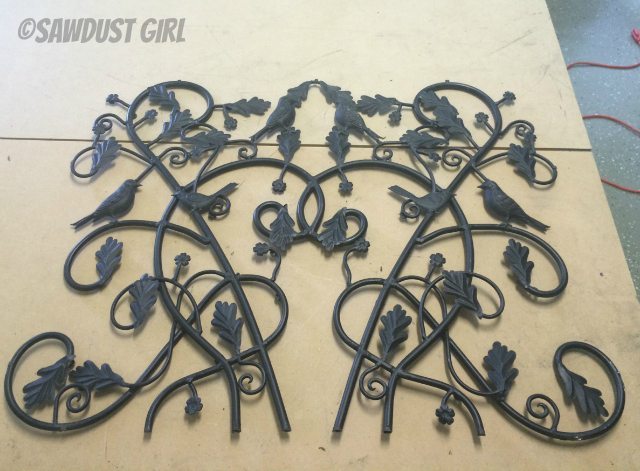
Now, I could have just used it like this and put it into a new wood frame but I wanted to create something a little different than the current: completely symmetrical, scrolly heart shape topped with kissing birds. I did some additional metal cutting after I decided on a frame.
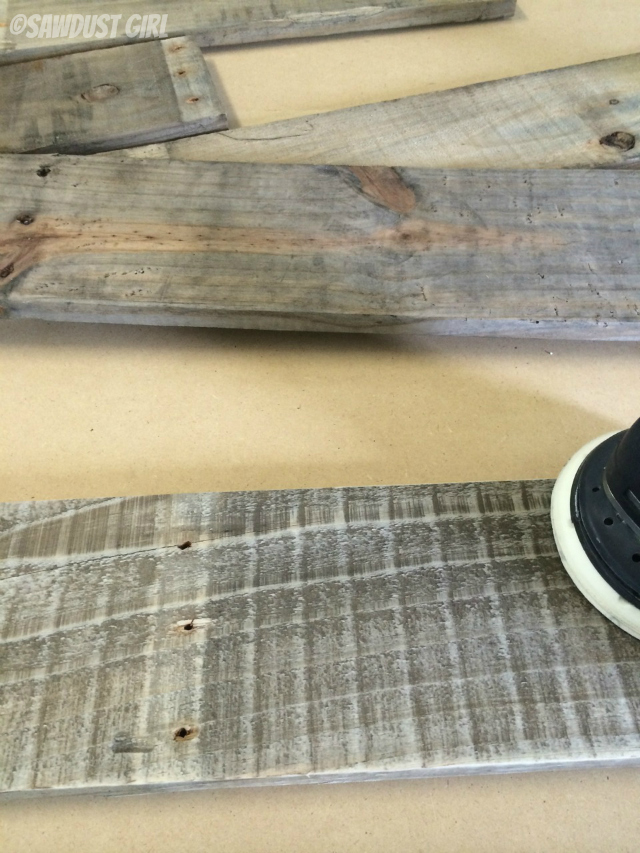
I made a wood frame from some wood I pulled off a pallet that something or other had been delivered on. I sanded them all smooth before I made my frame.
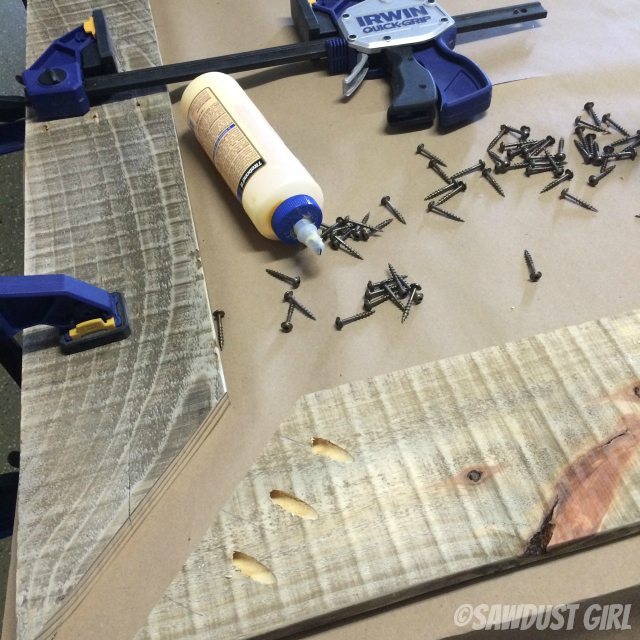
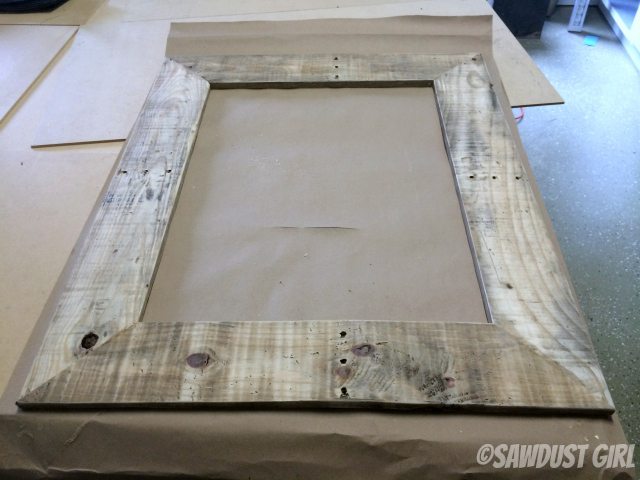
I used my miter saw to cut my pieces to size and create 45˙ angles for mitered joints. Then I used my Pocket hole jig to drill pocket holes. I added glue to my joints as well as the pocket screws because the wood was quite warped and wonky — I wanted all the help I could get holding the joints together.
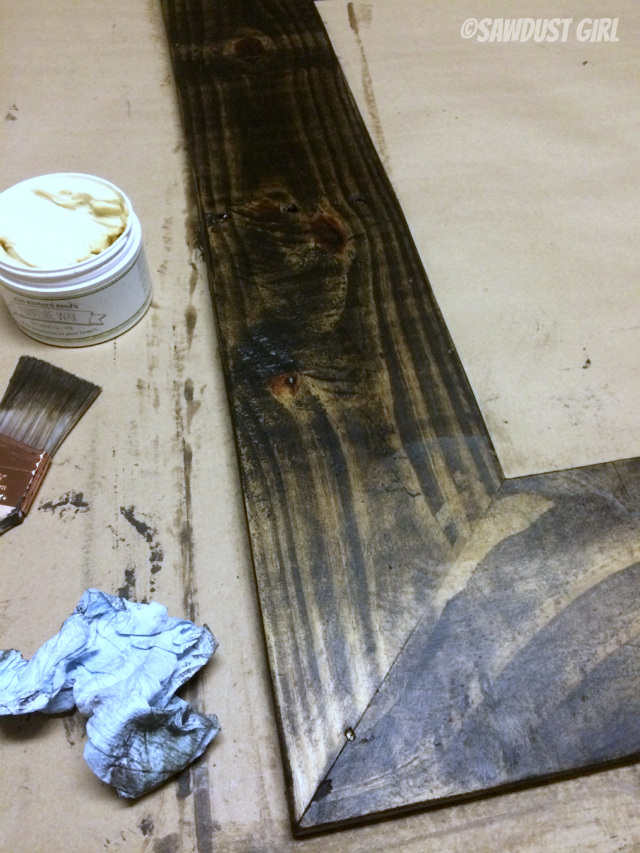
Once my frame was constructed, I finished it with wax, sanding, wax and some more sanding.
Next I took my metal parts and cut them into pieces that would fit into my new frame. I found that marking the black metal with a white board marker showed up well.
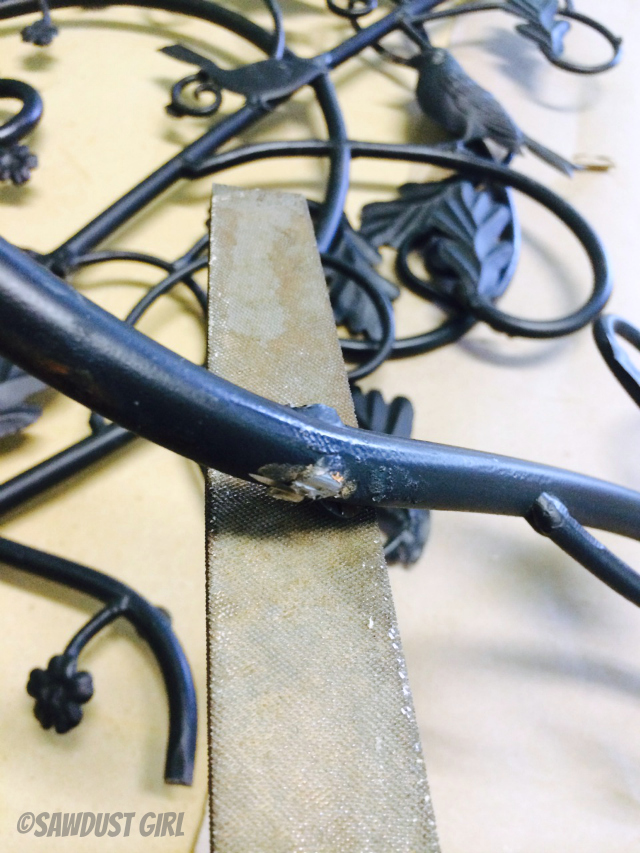
Use a file to clean up any sharp spurs created from cutting the metal.
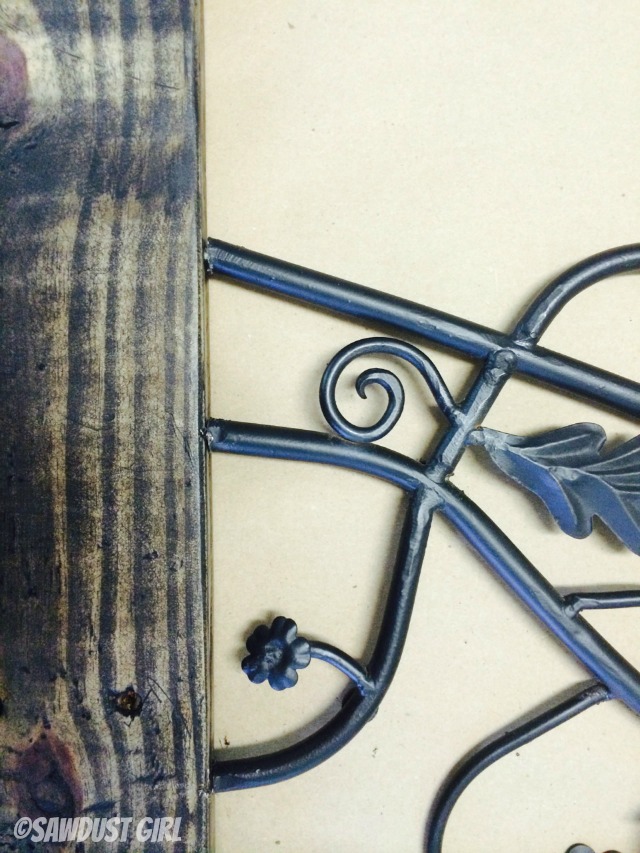
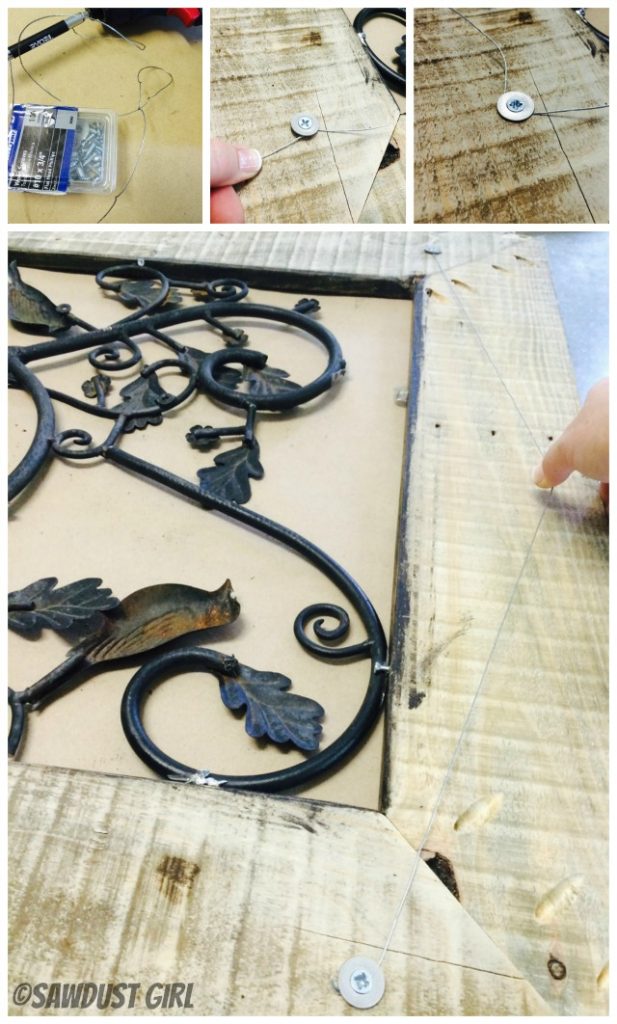
Now the tricky part; attaching the metal to the wood frame. Most of the rods were hollow so I marked where the hollow rods met the wood and drove screws (that had heads that fit into the hollow rods) into the frame, leaving about 1/2″ sticking up.
The metal fit nicely over the screws. I had to manipulate it a bit to get it in place on the last side but the metal is thin enough that it was bendable. You can see the screws if you look closely but not from more than 1′ away.
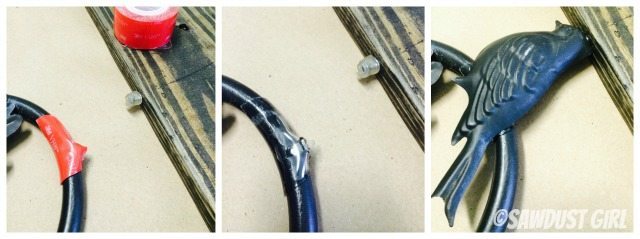
My metalwork didn’t quite fit my new frame perfectly so I hid an empty spot with a bird I had pulled off a section I wasn’t using. I used some 3M clear double stick mounting tape to adhere the bird to the metal and a screw I drove into the frame. Worked like a charm. (No one will know I cheated. Someday I’ll learn how to weld!)
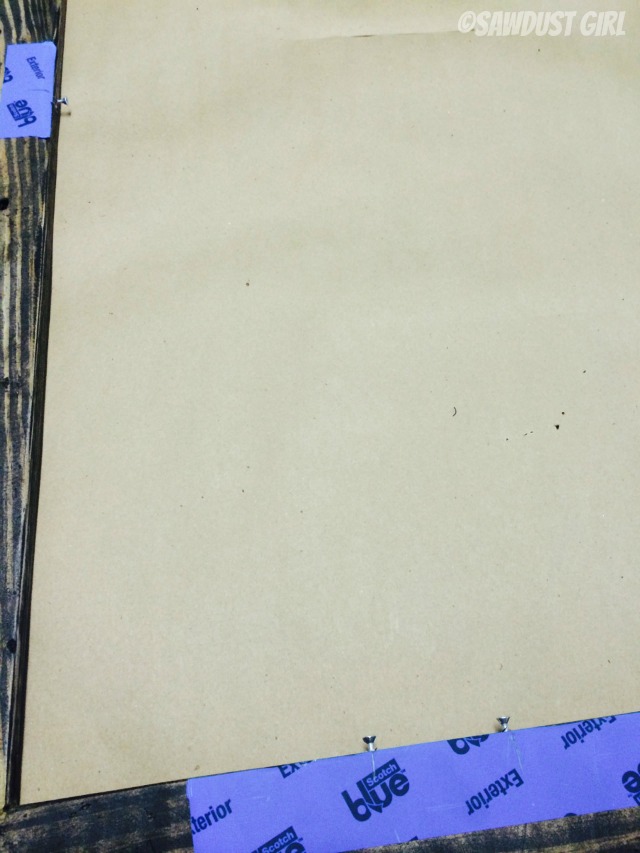
Then I attached a picture hanging wire with some screws and washers. I drove the screws part way into the back of the frame with the washer in place, then twisted the picture wire around about 5 times. Then I secured the screw the rest of the way to the frame. That wire isn’t going anywhere!
Then just for fun, I painted an extra bird and stuck it on with more 3M mounting tape and that is all she wrote.

Disclosure: This post is sponsored by Dremel. They provided me with an UltraSaw and compensated me for my work. All ideas and opinions stated are my own.
The UltraSaw has disks that cut all kinds of material from wood, metal and tile. I’m going to try that one out as soon as I have another tile job to do. I think it might be the answer to the age old question, “How do you cut in the center of a tile?” I’ll let you know!
Love it!
Absolutely spectacular Sandra! I love the surprise pop of color. Nice job on the miters, too.
Val @ artsybuildinglady.blogspot.ca
I love it!!! I want one, please…..that turquoise bird make it perfect. You’re brilliant!
So pretty Sandra!
Birds and scrolls are my absolute favorite decor items – I love this!!!