Remove Baseboard with the Trim Puller
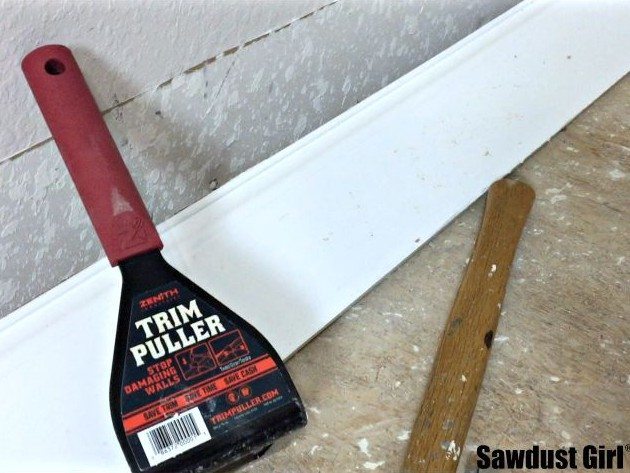
I previously demonstrated how to remove baseboards without damaging your walls or trim using a handful of tools. The task is pretty easy either way but using the Trim Puller has proven to be the easiest and fastest way to remove baseboards without damaging drywall.
Tools For Old Method
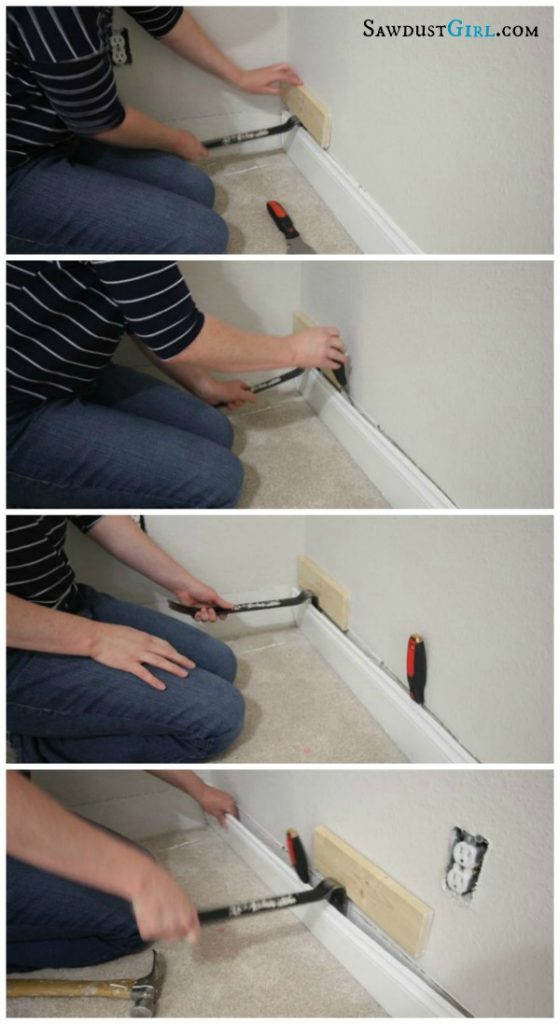
The old way requires the use of a whole handful of tools as you shimmy along the run of baseboard, pulling the molding away from the wall as you go. And by a whole handful I’m talking:
- utility knife
- 5 in 1 painters tool
- hammer
- pry bar
- a block of wood
Remove Baseboard with the Trim Puller
Don’t get me wrong, Using many tools to remove moulding works just fine. Using the Trim Puller just makes it WAY easier!
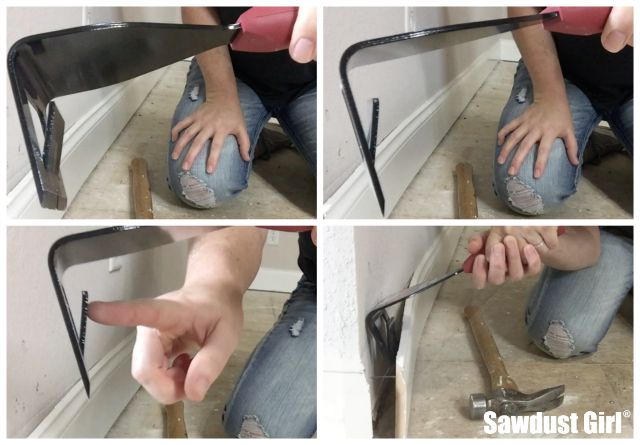
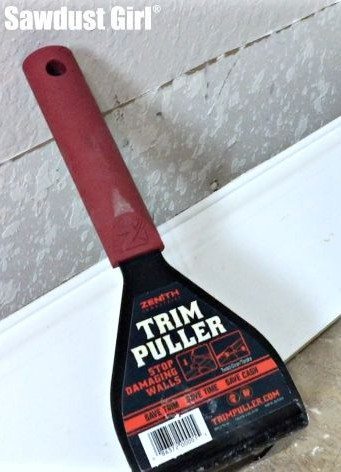
- The trim puller has a sharp tapered edge doing away with the need for the 5 in 1 painters tool.
- It has a wedged center that helps push the baseboard away from the wall
- The surface area that contacts the wall is waaay bigger than that on a crowbar or hammer claw so you don’t need a block of wood to disperse the pressure.
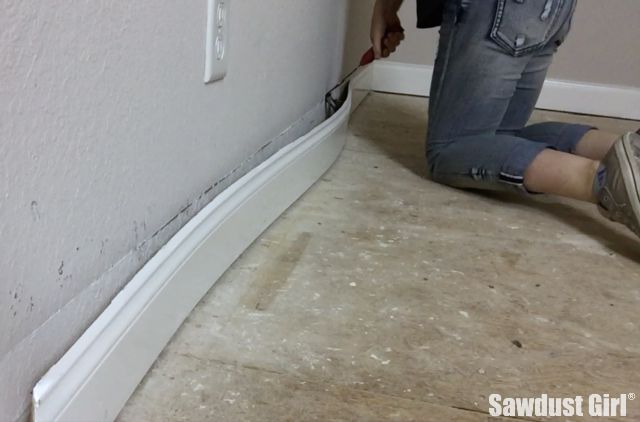
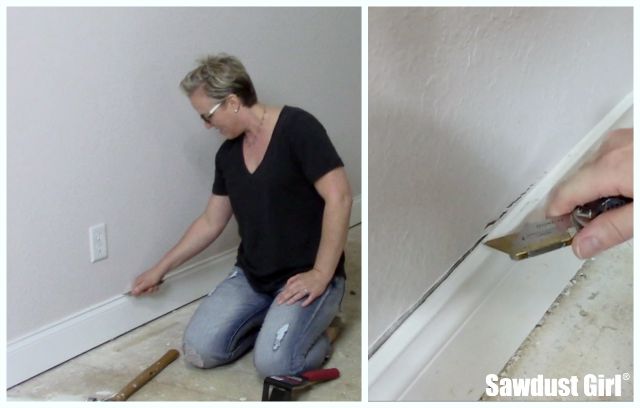
You still need to cut the caulk along the top edge of the baseboard so your drywall paper doesn’t tear. In the photo below I initially only cut through the caulk up to the halfway point on my wall and you can see what happened when I pulled the baseboard passed that point. I quickly stopped prying and finished cutting the rest of the caulk before I caused any serious damage.
- Cut through the old caulk along the entire length of the old baseboard
- Insert Trim Puller
Start the end of the wall so you have at an end joint; either an inside or outside corner. Now you just need the Trim Puller and a hammer to get it started. One whack of the hammer and the Trim Puller slid through the rest of the caulk and down behind the baseboard.
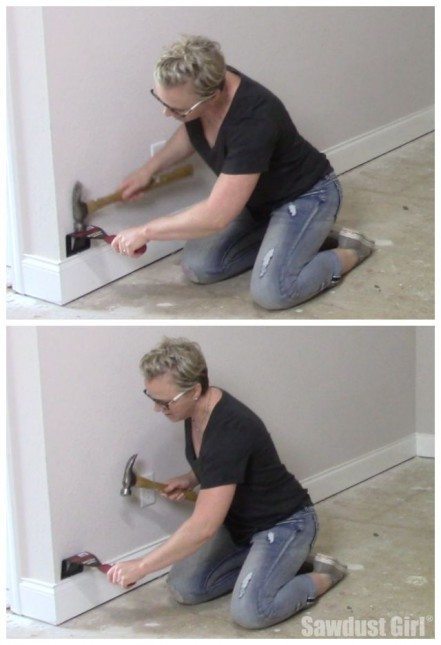
No damage to my baseboard.
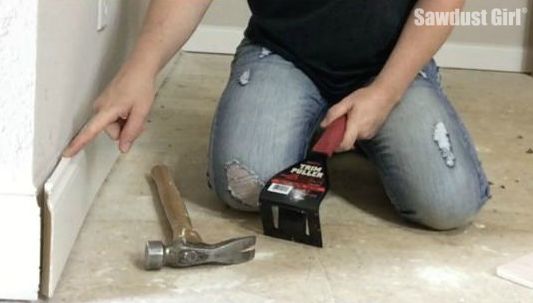
I put a lot of put a lot of pressure onto the trim puller to see if I could bust a hole in my drywall. I couldn’t. The surface is wide and flat so it distributes the pressure over a large area which helps prevent drywall damage.
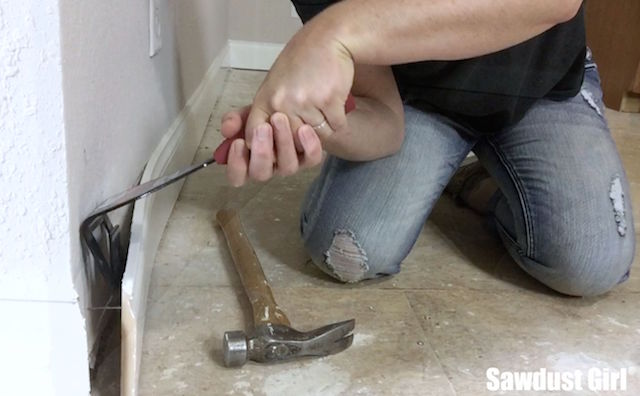
Then I simply moved down the wall prying with the Trim Puller every 8-12″ or so.
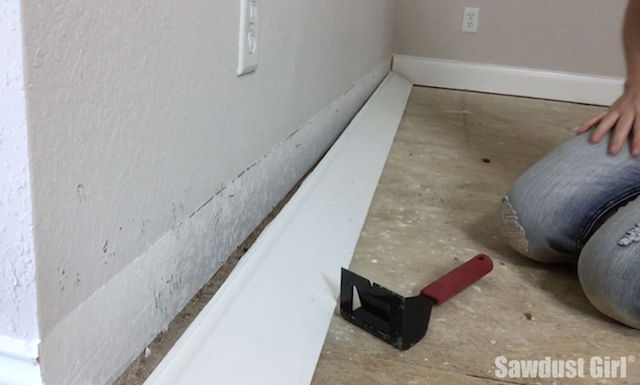

For safety, I always pull the nails out of the old baseboard after it’s removed, regardless of whether or not it will be reused. Finishing nails are easily removed with a pair of pliers and you can fill the old nail holes along with the new ones after you reinstall the baseboard.
I consider this as a real “work smarter” tool.

I would tackle my livingroom. Our new puppy has pulled up a big chunk of carpet while she was in her kennel. We are gonna pull the carpet up and just have our concrete floor until we can afford new flooring.
This would be very helpful in getting some projects done around our home. I ask and nothing gets done so I need to do it myself (which I’m not great at). Maybe with a simple tool like this I can even get my sons to help!! Does it come in pink?
This sucker looks RAD!!
Perfect timing, we are about ready to replace the baseboards in our bathroom!
We are slowly remodeling rooms as we can afford it. We haven’t touched the upstairs yet in this old farmhouse, but this would be great to use when we get to it!