Quick and Easy Way to Paint Beadboard
It can be a real paint to Paint Beadboard because of all the nooks and crannies. I used to start out by painting the grooves with a brush and then using a roller to get the rest of the panel. But it takes a long time to brush EVERY SINGLE groove on a 4×8 Beadboard Panel so I took out a step.
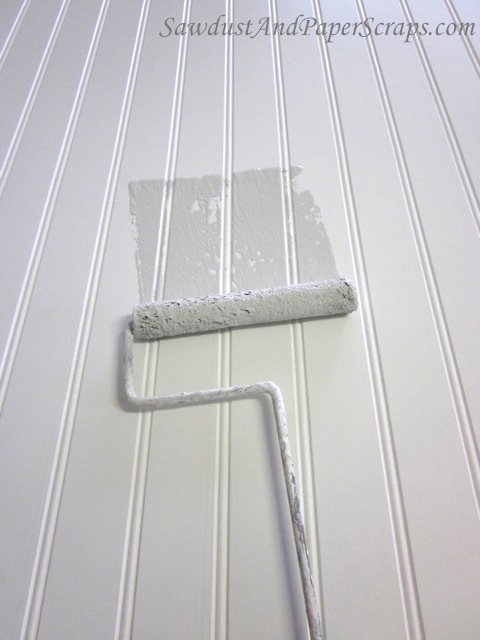
How to paint beadboard
First, I almost always paint beadboard paneling before I cut it to size and install it. I find it’s much easier to get paint into the grooves while it’s laying flat on a work surface than after it’s installed and you have to “jab” the paint into the grooves at the bottom where it meets the baseboard or whatever it’s sitting on.
Before I start paint beadboard, I prep the panel by brushing all the dust out of all the grooves. I bought this soft bristle brush specifically for this purpose but a large dry paint brush works great too.
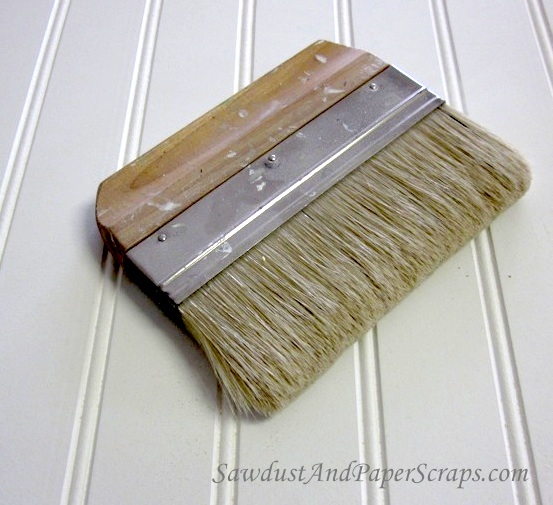
*I do not use an air compressor to blow the dust off. It would just settle back down on my wet paint after creating a whole room full of dusty air.
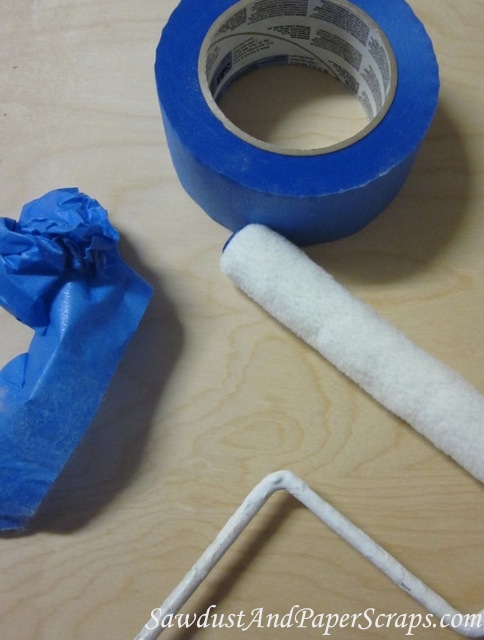
Next I Prep my roller so I don’t leave any fuzz in my paint.
Then I soak my roller to get as much paint as possible onto the beadboard panel. I push hard enough that the roller doesn’t “roll”, it slides, pushing paint along inside the groove.
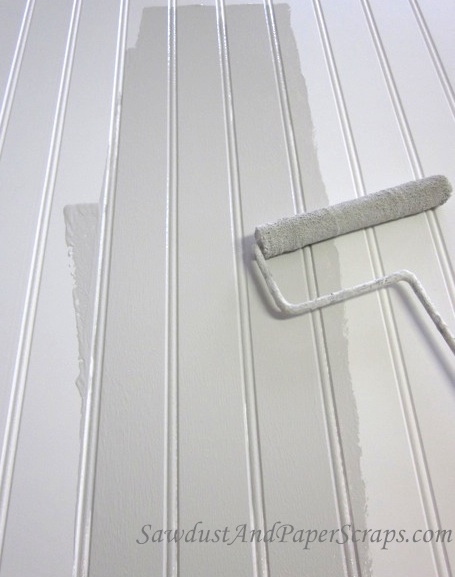
Then I roll back over that area to smooth out the finish and make sure everything is covered. It might feel odd and like you’re doing it all wrong…but it’s pretty effective and fast. I don’t worry about the lines created on the roller by pushing hard, they disappear after rolling back and forth a couple times when it comes time to actually roll.
*It’s important to work in sections for this part to keep a wet edge! Smoosh some paint into the grooves in a small section and then roll it out…and then move onto the next area. Otherwise, you may end up with ridges and excess paint in some areas because you were concentrating on the paint in the grooves and not focused on where else the paint ended up.
Then I can cut and install. If applying beadboard to cabinets, I generally glue it on instead of nailing it so I don’t have any chips or nail holes to fill and touch up!
Did you find this tip helpful? You might also like these other Painting Tips!
I have beadboard on my bathroom wall. Several years ago I had a wax defuser type air freshener on the wall over my sink vanity. While I was putting more wax in the reservoir, some of the wax spilled and went down the wall. I managed to wipe and scrape the wax off the flat area but there is still some wax in some of the groves in the beadboard. Do I need to get all the wax out of the grooves before I repaint it? How would I do that. Thank you for your help.
What pain should I use for beadboard on the ceiling? Trim paint? Satin? Flat? I kind of though satin finsh trim paint but I’ve not done beadboard before.
Just depends on your desired finish. I personally like flat paint on drywall and semi gloss on trim (including wainscotting –beadboard). But it’s up to you and what you like.
I related to another post and was hoping for some answers. I had trouble with the 8×4 beadboard coming out not smooth. I tried a light sand and clean off. The panels still look rough. I have now painted 3 boards with unsatisfactory results. Any ideas? I don’t want to waste material. I am thinking of doing away with this idea. Help!
If the roughness is from the wood, it needs more sanding. Are you doing a light sanding before priming and then it’s rough? Then — is it a water borne primer? The water is raising the grain and it needs a light sanding after priming.
If the roughness is texture from the paint roller you probably need a roller with a smaller nap. Or the paint you’re using. Us a good self leveling paint and a small roller with 1/4″ nap. Don’t over work it. Apply and let dry.
I apologize ahead of time for long story ahead….. Good Lord, NOW I find your article 2 years too late?! Ha! But actually sounds like I just might have a unique situation here considering how much needs to be painted. Several people told us to drywall over it. But nope not me “visualising” the wonderful Rehab Addict saying, “Who the hell would cover this wood?!”.
Previous owners left us with an entire double car garage converted into master bedroom, a small bathroom, a 10′ closet and a laundry room of unpainted beadboard. Oh and they must have been so thrilled once they found a nail gun that could actually penetrate this bulletproof stuff that they went crazy with it!
Now keep in mind I couldn’t even get some painters to touch the job and some wanted as much for one room as the house! (Ok exaggerating just a little but seriously there jaws did drop.). So dang it, I (with fibro and easily strained wrists and elbows) was due to have neck surgery in a few weeks and our custom made heavy barn wood bed was waiting for me to get the room painted. So dang it, get out the icy hot and extra pain meds!
Planning to do just master bedroom I spent the entire first day puttying all the nail holes and dings in trim, walls, and base boards. Next day started with sanding the putty by hand and quickly turned into using my plug in sander that has just a small surface about an square inch and it still took another whole day. Next day hubby and I started the Kilz primer. One wall with one coat got done, sort of, before I noticed he was painting over the hinges on the double glass doors! Ugh!
Frustrated I quit that day and decided with just me doing it I will have to prioritize and complete one wall at a time. (Some of you with such physical limitations might understand my thinking and others probably wonder why it was taking me so long. Prioritize and pick your battles or you’ll lose the whole war.). The most important wall was the one the bed was going to go up against so ride on soldier!
Next whole day spent cutting in (remember that you can’t run brush or roller along crown moulding and baseboards or in my case the trim around and in the inset windows) and painting with one coat of primer. Most of the time was figuring out how the heck to keep up with the paint runs and/or limit them. The rollers were not working for me because I landed up making messes requiring more time chasing runs and cleanup. So I used the widest brush I could manage with my weak hands.
Day 4 (or 5?) still seeing wood patterns through primer so one more coat of Kilz on only that one wall. Yep fingers and wrists aching. 6th day one coat of Sherwin Williams Alabaster on wall and Extra White on trim . Still see primer. SO finally 7th day spent with second coats of Sherwin Williams.
By grace of God I finished one wall with it’s two windows after 7 days exhausted and aching but very satisfied and proud. And done just a few days before neck surgery so I could recover surrounded by my new headboard and footboard. (Later after it dried a few days I realized I missed an area of Alabaster, oops!).
All in all, I am glad that I brush painted it in spite of all my physical pains and spent energy because I was more able to control where the paint was going and the amount. Whenever I get around to rest of the walls it should be easier since I’ve already figured out what my pace is and the best technique for me. Personally I love the look of the brush strokes on the rough bead board which adds to the farmhouse look. ?
Wow that sounds like a lot of work! You might look into renting an airless sprayer to finish. 7 days of painful work sounds intense for one wall. But you did it!
Thanks for al your helpful tips