This is my list of must have remodeling tools that I have discovered over the years that make remodeling cleaner, safer, faster and just plain more fun! Affiliate links included.
Since I am still dealing with the after effects of Poopmageddon, I though I would share my list of must have remodeling tools. I have been remodeling houses for a long time, 5 homes over the last 20 years give or take (yes I started when I was 5). Along the way I have found tools that make my job cleaner, safer, faster, and just plain more fun. So if you are ready to strap on a tool belt and start doing some remodeling, here is my go-to list of remodeling tools:
Must Have Remodeling Tools – Safety
First, I always make sure to use the appropriate safety gear starting with eye protection. I love these safety glasses because they are well vented and don’t fog up as much as any other pair I have ever owned. They are lightweight and comfortable with an unobstructed field of vision, and they don’t give you a pressure headache after wearing them for an hour. These are the safety glasses I always reach for.
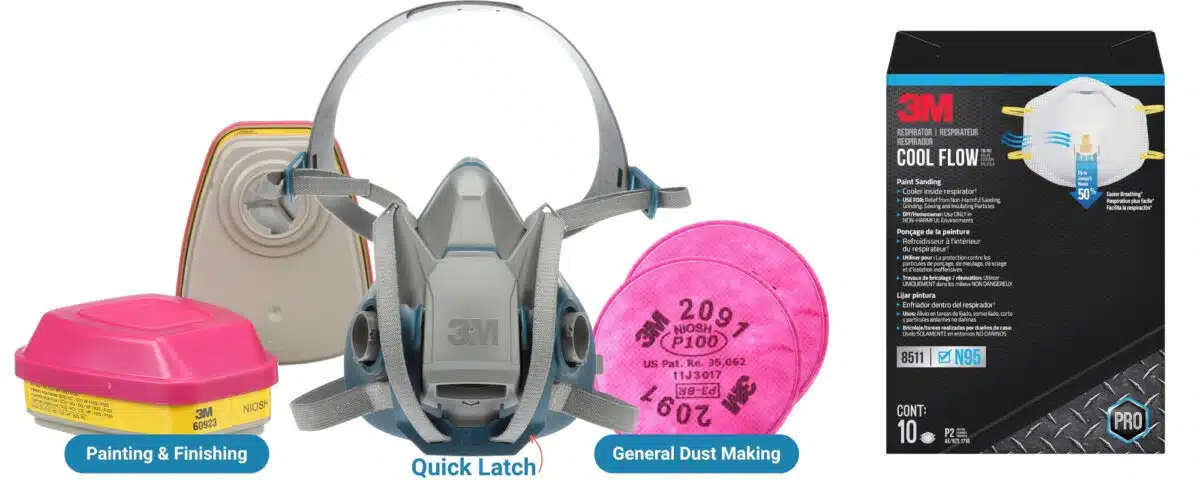
Next up I want to protect my lungs. Whether doing demolition or building new cabinetry, remodeling tends to kick up a lot of nasty dust. This respirator has a soft silicone lining, is very comfortable, and it comes in three sizes instead of the usual one-size-fits-all. It is easy to put on and off, even when I am wearing glasses. It has several different filters that can be used including one for chemical fumes. It is my must have respirator. (I wear a medium.)
You may have seen me wearing these gloves in a video or two, because I love these gloves! More like a second skin than a glove, they have a thin nitrile coating on the front that allows for excellent grip and dexterity. At the same time they are very breathable so my hands don’t get hot and sweaty. These are perfect when you need light duty or minor chemical protection (the back is not waterproof so don’t dunk your hands into something nasty).
When you have a tough job at hand these gloves have padded leather palm, fingers, and knuckle protection with a spandex back for flexibility. They are easy to get on and off, provide great protection from abrasion and blunt force while still allowing for a decent amount of dexterity.
Remodeling Tools – Demolition
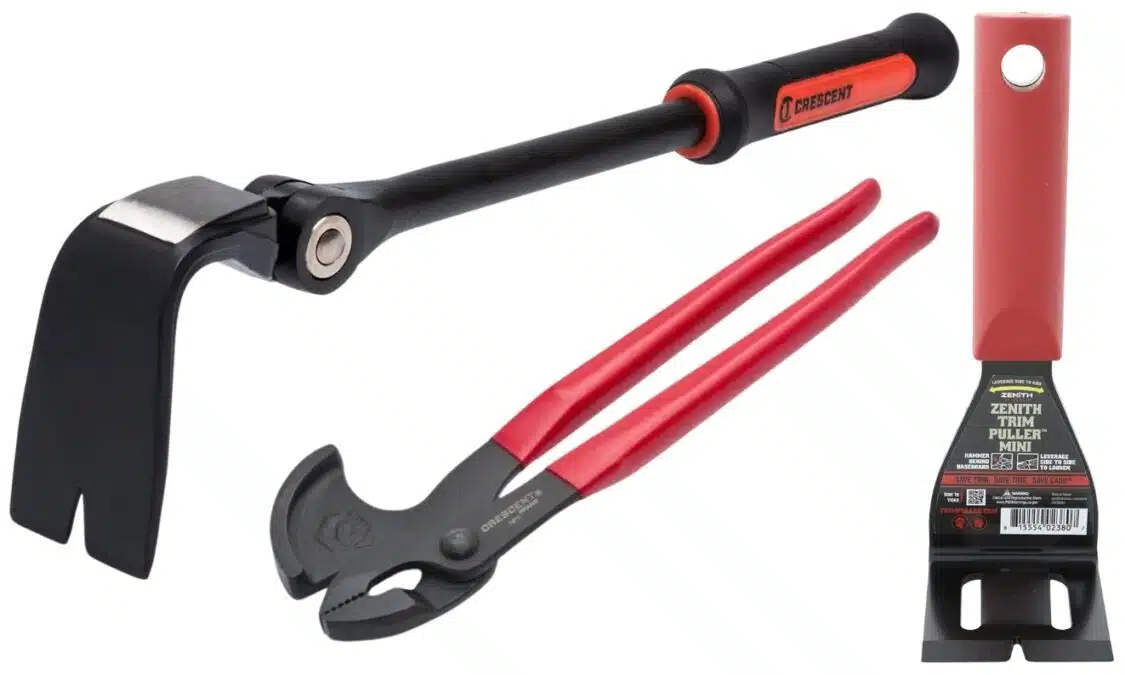
I love this little tool. No more struggling with regular pliers and breaking half of the nails you are trying to pull. These nail pulling pliers have a crescent on one side that lets you pull nails smoothly and easily without breaking them. From carpet staples to 16 penny nails, these must have pullers make nail removal fast and easy.
I found this little tool about a year ago and it makes the removal of molding so much easier without damaging walls or trim. I find that I use this tool a lot, it is thin enough to wedge between tight members, but strong enough to not bend, even when I apply the full force of all my muscle.
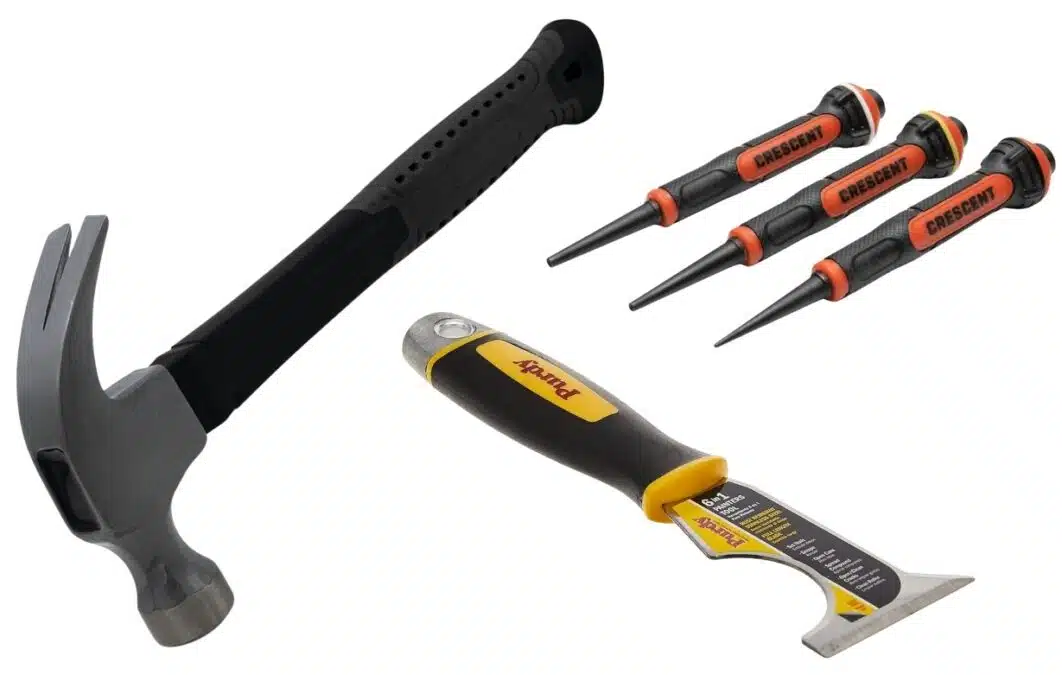
Everyone has a favorite hammer, one that fits your hand just right, with the perfect amount of heft and balance. This is that hammer for me. It’s not too heavy, so my arm doesn’t fatigue overly quick, but it has enough weight to pack a good wallop. The straight claw works well for ripping out nails or clawing through stucco mesh. The shock reduction grip works really well and the solid steel construction makes this is a hammer that will last.
20 oz hammer with straight claw
I am forever finding myself in a situation where I cannot use a regular pry or crow bar. This cleverly designed tool allows for prying in tight spaces. The head rotates 180 degrees and locks in 16 different positions. It has a raised striking surface so you can hammer it into tight spots and is strong enough to allow for extreme prying and leverage. Seriously, EXTREME prying and leverage in a tight space, this is a must have tool for anyone doing demolition.
indexing flat pry bar – $25
Remodeling Tools – Workspace
This ladder almost belongs with the safety equipment, it’s that good! Remodeling means that you are constantly up and down ladders. This ladder has a large stable platform that gives you a 360 degree work zone and a wide stable base. Which means that I don’t have to re-position the ladder as frequently. No more contortion acts trying to keep the ladder stable while leaning out like a cirque du soleil performance. It also features oversized foot pads and a guardrail that provides an extra point of contact for extra security. There are a number of accessory attachments that allow you to conveniently organizing all of your tools and supplies at the top of the ladder.
Werner 9′ reach platform ladder – $122
Werner Ladder Accessories
Werner Lock-in Job Caddy – $18
Lock-in Paint Cup – $13Lock-in Utility Bucket – $16
Lock-in Job Bucket – $23
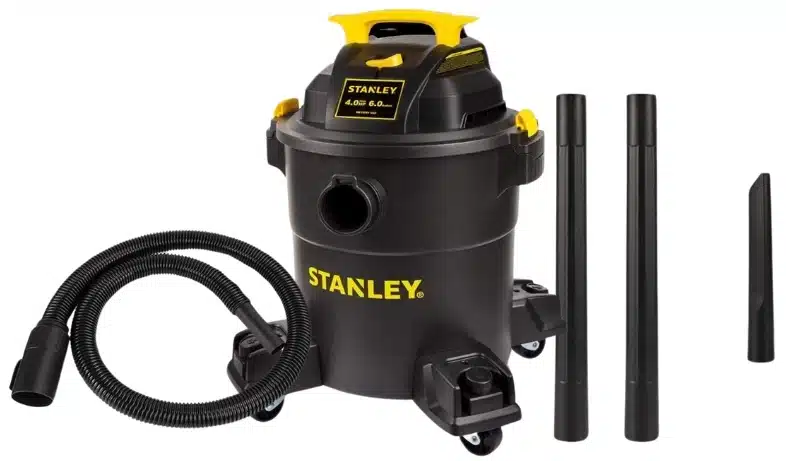
A shop vac is a must have tool that saved me this week as I vacuumed up gallons of poop water, yuck! This wet dry shop vac can suck up to 12 gallons of liquid. Then the sturdy wheels and transport cart let you easily wheel it away for disposal. The stainless steel drum is sturdy and won’t rust. The filter with the filter bag provide great filtration when you have a dusty job to do.
Shop Vac wet dry vacuum with attachments – $272
This awesome accessory will save you a fortune on vacuum bags and filters and give longer life to your shop vac. It separates out 99% of vacuumed material into an easily emptied 5 gallon bucket. This accessory means less hassle changing out vacuum filters and bags.
Dust deputy – $103
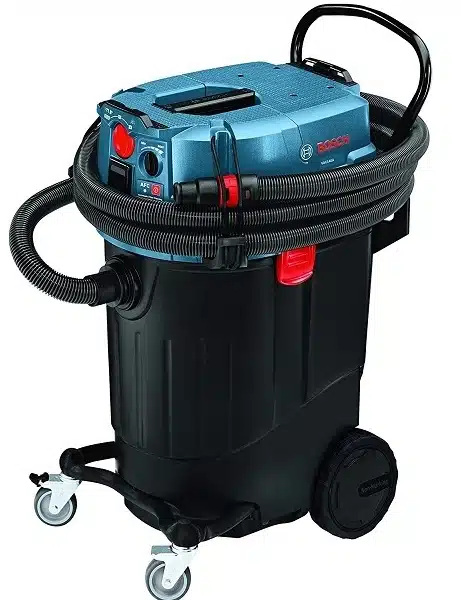
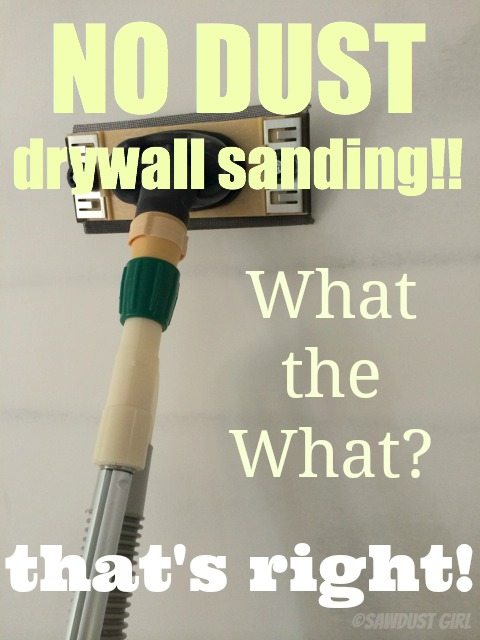
The reason that I am able to live in my home while I renovate is because I am able to extract dust and filter air at the point of dust generation. I am able to create an instant mobile workstation anywhere in my home with this must have dust extractor. It has Power Tool Activation so it switches on when you turn the tool on and it stays on an extra 15 seconds or so to clear the air after you turn the tool off. It has a self cleaning filter which takes a minute to get used to the thumping, but hands down the best way to handle dust on a jobsite where dust isn’t an option.
Bosch 14 Gallon Dust Extractor with auto filter clean – $656.77
Remodeling Tools – Power
No remodel job site is complete with out a sawzall, and Dewalt’s must have version is a powerhouse. I have used it to cut out doors and windows, siding, sheathing, nails, screws, bolts… This saw chews through everything I have thrown at it and is ready for more.
DeWalt FLEXVOLT 60V max brushless reciprocating saw kit – $299
This circular saw is powerful and smooth with a lot of cuts per charge. It is awesome to have this amount of power without the hassle of cords. I’ve been using the same blade for over a year — even though I’ve hit hidden nails plenty of times.
DeWalt FLEXVOLT cordless circular saw with battery – $299.00
I used to think of multitools as more of a crafty play type of tool, but ever since I got this Dewalt oscillating tool I have seen the light. It provides the right solution for a multitude of situations and with the quick change accessories it’s easy to switch out for the next task. Notching, plunging, sanding, and cut off, this tool can do it all with power to spare. It has a good grip, it’s not too heavy, and is easy to maneuver. I also appreciate that I can pull the trigger and lock the tool ON so I can focus on the cut and don’t get fatigued holding the trigger on. It is a great tool to have in your arsenal.
DeWalt oscillating multi-tool with battery – $199
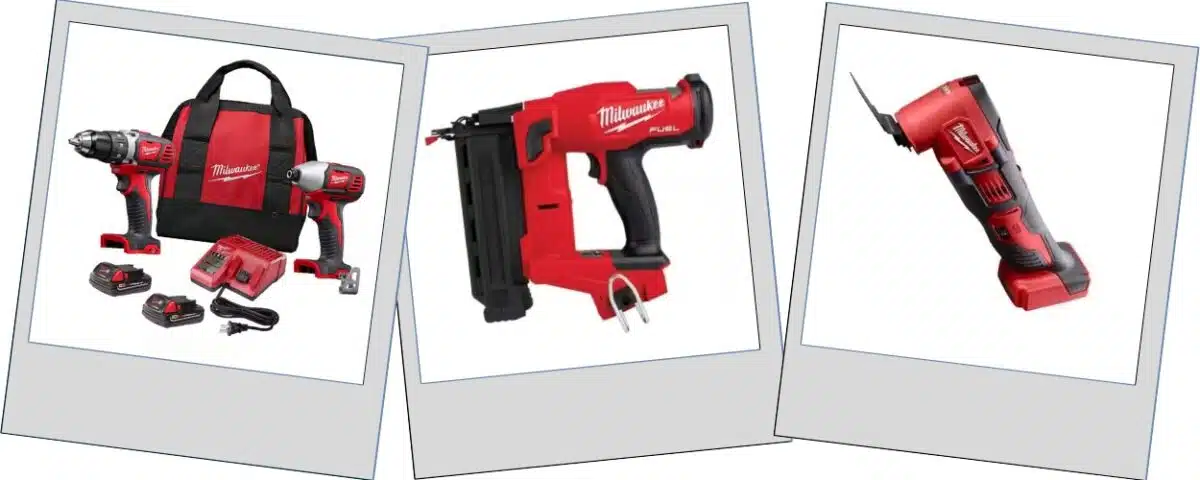
For hanging drywall, this cordless screw gun with collated magazine attachment is a game changer! Once you get the hang of it, you will be amazed at how much faster it is to hang drywall. Lightweight with plenty of battery power this tool will keep up with you all day long. You can drive single drywall screws with the screwgun alone or get the collated magazine attachment that feeds the next screw into position after you drive one screw. With the attachment, you can drive a drive a whole string of screws in seconds.
DeWalt cordless drywall screw gun – $269.00
Collated magazine attachment – $77
Remodeling Tool Accessories
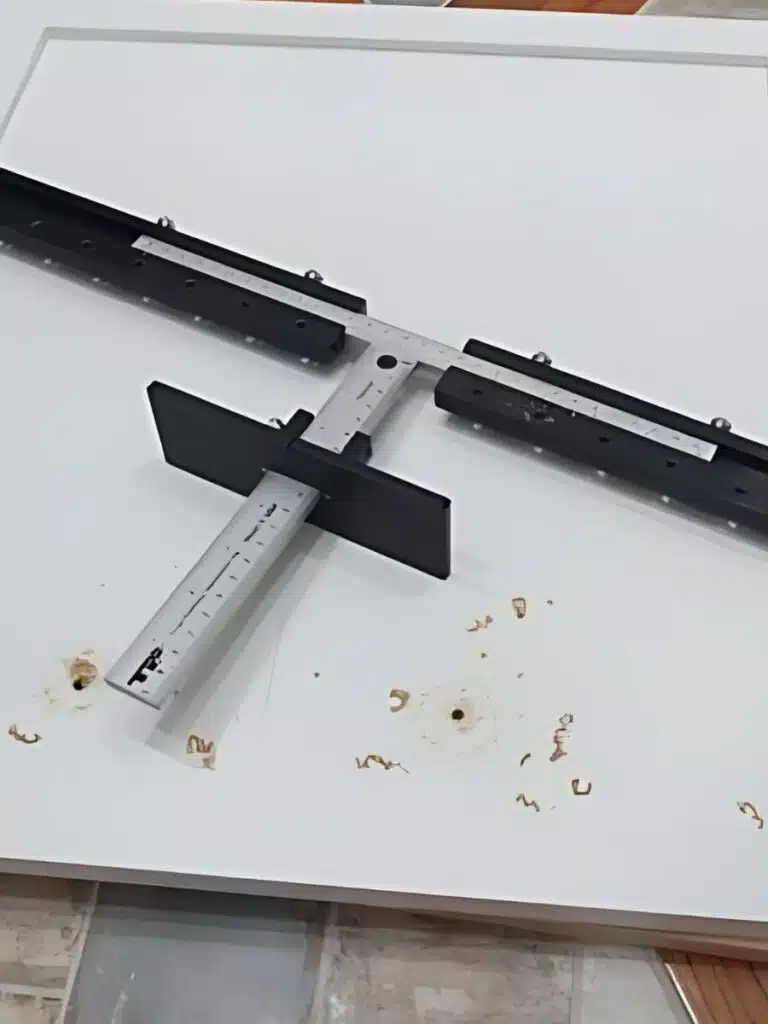
One challenge in hanging drywall is getting all of the outlet holes cut in the exact correct position. This handy remodeling tool makes it quick easy to exactly locate your junction boxes every single time!
Drywall Electrical box locator tool – $29.38And last but not least — If all else fails, caulk it! I buy all purpose painter’s caulk in cases. ‘Cause I use it all the time for everything. “Caulk and paint– make the carpenter what he/she ain’t.”
The best caulk gun I’ve found is an inexpensive, plastic HDX (Home Depot brand) dripless caulk gun. Stop pulling the trigger and the caulk stops coming out. I hate it when I set down a caulk gun and come back to find the my caulk continued to extrude from the gun, leaving a big pile of stringy adhesive on the floor (or wherever I set it down). You have to try to remember to put a piece of cardboard or scrap wood under the gun. If you can find a scrap… What a pain. That doesn’t happen with the dripless caulk gun. Easy, peasy $6 solution!
DAP all purpose painter’s caulk case of 12 for $16.98
HDX Dripless caulk gun – $6.57
So there you have it, my must-have list of tools for remodeling. Did I leave anything out? Tell me your favorite tool for tackling a remodel job.
Tess van Dijj says
Thanks for sharing, I’ve put several in my list on Amazon. Very cool tools. Wish I had seen them a lot earlier. Lol
Sandra says
Better late than later. LOL Hope you get your Christmas wished fulfilled because having good tools make all the difference.
Cathy says
I did not see a blade listed to cut the seal or rip up carpet. Do you have a preference?
Tom says
I’ve noticed that you have a Festool dust extractor in some of your pictures. I’ve been thinking about drinking the green kool-aid for awhile and was just wondering what about the Bosch dust extractor you prefer.
Sandra says
I purchased the Bosch dust extractor in this list a couple years after I bought my Festool CT26. I prefer the Bosch. The fact that it stays on for several seconds after I power down the tool is one major reason. My Festool shuts down immediately once the tool is powered down. Second, the Bosch is taller and has bigger wheels and is easier to pull around. The hose management is better and it seems to have better suction power. And it cost about $100 less than the Festool.
Tom says
Thanks so much for the explanation! You’re the best!
Kathleen says
My birthday is coming up and I have asked for the respirator. Lungs are important, but so are ears so I asked for noise cancelling head phones. My mother was “hard of hearing” aka mostly deaf from working in a wood mill for years. I do not want to end up like that. I have a lot of these tools, but there are a few I wouldn’t mind having. Nice collections.
Julie says
Thanks for this post. I am having to replace the carpet strips in my basement. Is there a tool you would recommend for this job? I have been using a pry bar but it does quite a bit of damage to the concrete floor. Thanks, in advance, for your thoughts.
Sandra says
I just did this in my sewer flooded basement closet. I haven’t found any way of not creating divots in the concrete when pulling carpet strips from concrete. You have to pry them up to remove them. If you don’t want to do that you can cut the nails flush using an oscillating tool. That’s a lot more work. I don’t really care about divots in the concrete because I’ll be covering the concrete with vinyl or laminate or engineered wood…or something. If tiling, the mortar will fill the divots.
Kristi says
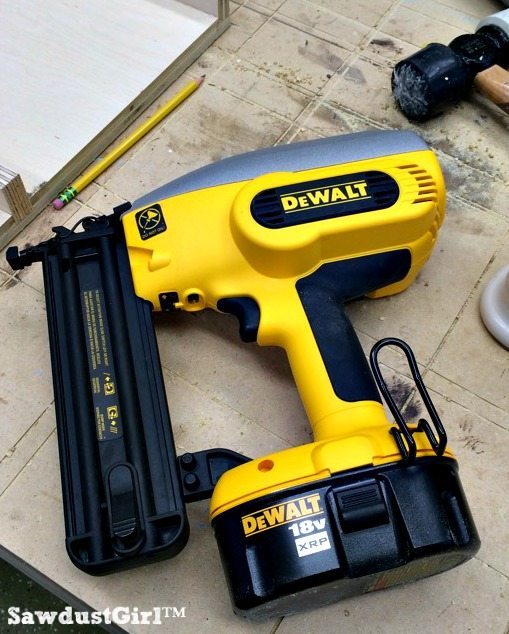
I’m obsessed with my cordless brad nailer! I do mostly lighter construction and trim and this thing is awesome for that.
Sandra says
Ah, yes. Nailers! How did I leave those off the list? The list could go on and on…really.
Joanne Hillion says
Need to add FASTCAP’s Third Hand tool to this list.
Sandra says
I’ve thought they’d be useful a few times but still don’t have any.
suZ Macey says
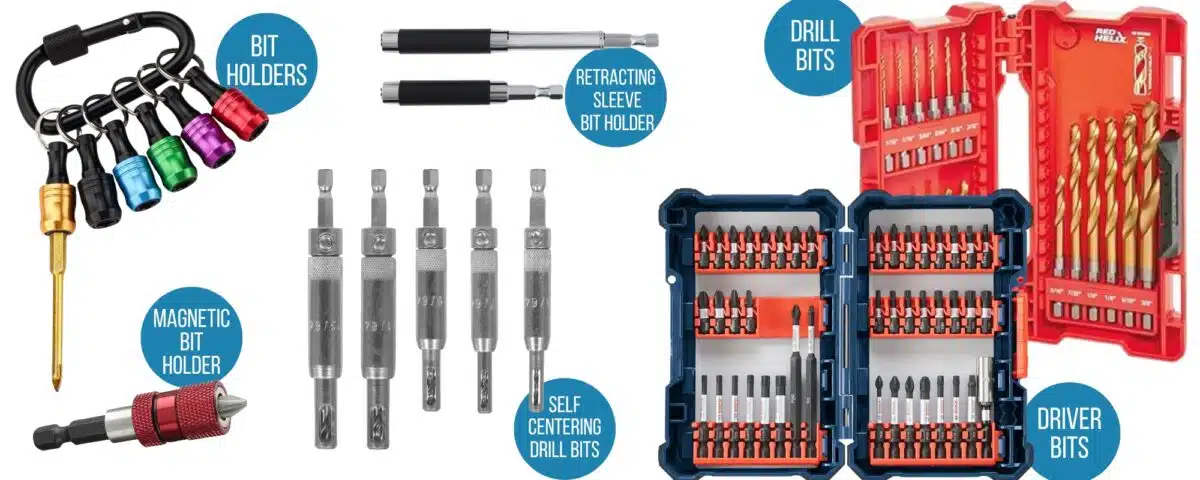
I have been looking for a guide that will give you a suggested pilot hole for different size screws. Is there one printed, or do you know how to determine what size pilot hole for what size screw?
Thanks a lot. I love your site!
Sandra says
I don’t know of an article. I just select a drill bit that is slightly smaller than my screw. (By eyeballing them together “looking down the barrel”)