Pocket hole screws are a super easy way of joining wood. You simply need a pocket hole jig to drill the holes. Most pocket hole jigs accept materials from 1/2″ to 1 1/2″ thick. Using a pocket hole jig is pretty easy, depending on the jig. I have several jigs from Kreg Tools and the depth settings are universally difficult to read. Today’s guest post if from Ayisha from The Pursuit of Handyness. She has a great tip to make it much easier to use a Kreg Jig.
Modify your Kreg Jig for easier use
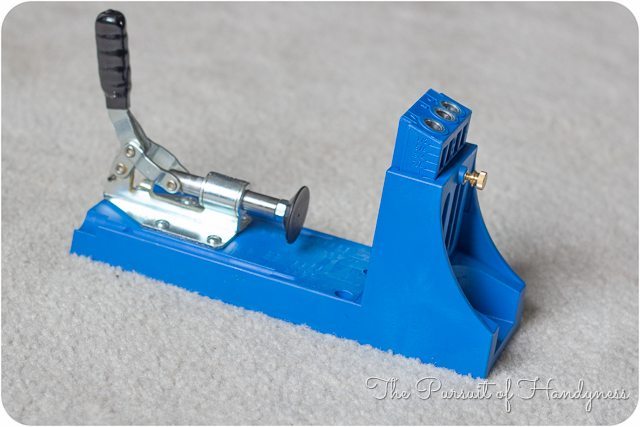
I have the Kreg Jig K4 Master System. I love it to pieces and it’s really easy to use. With this model, you have to slide the drill guide up and down to set the thickness of your wood. You also have to adjust the depth collar on your drill bit.
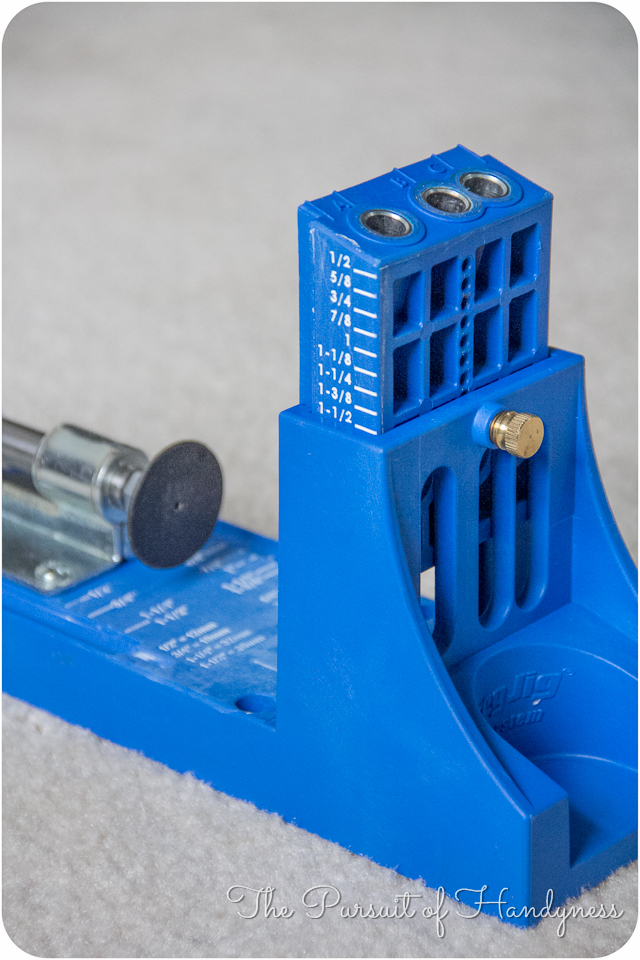
It’s very difficult to see the tiny marked settings scribed into the jig. Using the correct setting is very important in order to get the perfect pocket hole joint. You have to have the right depth and placement of the pocket hole depending on the thickness of the material you are joining.
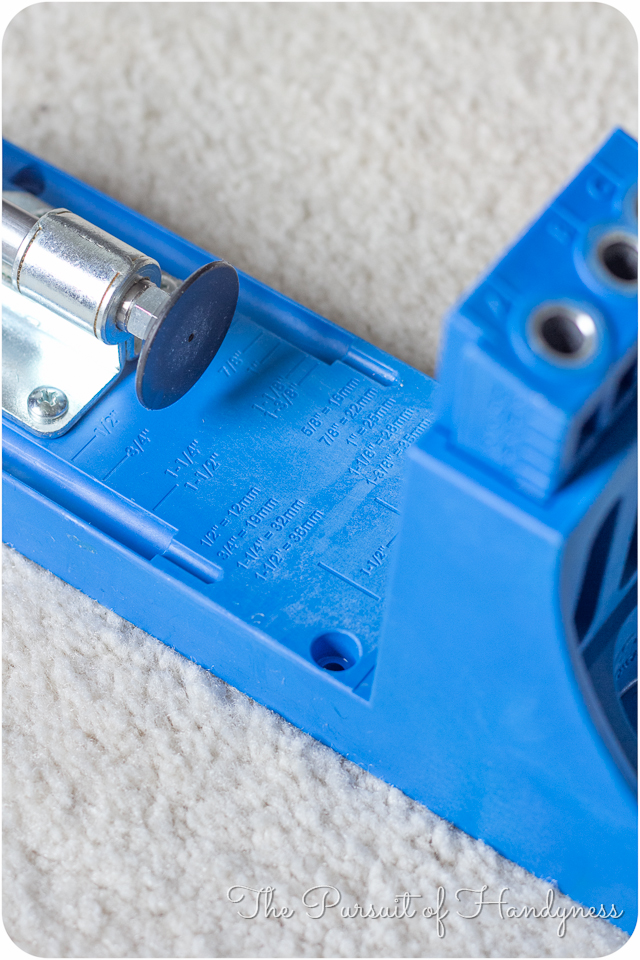
SO being able to see the settings is a must!
Make the settings easier to see
In real life, those marks are the equivalent of a 2 pt font and are really difficult to see. I’m a young woman with 20/15 vision but I have to get all up in my jigs business to see what they say.
One day, I was filling holes with spackle and accidentally rubbed a little on the jig. The spackle was pink but when it dried, it turned bright white. Instantly I noticed how easy it was to read the measurements.
I was so excited that I was ready to yell “EUREKA” and run down the street naked (name that Greek scientist). More than anything, I couldn’t believe that the folks at the Kreg Tool company had not thought of it first.
Now this little tip could have easily been summed up in one sentence but I like to be thorough so I’ve broken it down for you with lots of photos.
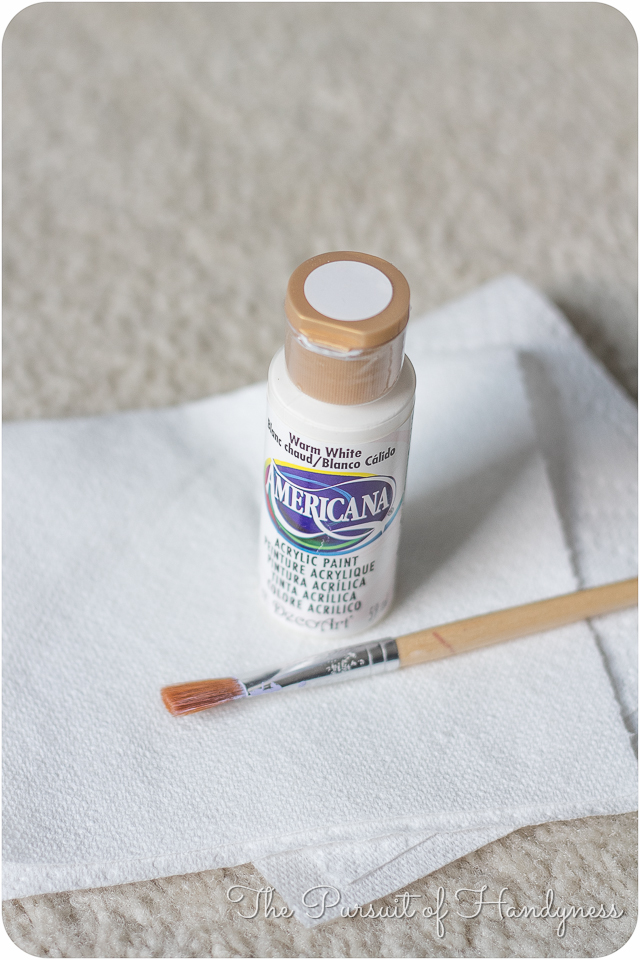
What you’ll need:
- white paint
- small paint brush
- damp cloth or paper towell
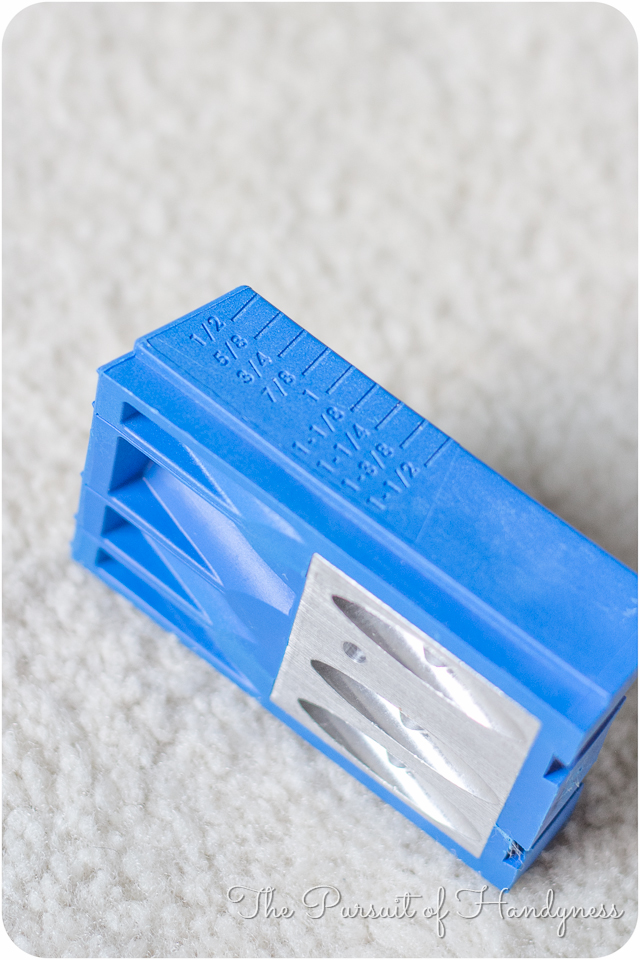
First remove the removable drill guide from the jig assembly.
Paint
I found that the spackle wore off too easy so I’m suggesting you use paint. Acrylic paint works well but latex paint works even better. Paint the white paint over the markings making sure to get paint in the grooves.
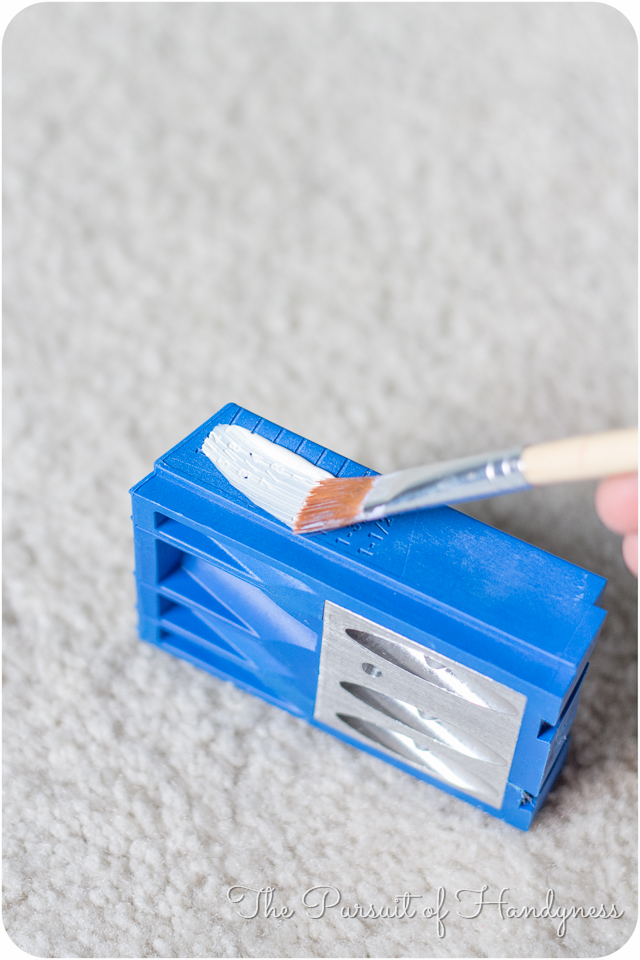
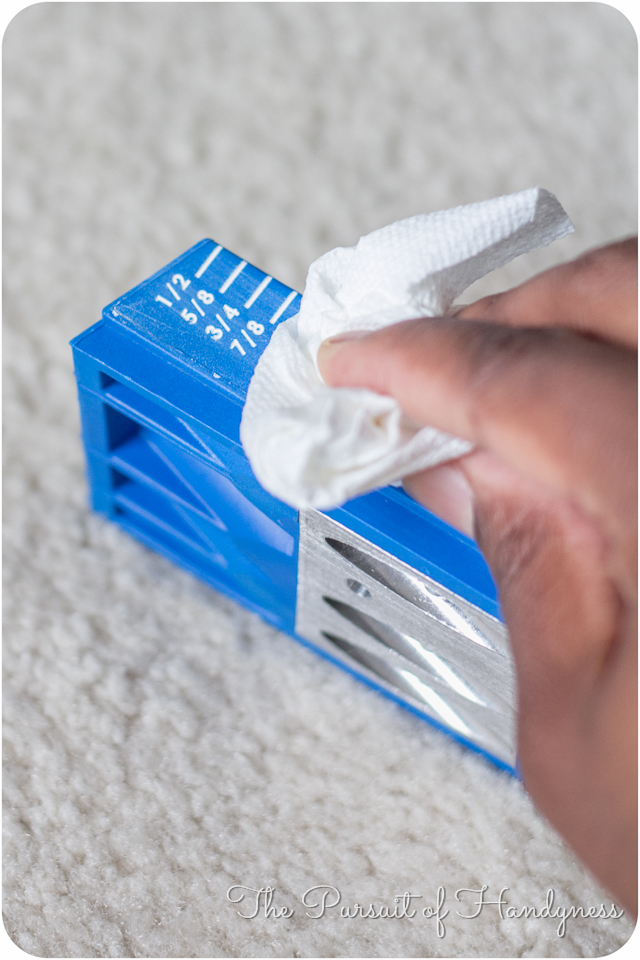
Quickly wipe the paint off with a slightly damp paper towel. Don’t scrub. The point is to wipe the paint off the flat surface without wiping it out of the grooves.
Do the same thing with the markings on the main jig assembly.
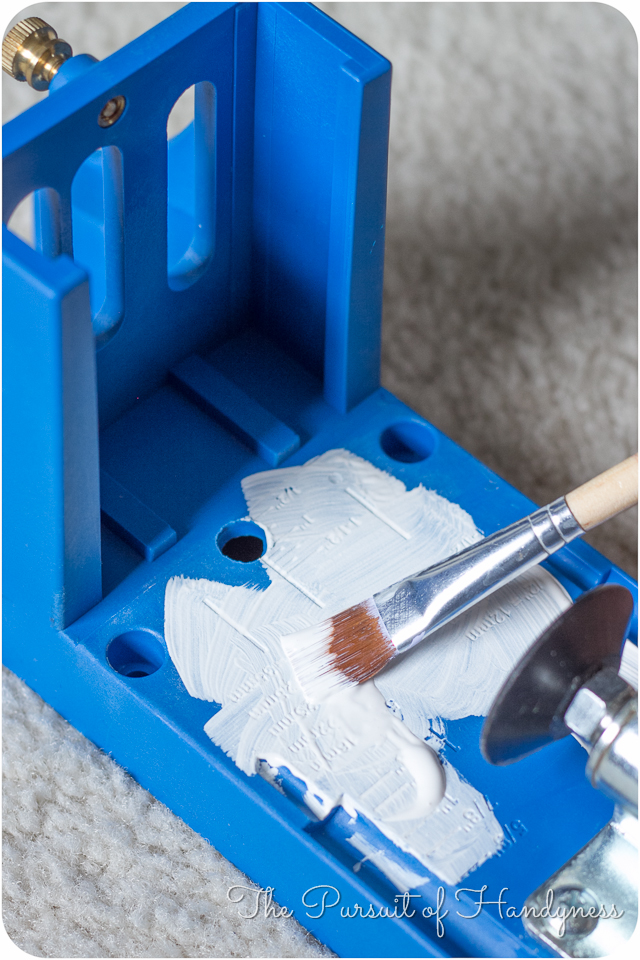
If the paint starts to dry and does not come off easily, use a little bit of nail polish remover to get the excess off the surface. Don’t rub too hard or you will rub the paint out of the grooves.
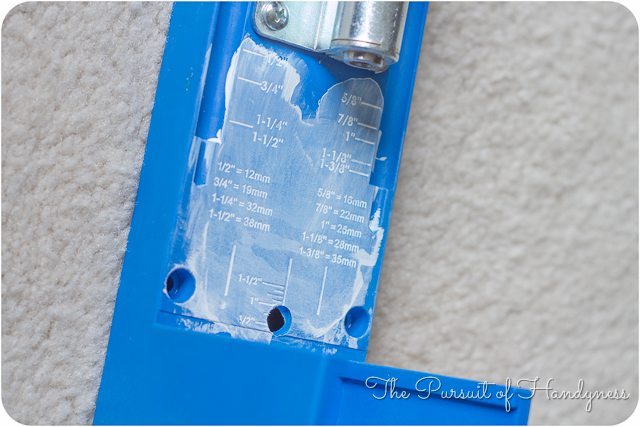
Once it’s dry, you should have no problem reading the depth settings.
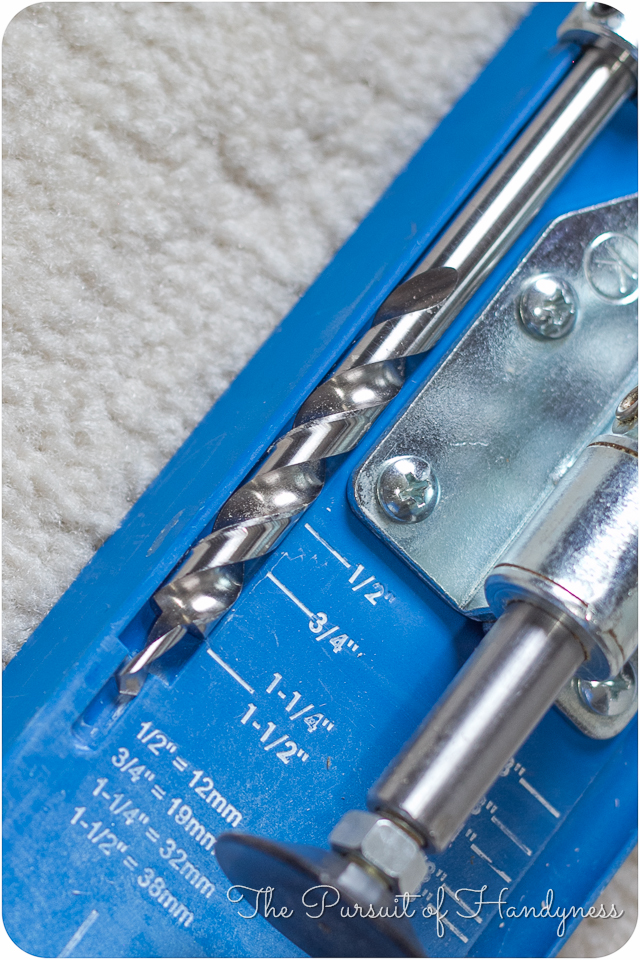
Adjusting your depth collar has never been more precise.
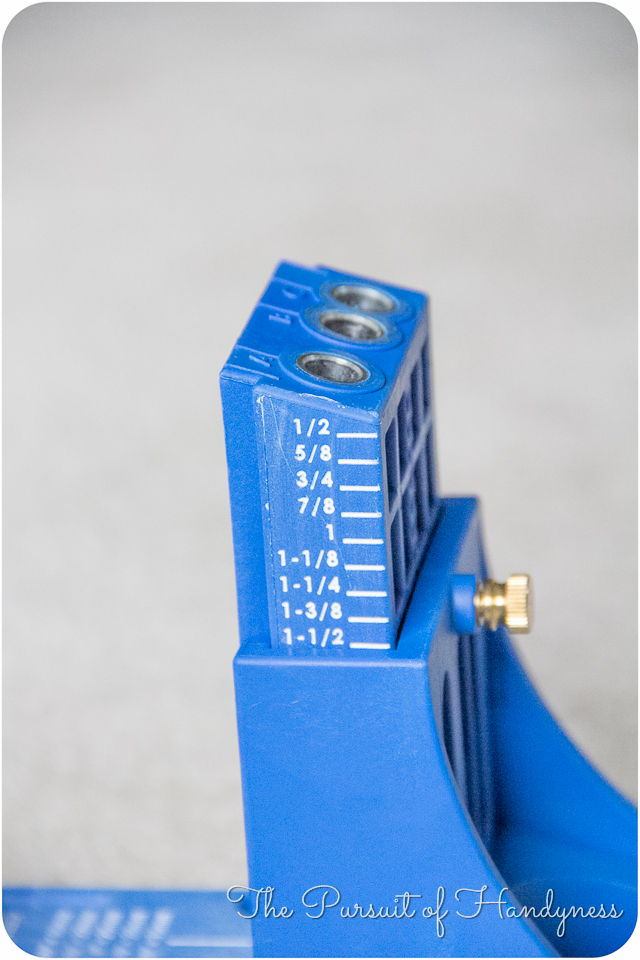
No more getting all up in your jigs business to read the settings. The white paint really stands out against the bright blue and makes it sooo much easier to read those tiny little numbers. It’s amazing what a difference a little paint makes!
Now go and push some paint into the crevices of your Kreg Jig. Your eyesight will thank you ! 🙂
You might also like to read these reviews of the Kreg K5 jig, the Kreg R3 Junior jig and the Porter-Cable pocket hole jig.
Phyllis says
I Thank You and my eyes Thank You too, Just got my Kreg Jigs for Christmas will be using your trick as soon as possible. Greatest tip I’ve seen in a while. Ten thumbs up!!!
Handsome Stranger says
You can do this to pistols and rifles too. Great way to pimp the magazines to see the round markings.
scott Macarthur says
Thank you, such a simple remedy to an obnoxious issue.
Steve says
Good idea ! Kregg must have cought on they do it now on the new k 5 thanks for your great idea my eyes like me better now.
John Fulton says
Use a grease pencil or a white/yellow crayon. Much quicker and you don’t have to wait for it to dry.
Paul says
Did the same with Wite-Out. Dries really fast
Carl says
Why doesn’t Kreg do this when they make them?
Bob Burden says
I did this before I saw it here. Don’t have to squint my eyes anymore.Good advice.
j Yoder says
any solution to highlighting raised lettering on the newer kreg jigs? they still don’t get it! appreciate any ideas!
Deanne says
We have the Kreig jig and some accessories and can’t wait to show my husband this : ) Makes you wonder why Kreig hasn’t done this with their jigs already. It is almost like duhhhh. Thanks for another excellent tip!
Dale1944 says
I am sure that you would be much more fetching than Archimedes was!
mike says
Great idea. I will be doing mine before using it the next time.
Larry says
A very helpful idea. I have done this with my old tri-square and it works great.
Sandra says
I need to do this on all sorts of tools, old and new. I find myself pressing my face up close and squinting and thinking, “why don’t I just carry around a little bottle of white paint”! LOL
Ronald says
I just used Crayon.
Tad says
Brilliant! did this with a paint pen thank you for the idea. I took it a step farther and opened up my tool box and did it to my sockets and allen wrenches.
Kelly Craig says
You could also use a grease pencil for this, if you happened to have one laying in the tool box.
Joseph says
I just purchased a Kreg K4MS and it looks like Kreg has thought of this idea at last – thankfully!
Rhoni T says
I did this too, huge oops on the manufactures for not doing it.
Geoffroy from Belgium says
What a good idea !! I will use it for the jig and many other things !!
Thank you girls 🙂
MacGIRLver says
This is such an awesome idea! I have so much trouble seeing those little numbers! Thank you, now my Kreg jig will be perfect!
Marta says
That is genius, thanks so much for the tip. I have both of these things on hand and I can’t wait to get home and do this.
Audrey Zumwalt says
Thanks for the tip. I had thought about this, but just did not do it. I will do it before the next project. Love my jig and anxious to get back building something.
Blessings,
Audrey Z. @ Timeless Treasures
gail says
genius!
I struggle to read those tine numbers!
doing this today! 🙂
April @ Wilker Do's says
Nice. I have never consciously thought of how hard it is to read the numbers, but after seeing your white I don’t know how I got along so long without it. ; ) Thanks for the tip
Linda Southworth says
You should see how my husband and I have been standing on our heads trying to read the settings! What a simple glorious fix. Thank you!
Christan Parreira says
Genius!
Beja says
AMEN!!! That is a great idea!!!
Jamie says
What a great idea! I’m definitely doing this to my Kreg jig!
kim massa says
I have 3 focals in my glasses so thank you for the tip, i use my jig often and have double checked and triple checked the measurements often. I will be painting the markings this weekend.
Karen says
Brilliant! Absolutely brilliant!!! Kreg needs to hear about this. Thank you.
Ayisha says
I have noticed that the new mini kreg jig has white markings but they are painted on. I think it was absolutely necessary since the assembly is all black.
Jacqui says
Brilliant! Thanks for Sharing….
Susan says
This is genius! I am going to fix mine this morning. Thanks!!
Susan Rodriguez says
Btw Aisha, I recognize you from Ana’s fb page. We’ve talked there before. I’ll start following your blog. 🙂
Lilly Miller Etzel I Love Pretty Things n Clever Words says
Nice tip..thanks for sharing!!
SheilaG @ Plum Doodles says
Brilliant! I still haven’t gotten the nerve to try to figure out my little Kreg Jr. I need hand-holding! 🙂
Nichole Milliken says
Awesome going to do this to my jig. Give my bifocals a break!
Lori says
Great idea!
Tina says
Duh! That’s what you call……….a brilliant boo-boo turned genius discovery! Headed to the garage to “fix” the Kreg!
Lisa E says
This is awesome. Even more so for us older types! Will be doing this on mine this weekend!
Paul S Horen says
Great idea. Thank you very much.