Finishing A Wood Countertop With Tung Oil
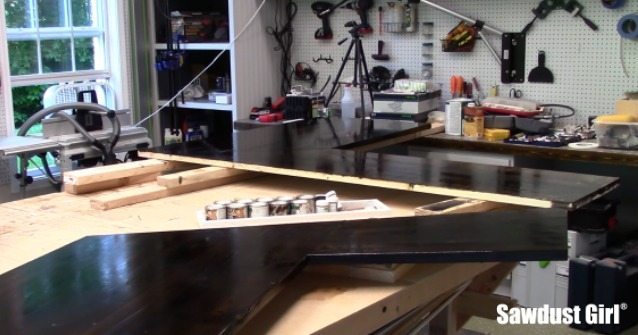 If you’ve been following my Pantry Countertop progress, you know I built the countertops out of inexpensive wood, i.e. 2×4 and 2×6 construction lumber. I chose wood as my countertop material because it’s the one I could build myself for just a few dollars and make it look like it cost a couple thousand…rather than spending a couple thousand. 🙂 If you do it right, you make inexpensive wood look rich and luxurious…like a more expensive wood.
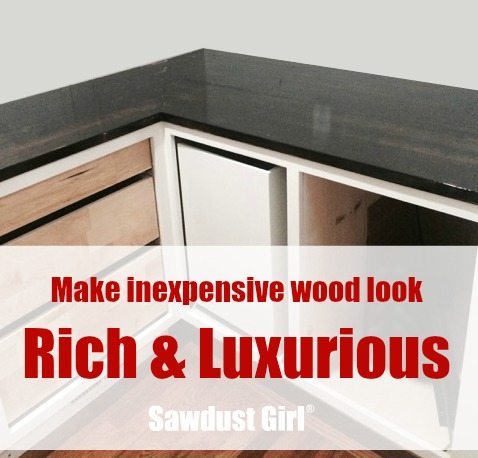
Make Inexpensive Wood look Rich and Luxurious!
I sanded my wood countertops well, then vacuumed and wiped them down with a damp cloth. I’m using water based wood dye so there’s no issue with using a water dampened cloth to clean off all the sanding dust. You can purchase dyes in liquid or powder form. I like the powder because it stores — basically forever. You can get dyes that you can add to alcohol or oil but I LOVE using water. Clean up is a breeze and it’s super easy to use. Simply mix the powdered dye into some hot water and you’re good to go!
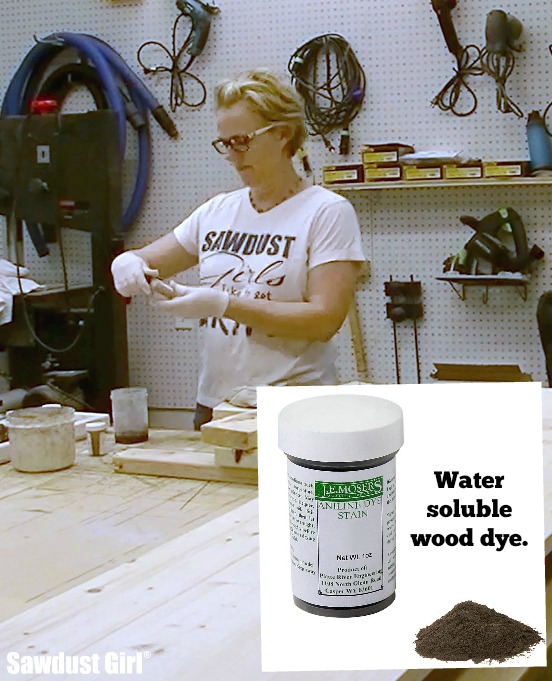
I used a combination of these three colors of J.E. Moser’s Ebony water soluble analine dye: Ebony Black, Silver Grey, Dark Brown Walnut.
With a wood dye, there is no need to use any kind of wood conditioner. Just dye it! The wood absorbs the dye very evenly and it dries quickly. I brushed on my first coat and was practically giddy with the deep rich color it produced!
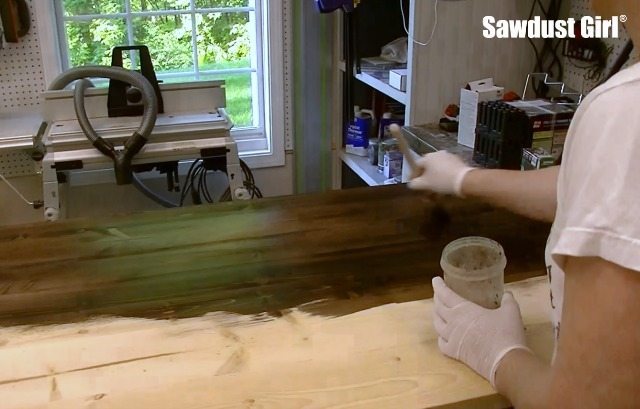
The first coat of water based dye will raise the grain so after it has completely dried, a light sanding will cut off all the raised fibers and you’ll once again have a baby’s bottom smooth surface. The grain generally only raises once so you’ll only have to sand after the first coat.
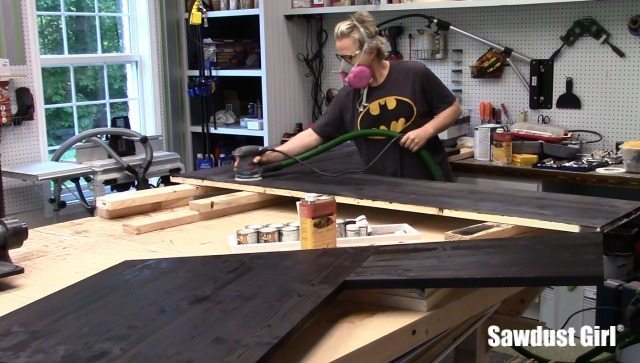
This light sanding will remove a slight amount of the color. If you want to avoid losing any color, brush the surface with plain water to raise the grain and sand that before you begin the coloring process. I didn’t bother because I knew I’d be doing at least two coats.
If you love the color after one coat, move on to a top coat. I wanted a VERY dark countertop so I did more dying first.
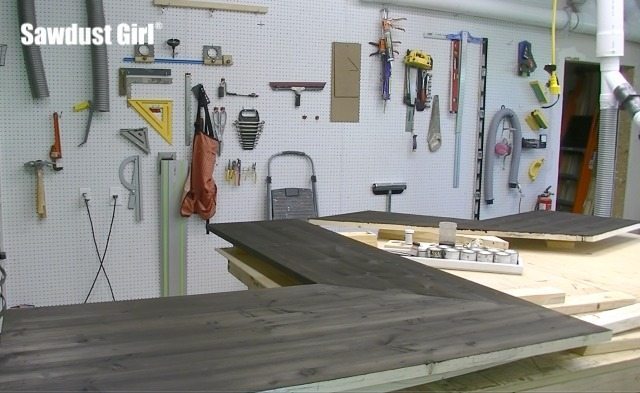
For my second coat, I added more of the Ebony Black and brushed that on just like I did the first coat.
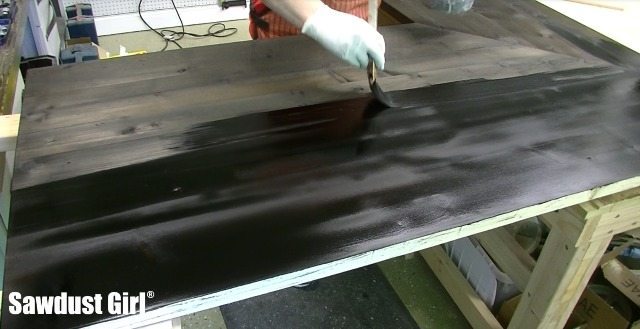
It’s a really fun process to watch the wood transform. I played around with wiping the dye on with a rag but decided I liked using a brush best. The wood absorbed the color really well with both applications, I just preferred the brush.
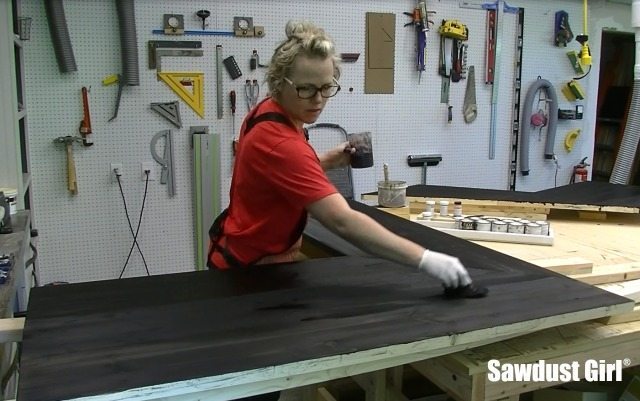
Once the wood is completely dry and all the water has evaporated from the dye, it’s time for a topcoat. I almost always use Waterlox Tung Oil because I love how it makes the wood look!
Make sure you use a respirator and work in a well ventilated area when using this stuff. Also, there HAS to be fresh oxygen available in order for the Tung Oil to cure properly. I have air blowing in one window and out the other.
The Tung Oil is applied with a natural bristle brush. I pour it out of the can onto the surface I’m finishing and then brush it out. You don’t want any oil puddling, just evenly coat the entire surface.
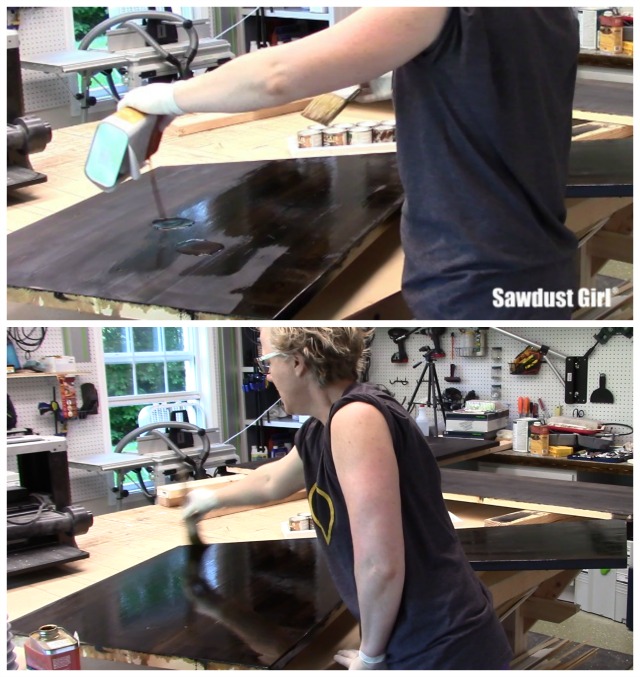
There is nbcvo need to sand in between coats but if your method of ventilation brings in unwanted “floaties”, you can use a 220 grit sanding block to sand the surface in between coats. Make sure the final coat is ventilated without the dust as much as possible.
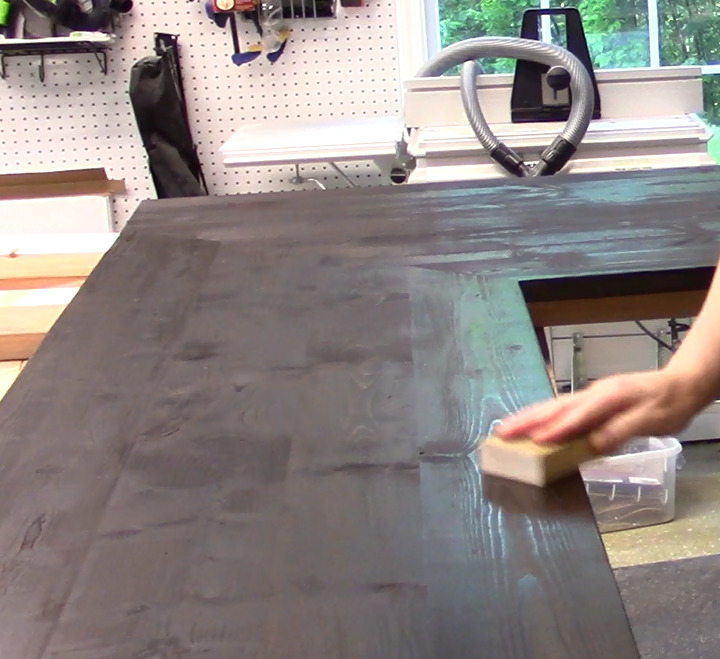
The first coat will look very blotchy when dry, some areas will have some sheen while other areas will look dull. With each consecutive coat, the finish will look more and more even. It generally takes three coats. Allow 24 hours in between each coat (depending on temp and humidity curing may take more or less time).
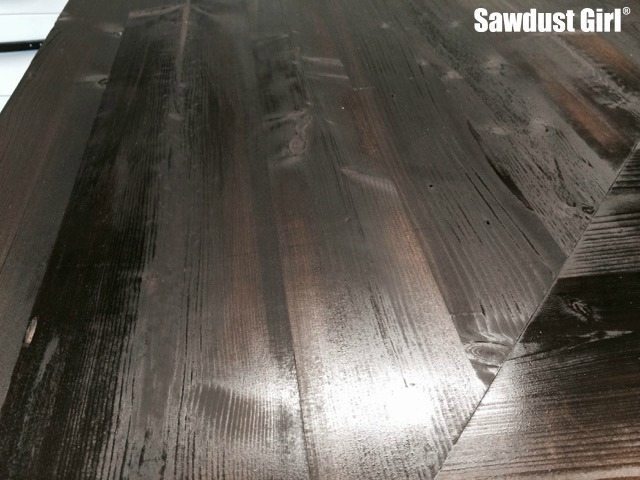
Generally after the third coat, the wood has a rich, luxurious glow!

Depending on what level of shine you want, you can purchase different “gloss” product as well as buff out your countertop after the final coat to add more sheen if you want it.
Here’s a video I made of the process…
Finishing wood is an artistic endeavor. Play around with it until you LOVE what you see!
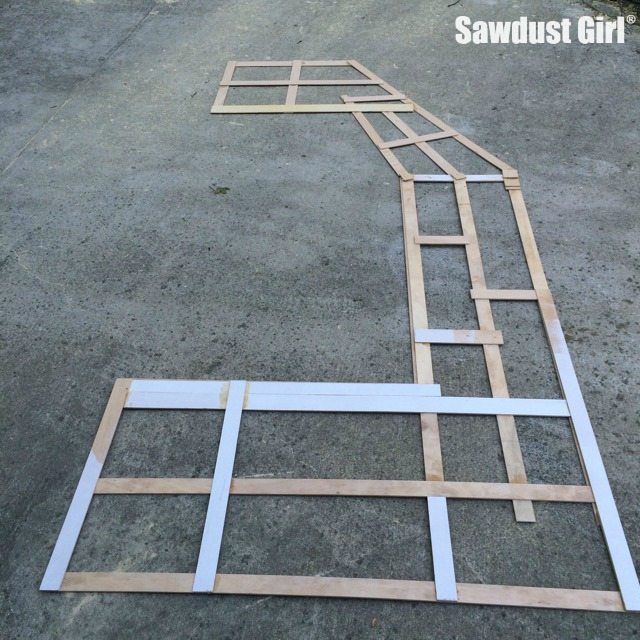

I guess I should link to the last 2 posts where I showed the process of putting the countertops together so it’s more clear how they got to this point. 🙂