Lodge Kitchen Cabinet Progress
The Lodge is an odd sort of building requiring me to bend my usual design/style preferences in order to work WITH the building. I’m using a mixture of finishes for the cabinetry, but the main exposed material is African Mahogany. This may be a great surprise for those that have always been bothered by my preference for painting everything white.
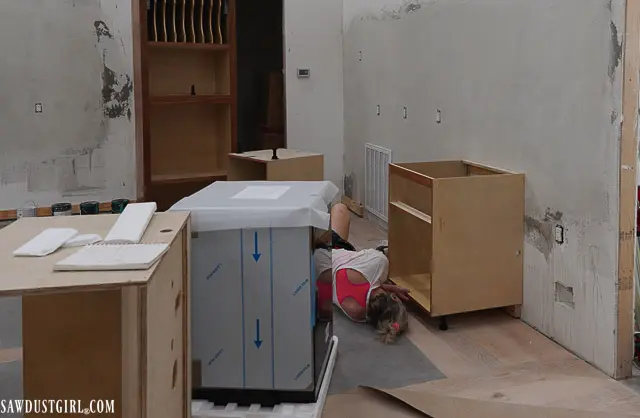
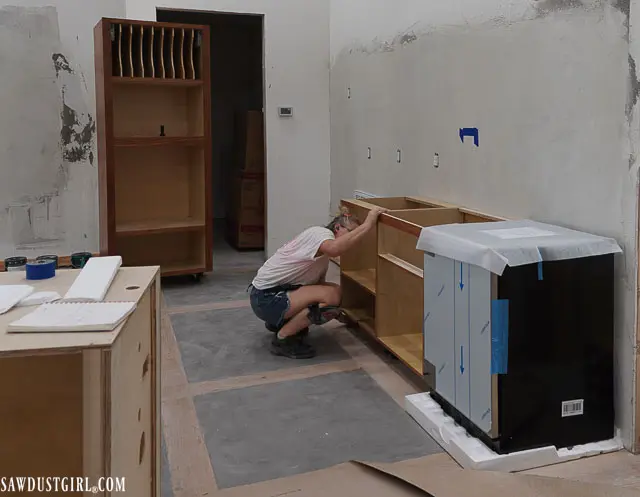
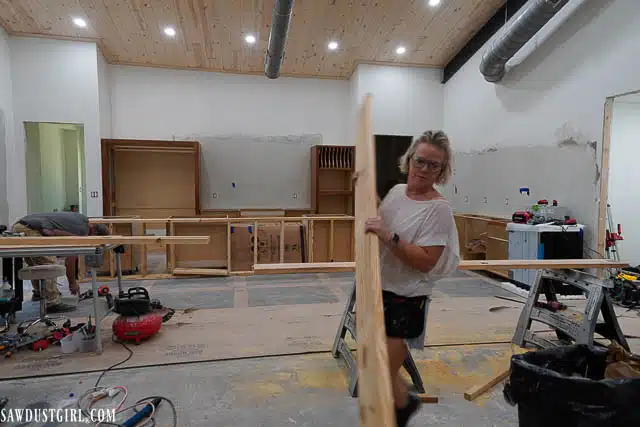
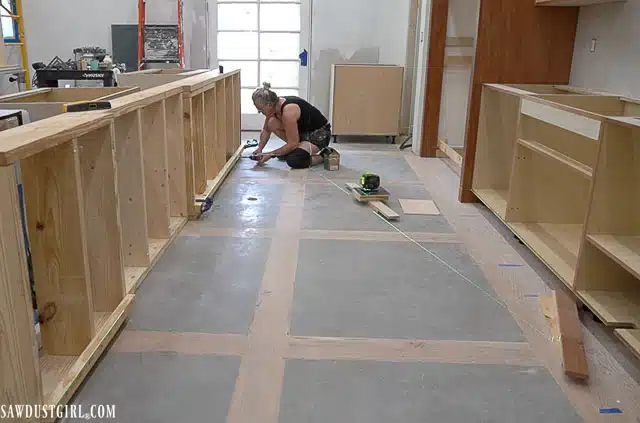
I’m using leveling legs on the front of each cabinet and putting a ledger board on the walls. The ledger is already perfectly level, (as I used a laser level while installing it) so I only have to adjust the front levelers when installing the cabinets. It’s a bit of pain to adjust the back ones because you have to lay on the floor and reach back…
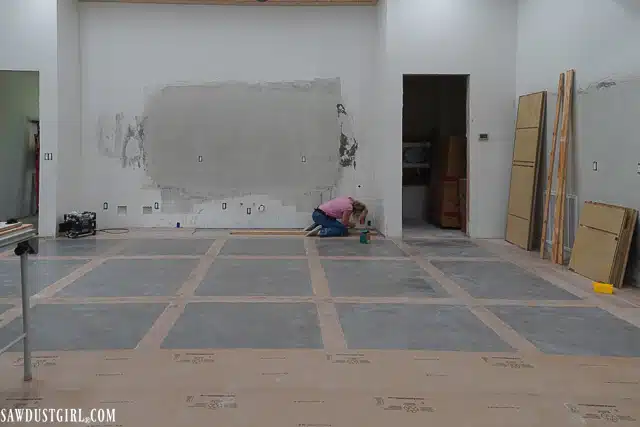
Fridge and Oven Wall
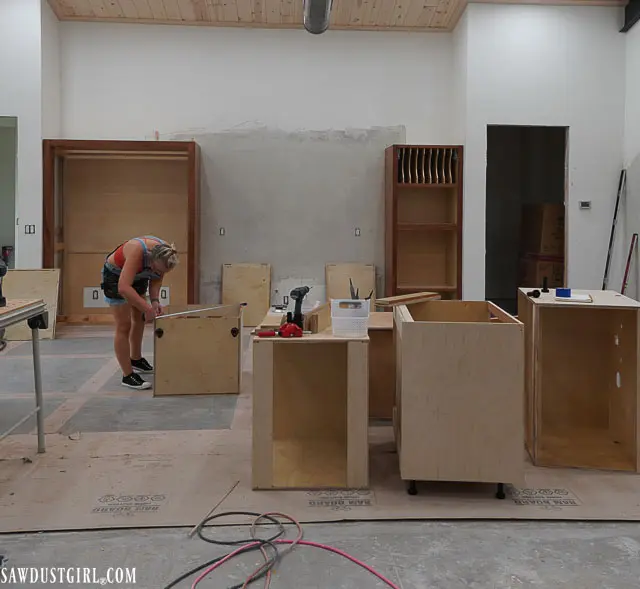
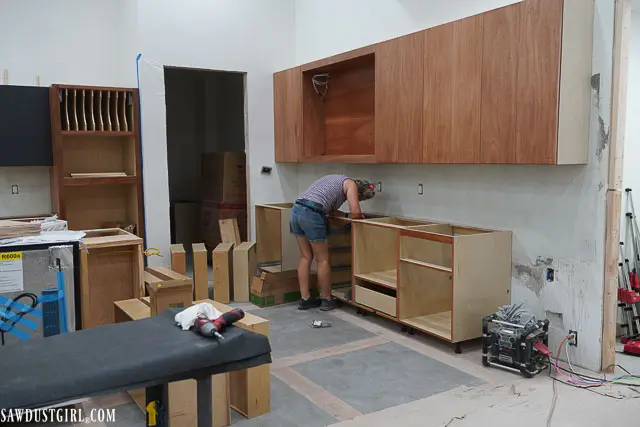
I started building the cabinets for the back wall which included three base cabinets, and two very large, tall cabinets. The three small cabinets include a 36″ sink base, a dishwasher cabinet and one storage cabinet with four drawers.
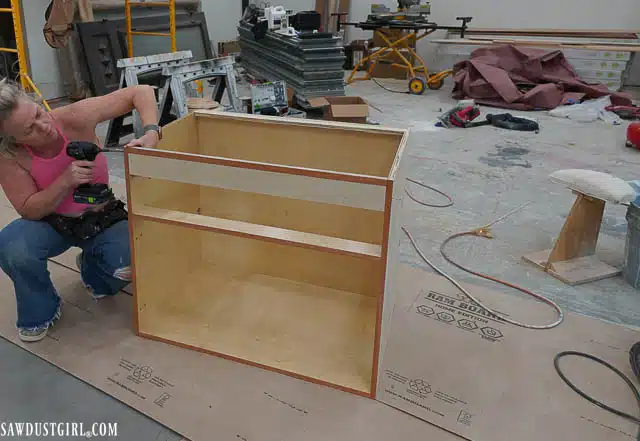
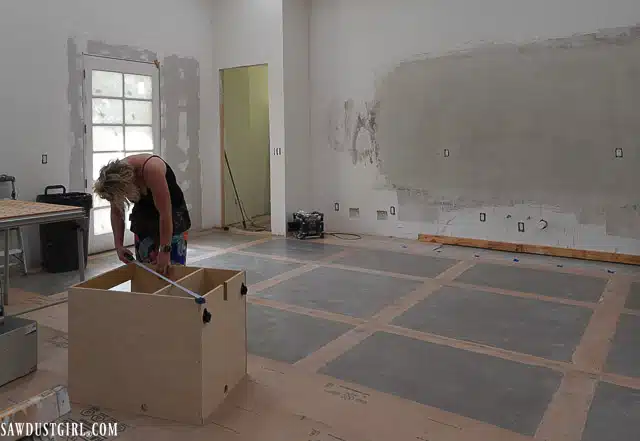
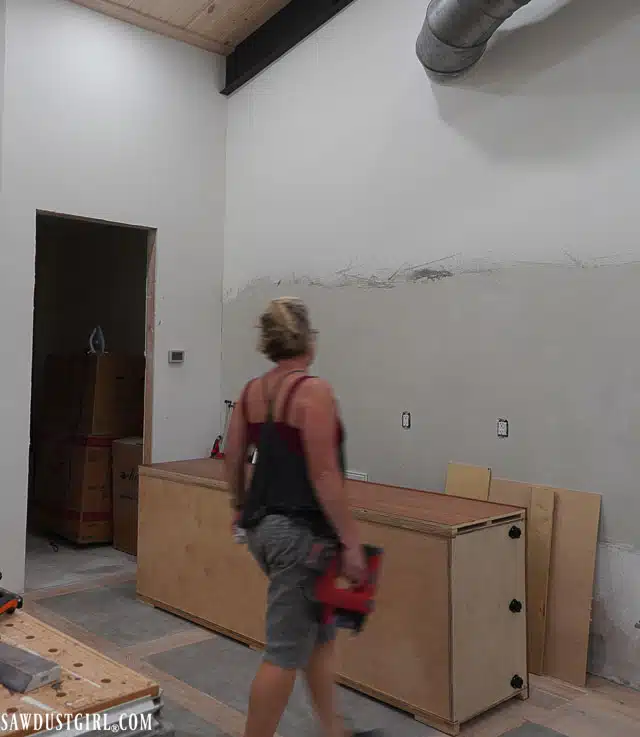
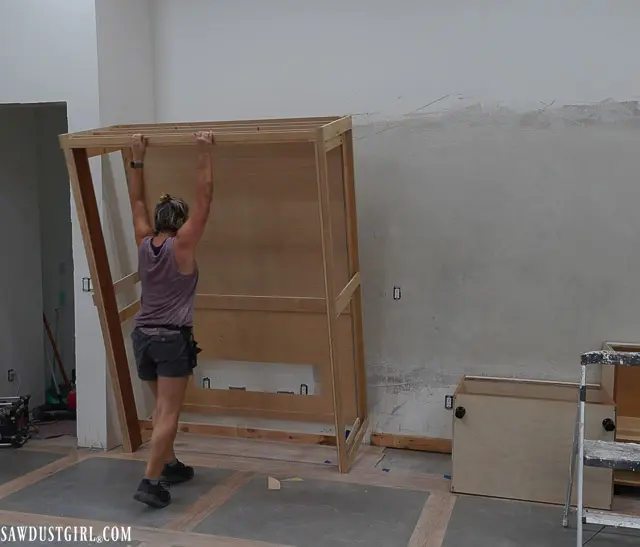
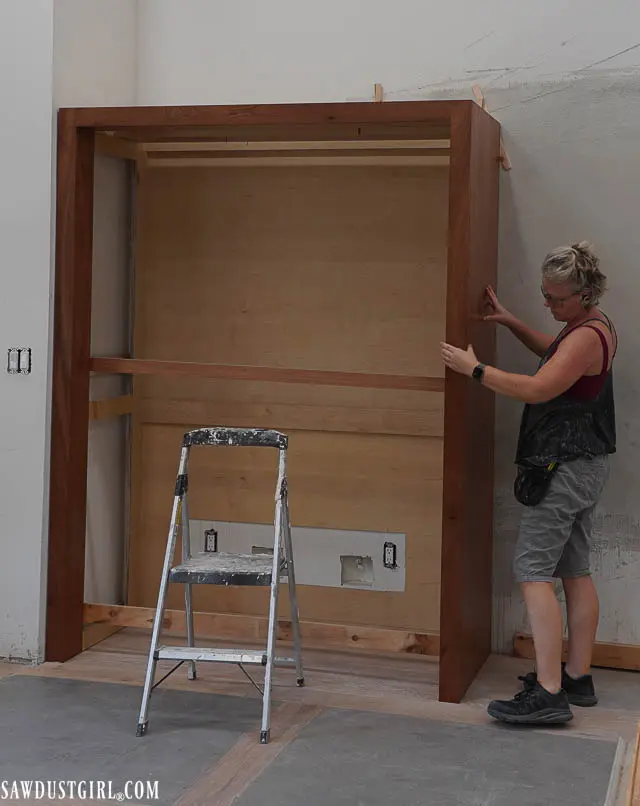
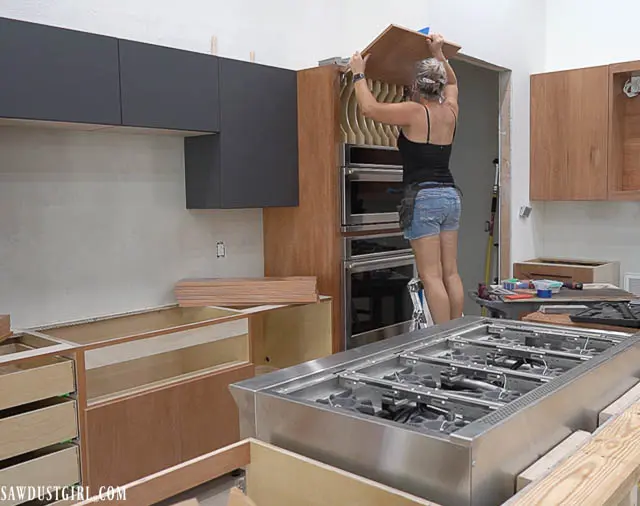
I custom designed a tall oven cabinet to fit the specific ovens I purchased and added a drawer at the bottom and divided storage compartment above the ovens. This sucker is heavy and I had to wait for help lifting it up into place.
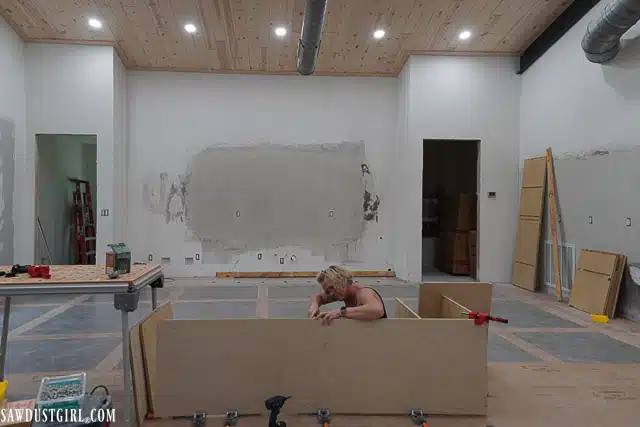
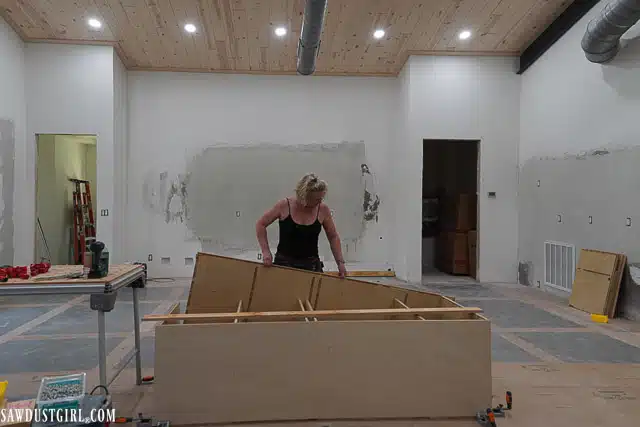
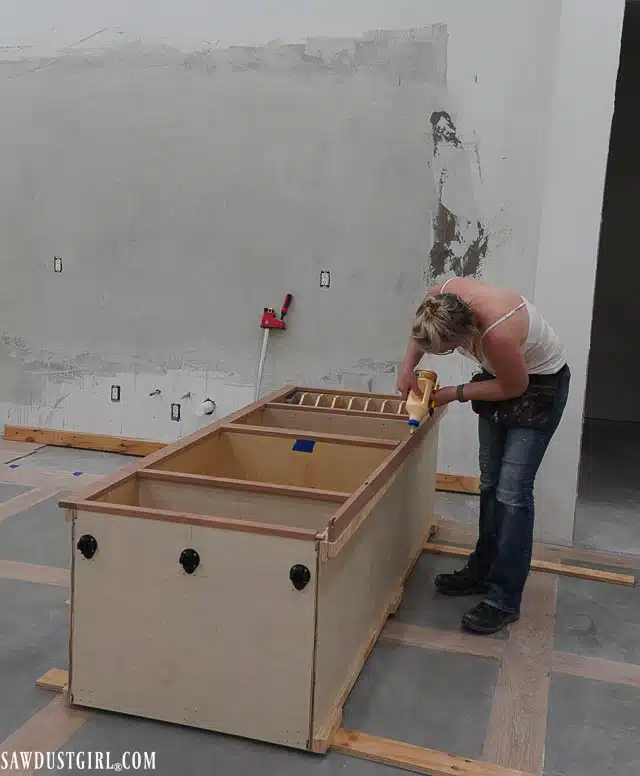
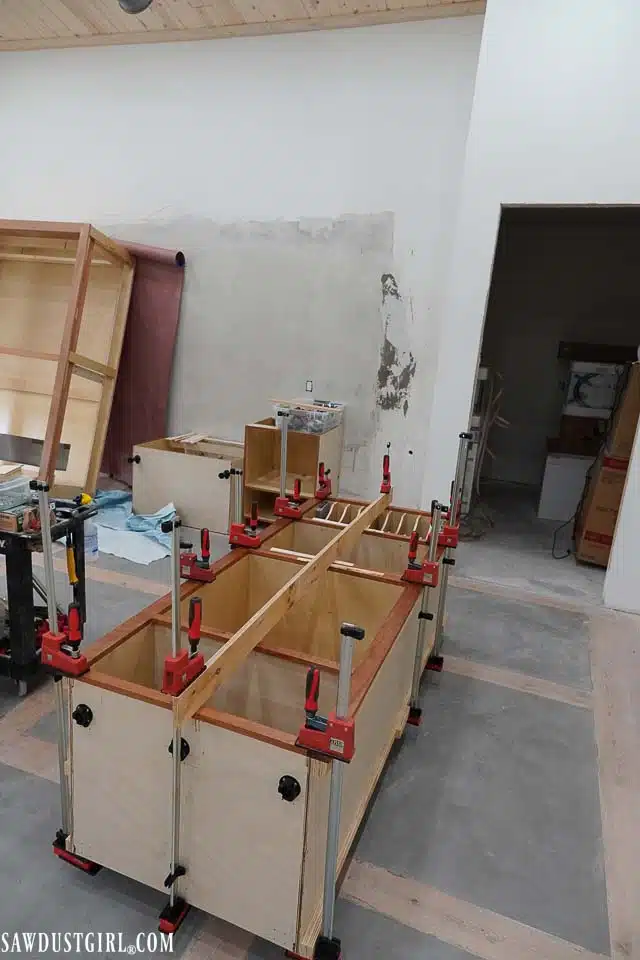
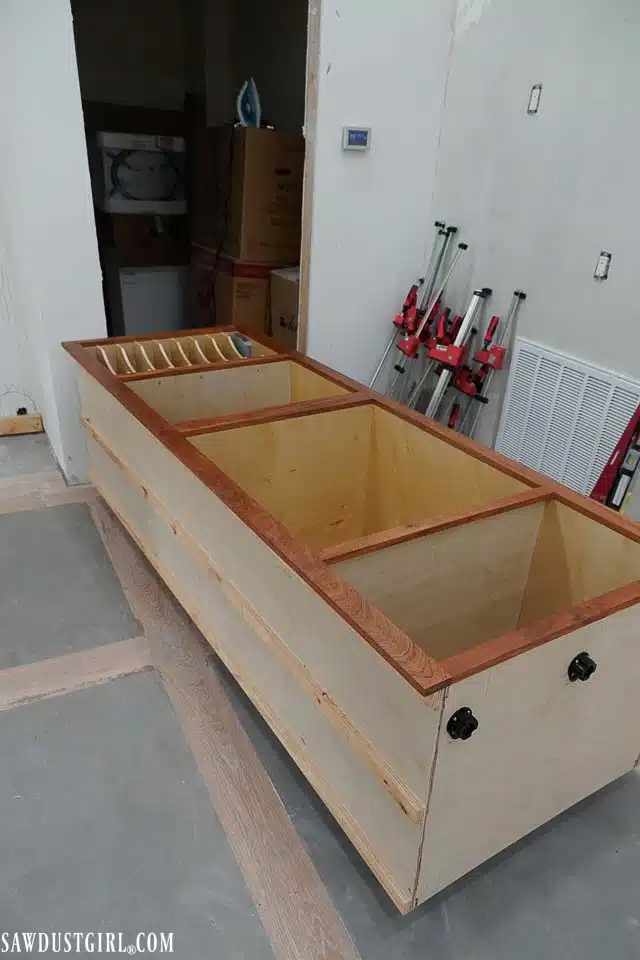
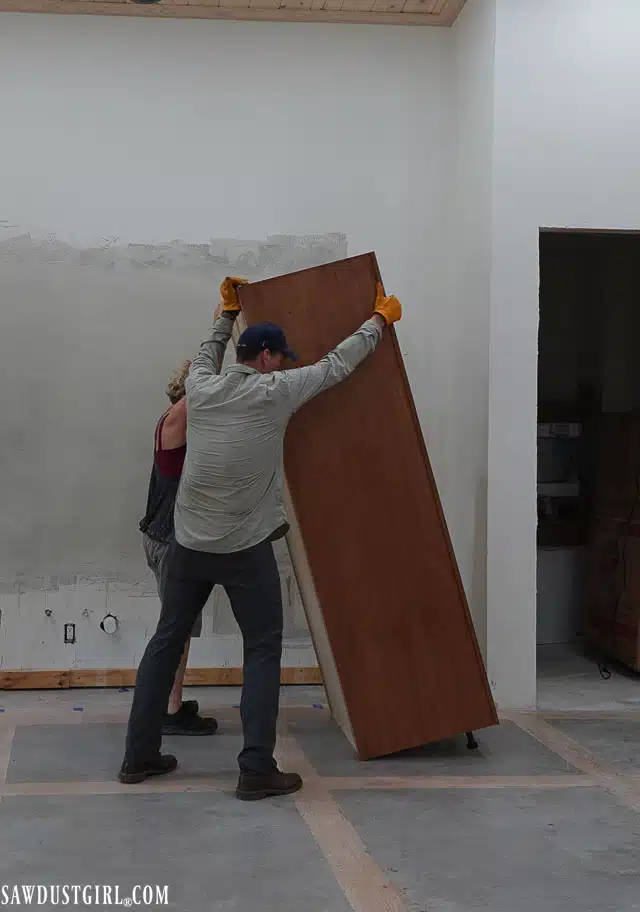
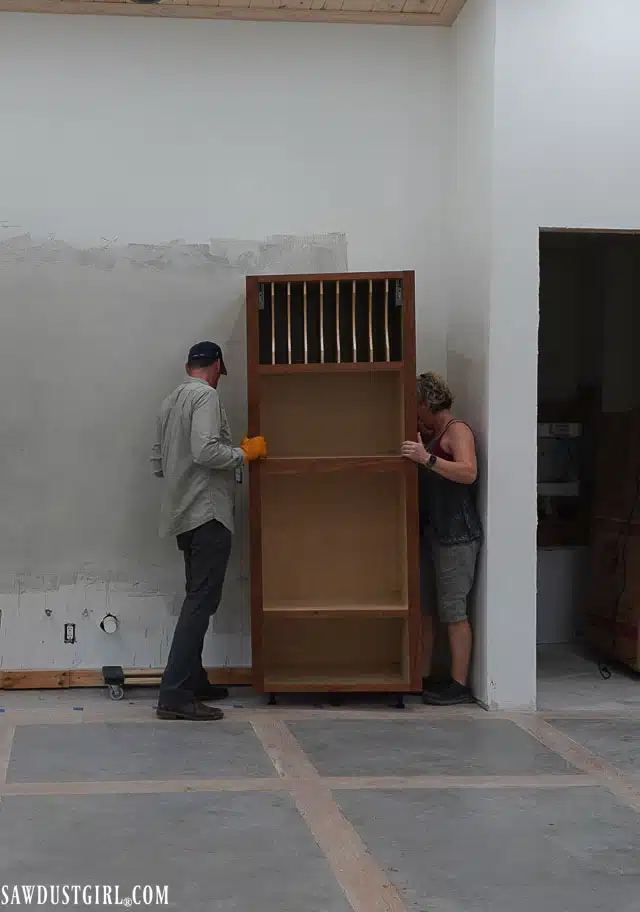
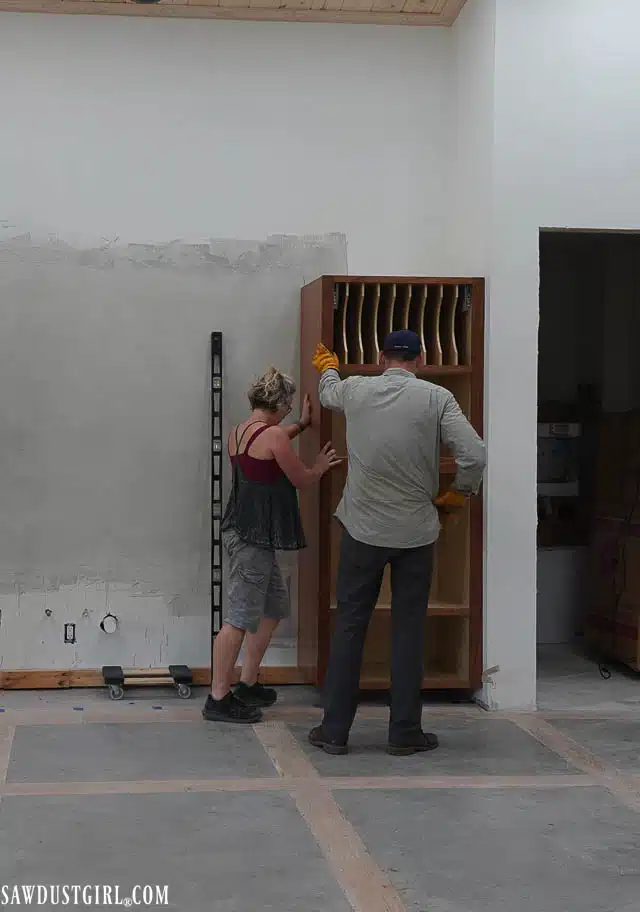
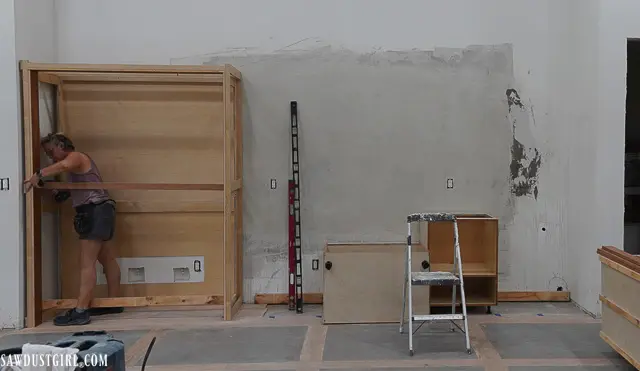
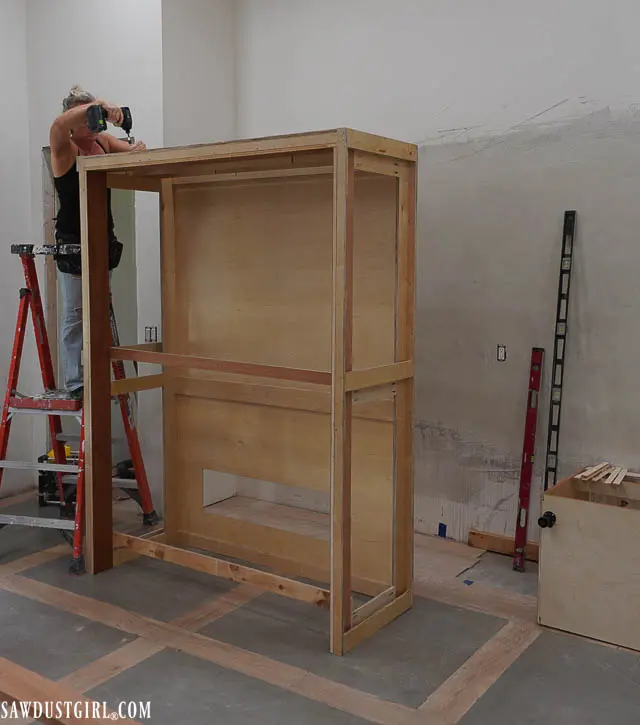
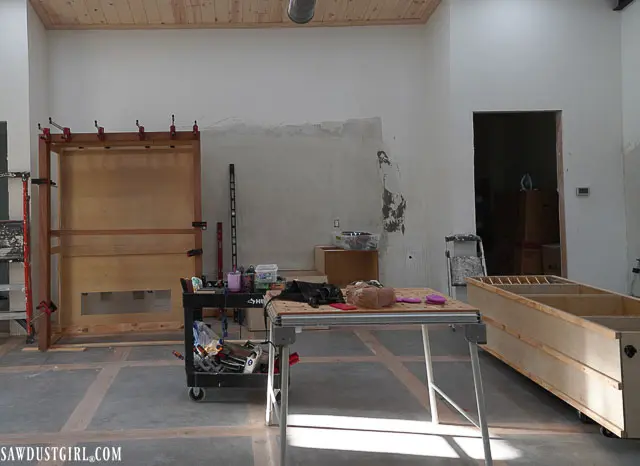
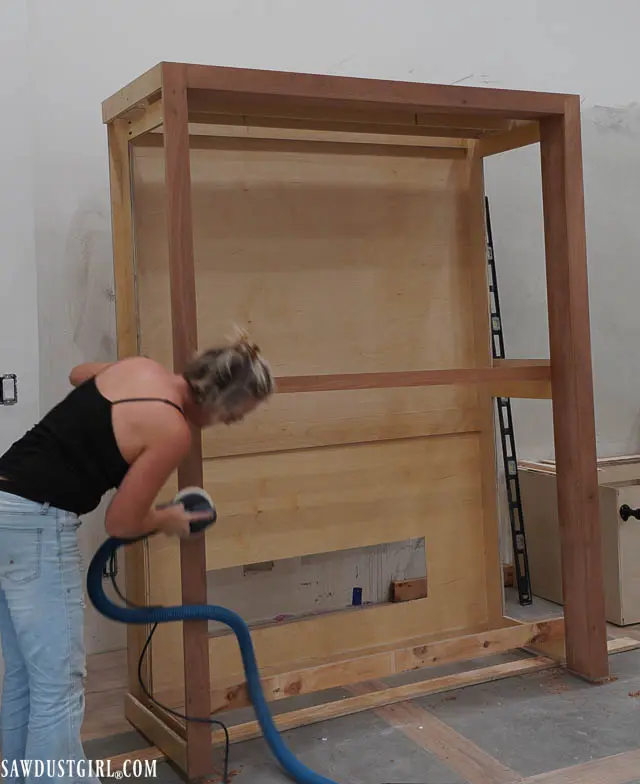
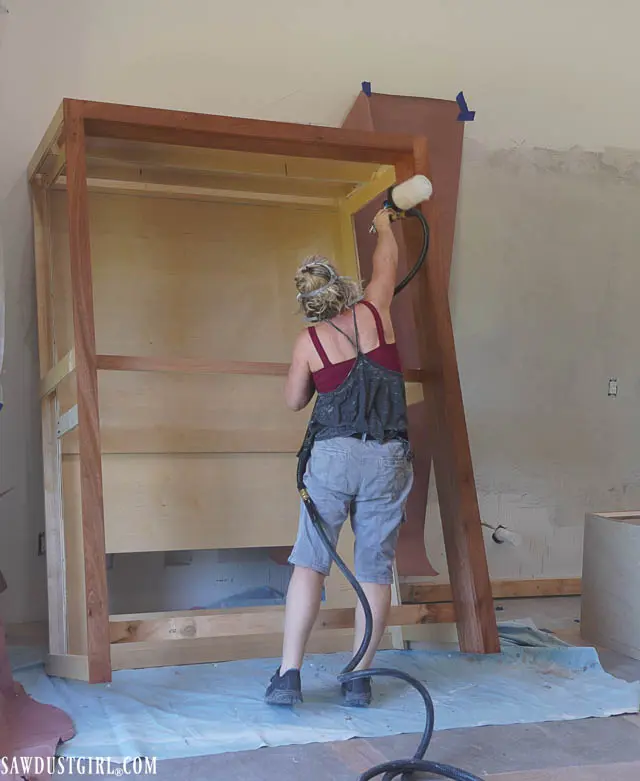
The refrigerator cabinet is also a big, custom cabinet built specifically to house the refrigerator, freezer pair we purchased. This thing is so tall and wide it was really difficult to handle. Once I got it plumbed, leveled, and secured in place, I attached temporary nailers to the front to keep the sides squared up. I’ll remove those once the base cabinets are in place and I can secure the right side of the fridge cabinet to one of those.
Coffee Bar Wall
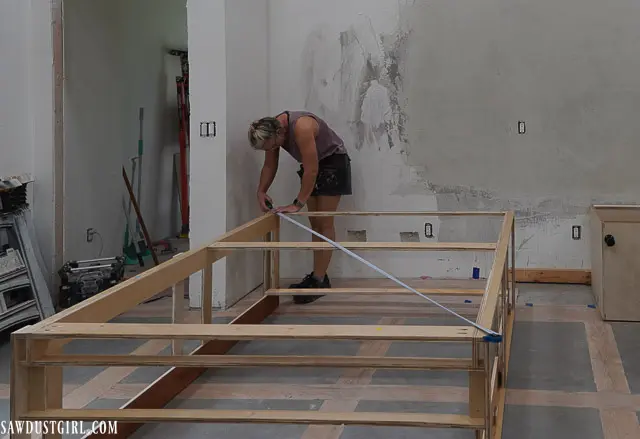
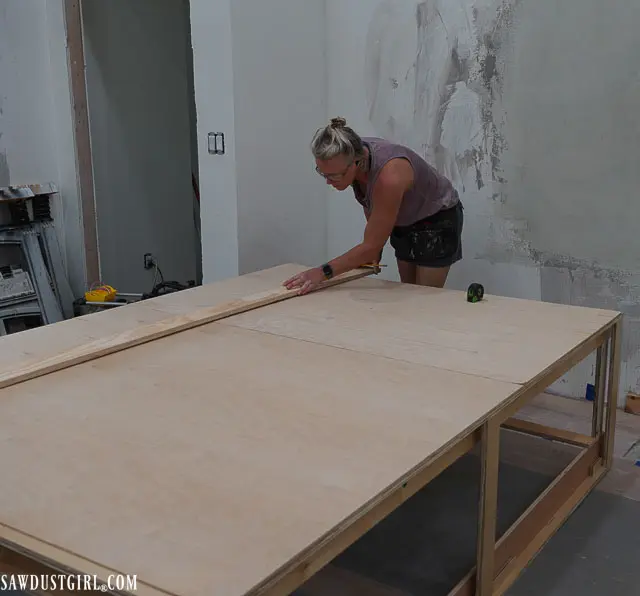
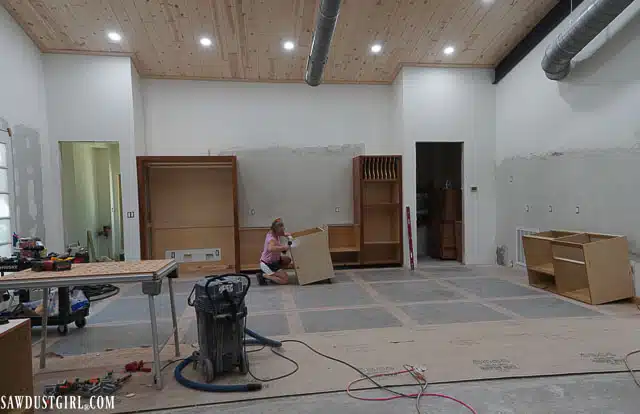
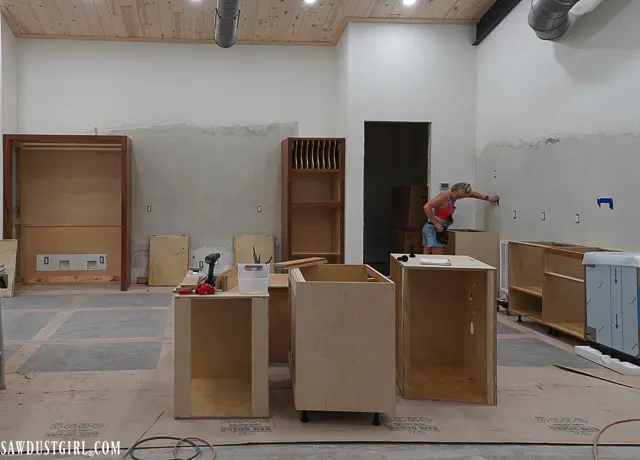
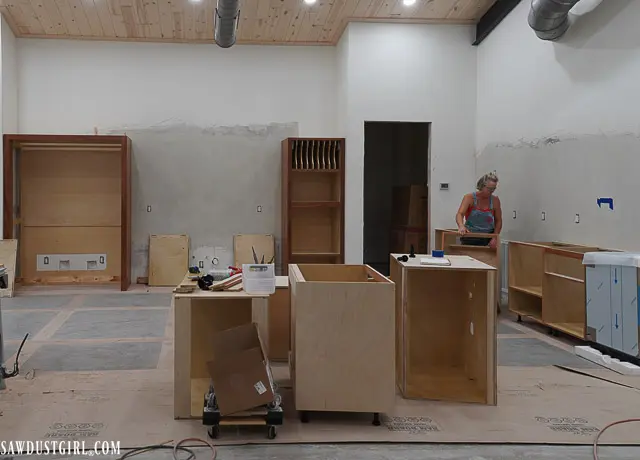
Next I built the “Coffee Bar” wall. I’m kind of making it up as I go, as I do. I have an overall plan but am open to changing it up, as I finish each phase because as the space fills up it changes the way the room feels. Also, I have Wes come up and play make believe that he’s using the kitchen, so he can decide on the best placement of certain items. For example, you want the sink, here, dishwasher there? Or what?
Kitchen Island Cabinets
We did the same thing “imaginary cooking” when I got to the island. The reason I built the cabinets on the perimeter walls first is because I wanted those in place before making the final decision for placing the range and island sink. I generally like a 42″ pathway between cabinet banks, but I wanted Wes to be able to “feel it” before I locked it all down. (We had to bring gas, plumbing and electrical up through the concrete floor so I wanted to make sure we were really really sure about those decisions first.
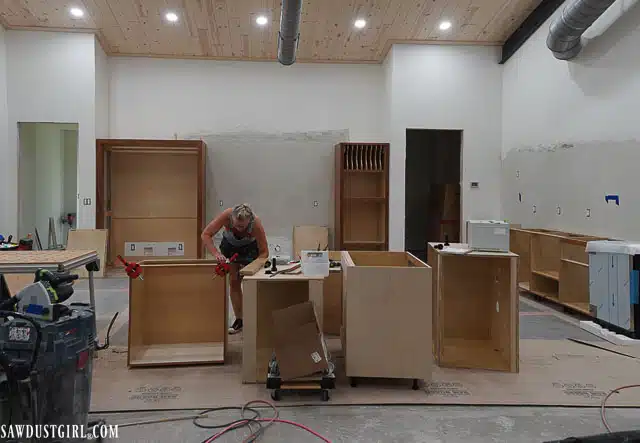
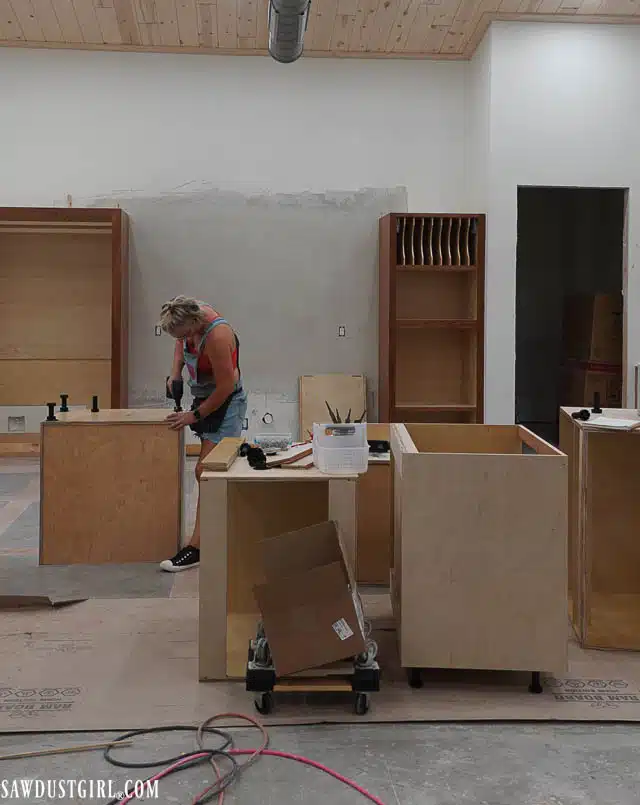
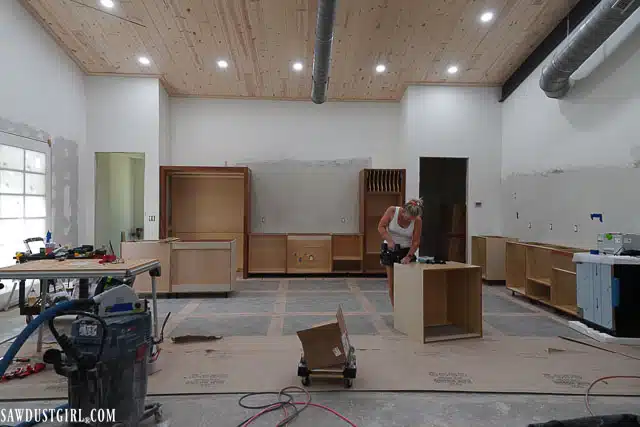
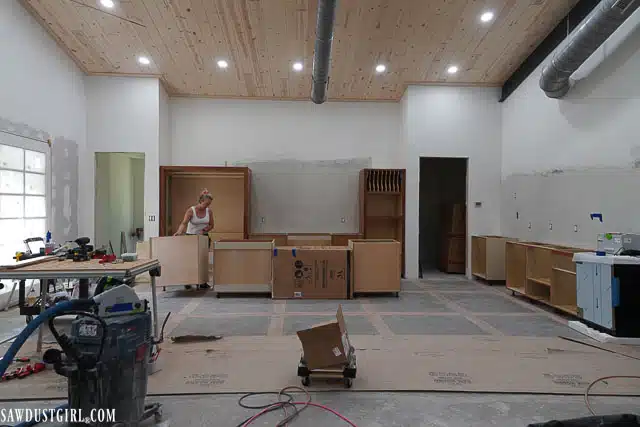
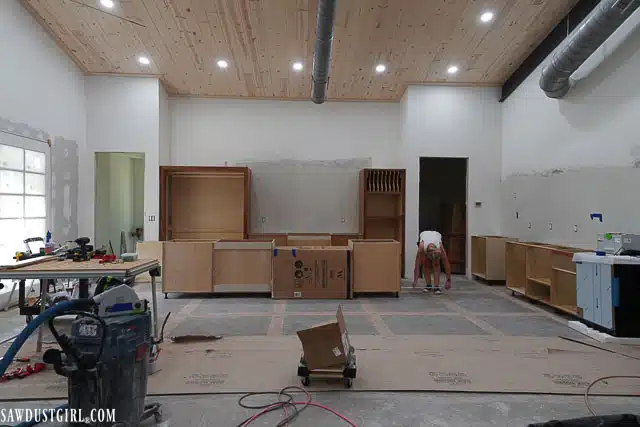
I get serious about my make believe scenarios and taped up a big box to represent the range. Had all my cabinets in place and then had Wes come see how it felt. Terry was there to help me that day and we initially moved everything back and created a wider path between the backwall and island. Then slowly inched them forward until it felt just right for Wes. Guess how wide the pathway was when it felt right…uh huh. 🙂 42″ baby!
Terry and I built a pony wall to back the cabinets. Then, not necessarily in this order: my concrete coring dude came in and cut the holes for the sink/dishwasher drain, the gas guys brought gas up for the range, and my electrician got electrical to the places that is needed. I again used a ledger board and front leveling legs to install the island cabinets.
Upper Cabinets
I originally had four short cabinets on the back wall but decided I didn’t like it. Took the outside two down and replaced them with taller cabinets. This section ended up being an “accent” because I didn’t have any mahogany veneer to cover the exposed sides and wasn’t able to make them look good with stain matching…so I painted them black. I was on the fence about that until I got the doors on. Now I’m 98% behind my decision to paint them. I also now have two sheets of Mahogany veneer on hand so I’m not stuck coming up with an ok alternate design plan.
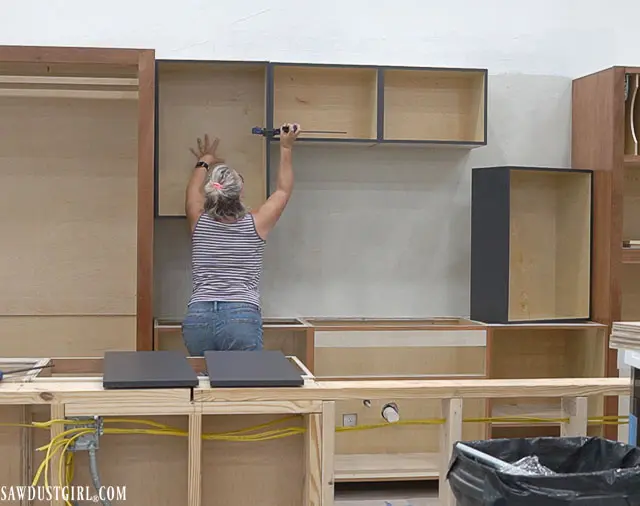
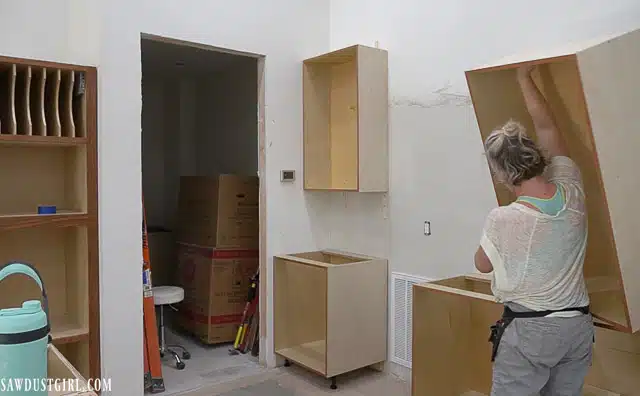
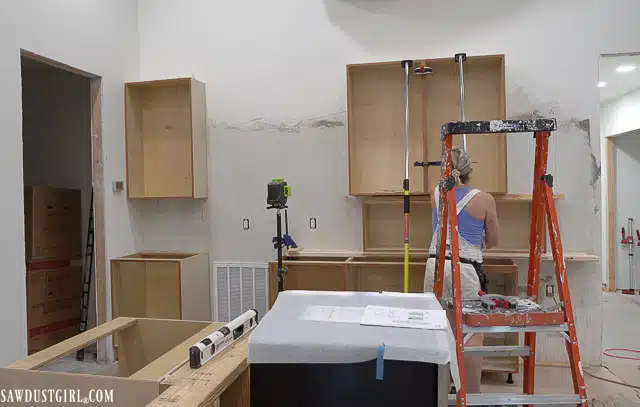
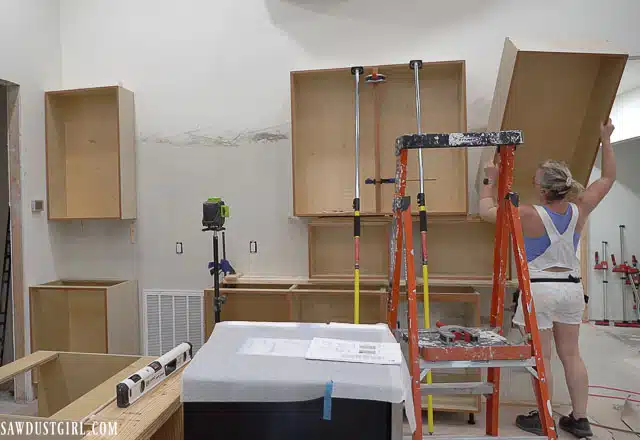
Installing upper cabinets alone, and not on a hanging rail — is tricky. A couple third hands come in handy for sure. The big empty space on the coffee bar wall is for a TV cabinet. I was going to create some fancy moving wall, or lift up cabinet doors to hide the tv but decided against it because we will have that TV on more than we would have it concealed.
Doors and Drawers
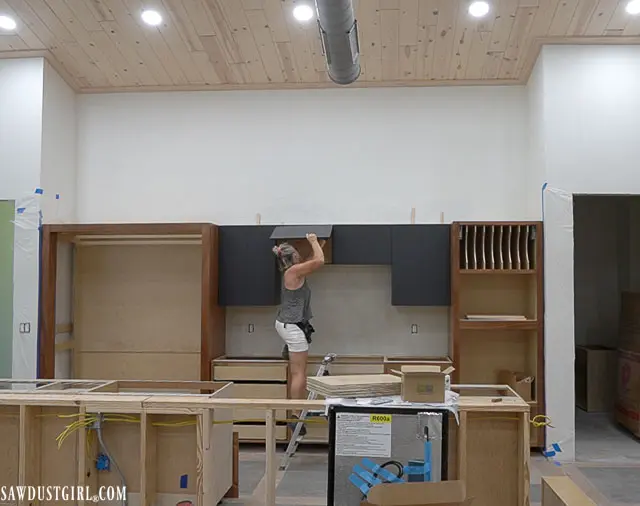
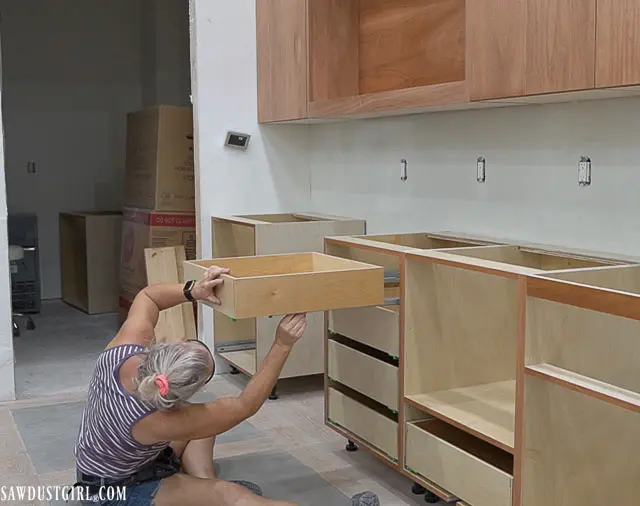
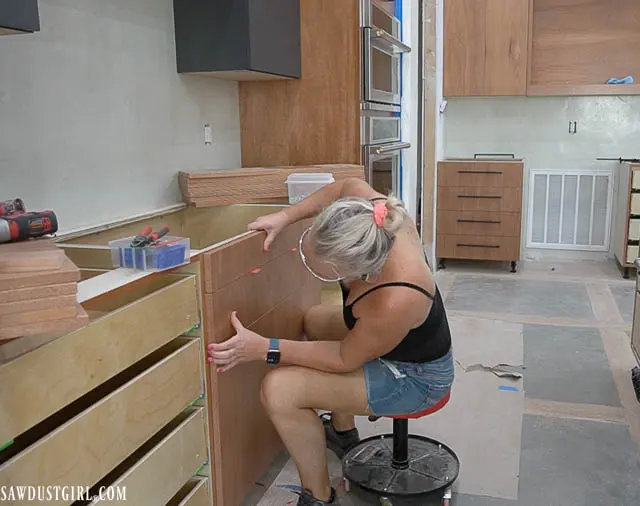
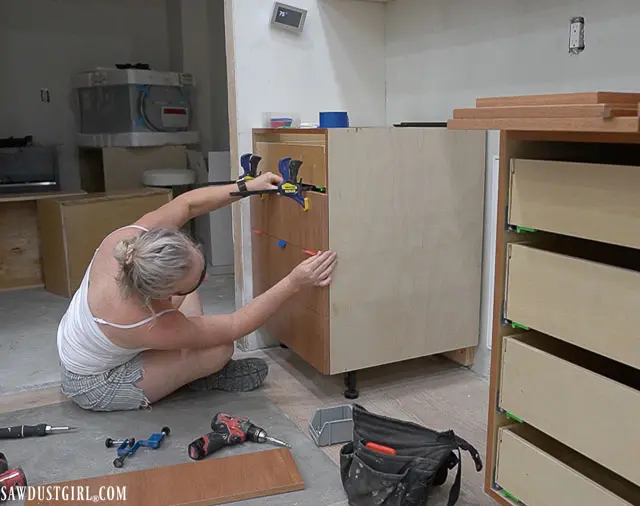
I’ve applied around 1000 linear feet of edge banding so far. All the cabinet fronts and all four sides of all the doors and drawer fronts are edge banded. The only cabinets that are not are the refrigerator, oven and TV cabinets which are faced with Sapele that I jointed and planed.
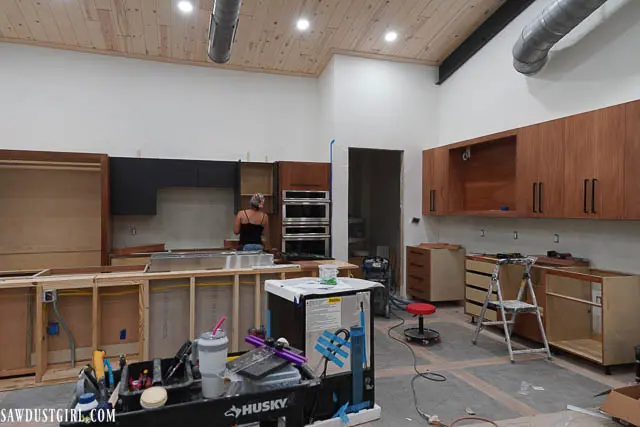
I still have a few things to finish in here before the kitchen is “done”. I needed to get all the base cabinets done so I could get the countertops ordered in hopes of having them installed sometime this year.
With how supplies, labor, materials, etc have been hard to get and with a long lead time, I order all my appliances, sinks, faucets, lights…everything I plan to use and have them IN HAND before I build a spot for them. When shopping for appliances, the refrigerator and freezer I wanted had a line of people that had already ordered them and been waiting for over a year with no idea when they’d get them. Since I’m not building custom anything for appliances etc, until I have the item on site, I have a whole room full of items waiting to be installed. That beats the alternative of building for items that end up not being available.
My countertops are being cast as we speak and my goal is to finish all the other things that need to be completed – by next week. The countertops will be coming in the next couple weeks. Getting them INTO the building is going to be SKETCH ’cause we have to use a crane, lull lift or maybe a helicopter to lift them up into the second floor! (And before we bring in the countertops we’ll use whatever resource we end up with to first bring up the piano and some other heavy items we currently have in storage.
Fun times ahead!
You’re a rockstar! What a huge job. Do you have a link for the leveling legs you used? Thank you!
I buy them from Build.com where I found them for the best price. https://www.build.com/hardware-resources-tp03/s1435413?uid=3375210&null
Thank you! I didn’t know these existed.
Hi! I arrived through your “Selecting the Right Material” post but had to have a look around. Your Maryville house is right behind my parents’ — I used to cut through the yard in order to get to the Greenbelt! Your Lodge looks super-exciting–best of luck!
I seem to recall you were deathly afraid of the table saw when you first used it? Was that you, Sandra or am I thinking someone of someone else?
No that was Mindi, one of my Sawdust Squad gals (woodworking/DIY blogger mentees).
Wow! You are amazing! It looks wonderful. So much work.
Thanks so much Dorothy! I think I’m going to like it. LOL