How to Paint Plywood Edges
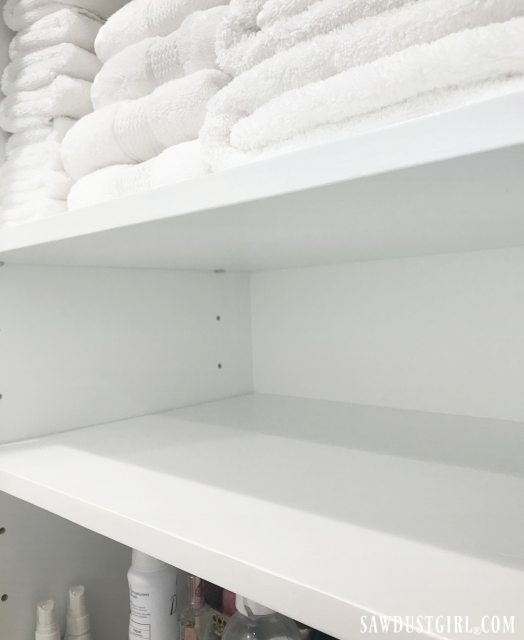
Previously I shared a post about how to paint MDF and get smooth edges. I wanted share a tutorial for painting plywood too. If you build with plywood with the intention of staining or clear-coating it, you would use edge banding. However, when painting plywood, edge banding is not necessary. You can get a beautiful paint finish on plywood by using these simple tricks.
Sand
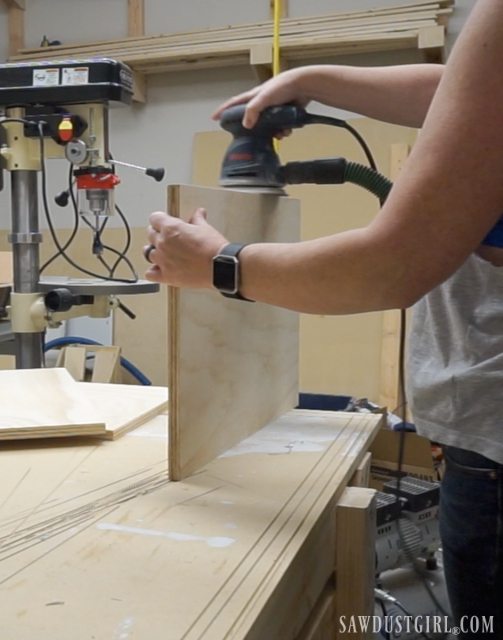
After cutting your plywood pieces, the first step is to sand with 120 grit sandpaper. Go over the whole plywood surface, but pay special attention to the edges. Keep your sander flat so you’re not rounding the corners.
Prime
Next, prime all sides of the plywood. I generally paint “two edges” and “one side” at one time. After that has dried, I paint the other two edges and the other side. Having a couple dry edges gives me some way to turn or move the plywood as I’m priming.
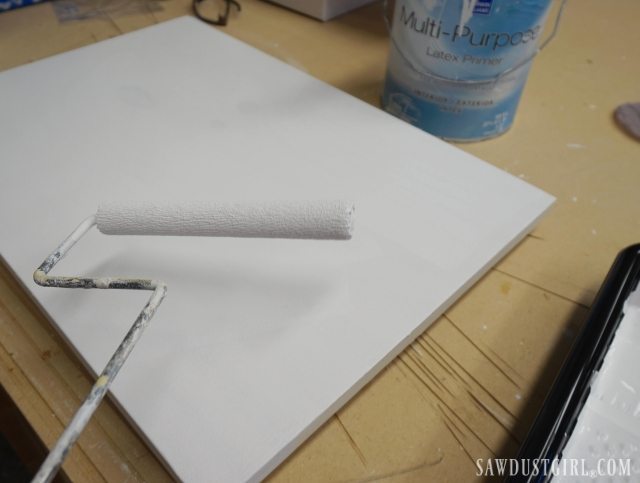
I usually use a water borne primer (and paint) because I do not like cleaning up with chemicals. Water borne finishes raise the wood grain. That is why wood feels bumpy or gritty after painting. A quick once over with a 220 grit sanding sponge will smooth out the large surfaces.
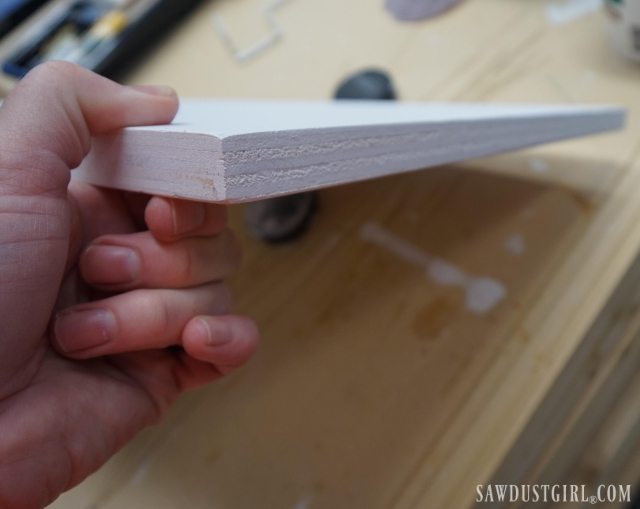
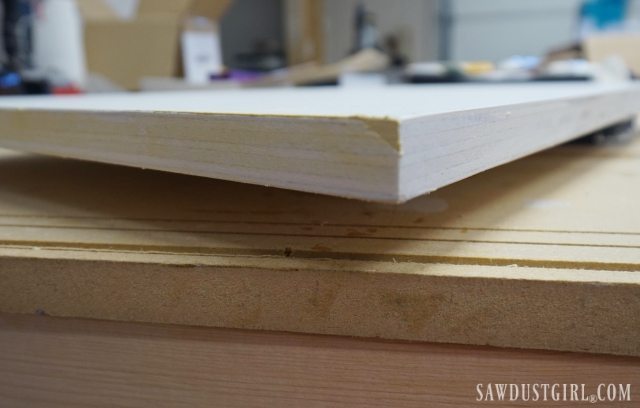
Some plywood will produce smooth edges when cut. If that is the case, the edges can simply be lightly sanded along with the top and bottom surfaces to knock down the raised grain. If your plywood edges are pitted, using some wood filler will do the trick.
Wood Filler
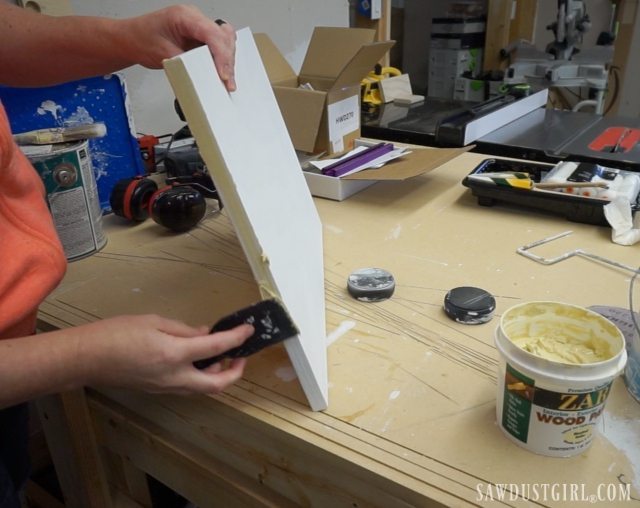
Use a plastic putty knife to smooth wood filler along all of the plywood edges. My favorite wood patch is still ZAR. I use a damp cloth to wipe the wood before applying ZAR. Smear it on, then scrape off the excess.
Sand and Fill Again
After the wood filler dries, a light sanding should be all you need to come out with smooth plywood edges. If you have any areas that need extra wood patch, apply more, let dry and sand again. The sandings should not require any elbow grease. Just a light touch to smooth out the wood filler and any raised grain. If you have any saw marks, gouges or dents, those areas will need extra attention. Maybe a more aggressive sanding or more wood filler.
I also like to run over the corners with a sanding block at this stage. Not to round them, just to remove their sharpness. I’ve scraped my knuckles on sharp corners enough times that now I always knock down all corners on wood that will be exposed in the finished piece (of whatever I’m building).
Paint
Once your plywood edges are smooth, wipe off the whole piece with a slightly damp cloth. Then paint away. If I’m painting with a roller, I do my “2 edges and 1 surface” at a time trick.
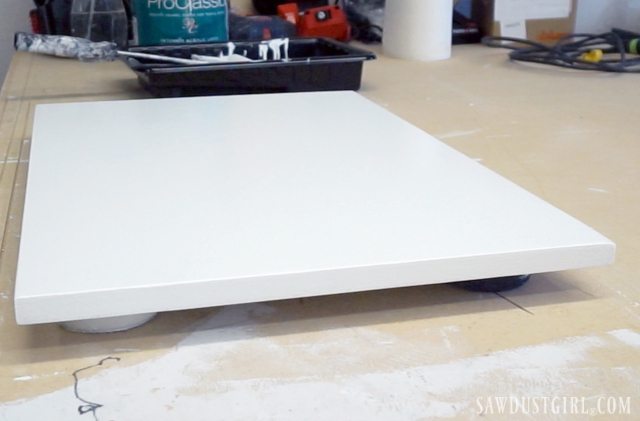
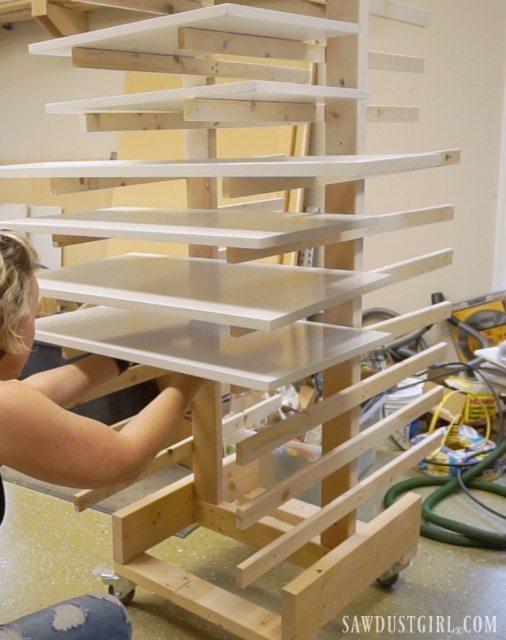
When I’m painting a lot of pieces, I’ll break out my paint sprayer and drying rack.
Finial Touches
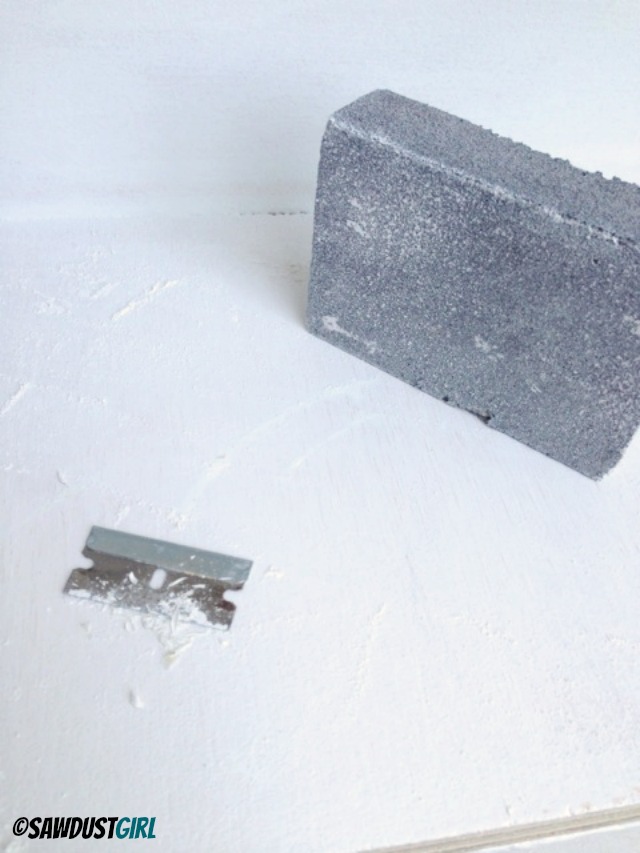
No matter my painting method, I often find areas where the paint puddled or dripped. Generally, it’s best to let the paint dry before making your repairs. My favorite trick is to use a single edged razor blade to remove paint drips and lines.
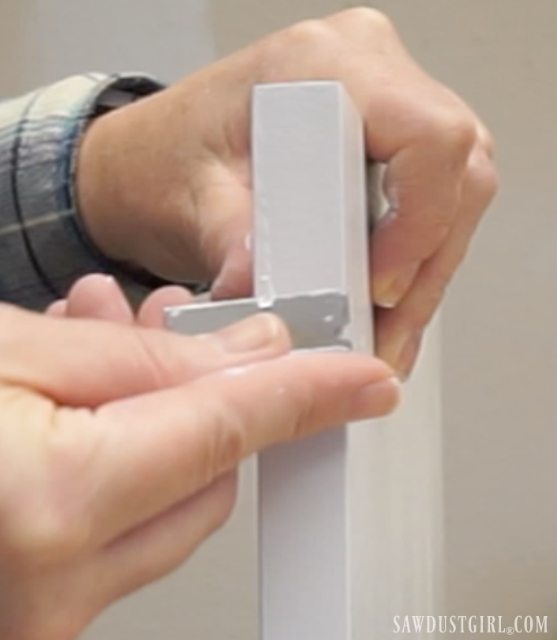
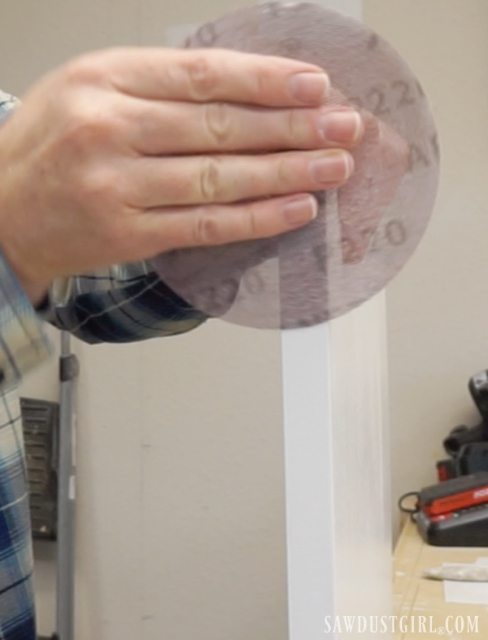
If needed, I hit that area again with a 220 grit sandpaper or sanding sponge (generally whichever I can find within reach). If the paint used had much gloss, this area will also need a little touch up paint. If low sheen, it’s most likely just fine. You just have to examine your work piece and decide what you think it needs.
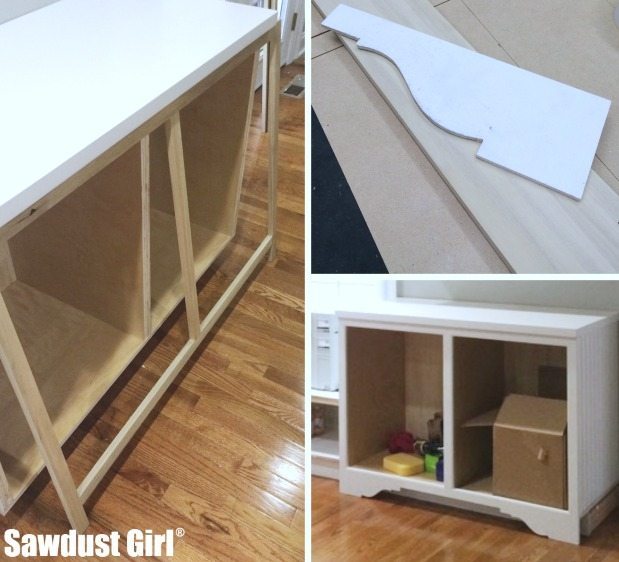
Most of the pieces I build with plywood have a faceframe which cover the edges. Usually the only exposed plywood edges I use are for shelves so if I find a side I’m not as happy with, I put it facing the back of the cabinet.

Whatever the purpose, that’s how I go about painting plywood edges.
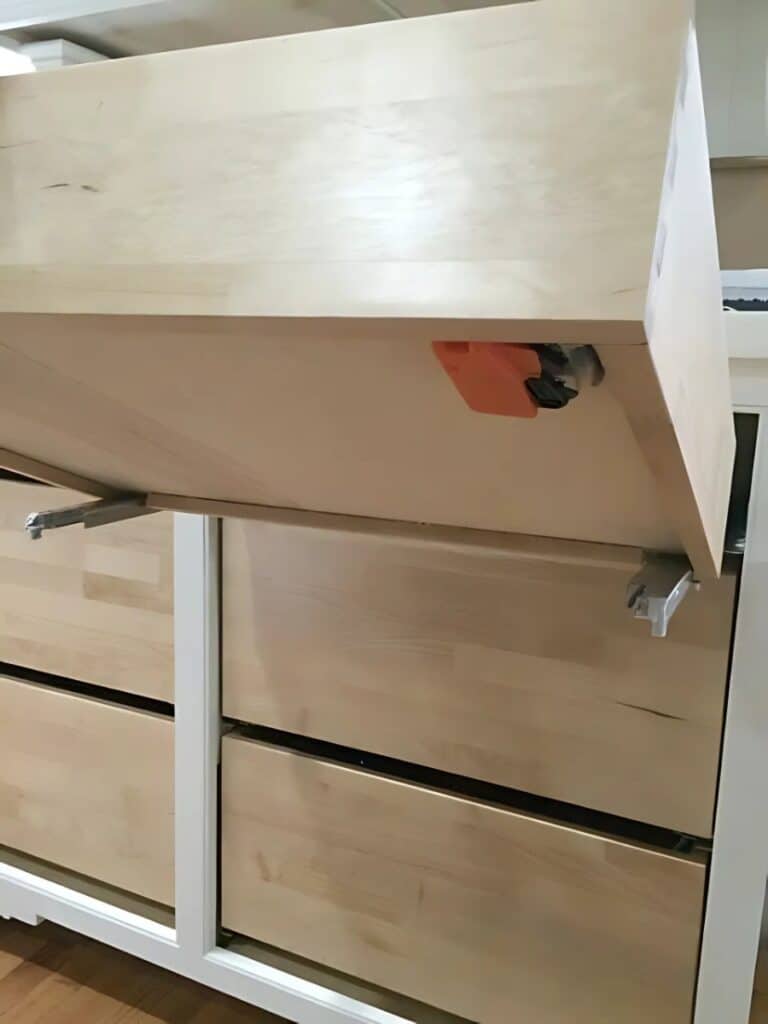
You should play around with it and see what works best for you. There’s generally never just one right way to do anything.
Can you sand the ply then apply wood filler, then sand again, then paint/put your primer down? Or do you need to prime it first before filling the edges with wood filler?
Yes I have tried painters caulk.
In my experience with painters caulk, the caulk can dry leaving some small pointy and sharp edges, don’t forget to trim them down and touch up those areas. Another thing about caulk is that during the drying process the caulk will shrink or sink into the pits and require additional applications.
Putty works best as the post suggests. A painter once recommended using Bondo. The stuff they use on cars. I’ve tried that technique and the fumes can make you nautious and lingers so make sure the room is well ventilated. His reasoning was that when bondo dries it’s sandable and is prone to shrinking. I’m not an expert but I’ve tried it once and I weren’t real happy with my result.
I’ve searched all over the internet for your lovely tip.
You’re the final piece of the puzzle to my frameless cabinet project. I’ve been wondering if it were necessary to edgeband a frameless cabinet when I’m going to paint them.
In the past I tried the reverse and had a terrible experience. Your write up makes complete sense. I wish I found your page sooner!!
Thank you thank you!