How to Install Floating Shelves
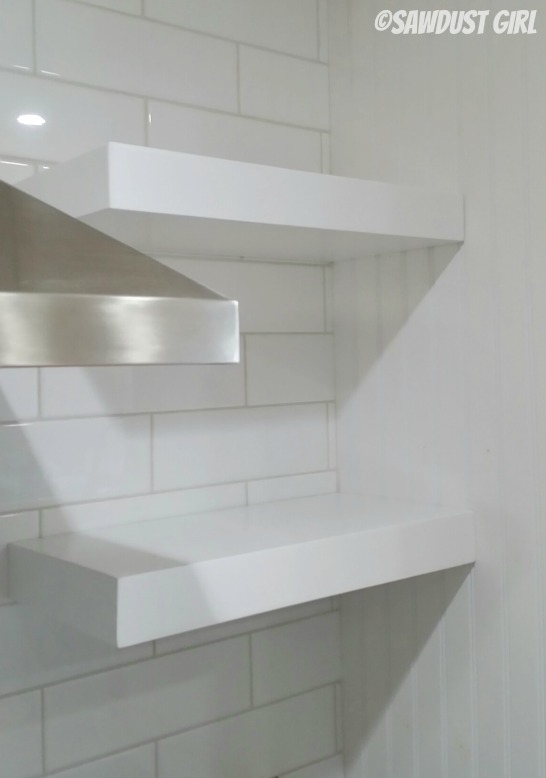
If you just read my tutorial on Building Floating Shelves, now you’re ready to know How to Install Floating Shelves. If not, you might want to read that one. 😉 There are quite a few ways to secure floating shelves, I’m using one of the easiest ways which is to simply build a hollow box that slides onto a cleat that is secured to the wall. If putting floating shelves kitchen backsplash, install the cleats before you tile. You don’t want to have to drill THROUGH the tile to find the studs.
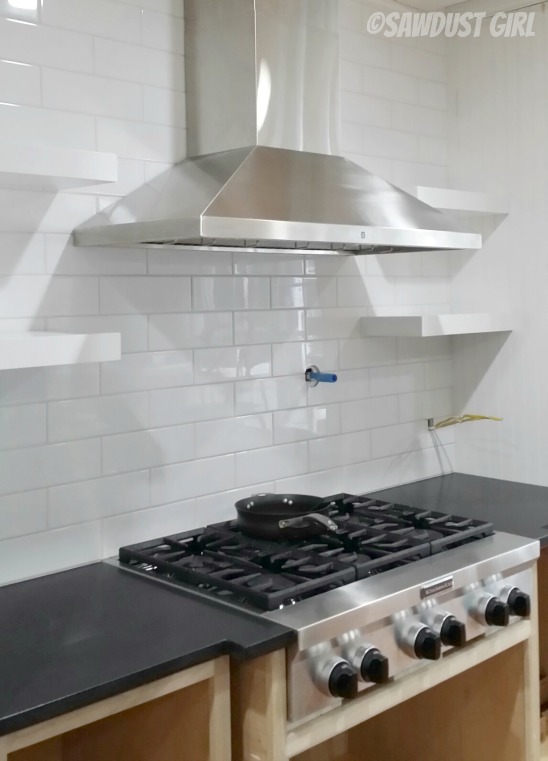
How to Install Floating Shelves
1. Attach 2×2 cleats to the wall
- Cut a 2×2 long enough to insert the hollow part of your floating shelves.
- Secure cleat to wall with 3″ screws. Make sure to level cleat before securing.
- Make sure you hit at least 2 studs per shelf or use heavy duty anchor fasteners.
- Leave your vent hood in place while positioning your shelf cleats to make sure your shelf placement looks good with the hood.
- Level the cleats all the way across the wall with a long level if you are putting shelves on both sides of your hood.
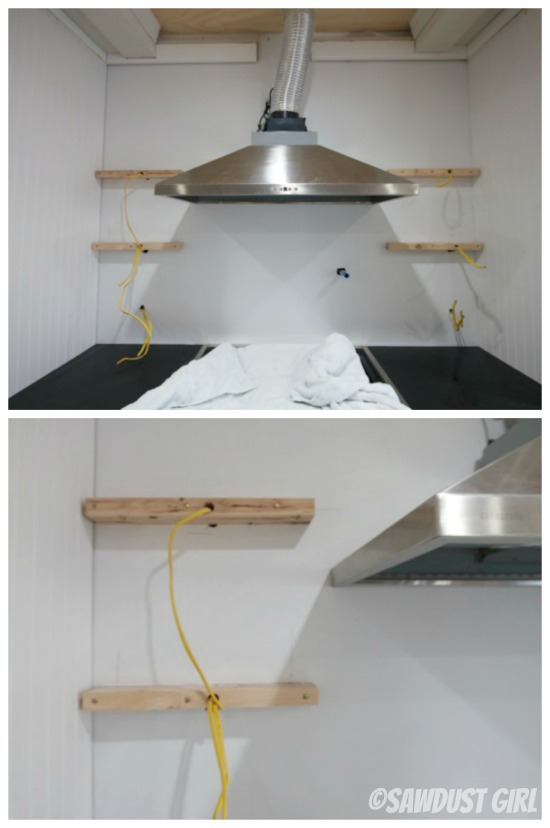
2. Electrical rough-in (if adding lights)
- Pull electrical cable through cleats now if you are planning on adding lights to your floating shelves. If you have to make additional holes in your drywall to get the cable to where you need it to be you need to do that before tile goes in!
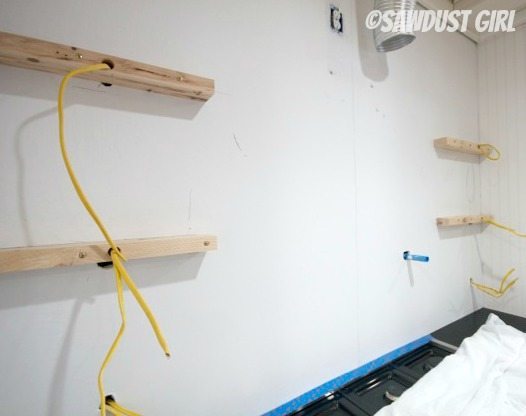
3. Add another row of 2×2 to your cleats for good measure.
- You might have noticed that my cleats look deeper than they do tall. I secured a second 2×2 to give my shelves a little more to sit on. I’m planning on putting breakables on my shelves and I don’t want them flimsily secured. I want them rock solid!
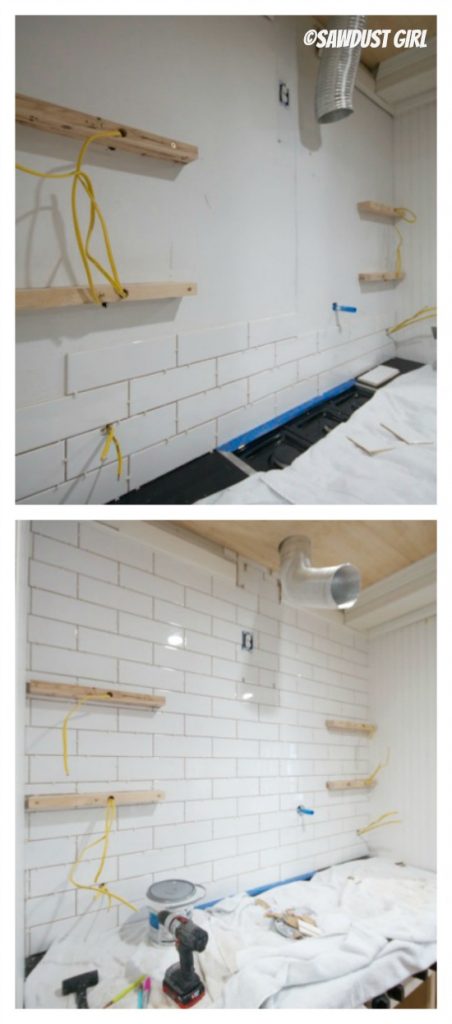
4. Tile around cleats now if you are adding tile.
5. Center shelf over cleat and push
- It should be a snug fit.

6. Secure with nails or screws
- Secure the shelves to the cleats with screws or nails in an inconspicuous area like the top if the shelf is high or bottom if it is low.
Related posts:
Thanks for sharing this Technique that helps to Install Easily Floating Shelves
May I ask, did you cut the tiles around the cleats? Or loosen them and tile ‘underneath’?
I installed the cleats before tiling. I cut the tiles around the cleats.
Love your shelves. As always you are perfection. Can you tell me how strong are these since you only have a back cleat? Would this same type of construction work for doing a 3 sided mantle on a fireplace?
Having cleats on three sides of a shelf (or mantle in this case) would provide extra strength to the support however, I imagine you wouldn’t create a 2″tall mantle. With a taller shelf or mantle, I would use a French cleat.